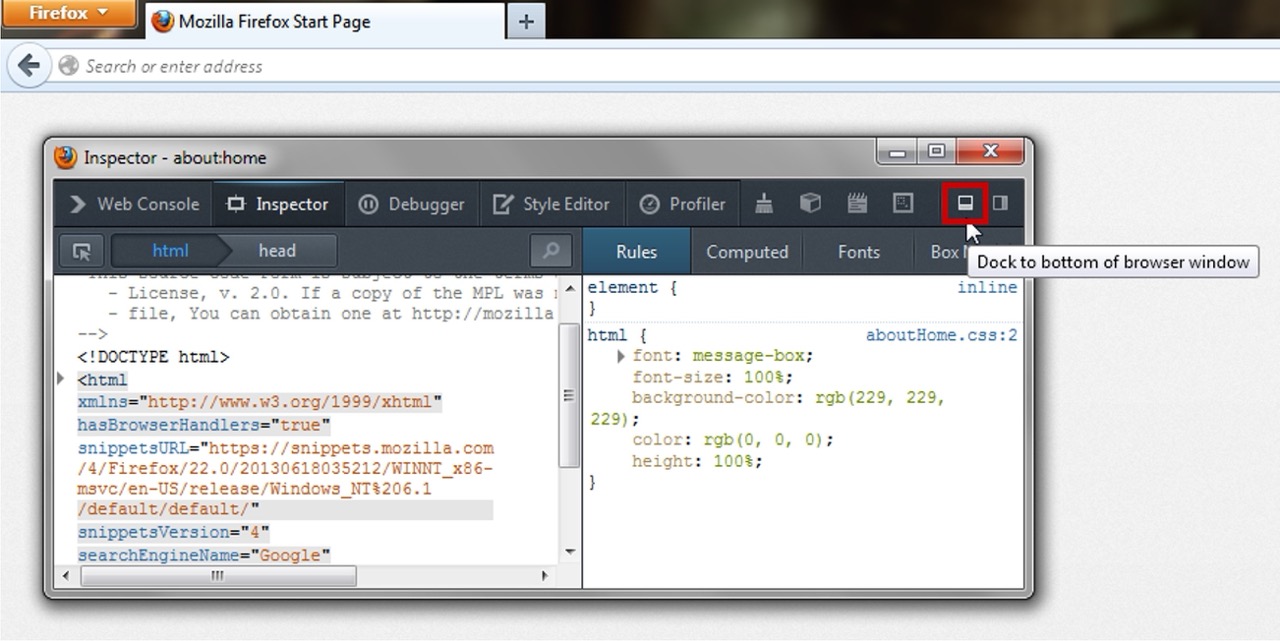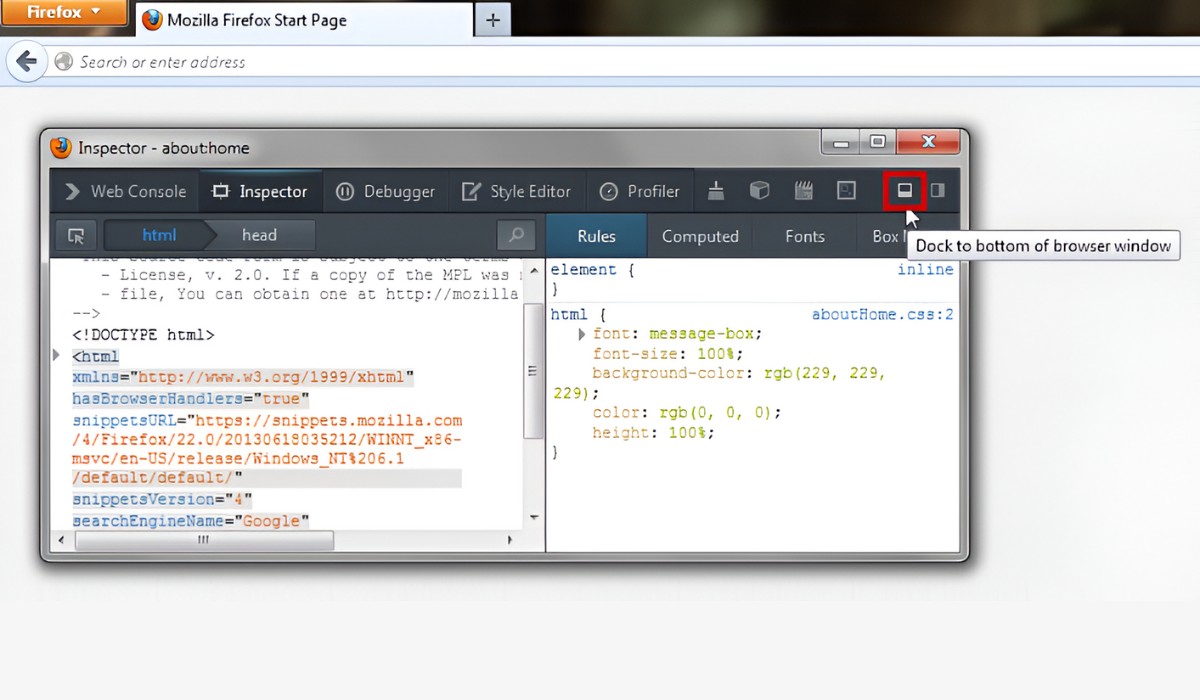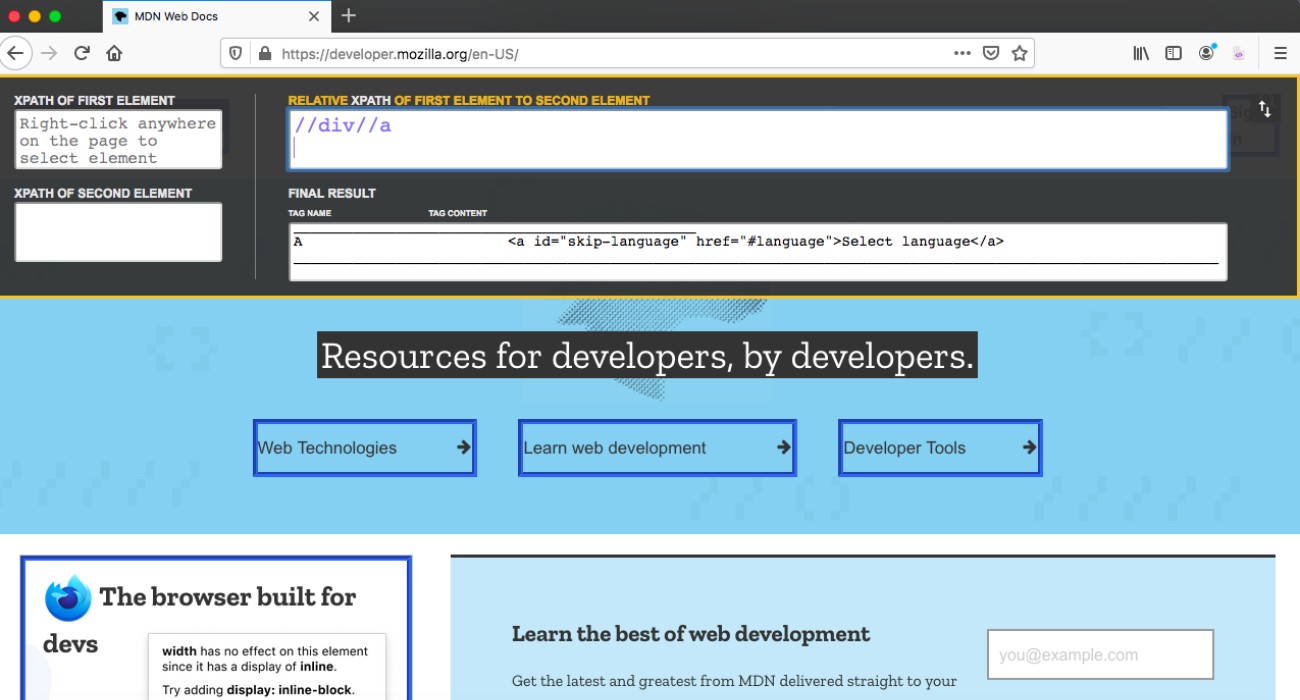
To find an XPath for any element in Firefox, right-click the element on the page and choose "Inspect Element" to open the Developer Tools. Then, right-click the highlighted HTML code in the Inspector panel, select "Copy," and pick "XPath" to copy the absolute XPath to your clipboard, no separate extension needed. This built-in xpath finder in Firefox is the fastest way to grab a locator for web scraping or automated testing.
How to Find an Element's XPath in Firefox
Firefox's Developer Tools include a native XPath finder that works on any webpage, whether you're inspecting a button, a link, an image, or a text field. The process takes about ten seconds once you know the steps. Here's the direct workflow:
- Open the webpage in Firefox and locate the element you want to target.
- Right-click on that element. A context menu appears.
- Select "Inspect Element" from the menu. The Developer Tools open at the bottom or side of the window, with the Inspector panel active.
- In the Inspector, the corresponding HTML code for your element is already highlighted.
- Right-click on that highlighted HTML line.
- From the new context menu, hover over "Copy" and then choose "XPath" (or "Copy XPath" in some Firefox versions).
- The absolute XPath of the element is now on your clipboard. Paste it anywhere, a script, a test, or a text editor.
That's it. Firefox generates the full path from the root of the document, which is accurate but not always the most resilient option for long-term use. You'll learn why in the next section and how to improve it.
What is XPath?
XPath stands for XML Path Language. It's a query language designed to navigate and select nodes in XML documents, and since HTML is structured like XML, XPath works on web pages too. When you copy an XPath, you're essentially writing a route from the document's root down to the specific element you care about. This is why XPath is so valuable for web scraping, browser automation, and test scripts, it gives you a precise, repeatable way to tell a program exactly where to find a piece of content. Instead of visually hunting for an element every time, your code can use the XPath to jump straight to it.
Absolute vs. Relative XPath
The XPath Firefox copies for you is an absolute XPath. It starts from the very top of the HTML document and lists every parent element along the way, like /html/body/div[2]/div[1]/div[3]/form/input. Absolute XPaths are brittle, if the page structure changes even slightly, such as adding a new div or reordering sections, the path breaks and your script fails. A relative XPath, on the other hand, starts with a double slash (//) and searches for the element anywhere in the document based on its attributes or position. For example, //input[@id='search'] finds the input with the id "search" no matter where it sits in the hierarchy. Relative XPaths are more robust and maintainable because they survive minor layout changes. To build one yourself, look at the element's unique attributes in the Inspector, like id, name, or class, and write a path that targets those directly. If the element has no unique attribute, you can combine a parent's stable attribute with a child position, such as //form[@name='login']//button[1].
Testing Your XPath Expression
Before you paste a copied XPath into your script, you should verify it actually works on the current page. Firefox's Developer Tools include a Console where you can test any XPath expression instantly using the $x() function. Open the Console by pressing Ctrl+Shift+K (Windows/Linux) or Cmd+Option+K (Mac), or by selecting "Console" from the Developer Tools tabs. Then type $x("your_xpath_here") and press Enter. The Console will return a list of all matching elements. If you see one or more elements in the output, your XPath is valid and targets the right node. If you get an empty array, the expression doesn't match anything, either you made a typo or the element isn't where you think it is. This testing step is especially useful when you've written a relative XPath manually, because it lets you refine the expression against the live page before committing it to code. For example, if $x("//input[@id='search']") returns nothing, you can inspect the input's actual attributes in the Inspector and adjust the expression accordingly. Testing in the Console takes seconds and saves you from debugging broken locators later.