Introduction
Welcome to the world of Zelle, the convenient mobile payment platform that allows you to send and receive money with just a few taps on your phone. However, life is full of changes, and one of those changes might involve getting a new phone number. If you’re wondering how to change your phone number on Zelle, you’ve come to the right place. In this article, we’ll guide you through the step-by-step process of updating your phone number on the Zelle app.
Changing your phone number on Zelle is a straightforward process that ensures your account remains secure and up-to-date. Whether you’ve switched to a new phone or got a new phone number, it’s essential to keep your Zelle account information current to continue enjoying the convenience and benefits of this payment platform.
While changing your phone number on Zelle is a relatively simple task, it’s important to follow the correct steps to avoid any potential issues. In the following sections, we’ll outline the steps required to change your phone number on Zelle, discuss important things you should consider, and guide you through the process of updating your account information.
So, if you’re ready to learn how to change your phone number on Zelle and ensure a smooth transition to your new contact information, let’s get started with the step-by-step instructions.
Reasons for Changing Your Phone Number on Zelle
There are several reasons why you might need to change your phone number on Zelle. Let’s take a look at some common situations that might prompt you to update your contact information:
- Switching to a new phone: If you’ve recently purchased a new phone or upgraded your device, you’ll likely have a new phone number as well. Changing your phone number on Zelle ensures that your account is linked to your current contact details.
- Getting a new phone number: Sometimes, you may need to change your phone number due to personal or professional reasons. It could be because you’ve moved to a new location, switched to a new mobile service provider, or for any other reason.
- Security concerns: In some cases, you may need to change your phone number on Zelle due to security reasons. If your previous phone number was compromised or you suspect unauthorized access to your account, it’s crucial to update your contact information to protect your account and ensure the security of your funds.
- Keeping your information current: Even if there are no specific reasons prompting you to change your phone number, it’s generally good practice to keep your account information up to date. By ensuring your phone number is accurate on Zelle, you can receive important notifications, updates, and payment requests without any disruptions.
Regardless of the reason, changing your phone number on Zelle is a simple task that ensures your account remains connected to your current contact information. It’s important to stay proactive when it comes to managing your account details, allowing you to continue enjoying the seamless and secure mobile payment experience that Zelle offers.
Steps to Change Your Phone Number on Zelle
Now that you understand why it’s important to update your phone number on Zelle, let’s dive into the step-by-step process to make the necessary changes:
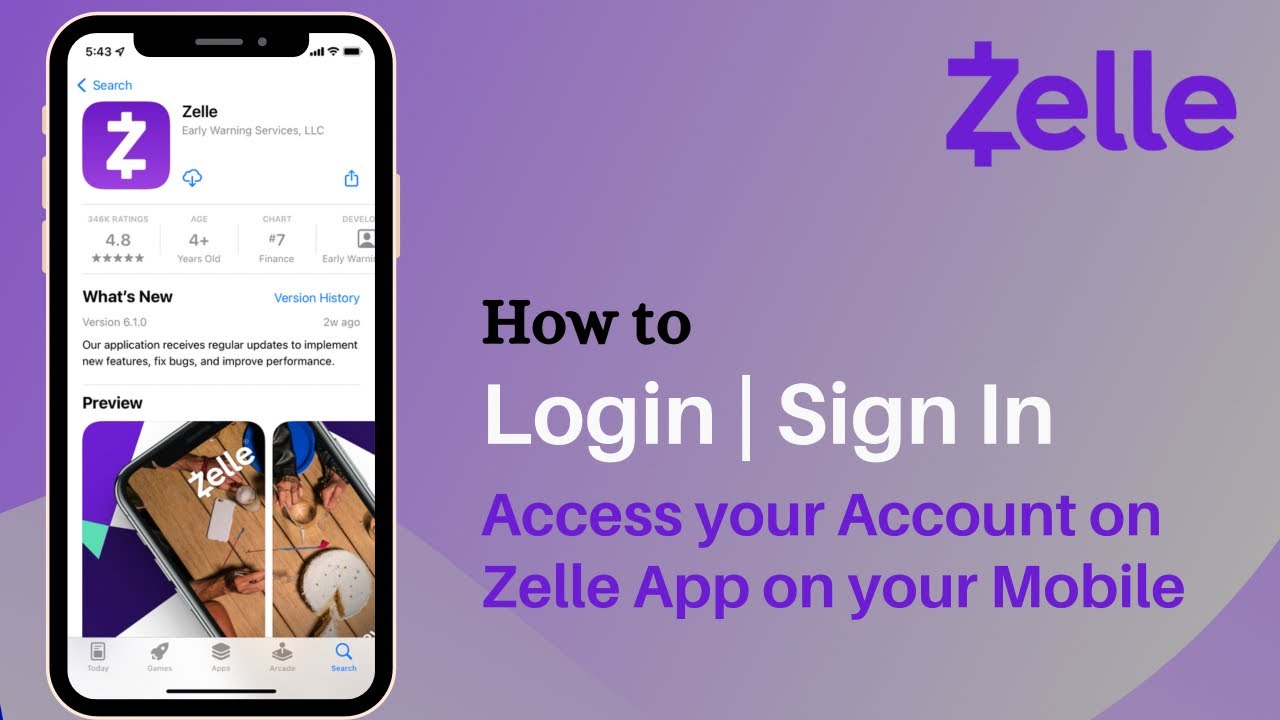
- Step 1: Open the Zelle app: Launch the Zelle mobile app on your smartphone. If you don’t have the app installed, you can download it from the App Store (for iOS users) or Google Play Store (for Android users).
- Step 2: Go to the settings menu: Once you’re logged in, navigate to the settings menu. It is typically represented by a gear or three vertical dots icon, located at the top right or bottom right corner of the Zelle app interface.
- Step 3: Select “Profile”: In the settings menu, look for the option labeled “Profile” and tap on it. This will take you to your Zelle account profile page.
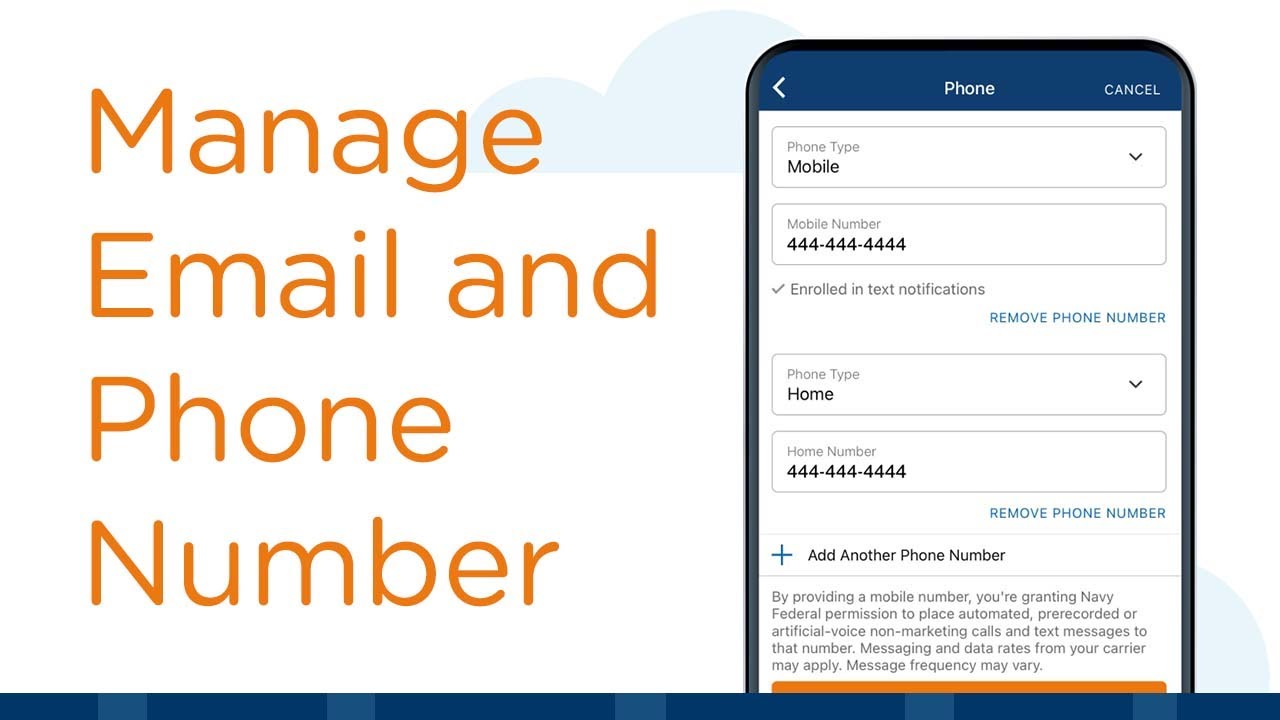
- Step 4: Edit your phone number: On the profile page, locate the section where your phone number is displayed. Tap on the edit or pencil icon next to the phone number field to start making changes.
- Step 5: Verify your new phone number: After editing your phone number, you may be prompted to verify the new number. This step is crucial in ensuring the validity of the contact information associated with your account. Follow the on-screen instructions to complete the verification process.
- Step 6: Confirm the change: Once your new phone number is verified, review the changes you’ve made. If everything looks correct, tap the “Save” or “Confirm” button to apply the updated phone number to your Zelle account.
And voila! You’ve successfully changed your phone number on Zelle. Your account is now linked to your updated contact information, allowing you to continue sending and receiving payments effortlessly.
It’s important to note that the exact steps might vary slightly depending on the version of the Zelle app you’re using and your device’s operating system. However, the general process remains the same. If you encounter any difficulties or have any questions, consult the Zelle help center or contact their customer support for further assistance.
Step 1: Open the Zelle App
The first step in changing your phone number on Zelle is to open the Zelle mobile app on your smartphone. Since Zelle is a mobile payment platform, it is primarily accessed through its dedicated app, which is available for both iOS and Android devices. Follow the instructions below to open the Zelle app:
- Locate the Zelle app icon: Look for the Zelle app icon on your device’s home screen or in the app drawer. It features a green background with a white dollar sign ($) in the center.
- Tap on the Zelle app icon: Once you have located the Zelle app icon, tap on it to launch the application. The app will load and take you to the Zelle login screen.
- Log into your Zelle account: If you have previously logged into Zelle on your device, you will likely be directed straight to your account. Otherwise, enter your login credentials, including your registered email address or mobile phone number, and your password. Tap the “Sign In” or “Log In” button to access your Zelle account.
Once you have successfully opened the Zelle app and logged into your account, you are ready to proceed to the next step in changing your phone number on Zelle. Keep your Zelle app open as we move forward with the process.
Note that it is essential to have a stable internet connection while using the Zelle app to ensure a seamless experience. If you encounter any issues during the login process or while using the app, check your internet connection or consider restarting your device.
Step 2: Go to the Settings Menu
After opening the Zelle app and logging into your account, the next step in changing your phone number on Zelle is to go to the settings menu. The settings menu provides you with various options to manage your account and make changes to your preferences. Follow the instructions below to navigate to the settings menu:
- Locate the settings icon: Look for the settings icon within the Zelle app. This icon is usually represented by a gear or three vertical dots and is commonly found in the top right or bottom right corner of the app’s interface.
- Tap on the settings icon: Once you have located the settings icon, tap on it to access the settings menu. The menu will open, displaying a range of options for you to customize your Zelle account.
- Explore the settings menu: Within the settings menu, you will find various options related to your account, security, notifications, and more. Take a moment to familiarize yourself with the available settings, as you may find other features or preferences you would like to modify.
Now that you have successfully navigated to the settings menu within the Zelle app, you are one step closer to changing your phone number. Next, we will move on to Step 3: Select “Profile,” where you can further manage your account details and make the necessary changes to your contact information. Keep the settings menu open and ready as we continue with the process.
Remember, the exact location and appearance of the settings icon may vary slightly depending on the version of the Zelle app you are using and your device’s operating system. However, the general concept of accessing the settings menu remains the same.
Step 3: Select “Profile”
Once you have accessed the settings menu within the Zelle app, the next step in changing your phone number is to select the “Profile” option. The “Profile” section allows you to view and modify various details associated with your Zelle account, including your phone number. Follow the instructions below to select “Profile” in the settings menu:
- Scan the settings menu: Take a moment to look through the options available in the settings menu. Depending on the layout of the Zelle app, the “Profile” option may be readily visible, or you may need to scroll down to find it.
- Locate “Profile”: Look for the “Profile” option within the settings menu. It may be listed as “Profile,” “Account Profile,” or a similar label.
- Tap on “Profile”: Once you have found the “Profile” option, tap on it to access your Zelle account profile page. This page contains information about your account, including your registered phone number.
By selecting “Profile” in the settings menu, you have reached the section where you can make changes to your contact information. In the next step, we will discuss how to edit your phone number and update it with your new contact information. Proceed to Step 4 to learn the process of editing your phone number on Zelle.
Remember that the exact location of the “Profile” option within the settings menu may vary slightly depending on your device and the version of the Zelle app you are using. Take your time to locate the option and proceed to the next step.
Step 4: Edit Your Phone Number
Now that you have accessed the profile section of your Zelle account, you can proceed to edit your phone number and update it with your new contact information. Follow the instructions below to make the necessary changes:
- Locate the phone number field: On your Zelle account profile page, find the section where your current phone number is displayed. This section may be labeled as “Phone Number,” “Contact Information,” or something similar.
- Edit your phone number: Next, tap on the edit or pencil icon next to the phone number field. This action will allow you to make changes to your existing phone number.
- Enter your new phone number: On the editing screen, remove the old phone number and enter your new phone number using the keypad. Double-check the accuracy of the digits to ensure that you provide the correct contact information.
Take your time to type in your new phone number accurately. Mistyping or providing incorrect contact information can lead to problems with receiving payments or notifications through Zelle.
After entering your new phone number, you are almost done with the process of changing your phone number on Zelle. In the next step, we will discuss the importance of verifying your new phone number to ensure the validity and security of your account. Proceed to Step 5 to learn how to verify the new phone number you have entered.
Please note that the exact interface and location of the phone number field may vary slightly depending on the version of the Zelle app you are using and your device’s operating system. However, the general process of editing the phone number remains consistent.
Step 5: Verify Your New Phone Number
Once you have entered your new phone number in the Zelle app, the next step is to verify its accuracy and validity. Verification is a crucial step to ensure that the contact information associated with your Zelle account is correct and up to date. Follow the instructions below to verify your new phone number on Zelle:
- Follow the on-screen instructions: After editing your phone number, the Zelle app will likely prompt you to verify the new number. Pay attention to any on-screen instructions or prompts that appear after you have entered your new phone number.
- Choose the verification method: Zelle provides different methods to verify your new phone number, such as receiving a code via SMS or through an automated voice call. Select the option that is most convenient for you or follow the instructions provided by the app.
- Enter the verification code: If you choose the SMS verification method, you will receive a verification code on your new phone number. Enter the code provided by Zelle to validate and confirm that you have access to the specified phone number.
Verification is an essential security measure implemented by Zelle to protect your account from unauthorized access or misuse. By confirming your new phone number, you can ensure that only you have the ability to access and manage your Zelle account.
Once you have successfully verified your new phone number, you are ready to move on to the final step of confirming the change. Proceed to Step 6 to learn how to finalize the process and apply the updated phone number to your Zelle account.
Keep in mind that the exact verification process may differ slightly depending on the specific methods offered within the Zelle app and your device’s operating system. Follow the provided instructions on your screen to complete the verification successfully.
Step 6: Confirm the Change
After verifying your new phone number on Zelle, the final step is to confirm the change and apply the updated phone number to your account. This step ensures that your Zelle account is linked to your current contact information. Follow the instructions below to confirm the change:
- Review the changes: Before confirming the change, take a moment to review the newly entered phone number. Make sure that it is accurate and matches your intended contact information.
- Save or Confirm: Once you are satisfied with the changes, look for a “Save” or “Confirm” button. Tap on this button to apply the updated phone number to your Zelle account.
- Confirmation message: After confirming the change, you may receive a confirmation message or notification stating that your phone number has been successfully updated. This message serves as a confirmation that the process is complete.
By confirming the change, you have successfully updated your phone number on Zelle. Your account is now associated with your new contact information, allowing you to continue sending and receiving payments seamlessly.
It is crucial to double-check the accuracy of your new phone number before confirming the change. This helps to ensure that you receive important notifications, updates, and payment requests without any interruptions or issues.
Now that you have completed all the necessary steps to change your phone number on Zelle, you can enjoy the convenience and security of using the platform with your updated contact information.
Please note that the exact appearance and labeling of the confirmation button may vary depending on the version of the Zelle app you are using and your device’s operating system. Look for a button that indicates finalizing or confirming the change to proceed.
Important Things to Consider When Changing Your Phone Number on Zelle
When changing your phone number on Zelle, there are a few key considerations to keep in mind to ensure a smooth transition and maintain the security of your account. Here are some important things to consider:
- Update your contacts: Once you have changed your phone number on Zelle, remember to notify your contacts about the new number. This will ensure that they have the correct information and can continue to send payments to your updated contact details.
- Update other accounts: Aside from Zelle, you may have other accounts or services linked to your old phone number. Take the time to update the phone number associated with these accounts to avoid any potential disruptions in communication or access.
- Keep your Zelle login credentials secure: Changing your phone number on Zelle does not affect your login credentials. It is important to keep your account username and password secure to prevent unauthorized access. Regularly update your password and enable two-factor authentication for added security.
- Double-check the accuracy of your new phone number: Before confirming the change on Zelle, double-check the accuracy of your new phone number. The accuracy of your contact information is crucial for receiving notifications, updates, and payment requests through the platform.
- Be aware of any additional verification steps: Depending on the specific circumstances and changes you make, Zelle may require additional verification steps to ensure the security of your account. Follow the provided instructions and complete any necessary verifications promptly.
- Check for any linked accounts or services: In some cases, your Zelle account may be linked to other accounts or services that use your phone number for identification or authentication purposes. Consider checking these accounts or services to update your phone number accordingly.
- Keep your device and Zelle app up to date: To ensure the best user experience and security, keep your device’s operating system updated and regularly check for any available updates for the Zelle app. This helps to protect against potential vulnerabilities and ensures compatibility with the latest features.
By considering these important aspects, you can successfully navigate the process of changing your phone number on Zelle and maintain a smooth transition to your new contact information. Keeping your information current and secure will help you continue to leverage the convenience and benefits Zelle provides for your mobile payments.
Conclusion
Changing your phone number on Zelle is a straightforward process that ensures your account remains up to date and connected to your current contact information. Whether you’ve switched to a new phone or obtained a new phone number, updating your phone number on Zelle is crucial for maintaining the convenience and security of your mobile payment transactions.
In this article, we explored the step-by-step process of changing your phone number on Zelle. We discussed the reasons why you might need to update your contact information, such as switching to a new phone or for security concerns. We also outlined the important steps to follow, including opening the Zelle app, navigating to the settings menu, selecting “Profile,” editing your phone number, verifying the new number, and confirming the change.
Throughout the process, it’s essential to consider certain factors, such as updating your contacts, updating other accounts linked to your old number, keeping your login credentials secure, and double-checking the accuracy of your new phone number. By taking these considerations into account, you can ensure a smooth transition and maintain the security of your Zelle account.
Remember to notify your contacts about the change, update any linked accounts or services, and keep your device and Zelle app up to date to ensure an optimal experience with Zelle.
If you have any difficulties during the process or have further questions, refer to the Zelle help center or reach out to their customer support for assistance. They will be able to provide specific guidance tailored to your situation.
Now that you have the knowledge and steps required to change your phone number on Zelle, feel free to make the necessary updates to your account. Enjoy the seamless and secure mobile payment experience that Zelle offers with your updated contact information.


