Introduction
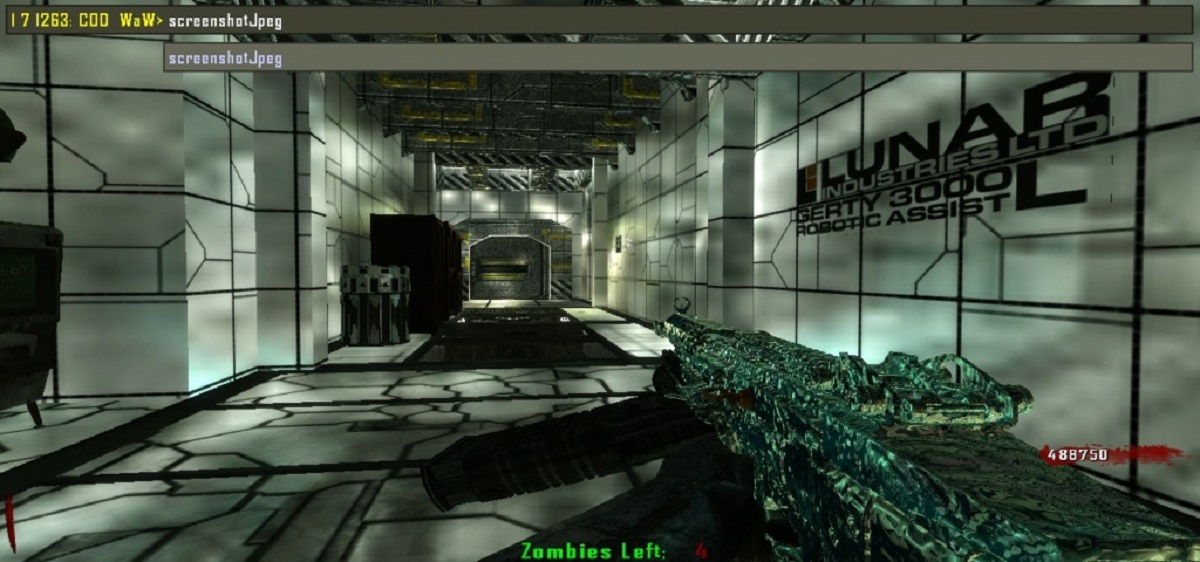
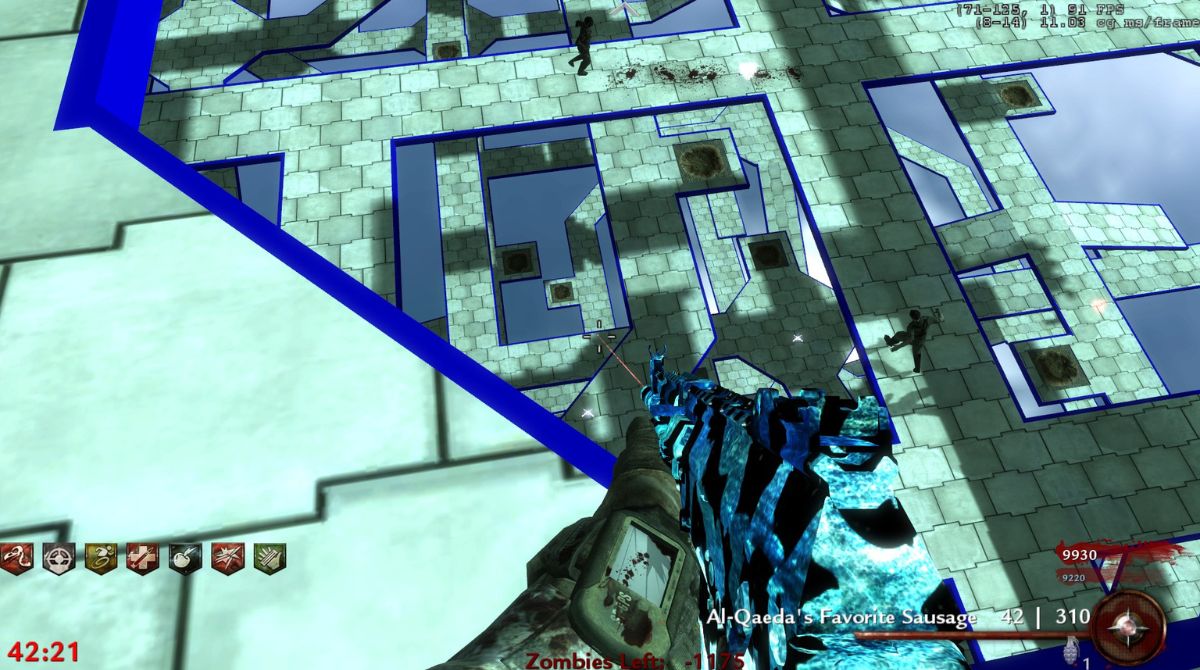
Are you a die-hard fan of Call of Duty: World at War and looking to expand your gaming experience? Look no further! With custom zombie maps, you can take your gameplay to the next level by exploring new terrains, facing unique challenges, and testing your survival skills. Custom zombie maps are user-created levels that offer a fresh and thrilling twist to the popular World at War game.
In this guide, we will walk you through the step-by-step process of downloading and installing custom zombie maps for World at War. Whether you are new to the world of custom maps or a seasoned player, you will find this guide helpful in navigating through the vast array of options available online.
Before diving into the process, it’s important to note that custom zombie maps are not officially supported by the game developers. Therefore, it’s essential to exercise caution and use reliable sources to ensure a safe and enjoyable gaming experience. Now, let’s get started on this exciting journey of discovering and playing custom zombie maps!
Step 1: Finding and Selecting the Right Website for Custom Zombie Maps
The first step in downloading custom zombie maps for World at War is finding a trustworthy website that offers a wide selection of maps. There are several websites dedicated to hosting and sharing user-created content, making it easier than ever to access a plethora of custom maps. Here’s how you can find and select the right website for your custom zombie map needs:
- Research and Check Community Recommendations: Take some time to research popular websites that specialize in hosting custom maps for World at War. Read reviews and recommendations from other players to gauge the reputation and reliability of the site. Online gaming forums and communities can be valuable resources for finding trusted websites.
- Visit Reputable Websites: Once you have narrowed down your options, visit the websites and explore their content. Look for websites that have a large and active community, regular updates, and a user-friendly interface. Reputable websites often have a rating system or user reviews that can help you identify high-quality and well-designed maps.
- Check for Safe Downloads: Your online safety should always be a top priority. Make sure the websites you consider provide a secure and trustworthy platform for downloading custom maps. Look for websites that scan files for viruses and malware before making them available for download.
- Consider Map Variety: Custom zombie maps come in various themes, styles, and difficulty levels. Look for websites that offer a wide range of maps to cater to different preferences and skill levels. This will ensure that you have a diverse selection and can find maps that suit your gaming style.
- Community Support and Feedback: A vibrant and supportive community can greatly enhance your custom map experience. Look for websites that encourage user interaction, feedback, and collaboration. This will allow you to connect with fellow players, share your experiences, and seek assistance if needed.
Remember to always exercise caution when downloading content from the internet. Be sure to have reliable antivirus software installed and keep it up to date to protect your computer from any potential threats.
Step 2: Downloading and Installing UGX Map Manager
Now that you’ve found a website with an impressive collection of custom zombie maps, it’s time to download and install the UGX Map Manager. This handy tool will make the process of downloading, managing, and installing custom maps much simpler. Follow these steps:
- Visit the UGX Map Manager Website: Start by visiting the UGX Map Manager website, which is the official and most reliable source for downloading this tool. Make sure to download it from the official website to avoid any potential security risks.
- Download the UGX Map Manager: Look for the download link on the website and click on it to start the download process. The UGX Map Manager is available for both Windows and Mac operating systems, so select the version that is compatible with your device.
- Run the Installer: Once the download is complete, locate the installer file in your downloads folder or the location you specified. Double-click on the installer file to start the installation process.
- Follow the Installation Wizard: The installation wizard will guide you through the installation process. Read the instructions carefully and select your preferred installation settings. The default settings are generally recommended, but you can customize them if desired.
- Complete the Installation: After selecting your preferred settings, click on the “Install” button to begin the installation process. Wait for the UGX Map Manager to be installed on your computer. This may take a couple of minutes depending on your system’s performance.
- Launch the UGX Map Manager: After the installation is complete, you can launch the UGX Map Manager. It may create a shortcut on your desktop, or you can find it in the start menu or applications folder.
With the UGX Map Manager successfully installed on your computer, you’re now ready to explore, download, and manage custom zombie maps for World at War. This handy tool will streamline the entire process and ensure that you have a seamless experience when it comes to installing and playing custom maps.
Step 3: Browsing and Selecting World at War Custom Zombie Maps
Now that you have the UGX Map Manager installed, it’s time to browse through the wide selection of custom zombie maps available. This step is crucial as it allows you to discover unique and exciting maps to enhance your gaming experience. Follow these steps to browse and select the perfect custom maps:
- Launch UGX Map Manager: Start by launching the UGX Map Manager on your computer. You can find it on your desktop, in the start menu, or in the applications folder.
- Explore the Available Maps: Once the UGX Map Manager is launched, you will be presented with a user-friendly interface displaying various custom map options. Take your time to explore and familiarize yourself with the available maps. You can use filters, search options, and sorting features to narrow down the selection based on your preferences.
- Read Descriptions and Reviews: Click on the maps that catch your interest to access more information. Read the descriptions provided by the map creators to get an idea of the map’s theme, storyline, and features. Additionally, check for user reviews and ratings to gather feedback from other players who have already played the map.
- Consider Difficulty and Game Mode: Custom maps vary in difficulty and game mode. Some maps might be designed for cooperative play, while others are more suitable for solo adventures. Consider your playstyle and preferences when selecting a map.
- Preview Screenshots and Videos: Many custom map pages offer screenshots and videos to give you a glimpse of what to expect. Take advantage of these previews to assess the map’s visuals, design quality, and overall appeal. This can help you make a more informed decision.
- Select Your Desired Maps: After exploring and evaluating different maps, you can begin selecting the ones you want to download. You can add them to your download queue or mark them as favorites within the UGX Map Manager.
By following these steps, you can effectively browse through the available custom zombie maps, take into account various factors such as theme, difficulty, and gameplay mode, and make informed decisions regarding the maps you want to download and install.
Step 4: Downloading Custom Zombie Maps
After selecting the custom zombie maps you want to play, it’s time to download them. The UGX Map Manager simplifies the process by providing a convenient and secure platform for downloading custom maps. Follow these steps to download your desired maps:
- Open UGX Map Manager: Launch the UGX Map Manager on your computer by double-clicking the desktop icon or finding it in the start menu or applications folder.
- Access Your Selected Maps: Once the UGX Map Manager is open, navigate to the section where your selected maps are located. This could be your download queue or your list of favorite maps.
- Select the Maps for Download: Choose the maps you want to download by clicking on them. You can select multiple maps at once if desired.
- Initiate the Download: After selecting the desired maps, click on the download button or the download icon within the UGX Map Manager interface. This will initiate the download process for the selected maps.
- Monitor the Download Progress: The UGX Map Manager will display the download progress of each map. It may take some time depending on your internet connection speed and the size of the maps. You can monitor the progress and see the estimated time remaining for each map.
- Complete the Download: Once the download is complete, the UGX Map Manager will notify you. The downloaded maps will be automatically saved in the designated folder or location within the UGX Map Manager.
It’s important to note that some custom maps may require additional files or dependencies to run properly. These dependencies are typically mentioned on the map’s download page or within the UGX Map Manager. Make sure to follow any instructions provided to ensure a smooth downloading experience.
With your custom zombie maps successfully downloaded, you’re one step closer to diving into new and exciting gameplay experiences. The next step is to install the maps onto your World at War game.
Step 5: Installing Custom Zombie Maps
Now that you have downloaded the custom zombie maps, it’s time to install them into your World at War game. The UGX Map Manager streamlines the installation process and ensures that the maps are properly integrated. Follow these steps to install your custom maps:
- Launch UGX Map Manager: Open the UGX Map Manager on your computer by clicking on the desktop icon, start menu entry, or finding it in the applications folder.
- Access the Installed Maps: Within the UGX Map Manager, navigate to the section where your downloaded maps are stored. This could be the “Installed Maps” or “Maps Library” section.
- Select the Maps for Installation: Choose the custom maps you want to install by clicking on them. You can select multiple maps at once if desired.
- Initiate the Installation: After selecting the maps, click on the “Install” button or the installation icon within the UGX Map Manager interface. This will initiate the installation process for the selected maps.
- Follow the Installation Instructions: The UGX Map Manager will guide you through the installation process. Follow the on-screen instructions to complete the installation of each map. The process may involve specifying the installation location or providing any necessary permissions.
- Confirm Successful Installation: Once the installation is complete, the UGX Map Manager will notify you. You can verify the successful installation by checking the “Installed Maps” section of the UGX Map Manager, where the newly installed maps should be listed.
It’s important to note that custom zombie maps are typically installed in a separate directory within your World at War game files. Make sure to follow any instructions provided by the UGX Map Manager or the map creators to ensure the maps are installed in the correct location.
With the custom maps successfully installed, you’re ready to jump into the new adventures and challenges that await you in the World at War custom zombie maps.
Step 6: Activating Custom Zombie Maps in World at War
After successfully installing the custom zombie maps using the UGX Map Manager, it’s time to activate them in your World at War game. Follow these steps to activate the custom maps:
- Launch World at War: Start by launching your World at War game by double-clicking the desktop icon or finding it in your game library.
- Access the Mods Menu: Once the game is launched, navigate to the main menu and look for the “Mods” option. Click on it to access the mods menu, which allows you to activate and manage custom content.
- Enable Custom Maps: Within the mods menu, you will see a list of available mods and custom maps. Locate the custom zombie maps you have installed using the UGX Map Manager. Check the box next to each map to enable and activate it in the game.
- Set Load Order (Optional): If you have installed multiple custom maps, you can adjust their load order within the mods menu. This determines the order in which the maps will be loaded and can be important to ensure proper functionality, especially if the maps have dependencies or conflicting elements.
- Save and Start the Game: After enabling the custom maps and adjusting the load order if necessary, save your changes within the mods menu. Then, exit the mods menu and start a new game or load an existing game to begin playing with the activated custom zombie maps.
It’s worth noting that enabling custom maps may disable certain achievements or multiplayer functionality in World at War. However, these limitations may vary depending on the specific map and the modding community.
Congratulations! You have successfully activated the custom zombie maps in your World at War game. Now you can enjoy the unique and thrilling gameplay experiences that these user-created maps offer.
Conclusion
By following the step-by-step process outlined in this guide, you can easily download, install, and activate custom zombie maps for Call of Duty: World at War. These user-created maps provide a fresh and exciting gaming experience, allowing you to explore new terrains, face unique challenges, and engage in thrilling battles against hordes of zombies.
Remember to always exercise caution when downloading and installing custom maps from the internet. Stick to reputable websites that offer a wide selection of maps and ensure safe downloads. Additionally, make sure to use the official UGX Map Manager tool, which simplifies the process and ensures proper integration of the custom maps with your game.
The beauty of custom zombie maps lies in their diversity. With countless themes, styles, and difficulty levels to choose from, you can find maps that perfectly suit your preferences and gaming style. Whether you’re seeking intense solo experiences or cooperative adventures with friends, there’s a custom map out there that will cater to your needs.
So, why not take a break from the standard World at War gameplay and explore the vast world of custom zombie maps? Step outside of the familiar and embark on thrilling journeys through haunting environments, intricate puzzles, and heart-pounding encounters. Unleash your skills, test your survival instincts, and have a blast with the endless possibilities offered by custom zombie maps.
Get ready to immerse yourself in a whole new level of gaming excitement as you download, install, and activate custom zombie maps for your World at War game. Start the hunt for hidden treasures, survive against overwhelming odds, and experience the creativity and passion of the dedicated map-making community. It’s time to unleash chaos on the undead and create epic moments in the world of custom zombie maps!


