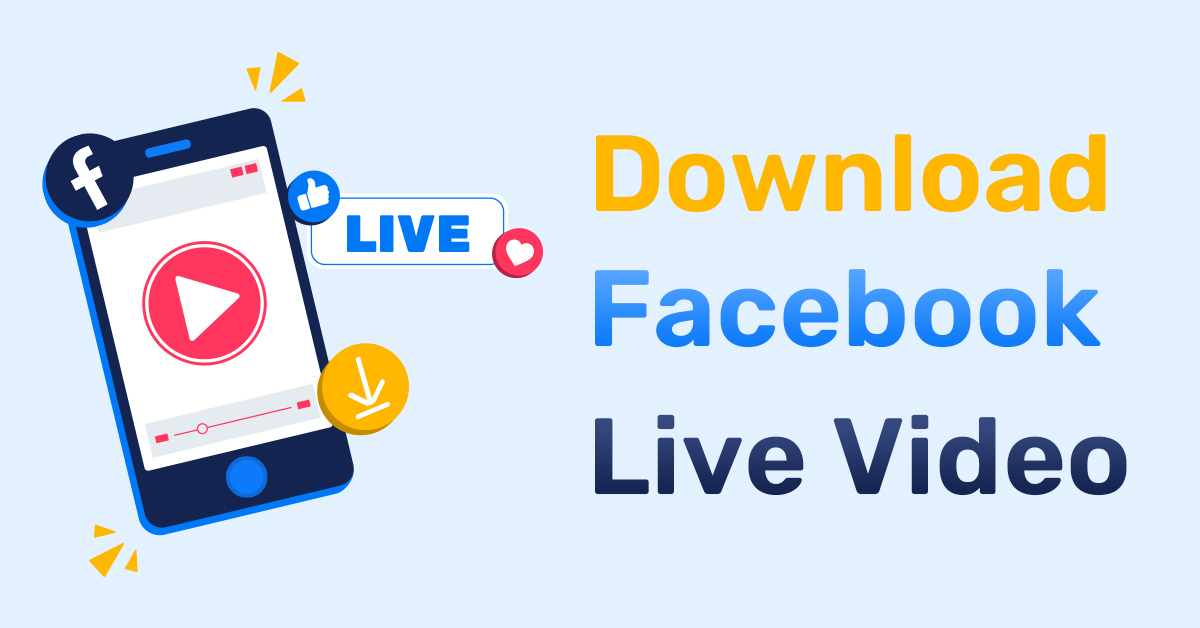
Introduction
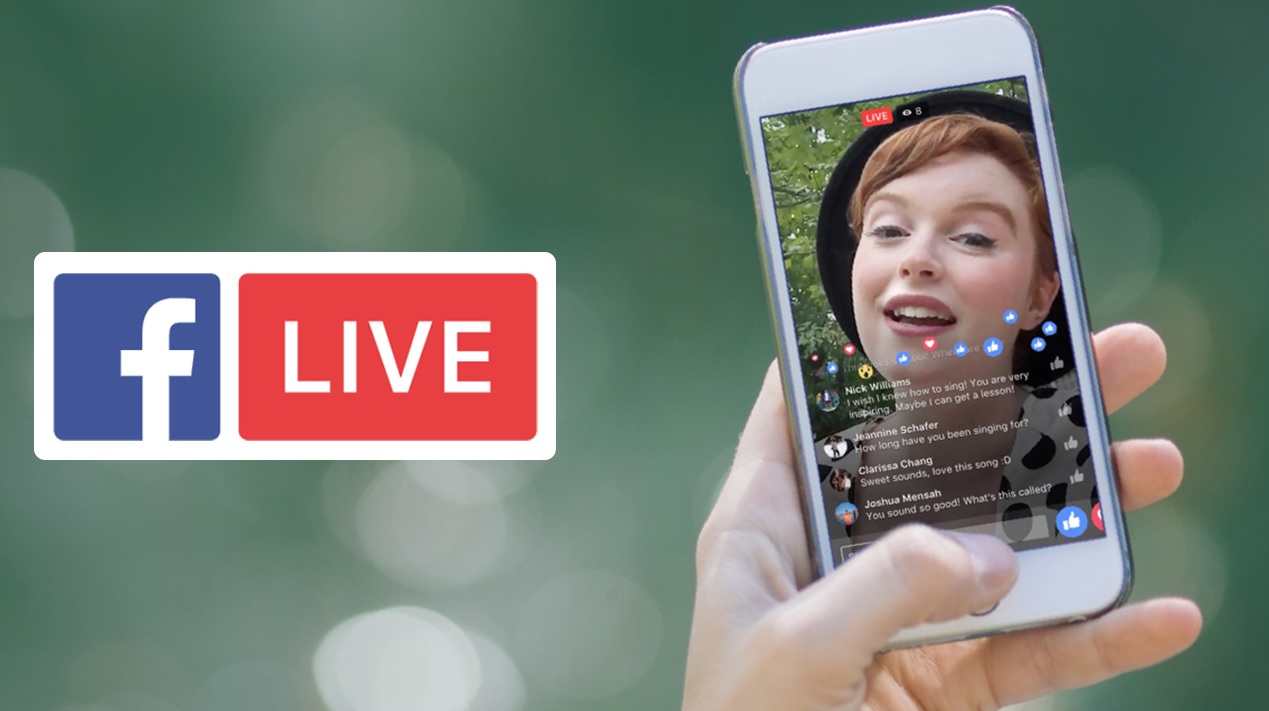
With the rise of social media platforms like Facebook, live video streaming has become increasingly popular. Facebook Live allows users to broadcast live videos to their followers, creating a real-time connection and fostering engagement. But what if you want to download a Facebook Live video and watch it offline? In this article, we will guide you through the steps on how to download a video from Facebook Live.
Downloading videos from Facebook Live can be useful in various scenarios. Perhaps you want to save a video that inspired you, or you need to share it with others who may have missed the live broadcast. Regardless of your reason, having the ability to download Facebook Live videos gives you the freedom to watch them offline at your convenience.
While Facebook doesn’t provide a built-in feature to download videos directly from Facebook Live, there are alternative methods you can use. In the following sections, we will outline a step-by-step process to help you easily download your favorite Facebook Live videos.
Before we begin, it’s important to note that downloading videos from Facebook Live should be done for personal use only and with the permission of the content creator. Respect copyright laws and ensure that you are not infringing upon anyone’s intellectual property rights.
Step 1: Find the Facebook Live video you want to download
The first step in downloading a Facebook Live video is to locate the video you want to save. This could be a broadcast from a friend, a public figure, a group, or a page that you follow. Here’s how you can find the video:
1. Open the Facebook app or go to the Facebook website on your computer.
2. Login to your account if you haven’t already.
3. Navigate to the profile, page, group, or event where the Facebook Live video was streamed.
4. Look for the video post in the feed. Facebook Live videos are indicated with a “LIVE” badge or a glowing red icon.
5. You can also use the search bar at the top of the Facebook page to find specific videos by typing keywords, hashtags, or the name of the person or page that streamed the live video.
6. Once you have found the Facebook Live video you want to download, click or tap on it to open it in full screen mode.
It’s important to note that you can only download videos from Facebook Live if they are public or if you have the necessary permissions to access them. Private videos or videos that you do not have permission to view cannot be downloaded.
By following these steps, you will be able to find the Facebook Live video that you want to download and proceed to the next step of the downloading process.
Step 2: Get the video URL
Once you have found the Facebook Live video that you want to download, the next step is to obtain the video URL. The URL is a unique web address that locates the specific video you want to download. Here’s how you can get the video URL:
1. On the Facebook video player, click or tap on the three-dot menu icon (usually located on the top right corner of the video).
2. In the menu that appears, select the option to “Copy video URL” or “Copy video link.” This will copy the video URL to your clipboard.
3. If you are using a computer, you can also right-click on the video and select the “Copy video URL” option.
4. Alternatively, you can click or tap on the video to pause it and then right-click and select the “Copy video URL” option from the context menu.
5. The video URL will now be copied to your clipboard and ready to be used in the next step of the downloading process.
It’s worth noting that the video URL may vary depending on whether you are using the Facebook app, the mobile website, or the desktop website. However, the process of getting the video URL remains the same regardless of the platform you are using.
By following these steps, you will be able to retrieve the video URL and move on to the next step of downloading the Facebook Live video.
Step 3: Use a video downloader website or app
To download a Facebook Live video, you will need the assistance of a video downloader website or app. These platforms provide specialized tools that allow you to download videos from various sources, including Facebook Live. Here’s how you can use a video downloader to proceed with the downloading process:
1. Open a web browser on your computer or mobile device.
2. Search for a reliable video downloader website or app that supports downloading videos from Facebook Live. There are several options available, such as SaveFrom.net, KeepVid, or 4K Video Downloader.
3. Once you have found a suitable video downloader, navigate to their website or download and install their app.
4. Open the video downloader and ensure that it supports downloading Facebook Live videos. Most reputable video downloader tools can handle this functionality.
5. If you are using a website, you may need to paste the video URL directly into the provided field on the website’s homepage. Some websites also provide browser extensions for convenient downloading.
6. If you are using an app, launch it and navigate to the section where you can input the video URL.
7. Paste the Facebook Live video URL into the provided field on the video downloader platform.
8. Verify that the URL is correct and proceed to the next step.
It’s important to choose a reputable and trusted video downloader platform to ensure the safety of your device and personal information. Always read user reviews, check for any potential risks, and be cautious while installing or downloading any software.
By following these steps, you will be ready to move on to the next step of pasting the video URL and selecting your preferred format for downloading the Facebook Live video.
Step 4: Paste the video URL and select your preferred format
After obtaining the video URL and using a reliable video downloader website or app, you are now ready to proceed with pasting the video URL and selecting your preferred format for downloading the Facebook Live video. Follow these steps to continue:
1. On the video downloader website or app, locate the field where you can paste the video URL. It is usually labeled as “Paste URL,” “Enter URL,” or something similar.
2. Click or tap on the field to activate it, and then paste the video URL that you copied in the previous step. You can right-click and select the “Paste” option or use the keyboard shortcut Ctrl + V (or Command + V on Mac).
3. After pasting the video URL, verify that it is correct and complete. Double-check for any typos or missing characters.
4. Next, look for the section where you can select your preferred video format. Most video downloader platforms offer a range of formats, such as MP4, AVI, or MOV.
5. Consider your device’s compatibility and the quality you desire when choosing the format. MP4 is a widely supported format and is recommended for compatibility across different devices.
6. Some video downloader tools also allow you to select the video quality. Choose the resolution that suits your needs, such as 720p, 1080p, or higher, if available.
7. Take note that higher resolution videos may take longer to download and require more storage space on your device.
Ensure that you comply with copyright laws and respect the content creator’s rights when downloading and using videos. Only download videos for personal use or with the necessary permissions.
By following these steps, you will have pasted the video URL and selected your preferred format for downloading the Facebook Live video. Now, you can move on to the next step and begin the download process.
Step 5: Begin the download process
With the video URL pasted and the desired format selected, you are now ready to initiate the download process for the Facebook Live video. Follow these steps to begin downloading:
1. Locate the download button on the video downloader website or app. It is usually labeled as “Download,” “Start,” or something similar.
2. Click or tap on the download button to start the process.
3. Depending on the video downloader platform, you may be prompted to confirm your download request or choose a download location on your device.
4. Confirm your download request if necessary and specify the destination folder where you want the downloaded video to be saved.
5. Check the download progress to ensure that it is functioning properly.
6. The time it takes to download the Facebook Live video will depend on various factors, such as the size of the video file, your internet connection speed, and the server load on the video downloader website or app.
7. Be patient and allow the download process to complete without interruptions.
While the video is downloading, it is advisable to refrain from performing heavy internet activities to prevent any disruptions or slowdowns in the download speed.
It’s important to note that the download process may vary slightly depending on the video downloader platform you are using. However, the general procedure remains the same.
By following these steps, you will have successfully initiated the download process for the Facebook Live video. Now, you just need to wait for the video to finish downloading.
Step 6: Wait for the video to finish downloading
After starting the download process for the Facebook Live video, the next step is to wait for the video to finish downloading. The time it takes to complete the download will depend on several factors, including the size of the video file, your internet connection speed, and the server load on the video downloader website or app.
While waiting for the video to finish downloading, it’s important to be patient and avoid interrupting the process. Here are some tips to ensure a smooth and successful download:
1. Avoid pausing or canceling the download: Interrupting the download process may result in an incomplete video file or corrupted download. Let the download run until it reaches 100% completion.
2. Maintain a stable internet connection: Ensure that your internet connection is stable and reliable. If the connection becomes unstable or weak, it may slow down the download speed or cause the download to fail.
3. Do not close the video downloader: Keep the video downloader website or app open until the download is complete. Closing the downloader prematurely may stop the download and require you to start the process again from the beginning.
4. Monitor the download progress: Check the progress bar or percentage displayed on the video downloader platform to track the download progress. This will give you an estimate of how much time is remaining for the download to complete.
Depending on the file size and internet speed, the download process can take a few minutes or longer. It’s important to exercise patience and allow the process to run its course.
Once the download is complete, you will be ready to proceed to the next step: finding the downloaded video on your device.
By following these steps and waiting for the video to finish downloading, you will have successfully obtained the Facebook Live video on your device. Now it’s time to locate the downloaded video and enjoy watching it offline!
Step 7: Find the downloaded video on your device
Once the Facebook Live video has finished downloading, the next step is to find the downloaded video file on your device. The location of the downloaded file may vary depending on the settings of your video downloader or the default download folder on your device. Here’s how you can find the downloaded video:
1. Open the file explorer or file manager on your device. This could be the “Finder” on Mac devices, “File Explorer” on Windows devices, or the default file manager app on your smartphone or tablet.
2. Navigate to the default download folder or any custom folder you previously selected for downloading files. This is the location where the downloaded video is most likely to be found.
3. Look for the file name or format of the downloaded video. It is typically named based on the video title or a combination of random characters and the video format extension (e.g., video-title.mp4).
4. If you used a specific video downloader app, you might find a dedicated folder or section within the app where the downloaded videos are stored. Check the app’s settings or documentation for guidance.
5. If you cannot find the downloaded video, try using the search function within the file explorer or file manager app. Enter the video file name or search for files with the corresponding video format extension (e.g., .mp4).
If you encounter any difficulties in locating the downloaded video, refer to the documentation or support resources of the video downloader you used. They may provide specific instructions or troubleshooting tips for finding downloaded files.
By following these steps, you will be able to locate the downloaded Facebook Live video on your device. Once you have found the video file, you can proceed to the final step: enjoying watching the Facebook Live video offline!
Step 8: Enjoy watching the Facebook Live video offline
Now that you have successfully downloaded the Facebook Live video and located it on your device, you can finally enjoy watching it offline at your convenience. Here’s how you can do so:
1. Ensure that you have a compatible media player app or software on your device. Most modern devices come with built-in video players that can play common video formats such as MP4, AVI, or MOV. If your default media player doesn’t support the video format, you may need to install a third-party media player from your device’s app store or download a suitable media player software for your computer.
2. Double-click or tap on the downloaded video file to open it with the media player app or software. The video should begin playing automatically.
3. If necessary, use the video player’s controls to adjust the volume, pause, rewind, fast forward, or switch to full-screen mode to enhance your viewing experience.
4. Enjoy watching the Facebook Live video offline from start to finish, just as you would with any other video.
Remember to respect and adhere to the content creator’s terms of use and any copyright restrictions. Downloaded videos should be for personal use only and not shared or distributed without proper permission or license.
If you have downloaded multiple Facebook Live videos, you can organize them into separate folders or create playlists in your media player app or software for easier access in the future.
By following these steps, you can now enjoy watching the Facebook Live video offline, whether it’s an inspiring speech, an engaging concert, or a captivating event that you want to relive at any time.
Conclusion
Downloading a Facebook Live video and watching it offline can be a convenient and practical way to enjoy your favorite content at your own pace. In this article, we have guided you through the step-by-step process of downloading a Facebook Live video.
We began by explaining the importance of finding the Facebook Live video you want to download and obtaining its URL. Then, we discussed the significance of using a reliable video downloader website or app to initiate the download process. We also emphasized the need to be patient and wait for the video to finish downloading.
Additionally, we covered how to locate the downloaded video on your device and enjoy watching it offline using a compatible media player. We stressed the importance of respecting copyright laws and only downloading videos for personal use or obtaining the necessary permissions for sharing.
Remember, downloading videos from Facebook Live should be done responsibly and in compliance with legal and ethical guidelines. Always respect the rights of content creators and avoid infringing upon any intellectual property.
By following the step-by-step instructions provided in this article, you can now confidently download and enjoy your favorite Facebook Live videos offline. Whether it’s a live concert, an informative webinar, or a heartfelt speech, you no longer have to worry about missing out on your preferred content.
So, go ahead and try downloading your favorite Facebook Live videos and enjoy the freedom to watch them whenever and wherever you want!