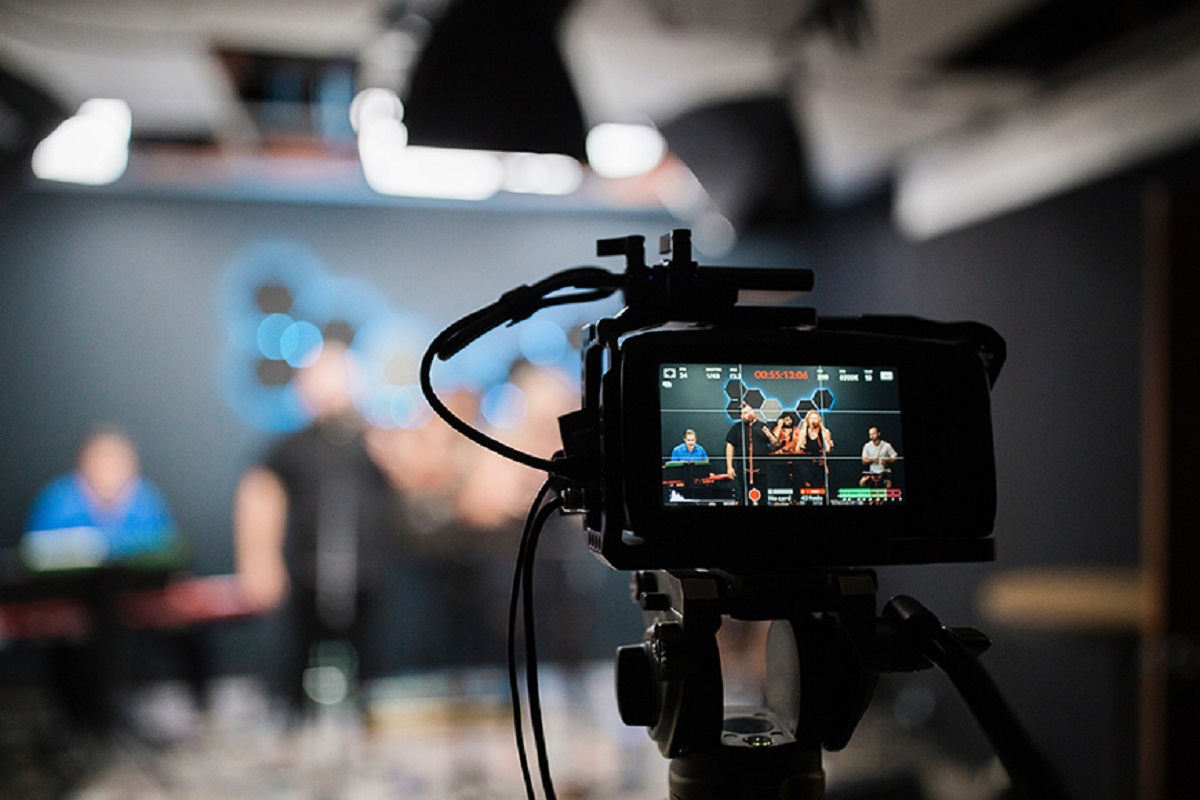
Live-streaming on Facebook is one of the best ways to grab attention and communicate more effectively with your audience. Whether you are an influencer, a business, or just a regular social media user, a live stream will help you create a strong social presence. But sometimes, it’s just not possible to do a live video. You may not be prepared for the live interactions or may not have a suitable space for filming live.
Many have been wondering how they can go live on Facebook using pre-recorded videos instead. The great news is it’s absolutely possible! This guide will show you how to do it.
Inside this article:
- What Is Facebook Live?
- How to Go Live on Facebook Using Pre-Recorded Videos
- Facebook Live Streaming Using Open Broadcaster Software (OBS)
- Going Live on Facebook Using LiveReacting
- Using ReStream to Go Live on Facebook
- Potential Issues You May Encounter
- Why Use Pre-Recorded Videos to Go Live on Facebook?
- Final Word
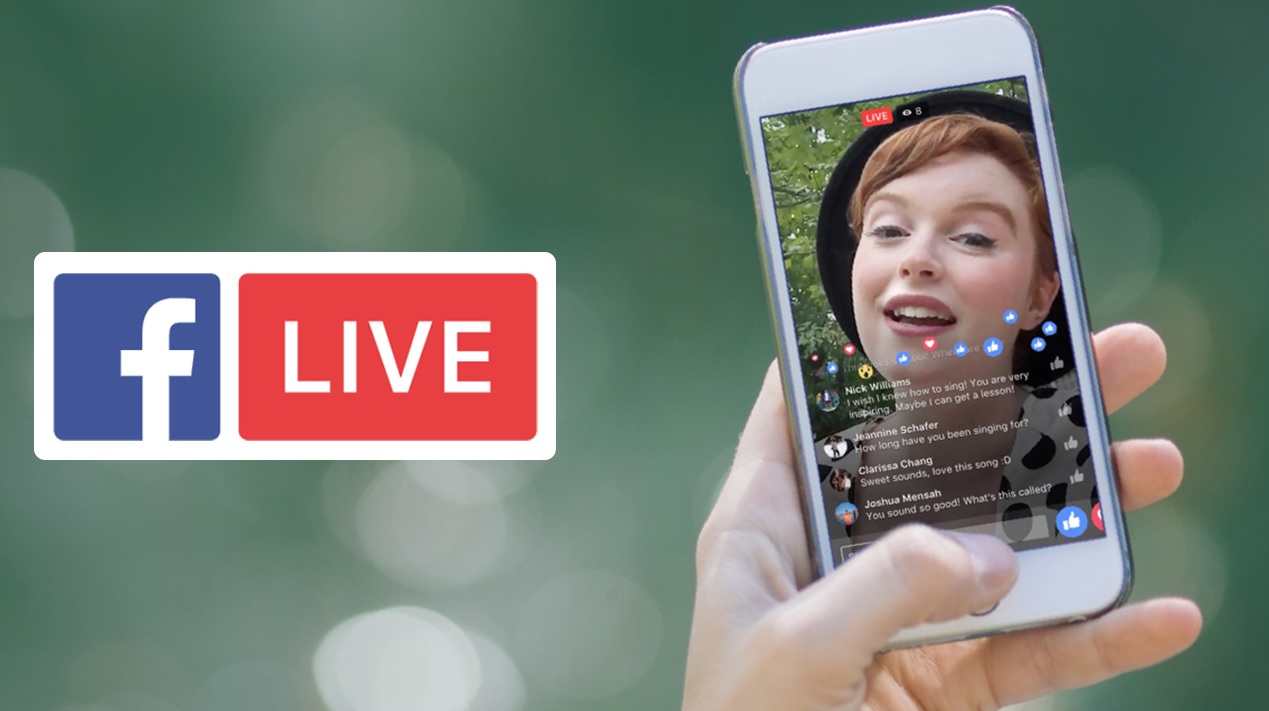
What Is Facebook Live?
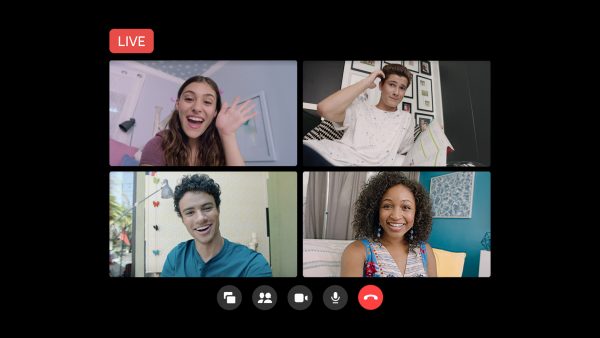
As the name suggests, Facebook Live lets you broadcast any virtual event in real time. Artists use it for live performances, celebrities use it to have Q&As with their fans, and some just use it to have a live conversation with their Facebook friends.
To avoid confusion, it does not work like a video call. Your viewers won’t be able to interact with you via their own cameras. Instead, they can react with emojis, and talk to you and other viewers through chat. You are broadcasting, just like on a live podcast or a TV show, and you are in the spotlight.
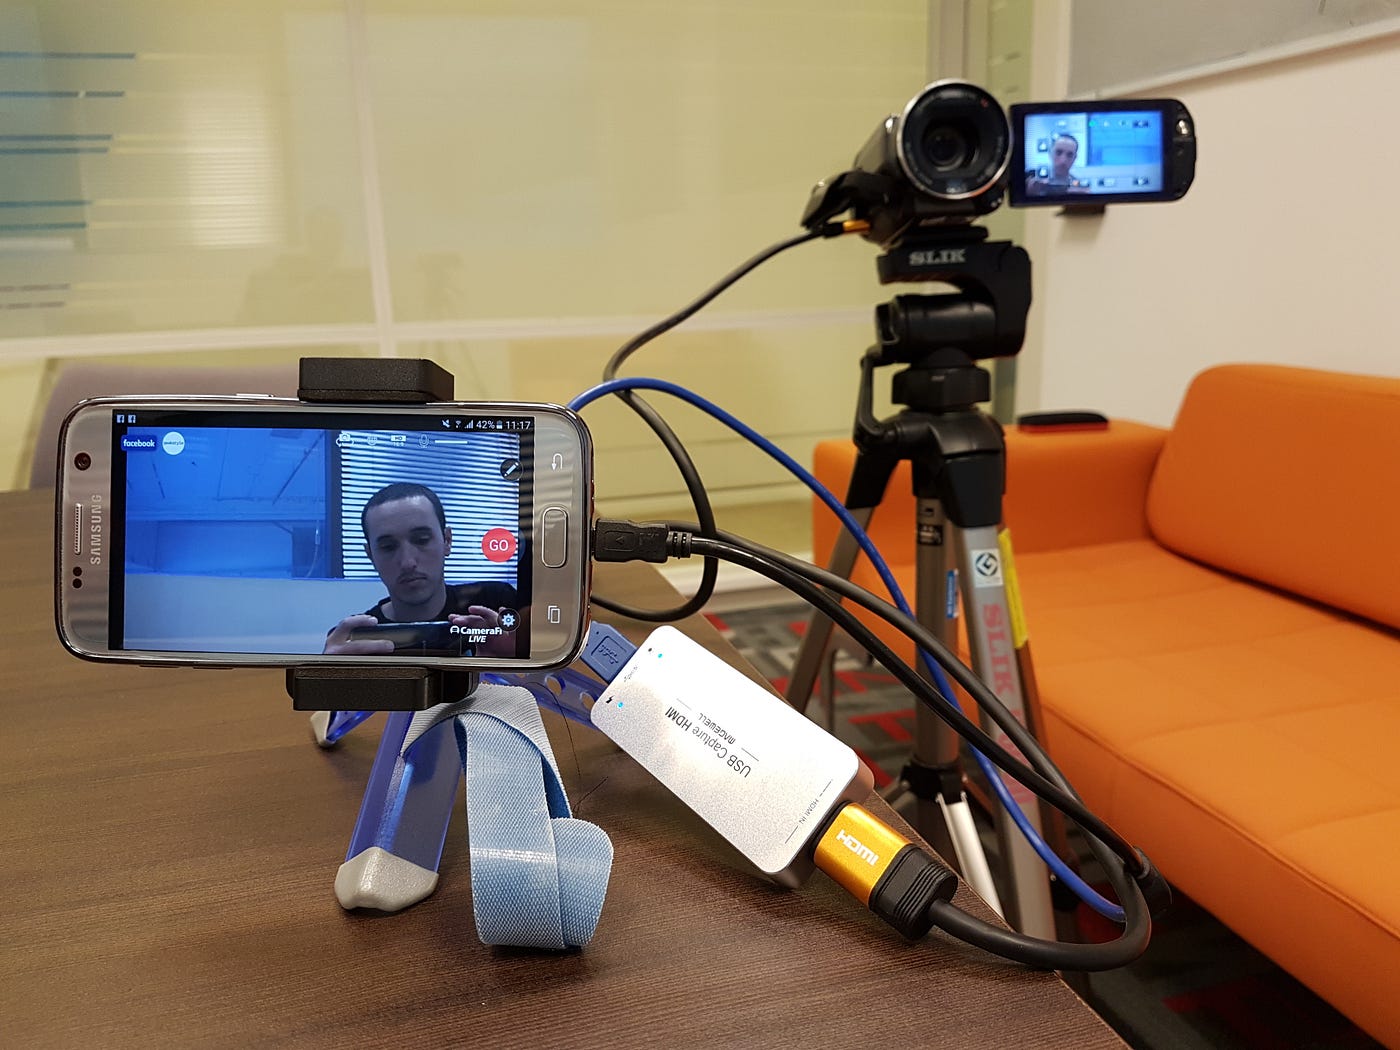
The traditional way to go live on Facebook is by simply tapping on the Live button from the app’s home screen. This will trigger your device’s camera and microphone, and you can start filming! Broadcasting a pre-recorded video, however, requires a few more steps, and we’ve made it simple in the guide below.
How to Go Live on Facebook Using Pre-Recorded Videos
To live-stream pre-recorded videos on Facebook, you would need to use a broadcasting app or software. This guide focuses on desktop apps. The first step—getting your Facebook streaming key—is very important because you will be using this throughout the entire process, no matter which software you choose. This is why we’ve highlighted it as the top item so make sure to read this part carefully.
1. Getting Your Facebook Streaming Key
As mentioned, this step is likely the most important thing to remember when learning how to use pre-recorded videos to go live on Facebook. We will refer to this over and over as we discuss the different steps throughout this guide.
- From your desktop browser, go to the Facebook home page and under the status box, click on the Live button.
- If you want to go live using your Facebook Page instead of your personal account, go to your page and click on Live from the Create menu under Create Post.
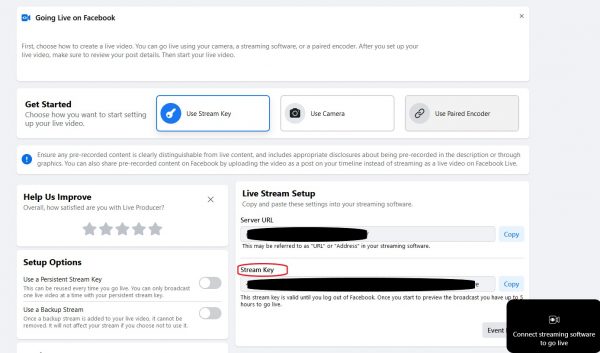
This will take you to another page and activate your computer’s camera like in the app, but don’t worry because you will not be live yet until you hit the Go Live button. - On the next page, click on Use Stream Key beside Get Started.
- Scroll down and on the right box under Live Stream Setup, you will see your Stream Key below Server URL.
- You will click on the Copy button once you’re ready to go live. This is after you’ve set up your broadcast from any of the apps in the next section.
- This stream key will expire in 24 hours so you have to go on Facebook again and get another stream key for each live broadcast you make after it expires.
2. Using Free Software
There’s only one free tool that we recommend for live-streaming pre-recorded videos on Facebook. The configuration settings can be tricky and this option might be more suitable for the tech-savvy but we’ve made this guide really simple. You can click on it now if you want to jump to the steps. It’s called Open Broadcaster Software (OBS).
3. Using Paid Apps That Require Less Work
These apps may require a subscription or a one-time purchase. You can click on any of them at any time if you want to jump to the step-by-step guide.
- LiveReacting – Aside from pre-recorded videos, it lets you add polls to your streams. You can also do countdowns and custom games. You have the option to do a monthly subscription starting at $19.99/month or buy credits for $3.99 each.
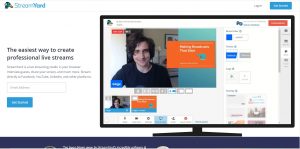
- ReStream – Subscriptions start at $16/month but you can add captions to your streams. You can stream in full HD, set up a relay chatbot, and add graphics.
Facebook Live Streaming Using Open Broadcaster Software (OBS)
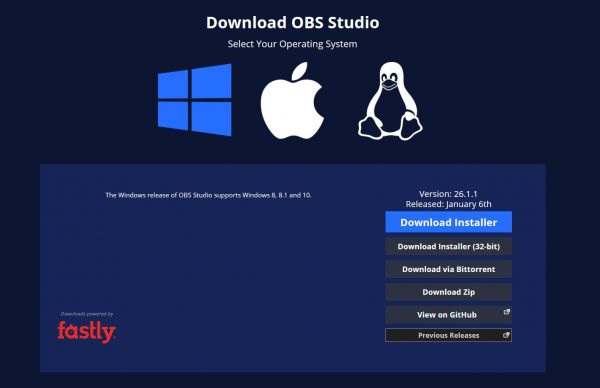
Open Broadcaster Software (OBS) is open-source software. True to its name, it is completely free to use. It’s compatible with Windows, Mac, and Linux. You have to download the app to your computer to live-stream your videos.
Getting Started
- Make sure that your recorded video is clean, edited, and timed to how long you want your broadcast to go on.
 Note
NoteRemember, once you’re live, you cannot pause the broadcast anymore. You can edit and enhance your recordings using free online tools like VEED or iMovie—if you have a Mac or iPhone.
- Download the software and give it permission to access your camera and microphone. This is required even if you are streaming a pre-recorded video. Just click on Allow when you see the prompt in the installation wizard.
- In the configuration wizard, it’s best to select “Optimize for streaming” instead of optimizing it for recording since you will not be filming live.
Setting Up Your Live Stream
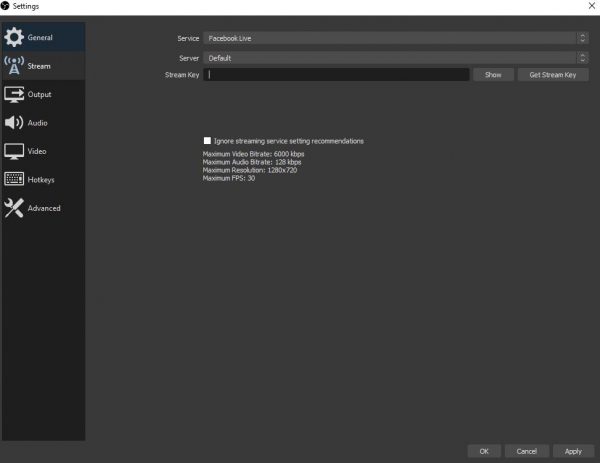
- Launch OBS and select Facebook Live from the options beside Service.
- Get your Streaming Key from Facebook as stated above and paste it on the provided field.
- Click on Apply.
- Exit the settings. This will take you back to the OBS dashboard so you can add your video.
Adding Your Recorded Video
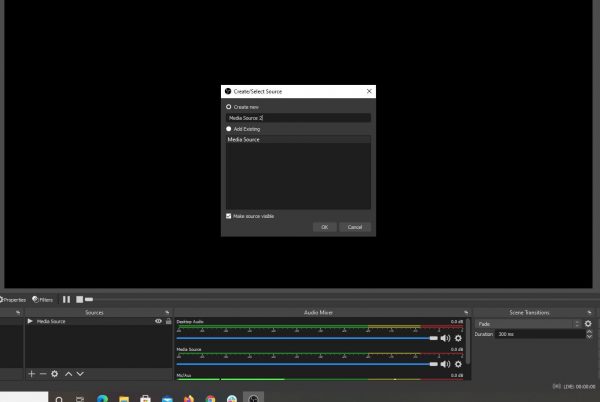
- At the bottom of the screen, click on the plus (+) button under the Sources box.
- Select Media Source from the options.
- Name your media source and click on OK.
- This will open up your folders. Navigate to where you’ve saved your video and double-click on the file.
- You can choose whether you want to loop your video or choose “show nothing when playback ends”.
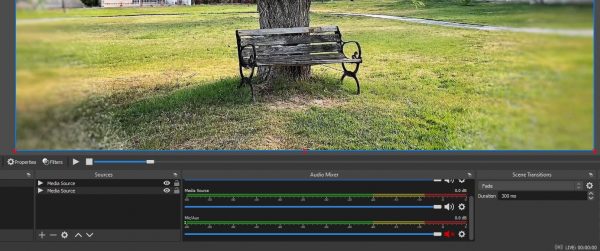
- Click on OK. You will see a preview of your video. It will automatically play so make sure you put it back to the start before you start streaming.
Setting Up Your Audio
You may or may not want to use live audio while you are streaming. If you want to speak while your pre-recorded video is playing, make sure you have a good microphone, like a podcasting microphone, and that it is turned on. Otherwise, proceed to the steps below.
- You will see a box called Audio Mixer on the bottom of the screen. There are three items here:
- Desktop audio
- Media source – the audio from your pre-recorded video
- Mic/Aux
- Scroll down and mute the mic/aux by clicking on the sound icon. You will see that the green soundbar will stop moving.
- You may also want to mute your desktop audio in case you have apps open that might make a sound while you are live streaming. These could be messaging apps or media players.
- Make sure that the media source audio is not muted.
Starting Your Stream
- Go back to your Facebook Live window. Leave this open.
- When you’re sure everything is ready, click on Start Streaming on the lower-right panel.
- On the Facebook Live page, click on Go Live on the bottom-left corner of the screen.
Your video is now broadcasting live. You can interact with your audience from the live streaming window—see reactions, emojis, and comments in real-time.
Ending Your Stream
When your video ends, make sure to stop your live broadcast. Otherwise, your page will continue broadcasting. Just click on End Live Video on the Facebook Live window.
Going Live on Facebook Using LiveReacting
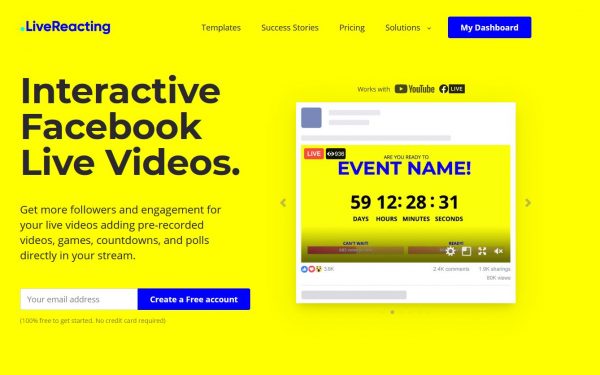
To use the LiveReacting platform to go live on Facebook, you need to create an account and sign up for the service. You can sign up using your email address or your Facebook account. Monthly subscriptions start at $19.99/month or you can buy credits for $3.99 each.
LiveReacting lets you schedule your pre-recorded videos for live streaming. You can also do countdowns, trivia games, and polls. Once you have your account set up, you can upload your video and stream it on Facebook Live. The great thing about this platform is that you don’t have to download any software. You can do everything from your browser!
Starting a New Project or Choosing a Template
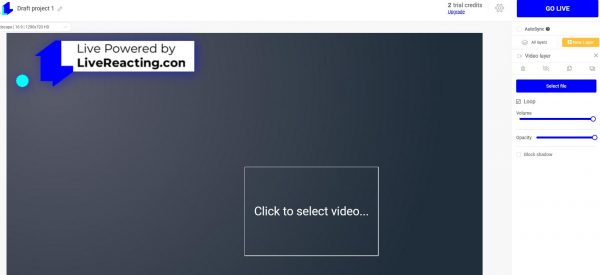
- From your dashboard, you can either choose a template or go to the Studio to start a new project from scratch.
- Click on Select Video from the window of Select File from the right side menu.
- Choose your video and it will be pasted onto the broadcast window.
Note
You may notice that it does not take up the entire window. This is because you can have another video playing at the same time or in the background. If you want to show only your pre-recorded video, you can resize it to fit the whole screen.
Setting Live Stream Details
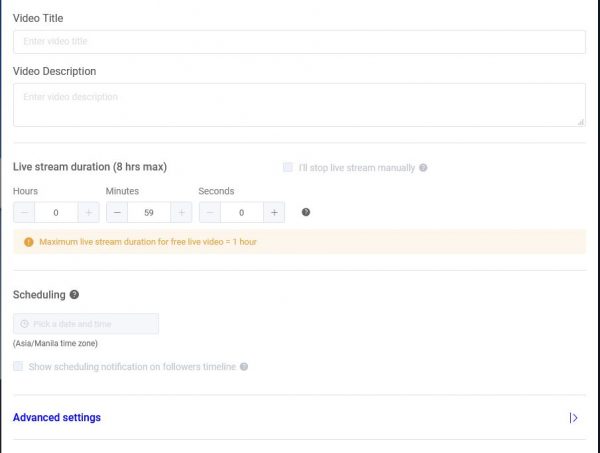
- Click on Go Live from the top-right of the screen.
- Select the Facebook account or page where you want this live stream to be posted.
- Enter the video title and description.
- Specify the duration of your live stream. You can also schedule it at a later time.
- Scroll down and under Advanced Settings, tick on the box beside Use Existing Stream Key.
- Get your Stream Key from Facebook and paste it onto the box.
- Click on Save. This will close the settings window.
Going Live
- Click on Go Live again and confirm.
- Your pre-recorded video will now start streaming on your Facebook page or personal profile.
- Navigate to your Facebook page to interact with your viewers.
Using ReStream to Go Live on Facebook
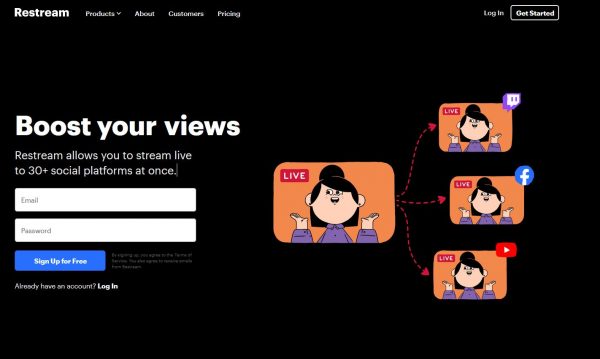
This platform is one of the easiest to use if you want to go live on Facebook using pre-recorded videos. Sign up using your email address, choose your channel, upload your video, and you’re good to go! Another thing that’s different about this platform is that you don’t need to get your Stream Key from Facebook. Once you connect your account, you can stream directly from the platform. There’s also no software to download. It’s all browser-based.
Getting Started on ReStream
- Click on Add Channel from the dashboard and choose Facebook Live.
- On the next page, click on Connect Facebook. You will have to log in with your Facebook credentials.
- Allow the app to access your account and post on your behalf.
- If you have multiple Facebook pages under your account, select which page or profile you want to stream from.
- Click on Save.
Entering the Live Studio
- Make sure that the Facebook profile you want to stream from is selected.
- Click on Enter Live Studio from the top-right. This will take you to a page where you will see your streaming window.
- It will ask permission to access your camera. Click on Allow even if you are streaming a pre-recorded video. Otherwise, you may have problems later.
- Disable the camera by clicking on the camera icon under the streaming window.
Starting Live Stream
- Click on the video icon under the streaming window. You will see a message that says “Play local video”.
- Navigate to the folder where your video is saved.
- Choose your video and click Open.
- Toggle on the view for your pre-recorded video from the right side of the streaming window. You will see an orange button that says “On air” on the videos that are playing.
- Click on Go Live.
- Your video is now playing live on your page.
Potential Issues You May Encounter and How to Fix Them
Using pre-recorded videos to go live on Facebook presents different types of challenges compared to doing an actual live broadcast. Here are some issues you may encounter and how you can avoid or fix them.
Streaming Delays, Crashes, and Interruptions
This is an issue you are likely to encounter if you have a poor internet connection while you are live-streaming your video. Remember, you are using two different platforms to do this. The streaming platform needs to communicate with Facebook, and the two sites need to be in sync to push the live stream from your account.
In some cases, one of them may crash. Many have reported this issue and it sometimes results in your page still being live but not showing the stream. That’s embarrassing. Or the stream display may be delayed.
The best way to prevent this issue is to ensure that you have a stable connection before going live. If you are using a browser-based streaming platform like LiveReacting, it’s best to open the site in a separate window and close all other tabs that you don’t need for your live stream. Another trick is to access Facebook via the mobile app instead of another browser window. This way, only one site is eating up your computer’s CPU usage and memory—preventing crashes.
Sound Issues
Audio issues are the most common problems users encounter when they go live on Facebook using pre-recorded videos. This is because there are technically two audio sources for your live stream. You have to ensure that only the pre-recorded video’s sound is audible to your viewers—unless you also want to speak while your video is streaming. If you’re using OBS, don’t forget to mute all other audio sources except for your video.
In some cases, the audio won’t play for your viewers at all. This is a common issue with Mac users using OBS and it has to do with the configuration settings of your Mac’s audio. To prevent the sound not playing during your live stream, go to System Preferences and make sure that the right audio source is selected for both input and output.
Live Stream Cycling or Not Ending
Sometimes, even if your pre-recorded video has stopped playing, your page will continue to live stream, often just showing a black screen. Other times, your video will keep looping back to the start. Make sure to end your live stream by going to the streaming platform and selecting End Stream. If it’s a scheduled post, make sure to set the correct duration for the stream.
Why Use Pre-Recorded Videos to Go Live on Facebook?
Aside from the ones mentioned at the beginning of this article, there are several other great reasons why you might want to use a pre-recorded video to do a Facebook live stream.
Camera Shy? Pre-Record It!
It’s easier to broadcast a video you’ve previously recorded than broadcast yourself in front of the camera in real-time. If you’re feeling camera shy, using a pre-recorded video is a great solution. You also don’t have to memorize anything or know how to improvise. You can plan your whole content or even read from a script.
Great for Trailers and Previews
If you are promoting a product, service, or show, etc., you can include trailers and presentations in your video which are not easy to do when you’re live streaming. Include texts, subtitles, and other information like pricing, contact numbers, and more!
Unstable Internet Connection
While connection issues will affect both live and pre-recorded streams, you can at least easily start over with pre-recorded content. If your connection goes down while live streaming, you may forget what you have already said when you go live again. With a pre-recorded video, all you have to do is upload it again!
Final Word
Using pre-recorded videos to go live on Facebook only seems complicated in the beginning. But as you can see from this guide, it’s pretty simple and also fun to do! It’s a great way to engage with your friends or fans—if you own a Facebook page. Facebook live videos get more views than ordinary videos. So, pick from the platforms above and try it today!