Introduction
Welcome to the world of torrenting on your Mac! Torrenting is a popular way of sharing files online, allowing users to download and upload large files quickly. Whether you’re looking to download movies, music, software, or other digital content, using a torrent client on your Mac can make the process faster and more efficient.
In this guide, we will walk you through the steps to download torrents on your Mac. We will cover everything from choosing the right torrent client to finding and downloading torrent files. By the end of this article, you’ll be ready to dive into the exciting world of torrenting and start enjoying all the content available at your fingertips.
Before we get started, it’s important to note that while torrenting itself is legal, downloading copyrighted material without permission is not. Always make sure to respect copyright laws and only download content that is freely available or that you have the rights to access.
Now, let’s explore the step-by-step process of downloading torrents on your Mac.
Step 1: Choose a Torrent Client
The first step to downloading torrents on your Mac is to choose a reliable and feature-rich torrent client. A torrent client is a software application that enables you to manage and download torrents. There are several options available, but three popular choices for Mac users include uTorrent, Transmission, and qBittorrent.
uTorrent is one of the most widely used torrent clients due to its user-friendly interface and wide range of features. It offers a simple drag-and-drop function for adding torrent files and provides advanced options such as scheduling downloads and setting bandwidth limits.
Transmission is another popular choice for Mac users. It is known for its simplicity and minimalistic design. While it may not have as many advanced features as uTorrent, Transmission is known for its stability and efficiency.
qBittorrent is a free and open-source torrent client that offers a similar interface to uTorrent. It is lightweight, easy to use, and provides a variety of features including download prioritization, remote control via a web interface, and IP filtering.
When choosing a torrent client, consider your specific needs and preferences. Think about whether you prefer a simple and lightweight client or a more robust one with advanced features. It’s also a good idea to read user reviews and check the compatibility of the torrent client with your Mac’s operating system.
Once you’ve decided on a torrent client that suits your requirements, you’re ready to move on to the next step of downloading and installing the client on your Mac.
Step 2: Download and Install the Torrent Client
After choosing a torrent client for your Mac, the next step is to download and install the client on your computer. Here’s how you can do it:
- Visit the official website of the torrent client you have selected. Usually, the website will have a prominent “Download” button or link that you need to click on.
- Ensure that you are downloading the correct version of the client for your Mac’s operating system. Most torrent clients have separate downloads for Windows, Mac, and Linux.
- Click on the download link, and your browser will start downloading the installer file for the torrent client. The file may be in the form of a .dmg or .exe file, depending on your operating system.
- Once the download is complete, locate the installer file in your Downloads folder or the designated location where your browser saves downloaded files.
- Double-click on the installer file to start the installation process. Follow the on-screen instructions to complete the installation of the torrent client on your Mac.
- Once the installation is finished, launch the torrent client by locating it in your Applications folder or by clicking on the desktop shortcut if you have chosen to create one during the installation process.
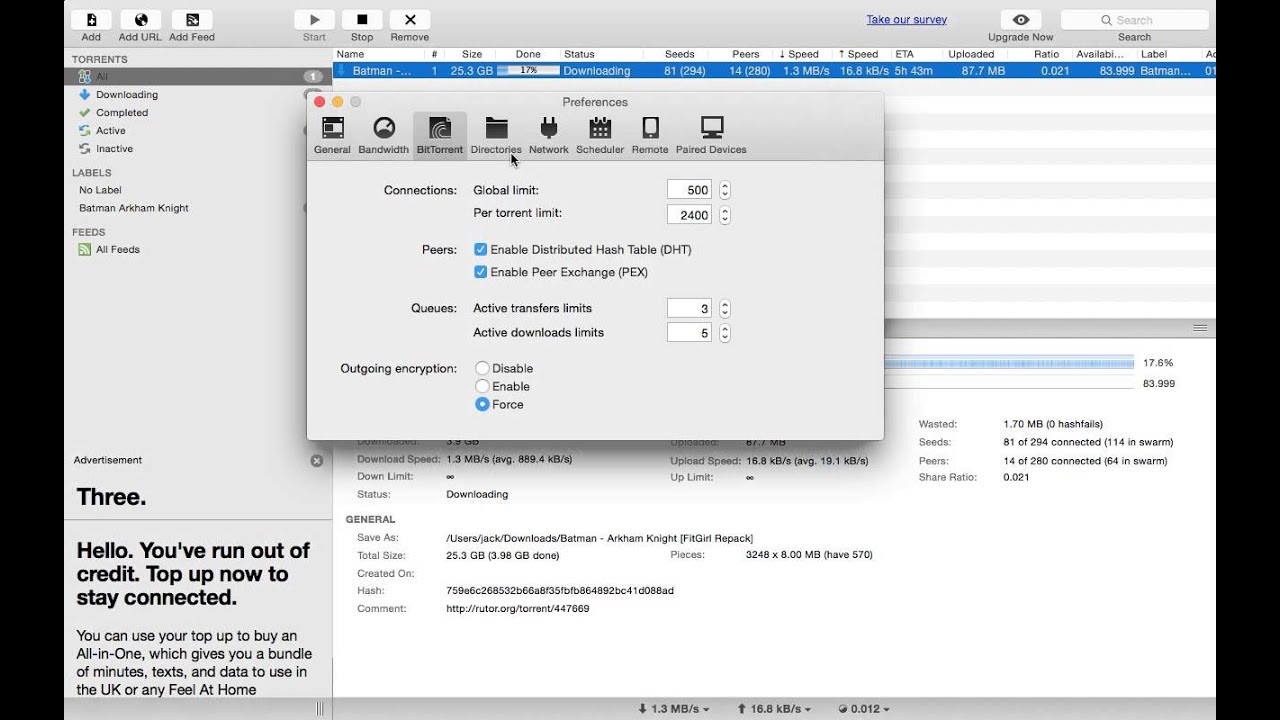
- Depending on the torrent client you have installed, you may be prompted to configure some initial settings such as choosing a download folder or setting upload/download limits. Customize these settings according to your preferences.
That’s it! You have successfully downloaded and installed a torrent client on your Mac. You are now ready to start finding and downloading torrents in the next steps. Just remember to use your torrent client responsibly and respect copyright laws by downloading legal and authorized content.
Step 3: Find a Torrent Website
Now that you have a torrent client installed on your Mac, the next step is to find a reliable torrent website to search and download torrent files. These websites act as repositories for torrents, offering a wide range of content for users to access. Here’s how you can find a torrent website:
- Use a search engine: Start by using a search engine like Google or Bing to search for popular torrent websites. Enter keywords such as “best torrent websites” or “torrent websites for Mac” to get relevant results. You will find numerous articles and forums with lists of recommended torrent websites.
- Read user reviews: Once you have a list of torrent websites, take some time to read user reviews and experiences to determine the website’s reputation and trustworthiness. Look for websites that have positive reviews and a large user base.
- Consider safety and security: It is crucial to prioritize safety and security when selecting a torrent website. Look for websites that have features like user ratings, verified torrents, and comments sections. These features can help you identify safe and reliable torrents.
- Check for a diverse collection: Torrent websites vary in terms of the content they offer. Depending on your interests, look for websites that have a diverse collection of torrents related to movies, music, software, games, or any other content you are interested in.
- Popular torrent website recommendations: Some popular torrent websites that Mac users often visit include The Pirate Bay, 1337x, RARBG, LimeTorrents, and Torrentz2. These websites have a vast database of torrents and are known for their reliability.
Remember, torrenting may have legal implications depending on your location and the content you download. Always be cautious and ensure that you comply with copyright laws by downloading legal and authorized content. Additionally, use antivirus software to scan downloaded files for any potential malware.
Now that you have identified a reliable torrent website, it’s time to move on to the next step and search for the desired torrent files.
Step 4: Search for the Desired Torrent
Once you have chosen a reputable and trustworthy torrent website, it’s time to search for the desired torrent files. Here’s how you can effectively search for torrents on these websites:
- Open your preferred torrent website in your web browser. Look for a search bar or search function on the website’s homepage.
- Enter keywords related to the content you want to download. For example, if you’re looking for a specific movie, enter the movie title followed by the word “torrent.”
- Use filters and categories: Many torrent websites offer filters and categories to help you refine your search. You can filter by file type, size, quality, and even see torrents that have the most seeders (people who have completed the download and are currently sharing).
- Read torrent details: When you find a torrent that matches what you’re looking for, click on it to view more details. Check the comments section to see if other users have reported any issues or if the torrent is fake. Be cautious when downloading torrents with low ratings or comments indicating possible issues.
- Verify torrent health: Look for “seeders” and “leechers” numbers. Seeders are users who have completed the download and are actively sharing the files, while leechers are users who are currently downloading. Higher seeder numbers generally indicate a healthier and faster download.
- Download the .torrent file: Once you have chosen a torrent, click on the download button or magnet link associated with it. This will download a small .torrent file to your computer.
Remember, downloading copyrighted material without permission is illegal in many countries. Always ensure that the content you are downloading is authorized, or distributed under a Creative Commons license or similar open-source agreement.
Now that you have found and downloaded the .torrent file, it’s time to proceed to the next step and open it using your torrent client.
Step 5: Download the Torrent File
Now that you have the .torrent file, it’s time to initiate the download using your torrent client. Follow these steps to download the desired content:
- Locate the .torrent file you downloaded from the torrent website. It is usually located in the “Downloads” folder or the location you selected during the download.
- Double-click on the .torrent file, or right-click and choose the option to open it with your torrent client.
- Your torrent client will launch and open the .torrent file. It will start contacting the trackers and connecting to the seeders and peers available for that particular torrent.
- In your torrent client, you will be prompted to choose a location to save the downloaded content. Select a suitable location on your Mac’s storage drive.
- Click on the “Start” or “OK” button to begin the download. Your torrent client will start downloading the files associated with the torrent.
- Monitor the download progress in your torrent client’s interface. You will usually see the downloading speed, the number of seeders and leechers, and the estimated time remaining for the download.
- Be patient and let the download complete. The time it takes to download the content will depend on various factors such as the size of the files, the number of seeders, and your internet connection speed.
- Once the download is complete, your torrent client will notify you. You can then access the downloaded files from the location you selected earlier.
It’s important to note that while downloading, you are also sharing the downloaded files with other users (known as seeding). This helps maintain a healthy torrent ecosystem and allows others to download the files from you. It’s good etiquette to continue seeding for a while after the download is complete, especially if the content is popular and in high demand.
Congratulations! You have successfully downloaded the desired content using a torrent file. Now you can enjoy the content on your Mac.
Step 6: Open and Initiate the Torrent File
After downloading the .torrent file, the next step is to open and initiate it in your torrent client. Follow these steps to get started:
- Locate the .torrent file you downloaded from the torrent website on your Mac. It is typically saved in the “Downloads” folder or the location you specified during the download process.
- Double-click on the .torrent file, or right-click on it and choose the option to open it with your torrent client. This action will launch the torrent client and load the .torrent file.
- Once the .torrent file is opened in your torrent client, it will automatically connect to the designated trackers and start searching for available seeders and peers.
- In the torrent client’s interface, you will see information about the torrent, such as the file name, size, and the number of seeders and leechers. You may also have options to customize settings such as the download location, download priority, or bandwidth limits for this specific torrent.
- Review the settings and make any necessary adjustments according to your preferences. For example, you can choose the location on your Mac’s storage where the downloaded files will be saved.
- Click on the “Start” or “Download” button within your torrent client to initiate the download process for the torrent. The client will begin downloading the files associated with the torrent.
- Monitor the progress of the download in your torrent client’s interface. You will be able to see the download speed, the remaining time, and the overall progress of the download.
- Depending on the size of the torrent and the number of seeders, the download may take some time. Be patient and let the download complete. You can pause or stop the download at any time if needed.
- Once the download is complete, you can access the downloaded files from the location you specified earlier. You can now enjoy the content on your Mac.
It’s important to have a stable internet connection during the download process to ensure a smooth and uninterrupted transfer of files. Additionally, remember to prioritize legal and authorized content and respect copyright laws.
Now that you have successfully opened and initiated the torrent file, you can proceed to the next step and monitor the download progress in your torrent client.
Step 7: Monitor the Download Progress
Once you have initiated the download of a torrent file, it’s important to monitor the progress to ensure a successful and efficient download. Here are the steps to monitor your download progress:
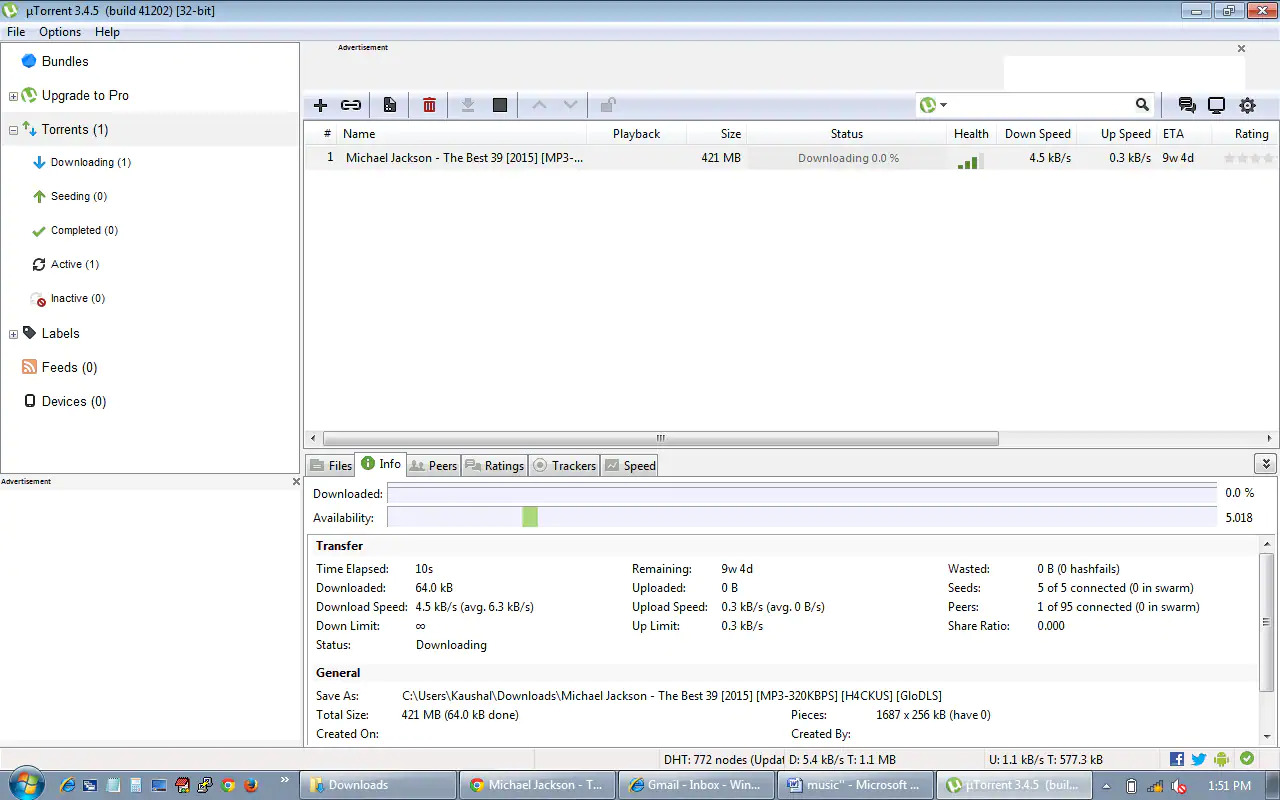
- Open your torrent client and navigate to the “Downloads” or “Active” tab. This tab will display all the active downloads in progress.
- In the downloads tab, you will see a list of your ongoing downloads. Each download will have information such as the file name, size, progress bar, and the number of seeders and leechers.
- The progress bar indicates the percentage of the download that has been completed. It helps you track how much of the file has been downloaded.
- The download speed is also displayed, indicating how quickly the files are being transferred to your Mac. This speed can fluctuate depending on various factors, including the number of seeders, your internet connection, and your torrent client’s settings.
- Most torrent clients also provide an estimated time remaining for the download. This estimate is based on the current download speed and indicates how much time is potentially left before the download is complete.
- You can rearrange the order of your active downloads by priority, pause downloads, or allocate more bandwidth to specific torrents if needed.
- If you encounter any issues or errors during the download, refer to the torrent client’s documentation or support resources for troubleshooting steps. Sometimes, issues can occur due to technical problems or a lack of seeders.
- Once the download reaches 100% completion, your torrent client will indicate that the download is finished. The files will be available in the designated download location on your Mac’s storage drive.
- Remember to keep seeding the downloaded files for a while after completion. This helps maintain a healthy torrent community and benefits other users who are still downloading the same content.
By monitoring the download progress, you can ensure that the files are successfully and fully downloaded to your Mac. This step gives you valuable information about the status of your download and allows you to track the remaining time and speed.
Now that you’re familiar with monitoring the download progress, it’s time to move on to optional step 8, which is seeding the downloaded torrent.
Step 8: Seed the Torrent (Optional)
Seeding a torrent means that you continue to share the downloaded files with other users after your download is complete. This helps maintain a healthy torrent ecosystem by ensuring that the files are available to others who are still downloading. While seeding is optional, it is encouraged to contribute back to the community if you can. Here’s how you can seed the downloaded torrent:
- After your torrent download is complete, leave the torrent client open on your Mac.
- The torrent client will automatically switch from download mode to seed mode once the download is finished.
- Monitor the seed status in your torrent client’s interface. It will indicate the number of seeders and the upload speed.
- Seeding helps other users complete their downloads faster, especially if there are fewer seeders available. The more seeders there are, the faster the overall download speeds.
- You can choose to seed the torrent for as long as you want. Some users prefer to seed for a specific duration, while others may continue indefinitely as long as they have the files available.
- If you want to stop seeding, you can simply close the torrent client or remove the torrent from the client’s interface.
- Remember, while seeding, it’s essential to ensure that you have sufficient bandwidth available. Seeding can consume both upload and download bandwidth, so make sure it doesn’t impact other internet activities you may be performing.
By seeding the downloaded torrent, you contribute to the overall health and availability of the content for other users. It’s a way of giving back to the torrenting community and supporting those who are still in the process of downloading the same files.
While this step is optional, it’s highly recommended to seed if you have the capability to do so. However, you are not obligated to seed indefinitely, and you can stop seeding whenever you want.
Now that you understand how to seed a torrent, it’s time to move on to step 9 and enjoy your downloaded content.
Step 9: Enjoy Your Downloaded Content
Congratulations! You have successfully completed the download and seeding process. Now it’s time to sit back, relax, and enjoy the content you have downloaded using the torrent file. Follow these steps to access and enjoy your downloaded files:
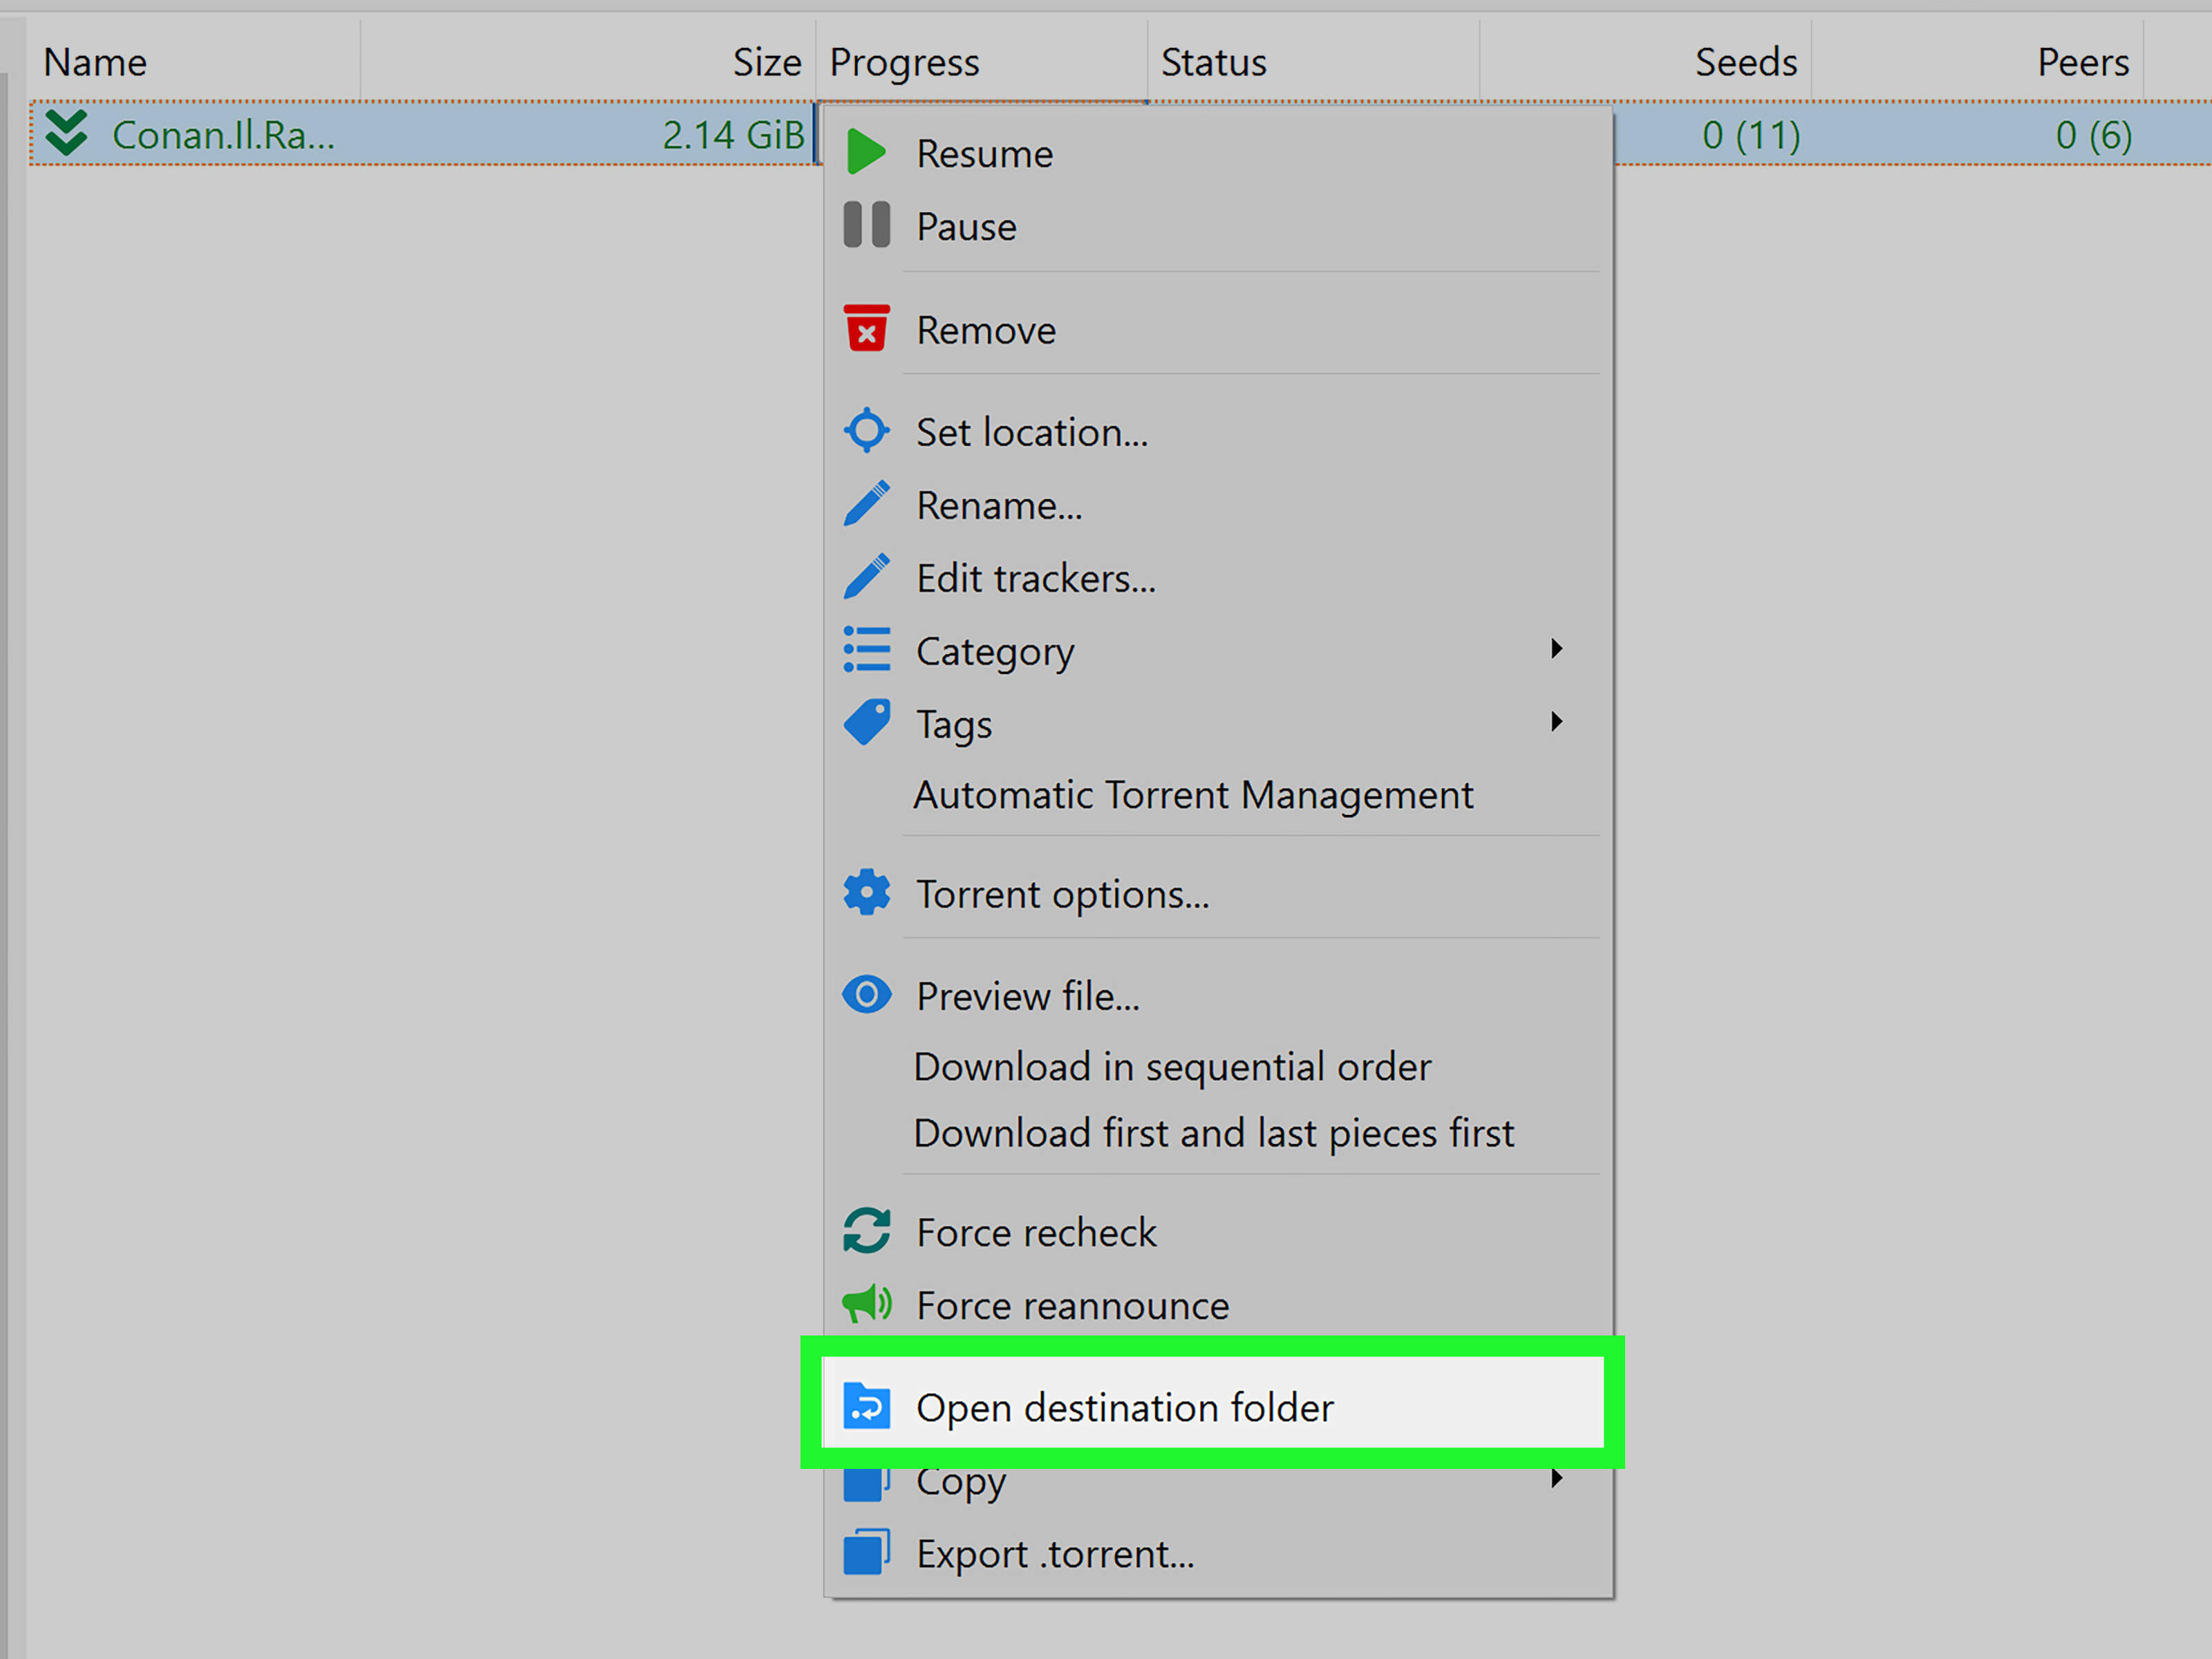
- Navigate to the location where your torrent client saved the downloaded files on your Mac’s storage drive. This is usually the location you specified before initiating the download.
- Open the folder that contains the downloaded files. Depending on the nature of the content, you may find individual files, folders, or a combination of both.
- If the downloaded content includes multimedia files such as movies or music, you can use media players like QuickTime, VLC, or iTunes to play them. Simply double-click on the file, and it will open in the associated media player.
- If you downloaded software or games, you may find installation files or extracted folders. Follow the provided instructions or readme files to install or run the software or game on your Mac.
- For documents or other file types, you can open them using their respective applications. For example, if you downloaded a PDF file, you can use Adobe Acrobat Reader or Preview to view it.
- Take the time to explore and enjoy the content you have downloaded. Watch movies, listen to music, play games, or utilize the software you have downloaded for various purposes.
- Remember to respect copyright laws and only download and use content that is legally authorized or distributed under open-source licenses.
By downloading content through torrents, you gain access to a vast range of files and entertainment options. Enjoy the fruits of your download and take advantage of the convenience and variety that torrenting provides.
Remember to manage your downloaded files responsibly, backing them up if necessary, and being mindful of your available storage space on your Mac.
Now that you’re all set to enjoy your downloaded content, sit back and have a great time exploring what you’ve acquired through the torrenting process!
Conclusion
Congratulations on successfully navigating the process of downloading torrents on your Mac! By following the step-by-step guide outlined in this article, you have learned how to choose a torrent client, download and install it, find reliable torrent websites, search for desired torrents, initiate downloads, monitor progress, and even seed downloaded content.
It’s important to remember that while torrenting itself is legal, downloading copyrighted material without permission is not. Always ensure that you respect copyright laws and only download content that is authorized or distributed under open-source licenses.
By using a torrent client on your Mac, you can benefit from fast and efficient file sharing, accessing a vast array of content ranging from movies and music to software and more. Torrenting opens up a world of possibilities and allows you to enjoy your favorite media and applications.
Make sure to select a reputable and trustworthy torrent website, read user reviews, and prioritize safety when downloading torrents. Be cautious of fake or malicious files and always utilize antivirus software to scan downloaded files.
By following these guidelines, you can have a seamless and enjoyable torrenting experience on your Mac. Embrace the convenience and versatility of torrenting while being a responsible user in the online community.
Now that you’re well-equipped with the knowledge and tools to download torrents on your Mac, go ahead and explore the vast realm of content available at your fingertips. Enjoy your downloaded files and make the most out of the amazing world of torrenting!