Introduction
Welcome to the world of digital photography! With the advancements in technology, capturing precious moments through photographs has become easier than ever before. However, as your collection of digital images grows, it’s important to keep them organized and backed up to ensure their safety. One effective way to do this is by downloading your pictures to a CD.
In this article, we will guide you through the process of downloading pictures to a CD. Whether you want to create a physical copy of your favorite memories or free up space on your computer, this step-by-step guide will help you achieve your goal. By following our instructions, you can ensure that your cherished photos will be preserved for years to come.
Before we dive into the specifics, it’s important to note that downloading pictures to a CD requires some basic knowledge of computers and the ability to follow instructions. Don’t worry if you’re not a tech expert – we’ll explain everything in simple terms.
So, let’s get started on this exciting journey of downloading pictures to a CD and preserving your memories!
Choosing the Right CD
When it comes to downloading pictures to a CD, choosing the right type of CD is crucial for ensuring the quality and longevity of your stored images. There are various types of CDs available in the market, each with its own advantages and limitations. Let’s explore the factors to consider when selecting the right CD for your photo storage needs.
1. CD-R or CD-RW:
The first decision you need to make is whether to use a CD-R (CD-Recordable) or a CD-RW (CD-ReWritable). CD-Rs can be written to only once and are suitable for long-term storage, as the data cannot be altered or deleted. On the other hand, CD-RWs can be erased and rewritten multiple times, making them more suitable for temporary storage or frequent updates.
2. Storage Capacity:
The storage capacity of the CD is another crucial factor to consider. CD sizes typically range from 650MB to 700MB, or approximately 80 minutes of audio. Assess your photo collection’s size and ensure that the selected CD provides enough space to accommodate all your pictures.
3. Speed Rating:
The speed rating of a CD indicates how quickly data can be written to it. CD-Rs and CD-RWs are available in different speed ratings, such as 16x, 32x, or 52x. Higher speed ratings allow for faster data transfer. However, keep in mind that the CD burner and the computer’s capabilities must match the maximum speed rating for optimal performance.
4. Brand and Quality:
When it comes to CDs, it’s crucial to choose well-known, reliable brands that offer high-quality products. Opting for reputable brands reduces the risk of compatibility issues, data corruption, or early deterioration of the CD. Reading reviews and seeking recommendations from fellow photographers can help you make an informed decision.
5. Archival CDs:
If you’re looking for long-term storage and maximum durability for your photos, consider archival-quality CDs. These CDs are designed to withstand the test of time and minimize the risk of data loss. Although they may come at a higher cost, they offer peace of mind knowing that your treasured memories are securely preserved.
By taking these factors into consideration, you can ensure that you choose the right CD for downloading your pictures. Now that you’re equipped with the knowledge of selecting the appropriate CD type, let’s move on to the next step: preparing your computer for the downloading process.
Preparing Your Computer
Before you start downloading pictures to a CD, there are a few steps you need to take to ensure that your computer is ready for the process. Proper preparation will help minimize any potential issues and ensure a smooth experience. Let’s dive into the essential steps:
1. Check CD Burning Software:
The first step is to verify if your computer has CD burning software installed. Most modern operating systems come with built-in CD burning capabilities, such as Windows Media Player for Windows or Finder for Mac. Alternatively, you can install third-party CD burning software, such as Nero or Roxio, for additional features and customization options. Make sure the software is up-to-date to avoid any compatibility issues.
2. Update Software and Drivers:
It’s important to keep your operating system, CD burning software, and drivers updated to ensure compatibility with your computer’s hardware. Check for any available updates and install them before proceeding. This will help avoid any potential bugs or errors during the downloading process.
3. Check CD Compatibility:
Ensure that the CD burner in your computer is compatible with the type of CDs you have selected. Some CD burners may not support certain types or speeds of CDs. Refer to your computer’s user manual or manufacturer’s website to verify compatibility.
4. Clean Your Computer:
Before starting the download process, take a moment to clean your computer. Delete any unnecessary files or programs to free up space on your hard drive. This will not only optimize the performance of your computer but also provide ample space for storing the temporary files created during the CD burning process.
5. Close Unnecessary Applications:
To prevent any interruptions or conflicts, close any unnecessary applications running in the background. This includes resource-intensive programs, antivirus software, or any software that may interfere with the CD burning process. It’s best to have minimal software running during the operation.
By following these steps and preparing your computer beforehand, you can ensure a hassle-free experience while downloading pictures to a CD. Now that your computer is ready, let’s move on to the next step: selecting the pictures you want to download.
Selecting the Pictures to Download
Now that your computer is prepared, it’s time to select the pictures you want to download to the CD. This step allows you to curate and organize your photo collection, ensuring that only the most meaningful and important memories are preserved. Here are some tips to help you with the selection process:
1. Review and Sort your Photos:
Start by reviewing your entire photo collection and sorting them into different categories, such as family, vacations, events, or specific themes. This will give you a better overview of the available pictures and help you choose those that hold the most significance.
2. Quality over Quantity:
Focus on quality rather than quantity when selecting pictures for the CD. Choose images that are well-composed, properly exposed, and represent important moments. It’s better to have a CD filled with exceptional photos rather than a disc that is crammed with hundreds of mediocre shots.
3. Consider the Purpose:
Think about the purpose of creating the CD. Are you making it as a gift for someone special or archiving your own memories? Keep this in mind when selecting photos. For a gift, include images that hold sentimental value to the recipient. For personal archiving, focus on capturing a wide range of memories that reflect different aspects of your life.
4. Variety and Diversity:
To create an engaging and diverse collection of photos, include a variety of subjects, locations, and compositions. This will add visual interest and provide a well-rounded representation of your experiences. Include both candid shots and posed portraits to capture the essence of the moment.
5. Edit and Enhance:
Before finalizing the selection, consider editing and enhancing your photos. Remove any red-eye, adjust brightness and contrast, or apply filters to enhance the overall quality. However, make sure to keep the edits subtle, preserving the authenticity and natural feel of the images.
Once you have chosen the pictures you want to download, organize them into a separate folder to simplify the burning process. Remember, the selection process should be enjoyable and reflective of your personal memories. Now that you have your photographs ready, let’s move on to the next step: organizing the pictures before burning the CD.
Organizing the Pictures
Now that you have selected the pictures you want to download to the CD, it’s important to organize them in a systematic and meaningful way. Proper organization will not only make it easier for you to locate specific photos in the future but also enhance the overall experience of viewing the CD. Here are some steps to help you organize your pictures effectively:
1. Create Folders:
Start by creating specific folders on your computer to store the selected pictures. Use descriptive names for each folder that reflect the category or theme of the images it contains. For example, you can have folders named “Family,” “Vacations,” “Birthdays,” or any other relevant labels. This will make it easier to navigate through the folders and locate specific photos.
2. Arrange in Chronological Order:
If you want to create a chronological narrative with your pictures, arrange them in the order they were taken. This will help tell a story and capture the progression of events over time. For example, you can start with childhood memories and gradually move towards recent moments.
3. Utilize Subfolders:
If you have a large number of pictures within a specific category, consider creating subfolders to further organize them. For instance, within the “Vacations” folder, you can have subfolders named after different destinations or years. This subcategorization will make it easier to locate specific photos within a broader theme.
4. Add Descriptive File Names:
When saving your pictures, use descriptive file names that reflect the content or context of the image. Avoid generic names like “IMG_001” or “Picture1.” Instead, use names that give a glimpse into what the photo represents, such as “beach_sunset.jpg” or “family_reunion.jpg.” Descriptive file names will make it easier to identify specific pictures, even without previewing them.
5. Create a Readme Text File:
Consider creating a “Readme” text file within each folder to provide additional information about the photos. In this file, you can include details like dates, locations, people’s names, or special moments associated with the pictures. This extra information will enhance the overall experience of viewing the CD and provide context to the viewers.
By following these organizational steps, you can ensure that your pictures are neatly arranged and easily accessible on the CD. An organized photo collection will not only make it more enjoyable for you and others to view, but also help preserve your memories for years to come. Now, let’s move on to the exciting part: burning the CD!
Burning the CD
Now that you have organized your pictures, it’s time to start the process of burning the CD. Burning a CD involves transferring the selected images from your computer to the blank CD, creating a permanent copy. Follow these steps to successfully burn your pictures to the CD:
1. Insert the Blank CD:
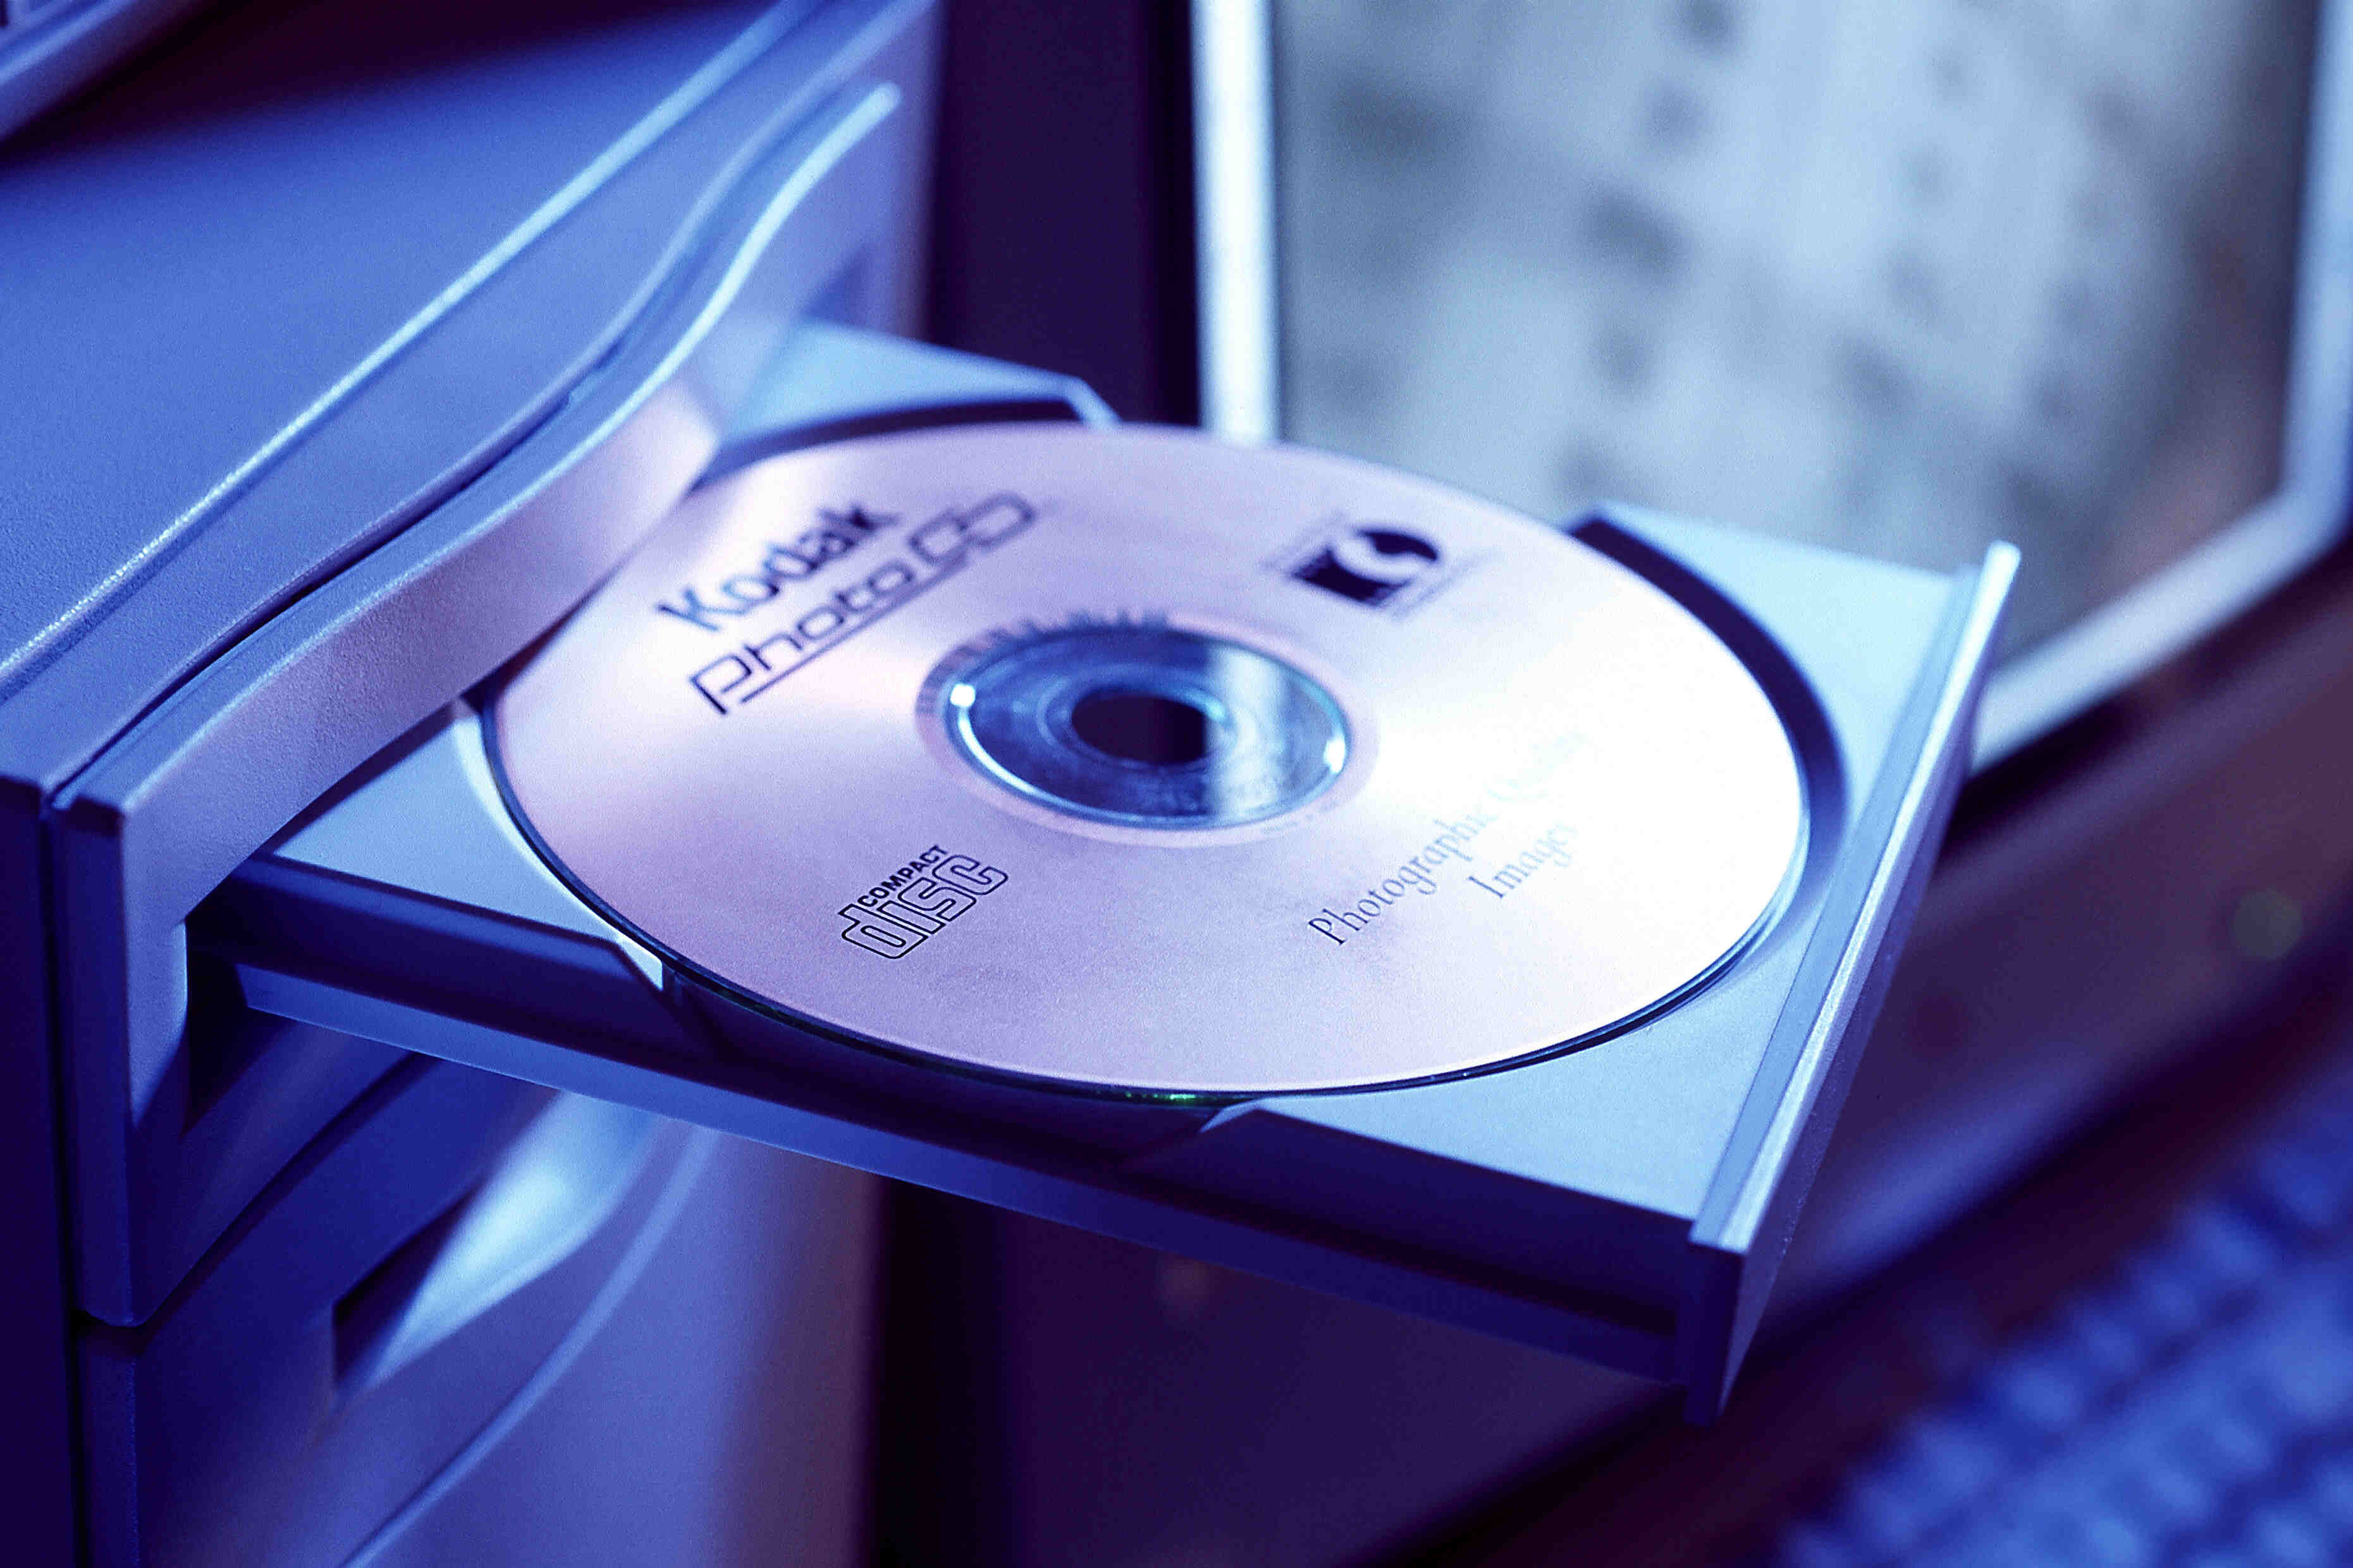
Begin by inserting the blank CD into the CD burner drive on your computer. Make sure the CD is properly inserted and securely placed within the drive.
2. Open CD Burning Software:
Open the CD burning software on your computer. This can be the built-in software that comes with your operating system or a third-party CD burning program. The software should automatically detect the blank CD in the drive.
3. Select the Pictures:
In the CD burning software, navigate to the folder where you have organized your pictures. Select the desired pictures you want to burn to the CD. You can hold down the Ctrl key while clicking to select multiple images, or use a drag-and-drop method to add the pictures to the CD burning software interface.
4. Arrange the Pictures:
If you want the pictures to be displayed in a specific order on the CD, rearrange them within the CD burning software. Most programs allow you to drag and drop the pictures to change their order.
5. Finalize the Burning Process:
Before proceeding, ensure that all the settings within the CD burning software are configured correctly. Check for options like burn speed and verify that the software is set to create a data CD rather than an audio CD (if applicable).
6. Start the Burning Process:
Once you are satisfied with the arrangement and settings, click on the “Burn” or “Start” button within the CD burning software to initiate the burning process. The software will begin transferring the selected pictures to the CD.
7. Wait for the Process to Complete:
Allow some time for the burning process to complete. The duration will depend on the total size of the pictures and the burning speed. Avoid interrupting the process by using the computer for other tasks or removing the CD before it finishes burning.
8. Verify the Burned CD:
Once the burning process is complete, the CD burning software will typically verify the burned data. This step ensures that the files have been correctly transferred to the CD without any errors. Verify that the software confirms the successful burning of the pictures.
9. Eject the CD:
Finally, safely eject the burned CD from the CD burner drive by either using the eject button on the drive or by right-clicking the CD drive icon in your file explorer and selecting the “Eject” option. Wait for the CD to be ejected before removing it from the drive.
By following these steps, you can successfully burn your selected pictures to a CD, creating a permanent copy of your cherished memories. Now that you have completed the burning process, let’s move on to the next step: verifying the CD to ensure successful transfer of the pictures.
Verifying the CD
After burning the CD, it is essential to verify that the transfer of your pictures was successful, and the CD contains all the intended files without any errors. Verifying the CD ensures the long-term integrity and accessibility of your precious memories. Follow these steps to verify the CD:
1. Insert the CD:
Insert the burned CD into the CD drive of your computer. Wait for the computer to recognize the CD and mount it as a readable storage device.
2. Open the CD:
Open the CD in your computer’s file explorer or operating system’s default media player. Navigate to the folder where the pictures were burned onto the CD.
3. Check File Names and Thumbnails:
Inspect the file names and thumbnails of the pictures on the CD. Ensure that they correspond to the photos you intended to burn. Verify that the file names reflect the content of the images and that the thumbnails display a preview of each picture.
4. Open Random Pictures:
Open a few random pictures from different folders on the CD to confirm that they open without any errors. Check if they display properly and if any adjustments or edits made prior to burning were preserved.
5. Verify File Sizes:
Compare the file sizes of the pictures on the CD with the original files on your computer. While slight size variations are expected due to the CD formatting process, significant discrepancies may indicate data corruption or errors during the burning process.
6. Test Multiple Devices:
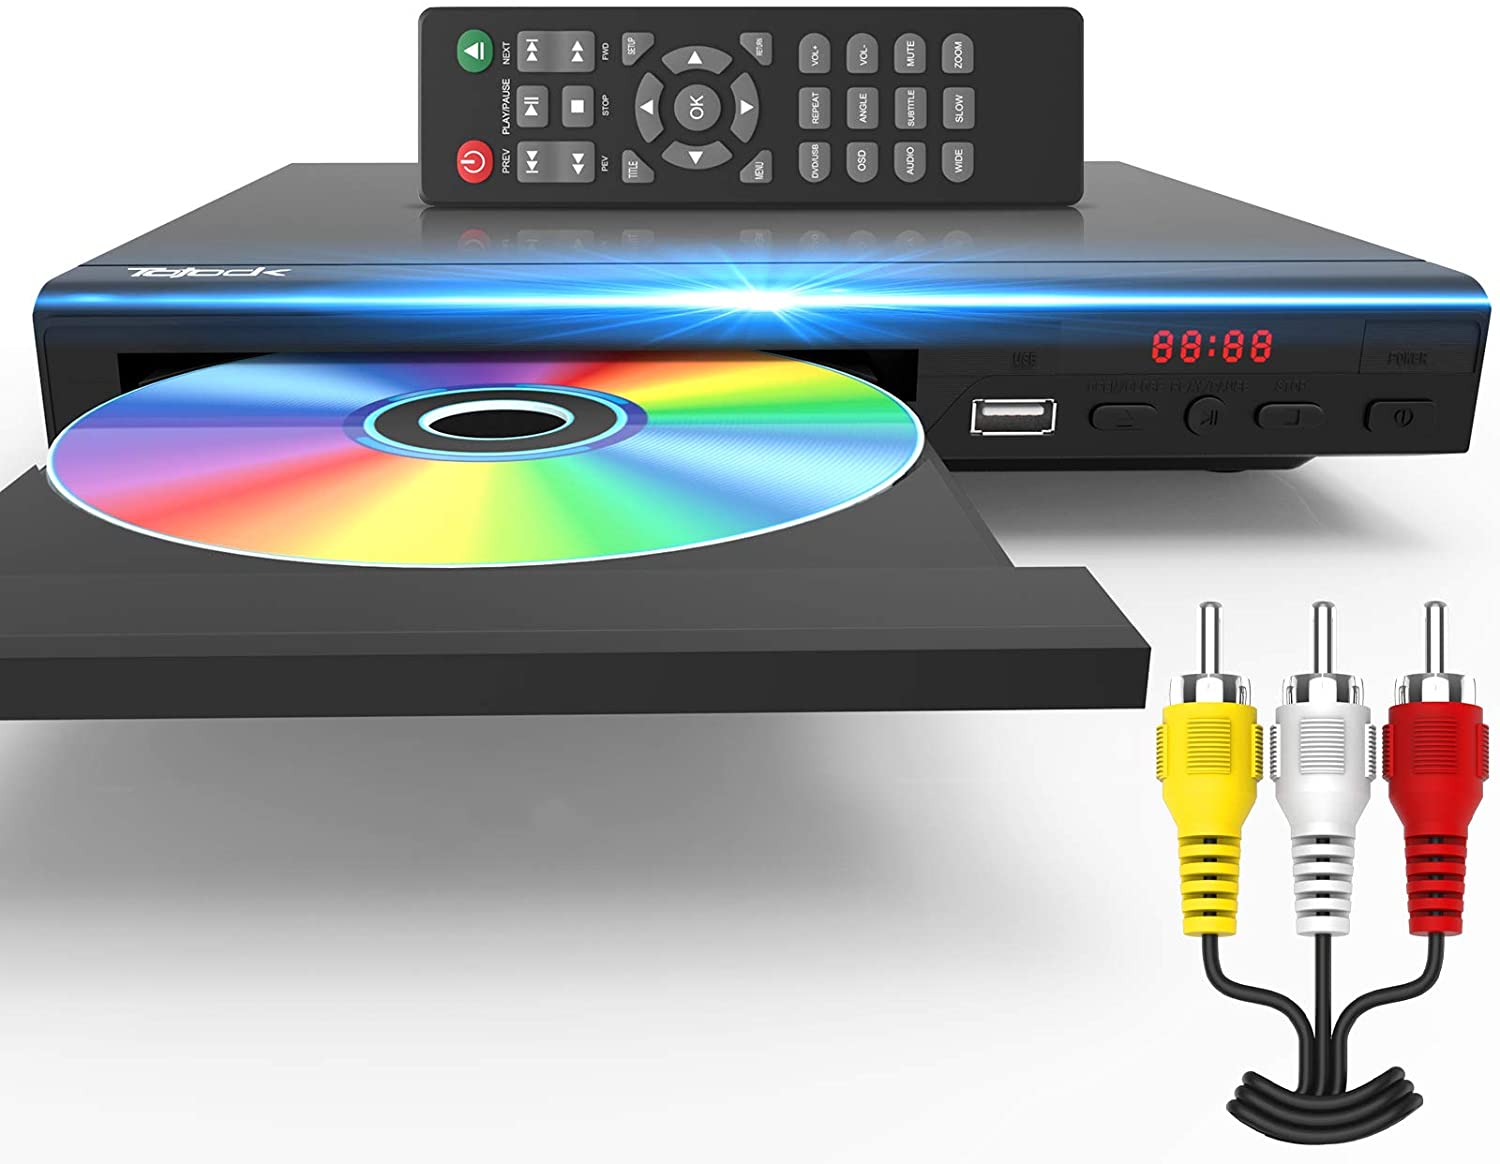
If possible, test the CD on other devices like laptops, DVD players, or gaming consoles with CD playback capabilities. This will help ensure that the CD can be read on various devices, increasing its compatibility and accessibility.
7. Check for Errors:
If your CD burning software offers a verification feature, run an error-checking process to detect any potential issues or data corruption on the CD. The software will compare the burned data with the original files and report any discrepancies.
8. Make Backup Copies:
As an extra precaution, consider making backup copies of your burned CD. This will provide an additional layer of protection against potential loss or damage to the original CD. Store the backup copies in separate locations for added security.
By following these steps, you can verify the contents of your burned CD and ensure that the pictures have been successfully transferred without any errors. Verifying the CD guarantees the reliability and accessibility of your precious memories for years to come. Now, let’s move on to the final step: safely ejecting the CD from your computer.
Ejecting the CD
Now that you have verified the contents of the burned CD and confirmed that all your precious pictures are intact, it’s time to safely eject the CD from your computer. Ejecting the CD properly helps prevent any potential damage to both the CD and the CD drive. Follow these steps to safely eject the CD:
1. Close any Open Applications:
Before ejecting the CD, make sure that all applications or programs accessing the CD are closed. This includes file explorers, media players, or any software that may be using files from the CD. Closing the applications ensures that there are no active processes preventing the CD from being ejected.
2. Save any Unsaved Work:
If you have any unsaved work or data on the CD, make sure to save it before ejecting the CD. Ensure that all changes or modifications are properly saved to your computer’s hard drive to avoid any loss or corruption of data.
3. Locate the Eject Button:
Locate the physical eject button or software eject option for your CD drive. The eject button is usually located near the CD drive on your computer or can be accessed through the software interface of your operating system.
4. Eject via Software:
If your computer does not have a physical eject button, you can safely eject the CD using software options. In your operating system’s file explorer, right-click the CD/DVD drive and select the “Eject” or “Eject Disc” option. This will prompt the CD drive to open and release the CD.
5. Eject via Physical Button:
If your computer has a physical eject button, press the button gently to trigger the CD drive to open. Wait for the drive to eject the CD partially before gently pulling it out the rest of the way by hand.
6. Handle the CD Carefully:
When removing the CD from the drive, handle it carefully by holding it by the edges or the center hole. Avoid touching the shiny surface or scratching the CD. Place the CD back in its protective case or an appropriate storage sleeve to prevent dust, scratches, or accidental damage.
7. Store the CD Safely:
After ejecting and removing the CD from your computer, store it in a safe and suitable location. Choose a clean and dry environment away from direct sunlight, extreme temperatures, and excessive humidity. This will help preserve the quality and longevity of the CD and its stored photos.
By following these steps, you can safely eject the CD from your computer without risking any damage to the CD or the CD drive. Handling the CD with care and storing it properly ensures the continued accessibility and protection of your precious memories. Congratulations on successfully downloading and burning your pictures to a CD!
Conclusion
Congratulations on successfully downloading and burning your pictures to a CD! With the steps outlined in this guide, you were able to select your cherished photos, organize them, and create a permanent backup on a CD. By following the process of choosing the right CD, preparing your computer, organizing the pictures, burning the CD, verifying its contents, and safely ejecting the CD, you have ensured the long-term preservation of your precious memories.
Downloaded pictures on a CD provide a tangible and secure way to store and share your favorite moments. Whether you have created a keepsake for yourself or a heartwarming gift for someone special, the CD holds a collection of memories that can be treasured for years to come.
Remember to keep the CD stored in a safe place, away from extreme temperatures and humidity, to prevent any damage to the disk. Additionally, consider making backup copies of the CD as an extra precaution to preserve your memories even further.
We hope that this comprehensive guide has made the process of downloading pictures to a CD clear and straightforward. Now, you can enjoy the peace of mind knowing that your cherished memories are safely stored on a physical medium. So, continue capturing beautiful moments, and whenever you need to free up space or create a tangible collection, you can always turn to the process outlined in this guide.
Thank you for choosing this guide as your resource, and we wish you many enjoyable moments with your photo-filled CDs!


