Introduction
Are you tired of listening to the same songs on your Android phone? Would you like to transfer your favorite music from your computer to your device? Well, you’re in luck! In this article, we will show you several simple methods to download music from your computer to your Android phone, so you can enjoy your favorite tunes wherever you go.
Having music on your Android phone gives you the freedom to listen to your favorite songs anytime and anywhere, without relying on an internet connection. Whether you have a collection of music stored on your computer or you want to download new tracks, the methods we will discuss in this article will help you easily transfer music to your Android phone.
Now, you may be wondering what options you have for transferring music from your computer to your Android phone. There are several methods available, each with its own advantages. In the following sections, we will explore four easy and efficient ways to get music from your computer to your Android phone.
Whether you want to transfer music through a direct USB connection, cloud storage services, or dedicated music transfer apps, we have got you covered. So, let’s dive into the following methods and unleash the power of music on your Android device!
Method 1: Using a USB Cable
One of the simplest and most common ways to transfer music from your computer to your Android phone is by using a USB cable. This method allows for a direct connection between your devices, making it fast and reliable. Here’s how you can do it:
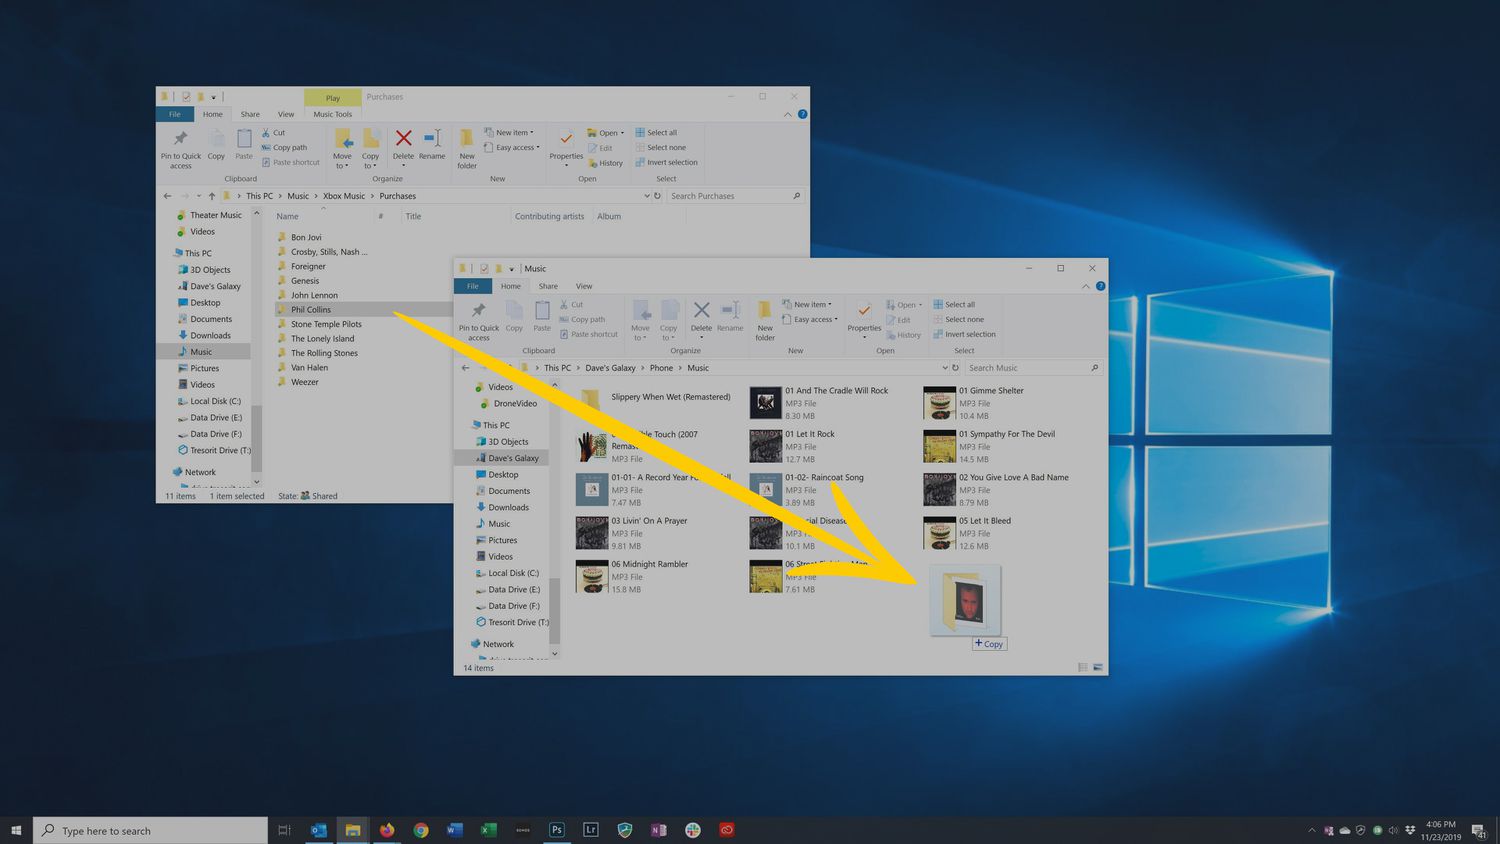
- Connect your Android phone to your computer using a compatible USB cable. Ensure that your phone is unlocked and set to transfer files.
- On your Android phone, you should see a notification that says “USB charging this device.” Tap on that notification and select “Transfer files” or “File transfer” mode.
- On your computer, open File Explorer (Windows) or Finder (Mac).
- Navigate to the folder on your computer where your music files are stored.
- Select the music files or folders you want to transfer.
- Drag and drop the selected files or folders into the appropriate music folder on your Android phone.
- Wait for the transfer to complete. The time it takes will depend on the size of the files being transferred.
- Once the transfer is complete, safely disconnect your Android phone from the USB cable.
After following these steps, you should now have your favorite music on your Android phone. You can open your preferred music app on your device to start enjoying your newly transferred songs.
Using a USB cable to transfer music offers a direct and stable connection, ensuring fast and reliable file transfers. Additionally, this method requires no additional software or internet connection, making it a hassle-free solution.
However, one drawback of using a USB cable is that it requires you to physically connect your devices. This means you need to have the USB cable on hand whenever you want to transfer music. Additionally, some older computer models may not have a USB port or may have compatibility issues with certain Android devices.
But if you have a compatible USB cable and want a straightforward method to transfer music, using a USB cable is a simple and effective option.
Method 2: Using Google Drive
If you prefer a wireless method to transfer music from your computer to your Android phone, using Google Drive is a convenient and cloud-based solution. Google Drive allows you to store your files online and access them from any device with an internet connection. Here’s how you can use Google Drive to transfer music:
- On your computer, go to https://drive.google.com and sign in to your Google account. If you don’t have an account, you can create one for free.
- Create a new folder in Google Drive specifically for your music files. You can do this by clicking on the “New” button and selecting “New Folder”. Give the folder a name that is easy to remember.
- Open the newly created folder and click on the “Upload” button to upload your music files from your computer. You can select multiple files or entire folders containing your music.
- Wait for the upload process to complete. The time it takes will depend on the size of the files and your internet connection speed.
- On your Android phone, download and install the Google Drive app from the Google Play Store, if you haven’t already.
- Launch the Google Drive app on your Android phone and sign in with the same Google account you used on your computer.
- Navigate to the “Music” folder you created in Google Drive.
- Select the music files or folders you want to download to your Android phone.
- Tap on the “More Options” button (usually represented by three dots) and select “Download”.
- Wait for the download to complete. The files will be saved to your Android phone’s local storage.
After following these steps, you will have your music files accessible on your Android phone. Depending on your music player app, you may need to manually add the downloaded music files to your library or choose to scan for new files within the app.
Using Google Drive to transfer music offers the advantage of convenience and accessibility. Your music files will be stored in the cloud, allowing you to access them from any device with the Google Drive app installed. Additionally, Google Drive provides a generous amount of free storage, with options to upgrade if you need more space.
However, one thing to consider is your internet connection speed. Uploading and downloading large music files can take some time, especially if you have a slow internet connection. If you have limited data on your mobile plan, it’s also important to be mindful of potential data usage when downloading music files from Google Drive.
Overall, using Google Drive to transfer music provides a wireless and flexible solution that allows you to access your music files on multiple devices with ease.
Method 3: Using a Cloud Storage Service
If you’re looking for an alternative to Google Drive, using a cloud storage service is another great option for transferring music from your computer to your Android phone. Cloud storage services like Dropbox, OneDrive, or iCloud offer similar functionality to Google Drive, allowing you to upload and download files from anywhere with an internet connection. Here’s how you can use a cloud storage service to transfer music:
- Sign up for a cloud storage service of your choice. Popular options include Dropbox, OneDrive, and iCloud. Make sure to download and install the corresponding desktop application on your computer.
- Create a new folder within your cloud storage account specifically for your music files.
- Open the folder and upload your music files from your computer. You can either drag and drop the files into the folder or use the upload button provided by the cloud storage service.
- Wait for the upload process to complete. The time it takes will depend on the size of the files and your internet connection speed.
- On your Android phone, download and install the corresponding app for the cloud storage service you selected.
- Launch the app on your Android phone and sign in with the same account you used on your computer.
- Navigate to the music folder within the app.
- Select the music files or folders you want to download to your Android phone.
- Tap on the download button or choose the option to save the files offline within the app.
- Wait for the download to complete. The files will be saved to your Android phone’s local storage.
Following these steps will allow you to transfer your music files from your computer to your Android phone using a cloud storage service. As with the previous methods, you may need to manually add the downloaded music files to your preferred music player app or initiate a library scan to have the app recognize the new files.
Using a cloud storage service for music transfer provides the advantage of convenience and flexibility. Your music files will be stored securely in the cloud, allowing you to access them from any device with the corresponding app installed. Additionally, most cloud storage services offer easy sharing capabilities, making it simple to share your music files with others.
One thing to consider when using a cloud storage service is the available storage space. Most services provide a limited amount of free storage, with options to upgrade for additional space if needed. It’s important to ensure that you have sufficient storage space for your music files, especially if you have a large music collection.
Overall, using a cloud storage service to transfer music offers a flexible and efficient method to access your music files on your Android phone, regardless of your location.
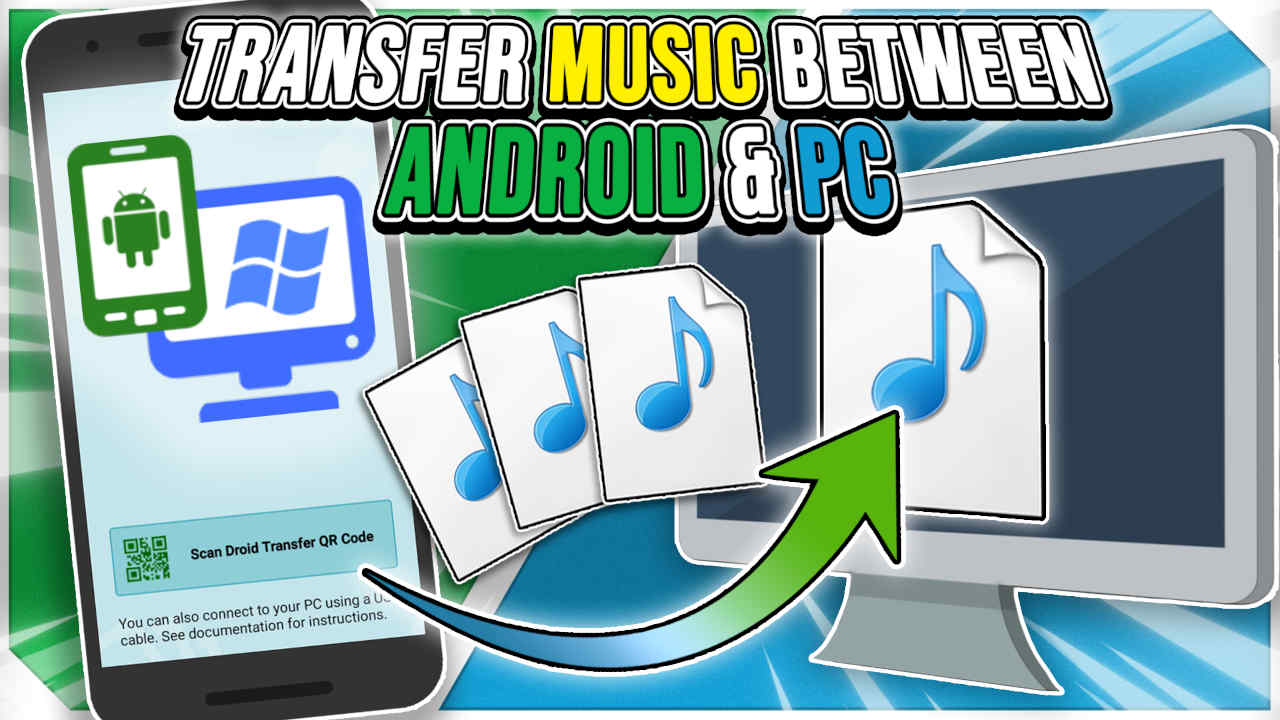
Method 4: Using a Music File Transfer App
If you’re looking for a dedicated solution for transferring music from your computer to your Android phone, using a specialized music file transfer app is a great option. These apps are designed specifically for transferring and organizing music files, providing an efficient and seamless transfer process. Here’s how you can use a music file transfer app to transfer music:
- Search for and download a reliable music file transfer app from the Google Play Store. Some popular options include AirDroid, WiFi File Transfer, and Send Anywhere.
- Install the app on both your computer and your Android phone.
- Launch the app on your computer and follow the provided instructions to connect your Android phone to your computer.
- Once the connection is established, you’ll be able to browse your computer’s music files within the app interface.
- Select the music files or folders you want to transfer to your Android phone.
- Initiate the transfer process within the app. This may involve clicking a dedicated transfer button or following a prompted action.
- Wait for the transfer process to complete. The time it takes will depend on the size of the files and your internet connection speed.
- Once the transfer is finished, you can access your newly transferred music files on your Android phone through the app’s interface or your preferred music player app.
Using a dedicated music file transfer app offers the advantage of a streamlined and user-friendly approach. These apps are specifically designed to handle music transfers, providing a convenient and efficient way to transfer large amounts of music files without the need for cables or cloud storage accounts.
Additionally, music file transfer apps often come with additional features such as organizing your music library, creating playlists, and even syncing music with your computer’s media player. This can greatly enhance your music management experience on your Android phone.
One thing to note is that the availability and functionality of music file transfer apps may vary. It’s essential to choose a reputable and trusted app with positive user reviews to ensure a smooth and secure music transfer process.
In some cases, music file transfer apps may have limitations in terms of file format compatibility or the size of files that can be transferred. Therefore, it’s important to verify that the app you choose supports the music file formats you have.
Ultimately, using a music file transfer app offers a dedicated and efficient method to transfer your music files from your computer to your Android phone, providing a seamless and convenient music listening experience.
Conclusion
Transferring music from your computer to your Android phone opens up a world of possibilities, allowing you to enjoy your favorite songs wherever you go. In this article, we explored four different methods to accomplish this task: using a USB cable, Google Drive, a cloud storage service, and a music file transfer app.
Using a USB cable provides a direct and reliable connection between your devices, ensuring fast and secure file transfers. It’s a straightforward method that requires no additional software or internet connection.
Google Drive offers a convenient and cloud-based solution for transferring music. By uploading your music files to your Google Drive account and downloading them on your Android phone, you can access your music from any device with an internet connection.
Cloud storage services like Dropbox, OneDrive, or iCloud also provide a wireless and flexible option for transferring music. You can upload your music files to the cloud and access them on your Android phone, giving you easy access to your music library wherever you are.
If you prefer a dedicated solution, using a music file transfer app is a great choice. These apps are designed specifically for transferring and organizing music files, providing a streamlined and efficient process.
Each method has its own advantages, and the one you choose will depend on your preferences and specific needs. Whether you prefer a direct connection, cloud-based storage, or a dedicated app, you now have several options to transfer your music files and enjoy them on your Android phone.
No matter which method you choose, always ensure that your music files are stored securely and that you comply with any copyright laws when transferring and sharing music.
Now it’s time to pick the method that works best for you and start enjoying your favorite tunes on your Android phone! Happy listening!