Introduction
Welcome to our guide on how to download music from iCloud to your Mac. iCloud is a cloud storage and computing service provided by Apple, and it offers a convenient way to store your music and access it from any Apple device. With iCloud, you can have all your favorite tunes available on your Mac whenever you want.
Whether you’ve recently purchased a new Mac or have been using one for a while, setting up iCloud and downloading your music is a straightforward process. In this guide, we’ll walk you through the steps to sign in to iCloud on your Mac, enable iCloud Music Library, and download your music files. By the end of this guide, you’ll be able to enjoy your music collection on your Mac, even if you don’t have an internet connection.
Before we get started, make sure you have an active Apple ID and a stable internet connection. Additionally, ensure that you have enough available storage space on your Mac to accommodate your music library. Now let’s delve into the steps to download music from iCloud to your Mac.
Step 1: Sign in to iCloud on your Mac
The first step to download music from iCloud to your Mac is to sign in to your iCloud account. This will enable you to access your music library and download your songs to your computer. Follow these steps to sign in:
- Open the Apple menu in the top-left corner of your screen and select “System Preferences.”
- In the System Preferences window, click on the “Apple ID” icon.
- If you’re not already signed in, enter your Apple ID and password in the provided fields. Otherwise, you’ll see your Apple ID details.
- Once you’ve entered your Apple ID, click on the “iCloud” tab.
- Check the box next to “Music” to turn on iCloud Music Library. This will sync your music across all of your Apple devices, including your Mac.
- Click on the “Apply” button to save your changes.
Now that you’re signed in to your iCloud account on your Mac and have enabled iCloud Music Library, you’re ready to start downloading your music. Let’s move on to the next step.
Step 2: Enable iCloud Music Library on your Mac
Enabling iCloud Music Library on your Mac allows you to access your entire music library from iCloud and download songs for offline listening. Follow these steps to enable iCloud Music Library:
- Launch the Music app on your Mac. You can find it in the Applications folder or by using Spotlight search.
- In the top menu, click on “Music” and select “Preferences.”
- In the Preferences window, navigate to the “General” tab.
- Check the box next to “Sync Library.” This enables iCloud Music Library, allowing you to access your music across all your devices.
- Close the Preferences window.
By enabling iCloud Music Library on your Mac, you ensure that your music is synchronized and available for download. This feature ensures that your entire music library is always up to date, regardless of the device you’re using. Now, let’s move on to the next step and learn how to download music from iCloud to your Mac.
Step 3: Download music from iCloud to Mac
Now that you have signed in to iCloud and enabled iCloud Music Library on your Mac, it’s time to download your music from iCloud. Follow these steps to complete the process:
- Open the Music app on your Mac.
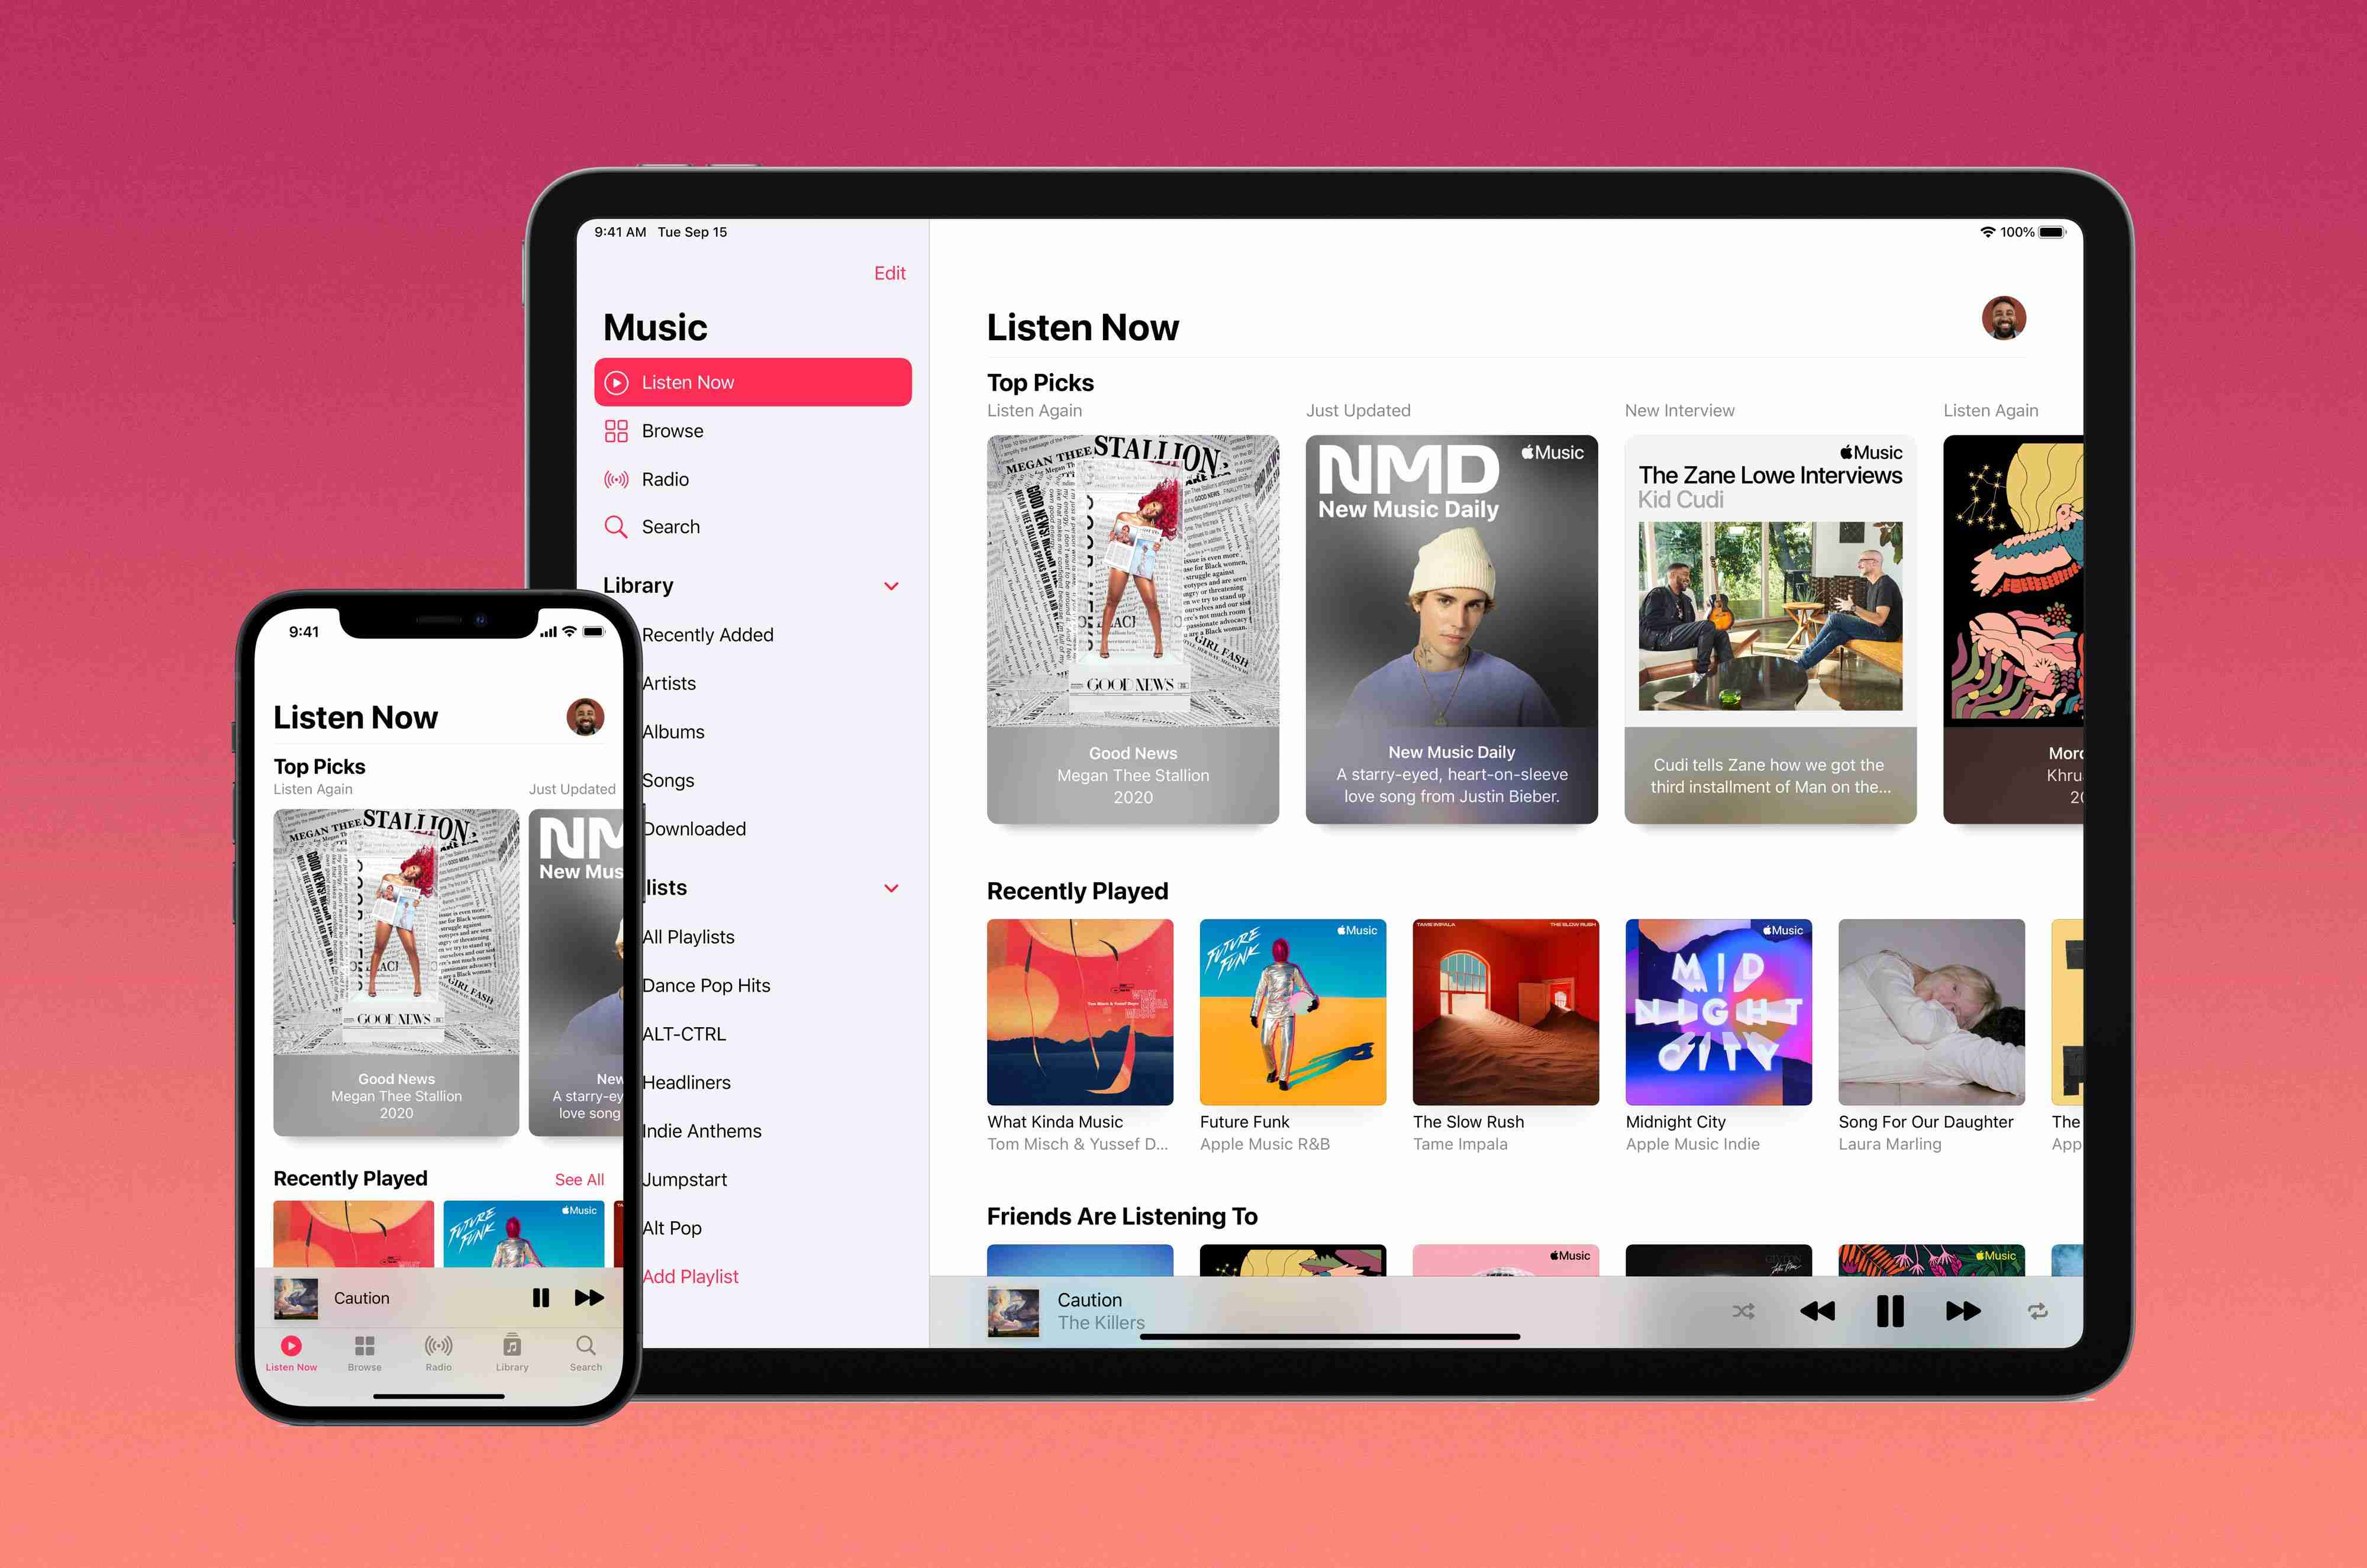
- In the sidebar, click on “Library.”
- Select the “Songs” tab to view all your music.
- Scroll through your music library and locate the songs or albums you want to download from iCloud.
- For individual songs: Hover over the song and click on the cloud icon with a downward arrow next to it. The song will begin downloading to your Mac.
- For albums or multiple songs: Control-click or right-click on the album or multiple songs you wish to download. From the context menu, select “Download.”
Your selected music will now start downloading to your Mac. The download progress can be viewed in the status bar at the top of the Music app. You can also monitor the progress by clicking on the “Downloads” tab in the sidebar.
Keep in mind that the download time may vary depending on the size of your music files and the speed of your internet connection. Once the downloads are completed, you’ll be able to access your music offline on your Mac.
Now that you have successfully downloaded your music from iCloud to your Mac, let’s move on to the final step to learn how to access the downloaded music on your Mac.
Step 4: Access downloaded music on your Mac
After downloading your music from iCloud to your Mac, you can easily access and enjoy your music collection offline. Here’s how:
- Launch the Music app on your Mac.
- In the sidebar, click on “Library.”
- Select the “Downloaded Music” option.
- You will now see a list of all the music that has been successfully downloaded to your Mac.
- Double-click on a song to start playing it. You can also create playlists, search for specific songs or artists, and organize your music library just like you would with any other music app.
By accessing your downloaded music library, you can enjoy your favorite songs without the need for an internet connection. This is especially useful when you’re on the go or in an area with limited internet access.
Congratulations! You have successfully downloaded your music from iCloud to your Mac and learned how to access it offline. Enjoy your favorite tunes whenever and wherever you want!
Conclusion
By following the steps outlined in this guide, you have successfully learned how to download music from iCloud to your Mac. With iCloud Music Library enabled, you can easily access your entire music library across all your Apple devices.
Signing in to iCloud and enabling iCloud Music Library on your Mac are the first steps to ensure that your music is synced and available for download. From there, you can easily download individual songs or entire albums from iCloud to your Mac.
Once the downloads are complete, you can access your downloaded music through the Music app on your Mac. Simply navigate to the “Downloaded Music” section to enjoy your favorite songs offline.
Remember to keep your iCloud account and Apple ID credentials secure, as they provide access to your personalized music library and other important data.
Now that you have mastered the process of downloading music from iCloud to your Mac, you can continue enjoying your music collection even when you’re offline. Whether you’re working, traveling, or simply relaxing, your favorite tunes will always be within reach on your Mac.
Thank you for following along with this guide, and happy listening!


