Introduction
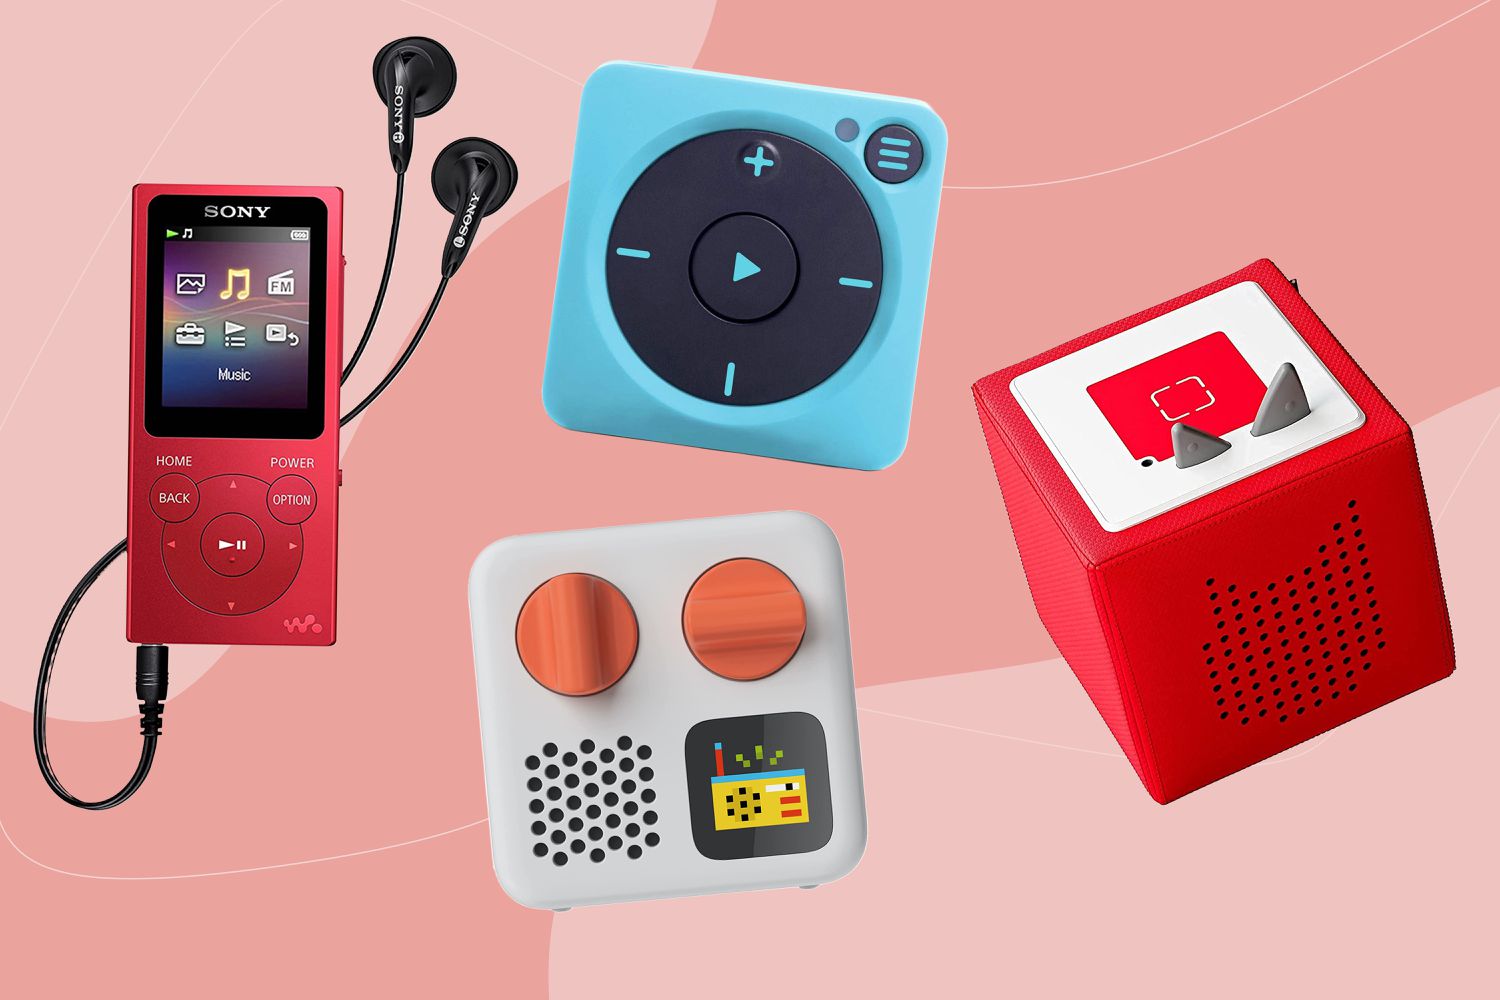
Welcome to the digital age, where music is now more accessible than ever before. With the emergence of MP3 players, you can carry your favorite tunes with you wherever you go, making long commutes or workouts much more enjoyable. But how can you get free music onto your MP3 player without breaking the bank?
In this article, we will guide you through the process of downloading free music and transferring it onto your MP3 player. Whether you have a brand-new device or an old one collecting dust, this step-by-step guide will show you how to fill your player with tunes that won’t cost you a dime.
Before we delve into the nitty-gritty details, it’s important to note that downloading copyrighted music for free is illegal. However, there are many legal sources available where artists offer their music for free. We will focus on these legitimate methods to ensure that you don’t run into any legal issues.
Some MP3 players have built-in Wi-Fi capabilities and preloaded music apps, which make downloading music a breeze. However, if your device does not have these features, fret not! We will show you how to download free music to your computer and then transfer it to your MP3 player.
So, grab your MP3 player, let’s get started, and fill it with a fantastic collection of music without spending a penny!
Step 1: Check the compatibility of your MP3 player
Before you embark on the quest of downloading free music, it’s crucial to ensure that your MP3 player is compatible with the files you intend to download. Different MP3 players have varying compatibility with audio file formats, so it’s essential to verify which formats your device supports.
The most common audio file formats include MP3, WAV, AAC, and FLAC. To check the supported formats for your MP3 player, refer to the user manual or visit the manufacturer’s website for detailed specifications. This information will help you determine the file formats that are compatible with your device.
Additionally, it’s important to consider the storage capacity of your MP3 player. Some devices have limited storage space, while others can accommodate a vast collection of music. Knowing the available storage on your device will assist you in managing your music library efficiently.
To check the storage capacity of your MP3 player, connect it to your computer via the USB cable. The device should be recognized as a removable storage device (similar to a flash drive) on your computer. Open the file explorer or finder on your computer and locate the MP3 player. Right-click on it and select “Properties” to view the total storage capacity and the amount of free space available.
Once you have determined the supported file formats and storage capacity of your MP3 player, you can proceed with confidence to search for and download free music that meets the requirements of your device. Ensuring compatibility is the first step towards an enjoyable and hassle-free music-filled experience on your MP3 player.
Step 2: Choose a reliable website for downloading free music
When it comes to downloading free music, it’s crucial to find a trustworthy website that offers legal and high-quality audio files. With the abundance of websites claiming to provide free music, it’s important to be cautious and avoid illegitimate sources that may infringe on copyright laws or contain malware.
One of the best ways to ensure the reliability of a website is by sticking to reputable and well-established platforms. Websites like SoundCloud, Bandcamp, and Jamendo are known for their vast collection of legally available free music. These platforms often have filters or sections specifically dedicated to free music, making your search easier.
Another aspect to consider is user reviews and ratings. Before downloading music from a website, take the time to read reviews and ratings from other users. These can provide valuable insights into the trustworthiness and quality of the website. Look for positive reviews and high ratings that indicate a satisfactory user experience.
Additionally, pay attention to the website’s design and functionality. Legitimate websites often have a professional and user-friendly interface, making it easy to navigate and find the desired music. On the other hand, websites with excessive pop-up ads, broken links, or suspicious download buttons should be avoided.
It’s important to note that while the music available on these websites may be free, there may be some restrictions on its usage. Some songs may be licensed under Creative Commons, which requires you to give proper attribution to the artist. Make sure to read and understand the terms of use before downloading any music.
To ensure a safe downloading experience, it’s advisable to have antivirus software installed on your computer. This will provide an extra layer of protection against potential malware or viruses that may be present on certain websites.
By choosing a reliable website for downloading free music, you can enjoy a wide variety of songs without compromising on quality or legality. So, grab your favorite search engine and start exploring the vast array of websites that offer free music for your listening pleasure!
Step 3: Search for the desired music
Now that you’ve chosen a reliable website for downloading free music, it’s time to embark on the exciting journey of finding your desired songs. Whether you have a specific artist or genre in mind or you’re open to discovering new music, there are various ways to search for the perfect tracks for your MP3 player.
Most reputable music websites provide search functionality, allowing you to enter keywords, such as the name of an artist, song, or genre, to find relevant music. Use specific keywords to narrow down your search results and get closer to finding exactly what you’re looking for.
If you’re not sure where to start or you simply want to explore different genres or artists, many websites offer curated playlists or recommendations based on your musical preferences. These personalized recommendations can be a great way to discover new music and expand your musical horizons.
Additionally, some websites allow you to browse music based on categories such as popular songs, trending tracks, or top charts. These sections can give you insight into what other users are enjoying and can help you stay up-to-date with the latest hits.
Another approach to finding music for your MP3 player is by exploring the artist’s official websites or social media accounts. Many artists offer their music for free as a way to promote their work and connect with fans. Visiting their websites or following them on platforms like Twitter or SoundCloud can lead you to exclusive tracks or limited-time free downloads.
Remember to take your time while searching for music and enjoy the process of discovering new songs. Keep an open mind and don’t be afraid to try different artists or genres that you might not typically listen to. This can lead you to hidden gems and broaden your musical tastes.
Once you’ve found the desired music, it’s time to move on to the next step: downloading the music files to your computer and preparing them for transfer to your MP3 player.
Step 4: Download the music files to your computer
After searching and finding the desired music on a reliable website, it’s time to download the music files to your computer. By doing so, you can ensure that the files are safely stored and ready to be transferred to your MP3 player.
When you locate a song or album that you want to download, look for a download button or link provided by the website. Most reputable websites will have an obvious and direct way to initiate the download process.
Click on the download button or link, and a download prompt will appear. Choose a location on your computer where you want to save the downloaded music files. It’s advisable to create a dedicated folder specifically for your downloaded music to keep everything organized.
Depending on the website and the file size, the download process may take a few seconds or a few minutes. Be patient while the files are being downloaded, and avoid interrupting the process to ensure that the files are fully downloaded and intact.
It’s worth noting that some websites may offer multiple file formats for download. Choose the format that is compatible with your MP3 player and suits your preferences. The most common file format for music is MP3, which is widely supported by most devices.
While downloading the music files, it’s always a good idea to verify the quality of the files. Some websites provide information about the file’s bitrate, indicating the audio quality. Higher bitrates generally result in better sound quality, so if you have the option to choose between different bitrates, opt for the higher ones.
Once the music files are successfully downloaded to your computer, double-check the downloaded files to ensure they are complete and playable. Play a sample of each song to make sure there are no issues with the file or any playback glitches.
Now that the music files are safely stored on your computer, you’re one step closer to enjoying your free music on your MP3 player. In the next step, we will guide you through the process of transferring the downloaded music files to your device.
Step 5: Transfer the downloaded music to your MP3 player
Now that you have successfully downloaded your desired music files to your computer, it’s time to transfer them to your MP3 player. This step will allow you to enjoy your favorite songs on the go and make the most out of your device.
To begin, connect your MP3 player to your computer using a USB cable. Once connected, your computer should recognize your MP3 player as a removable storage device.
Open your file explorer or finder on your computer and locate the music files that you downloaded earlier. Navigate to the folder where the files are stored, and select the songs or albums you want to transfer to your MP3 player.
Now, simply drag and drop the selected music files from your computer to the designated folder on your MP3 player. Depending on the make and model of your MP3 player, the folder may be called “Music” or “Audio” or something similar.
While transferring the music files, it’s important to pay attention to the available storage space on your MP3 player. Ensure that you don’t exceed the device’s storage capacity to avoid any issues during the transfer process.
Once the transfer is complete, safely disconnect your MP3 player from your computer. This can be done by clicking on the “Safely Remove Hardware” or “Eject” option in your computer’s system tray.
Before you disconnect your MP3 player, it’s a good practice to verify that the music files have been successfully transferred. Safely eject the device from your computer and navigate to the music section on your MP3 player. Check if the transferred songs appear and are playable on your device.
Now that the music files are transferred to your MP3 player, you can disconnect it from your computer and enjoy your favorite tunes wherever you go. Grab your headphones, press play, and immerse yourself in the music that you’ve downloaded for free!
Step 6: Organize your music library on the MP3 player
With your downloaded music successfully transferred to your MP3 player, it’s time to organize your music library to make navigation and playback a breeze. By organizing your music effectively, you can easily find and enjoy your favorite songs without any hassle.
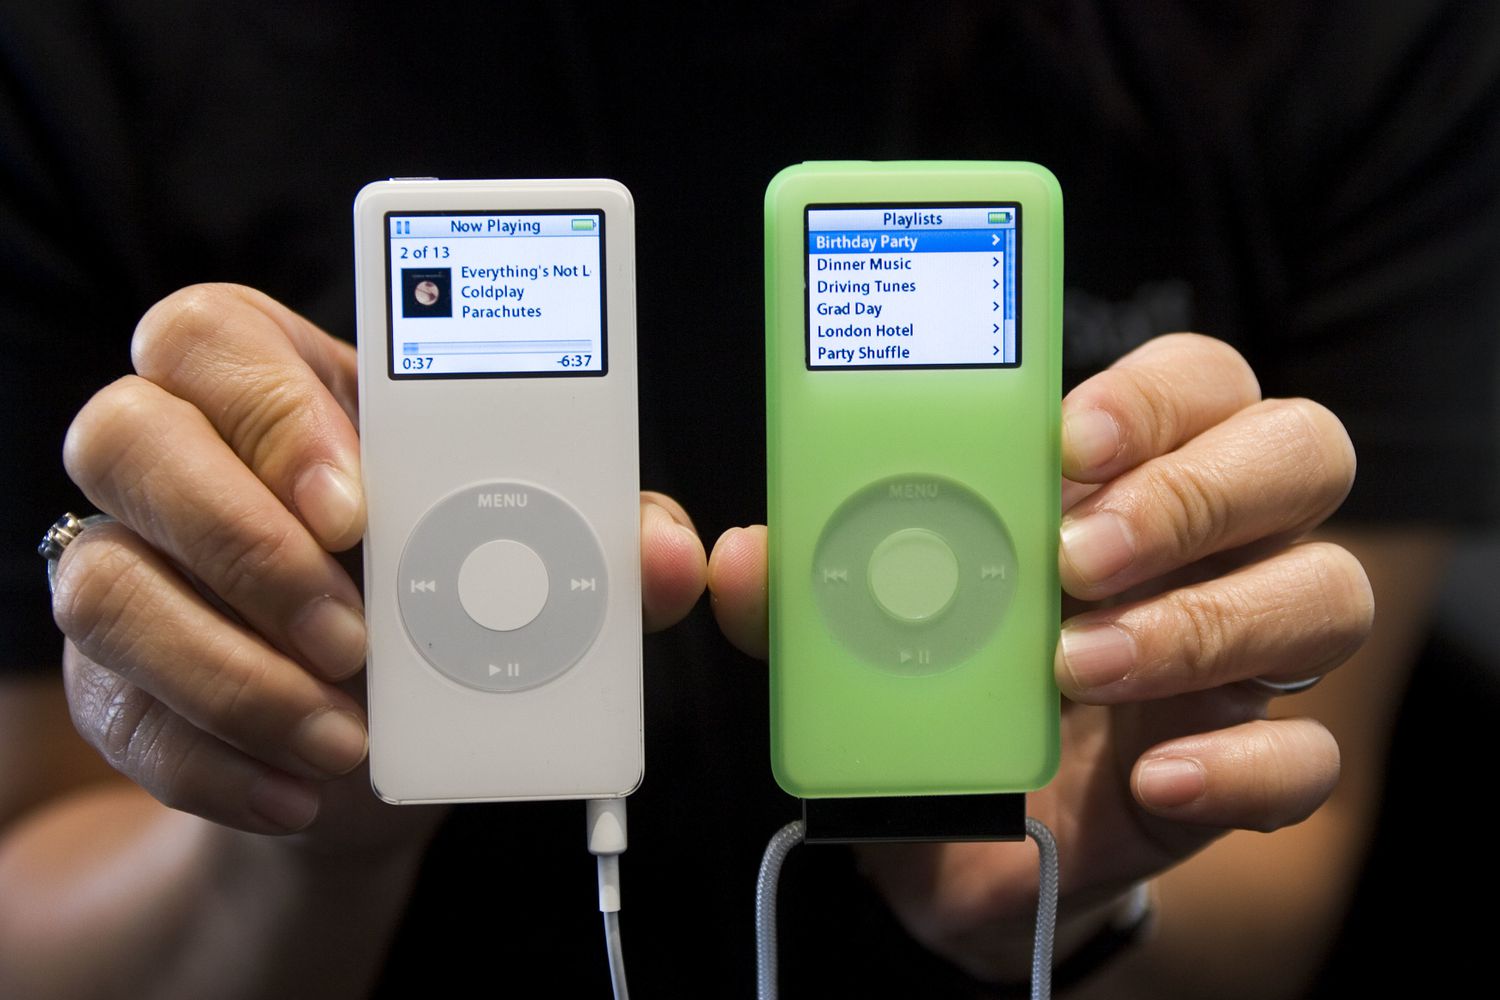
Start by exploring the options and features available on your MP3 player. Most devices offer different ways to organize your music, such as creating playlists, sorting by artist or album, or using folders to categorize your songs.
If your MP3 player has a playlist feature, take advantage of it. Create playlists based on genres, moods, or specific activities to customize your listening experience. To create a playlist, navigate to the playlist section on your MP3 player, select the option to add songs, and choose the desired music files from your library.
In addition to playlists, you can also organize your music by artist or album. Many MP3 players have the option to sort your music collection alphabetically or by date. This makes it easier to locate a specific artist or album when you’re in the mood for specific music.
If your MP3 player supports folders or directories, consider creating folders based on genres or personal preferences. This allows you to organize your music in a way that reflects your unique musical taste.
While organizing your music library on your MP3 player, remember to take advantage of any available metadata. Metadata includes information such as song titles, album names, and artist names. Ensure that this information is accurate and properly displayed on your MP3 player. You can edit this information on your computer before transferring the files or use the editing features available on your MP3 player itself.
Take the time to explore the settings and options on your MP3 player to customize the playback experience. You may have the ability to shuffle your songs, repeat playlists or albums, adjust the equalizer settings, or set personalized presets.
By organizing your music library on your MP3 player, you can enjoy a seamless and personalized listening experience. Finding your favorite songs becomes effortless, and you can create the perfect playlist for any occasion.
With your music library organized, it’s time for the final step: hitting play and enjoying your free music collection on the move!
Step 7: Enjoy your free music on the move
Congratulations! You have successfully downloaded, transferred, and organized your free music on your MP3 player. Now it’s time to hit the play button and immerse yourself in the joy of music on the move.
Whether you’re commuting, exercising, or simply taking a stroll, having your favorite tunes at your fingertips can enhance your overall experience. Simply plug in your headphones or connect your MP3 player to a compatible audio device, and let the music transport you to another world.
With the freedom to choose from the songs you downloaded, curated playlists, or shuffled music, you can create the perfect soundtrack for any moment. Let the rhythm energize your workouts or relax you during a peaceful moment of solitude.
Explore different genres, discover new artists, and revisit old favorites. The beauty of having free music on your MP3 player is that you have endless options to suit your mood and preferences.
As you enjoy your free music on the move, remember to adhere to local laws and regulations regarding the use of headphones or audio devices in public areas. Stay aware of your surroundings and prioritize safety while immersing yourself in your music.
Occasionally, revisit your music library to update it with new downloads or remove songs that no longer resonate with you. This way, you can ensure that your MP3 player always reflects your evolving taste in music.
Finally, don’t hesitate to share your musical discoveries with friends and family. Recommend songs, artists, or playlists that you think they might enjoy. Music brings people together and sparks conversations, so let your MP3 player become a catalyst for sharing and connecting with others.
So, whether you’re on a long journey, working out at the gym, or simply having a moment of relaxation, enjoy the freedom and pleasure of having your free music collection at your fingertips. Let the melodies guide you, uplift your spirits, and enhance every experience along the way.
Conclusion
Congratulations on successfully downloading, transferring, organizing, and enjoying your free music on your MP3 player! By following the steps outlined in this guide, you have unlocked the world of free music, allowing you to carry your favorite tunes with you wherever you go.
Throughout the process, you learned the importance of checking your MP3 player’s compatibility, choosing reliable websites for downloading music, searching for desired songs, downloading files to your computer, transferring them to your device, organizing your music library, and finally, enjoying your collection on the move.
Remember to always be mindful of the legality and terms of use when downloading and using free music. Stick to reputable websites and respect copyright laws to support artists and ensure a sustainable music industry. And, of course, never forget the joy of discovering new artists and genres as you explore the vast array of music available.
By having your free music on your MP3 player, you have the power to customize your listening experience, create personalized playlists, and enjoy high-quality music wherever you go. Whether you’re seeking motivation during workouts, relaxation during commutes, or entertainment during downtime, your MP3 player is now your trusted companion.
Continue to update your music collection, explore different genres, and share your musical discoveries with others. Music has a way of bringing people together and creating memories, so let your MP3 player be the soundtrack to your life’s adventures.
Now, it’s time to press play, feel the rhythm, and let the music transport you to new heights of enjoyment. Embrace the power of free music and revel in the joy it brings to your everyday life. Happy listening!


