Introduction
Do you ever find yourself wanting to listen to your favorite Apple Music songs even when you don’t have an internet connection? Luckily, Apple Music offers a convenient solution that allows you to download songs and listen to them offline. By downloading your favorite tracks, you can enjoy them anytime, anywhere, without worrying about a stable internet connection.
In this article, we will guide you through the simple steps to download an Apple Music song to your device’s local storage. Whether you’re using an iPhone, iPad, or iPod touch, you’ll be able to create a personalized music library that you can access even when you’re not connected to the internet.
Note that downloading Apple Music songs are only available for subscribers. If you have an active Apple Music subscription, you can take advantage of this feature to ensure uninterrupted music playback, regardless of your internet availability.
So let’s dive in and learn how to download an Apple Music song to your local storage with just a few taps!
Step 1: Open the Apple Music app
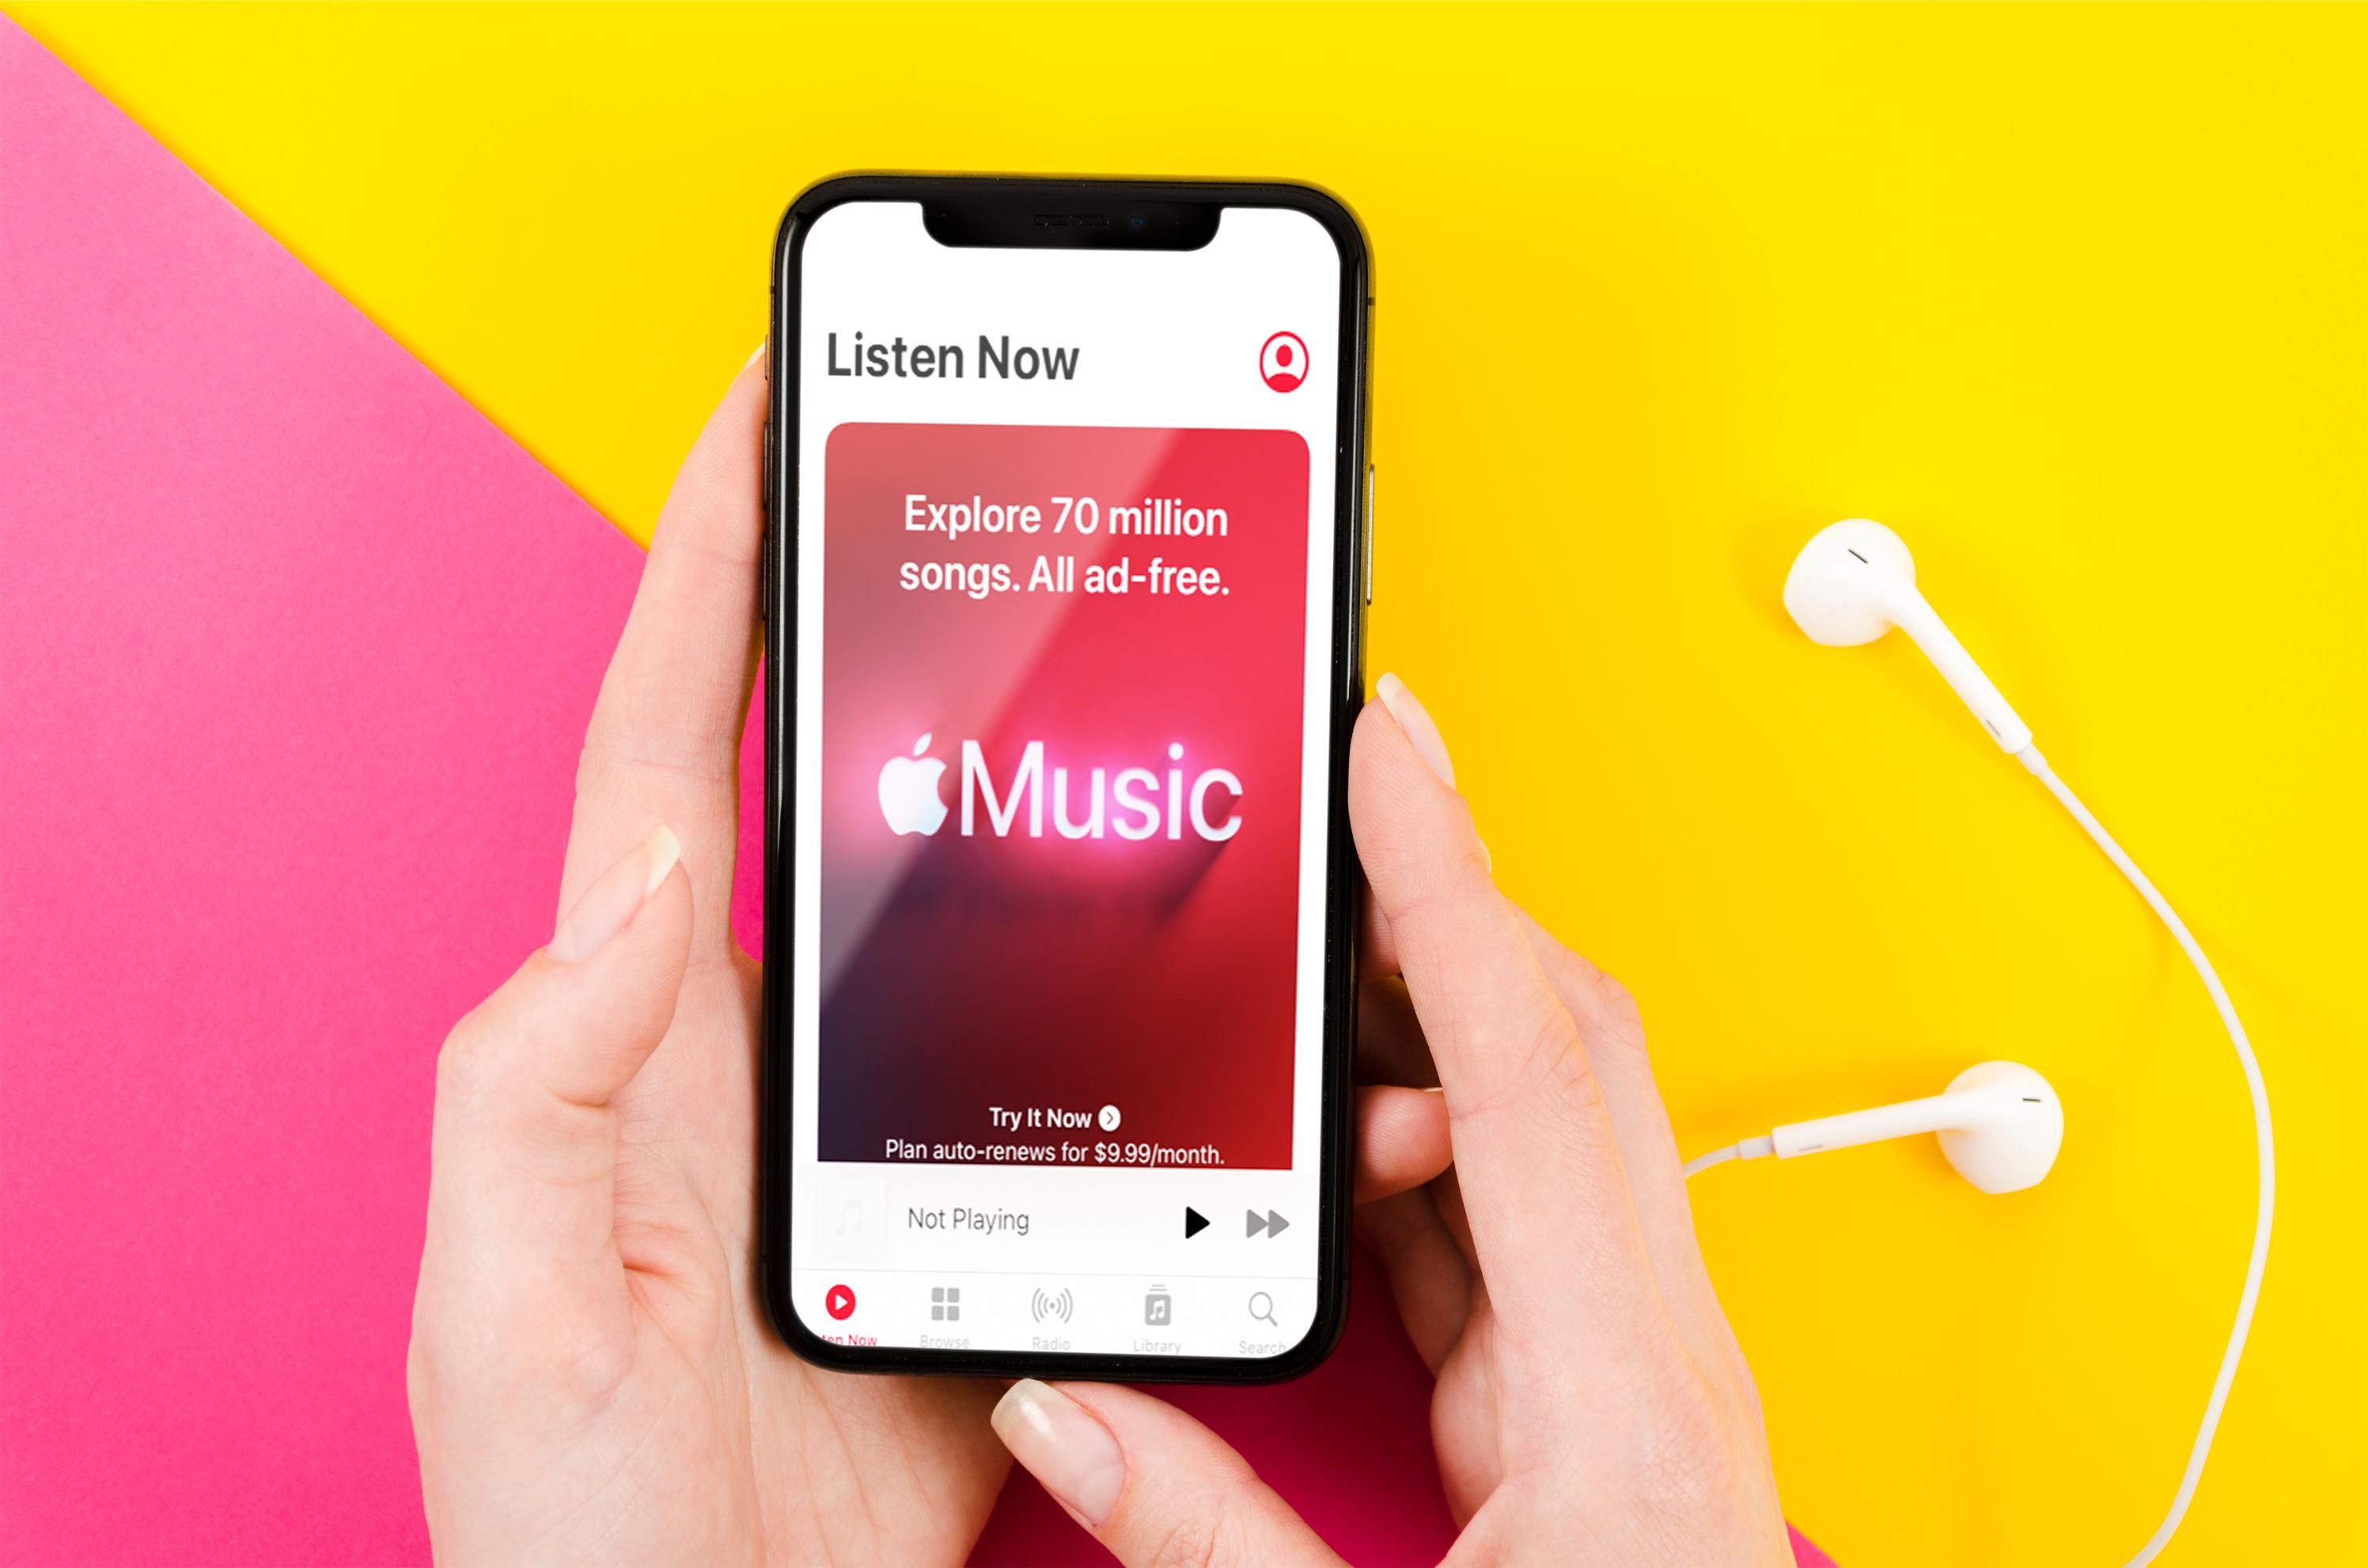
To begin, locate the Apple Music app on your device’s home screen. The app icon is recognizable by its vibrant red background with a white music note in the center. Tap on the app icon to launch it.
If you have not yet installed the Apple Music app, you can download it from the App Store. Just open the App Store on your device, search for “Apple Music,” and follow the prompts to install the app.
Once you have opened the Apple Music app, you will be greeted with the various tabs at the bottom of the screen, including “Library,” “For You,” “Browse,” “Radio,” and “Search.” These tabs provide easy access to different sections of Apple Music, allowing you to explore and discover new music.
It’s important to note that in order to download songs on Apple Music, you must have an active Apple Music subscription. If you haven’t signed up for Apple Music yet, you can do so by tapping on the “For You” or “Browse” tab and following the prompts to subscribe.
Once you have successfully opened the Apple Music app and ensured you have a valid subscription, you’re ready to move on to the next step and start downloading your favorite songs!
Step 2: Search for the desired song
Now that you have the Apple Music app open and ready, it’s time to search for the song you want to download. The Apple Music library is expansive, containing millions of tracks across various genres and artists.
To begin your search, tap on the “Search” tab located at the bottom right corner of the app interface. This will take you to the search bar, where you can enter the name of the song or the artist you wish to find.
As you type, Apple Music will dynamically generate search results based on your input. You’ll see a mix of songs, albums, playlists, and more. Make sure to select the song that matches your desired choice.
If you’re not sure about the exact title or artist name, you can utilize additional search filters and categories to narrow down the results. These filters include options such as “Songs,” “Albums,” “Playlists,” and “Music Videos.”
Once you’ve found the song you want to download, simply tap on it to access the individual track page. Here, you can find more details about the song, such as the album it belongs to, the artist, and additional options for adding it to your library or playlists.
If the song you’re looking for does not appear in the search results, it’s possible that it’s not available on Apple Music. In such cases, you may want to explore other music streaming platforms or consider purchasing the song from the iTunes Store.
Once you have successfully located the desired song in the Apple Music search results, you’re ready to move on to the next step and add it to your library for offline listening.
Step 3: Tap on the ellipsis (three dots) button
After finding the desired song in the Apple Music search results, it’s time to take the next step and prepare to download it. To do this, you need to tap on the ellipsis (three dots) button next to the song title. This button is commonly used to access additional options and settings related to the selected song.
Once you tap on the ellipsis button, a menu of options will appear. This menu provides various actions you can take with the song, such as adding it to a playlist, sharing it with others, or saving it to your library.
Among the options listed, you’ll specifically want to select “Add to Library.” This action will ensure that the song is added to your personal library, making it easily accessible for offline playback.
By tapping on “Add to Library,” you’re essentially indicating to Apple Music that you want to save the song to your account, allowing you to download it to your device and enjoy it at your convenience when you’re offline.
It’s important to note that the ellipsis button may also contain other options related to the song, such as “Add to Playlist,” “Start Station,” or “Share Song.” These options provide additional ways to interact with the selected song, but for the purpose of downloading it, make sure to choose “Add to Library.”
Once you have successfully tapped on the ellipsis button and selected “Add to Library,” you’re ready to move on to the next step and access the song in your library.
Step 4: Select the “Add to Library” option
After tapping on the ellipsis button next to the song title, a dropdown menu will appear with various options related to the selected song. Among these options, you need to choose the “Add to Library” option to proceed with the song download.
When you select the “Add to Library” option, Apple Music will add the selected song to your personal library. This action allows you to access and download the song for offline listening, ensuring that it is readily available even when you don’t have an internet connection.
The “Add to Library” option is essential because it signals to Apple Music that you want to save the song to your account. By doing so, you are creating a personalized collection of music that you can easily manage and access across all your devices.
It’s worth mentioning that once you add a song to your library, it’s not limited to just one device. You can access and download the song on any device that is connected to your Apple Music account, whether it’s an iPhone, iPad, iPod touch, or even a Mac.
By selecting the “Add to Library” option, you’re taking a crucial step in the process of downloading an Apple Music song and ensuring that it becomes part of your personal music collection. With the song successfully added to your library, you’re now ready to move on to the next step and access it for offline playback.
Step 5: Tap the “Library” tab
After selecting the “Add to Library” option for the desired song, you need to navigate to the “Library” tab in the Apple Music app. This tab allows you to manage and access the songs you’ve added to your personal collection, including those you want to download for offline listening.
To access the “Library” tab, simply tap on the corresponding icon located at the bottom right corner of the app interface. The icon typically resembles a stack of books or music notes, representing your personalized music library.
By tapping on the “Library” tab, you’ll be taken to a screen that displays your entire music collection. Here, you’ll find a list of categories, including “Playlists,” “Songs,” “Artists,” “Albums,” and more.
To proceed with downloading the desired song, you can navigate through the categories or use the search bar at the top of the screen to locate the specific song. Once you find the song in your library, you’re one step closer to downloading it for offline playback.
The “Library” tab not only provides a centralized location for managing your music collection, but it also serves as a convenient access point to download songs and ensure you can enjoy them without an internet connection.
After tapping the “Library” tab and locating the desired song, you’re prepared to move on to the next step and initiate the download process.
Step 6: Find the song in your Library
Once you have tapped on the “Library” tab in the Apple Music app, it’s time to locate the song you want to download for offline listening. The “Library” tab serves as a central hub for managing and accessing all the songs you’ve added to your personal collection.
Depending on your preferred organization method, you can navigate through the different categories such as “Playlists,” “Songs,” “Artists,” or “Albums.” These categories make it easier to find specific songs within your music library.
If you remember the name of the song or the artist, you can use the search bar located at the top of the screen to quickly locate the desired song. Simply type in the name of the song or the artist, and Apple Music will dynamically generate search results based on your input.
Alternatively, you can browse through your library by scrolling through the different categories. For example, if you know the song was part of a specific playlist, tap on “Playlists” and locate that particular playlist. Then, find the song within that playlist.
Once you have successfully located the song in your library, you’ll be able to see the title, artist, album, and other relevant details about the track. This information ensures that you have chosen the correct song and can proceed with the download process.
Remember, to download the song for offline listening, it should have the cloud icon with the down arrow next to it. If the song does not have the cloud icon, it means it is already downloaded to your device and ready for offline playback.
After finding the desired song in your library, you’re now ready to move on to the next step and initiate the download process.
Step 7: Tap the ellipsis (three dots) button next to the song title
Once you have found the desired song in your library, the next step is to tap on the ellipsis (three dots) button next to the song title. This button provides access to additional options and settings related to the selected song, including the option to download it for offline listening.
By tapping on the ellipsis button, a menu will appear with various actions and choices for the selected song. This menu allows you to perform tasks such as adding the song to a playlist, sharing it with others, or deleting it from your library.
To proceed with downloading the song, look for the option that says “Download” or “Download Song” in the menu. This option indicates that the song is not yet downloaded to your device and allows you to save it locally for offline playback.
If you see the “Download” option in the menu, it means the song is currently available for download. Tapping on this option will initiate the download process, and Apple Music will begin downloading the song to your device’s local storage.
On the other hand, if the song already has the cloud icon with the down arrow next to it, it means the song is already downloaded and available for offline listening. In such cases, you do not need to tap the ellipsis button or initiate any download action, as the song is already accessible offline.
It’s important to note that the ellipsis button may also contain other options related to the song, such as “Add to Playlist,” “Start Station,” or “Share Song.” These options provide additional ways to interact with the selected song, but for the purpose of downloading it, make sure to choose the “Download” option.
Once you have successfully tapped on the ellipsis button and selected the appropriate download option, the chosen song will begin downloading to your device, ensuring that you can enjoy it offline whenever you want.
Step 8: Choose the “Download” option
After tapping the ellipsis button next to the song title, you will see a menu with several options related to the selected song. Among these options, you need to choose the “Download” option to initiate the process of downloading the song for offline listening.
Selecting the “Download” option tells Apple Music to start downloading the song to your device’s local storage. This ensures that you can access and enjoy the song even when you don’t have an internet connection.
When you choose the “Download” option, Apple Music will begin transferring the selected song from its online database to your device. The progress of the download will be displayed, allowing you to monitor how quickly the song is being downloaded.
It’s important to note that the time it takes to download a song will depend on various factors, including the size of the song file, the speed of your internet connection, and the current availability of the Apple Music servers.
During the download process, you may notice a cloud icon with a progress bar next to the song title. This indicates that the song is being downloaded, and the progress bar will show you how much of the song has been successfully downloaded.
Once the song is completely downloaded, the cloud icon will be replaced by a checkmark or a downward arrow. This indicates that the song is now available for offline playback, and you can enjoy it without relying on an internet connection.
Remember that you can repeat this process for multiple songs, downloading as many songs as you want to create a personalized music library for offline listening.
Now that you have chosen the “Download” option, you can navigate to the “Library” tab and start enjoying your favorite songs even when you’re not connected to the internet.
Conclusion
Downloading songs from Apple Music for offline listening is a fantastic feature that allows you to create a personalized music library that you can enjoy wherever and whenever you want, even without an internet connection. By following the simple steps outlined in this guide, you can easily download your favorite songs and build a collection that suits your musical taste.
We began by opening the Apple Music app and ensuring that you have an active subscription. Then, we learned how to search for a specific song by utilizing the search bar and filter options. Once we found the desired song, we tapped on the ellipsis (three dots) button and selected the “Add to Library” option to ensure that it is added to our personal collection.
Next, we accessed the “Library” tab where we easily found the song we added, and finally, we tapped on the ellipsis button again and selected the “Download” option to initiate the download process.
By following these steps, you can continue to expand your offline music library and enjoy your favorite songs without any interruptions. Whether you are on a long flight, in an area with limited connectivity, or simply prefer to listen offline, downloading songs from Apple Music enhances your listening experience and ensures that your favorite tracks are always within reach.
So, take advantage of this convenient feature and start building your offline music library today. Enjoy the freedom of offline listening and have your favorite tunes accompany you no matter where you are!


