Introduction
YouTube is a treasure trove of music, offering a vast collection of songs and live performances. While enjoying your favorite tunes on YouTube is great, sometimes you may want to have those songs available on your Apple Music library for easy access and offline listening. Luckily, there are simple methods to download YouTube songs and import them into Apple Music.
In this article, we will guide you through the steps to download YouTube songs and add them to your Apple Music library. Whether you want to create a playlist, have an uninterrupted listening experience on the go, or simply enjoy your favorite songs without any internet connection, this guide will help you achieve that seamlessly.
Before we begin, it’s important to note that downloading copyrighted music from YouTube for personal use is generally considered legal, but distributing or using downloaded files for commercial purposes without proper authorization may infringe on copyright laws. Make sure you use these methods responsibly and only download songs for your personal enjoyment.
By following the steps outlined in this guide, you’ll be able to enjoy your favorite YouTube songs on your Apple Music library, providing you with endless music options for every occasion.
Step 1: Find the YouTube Song
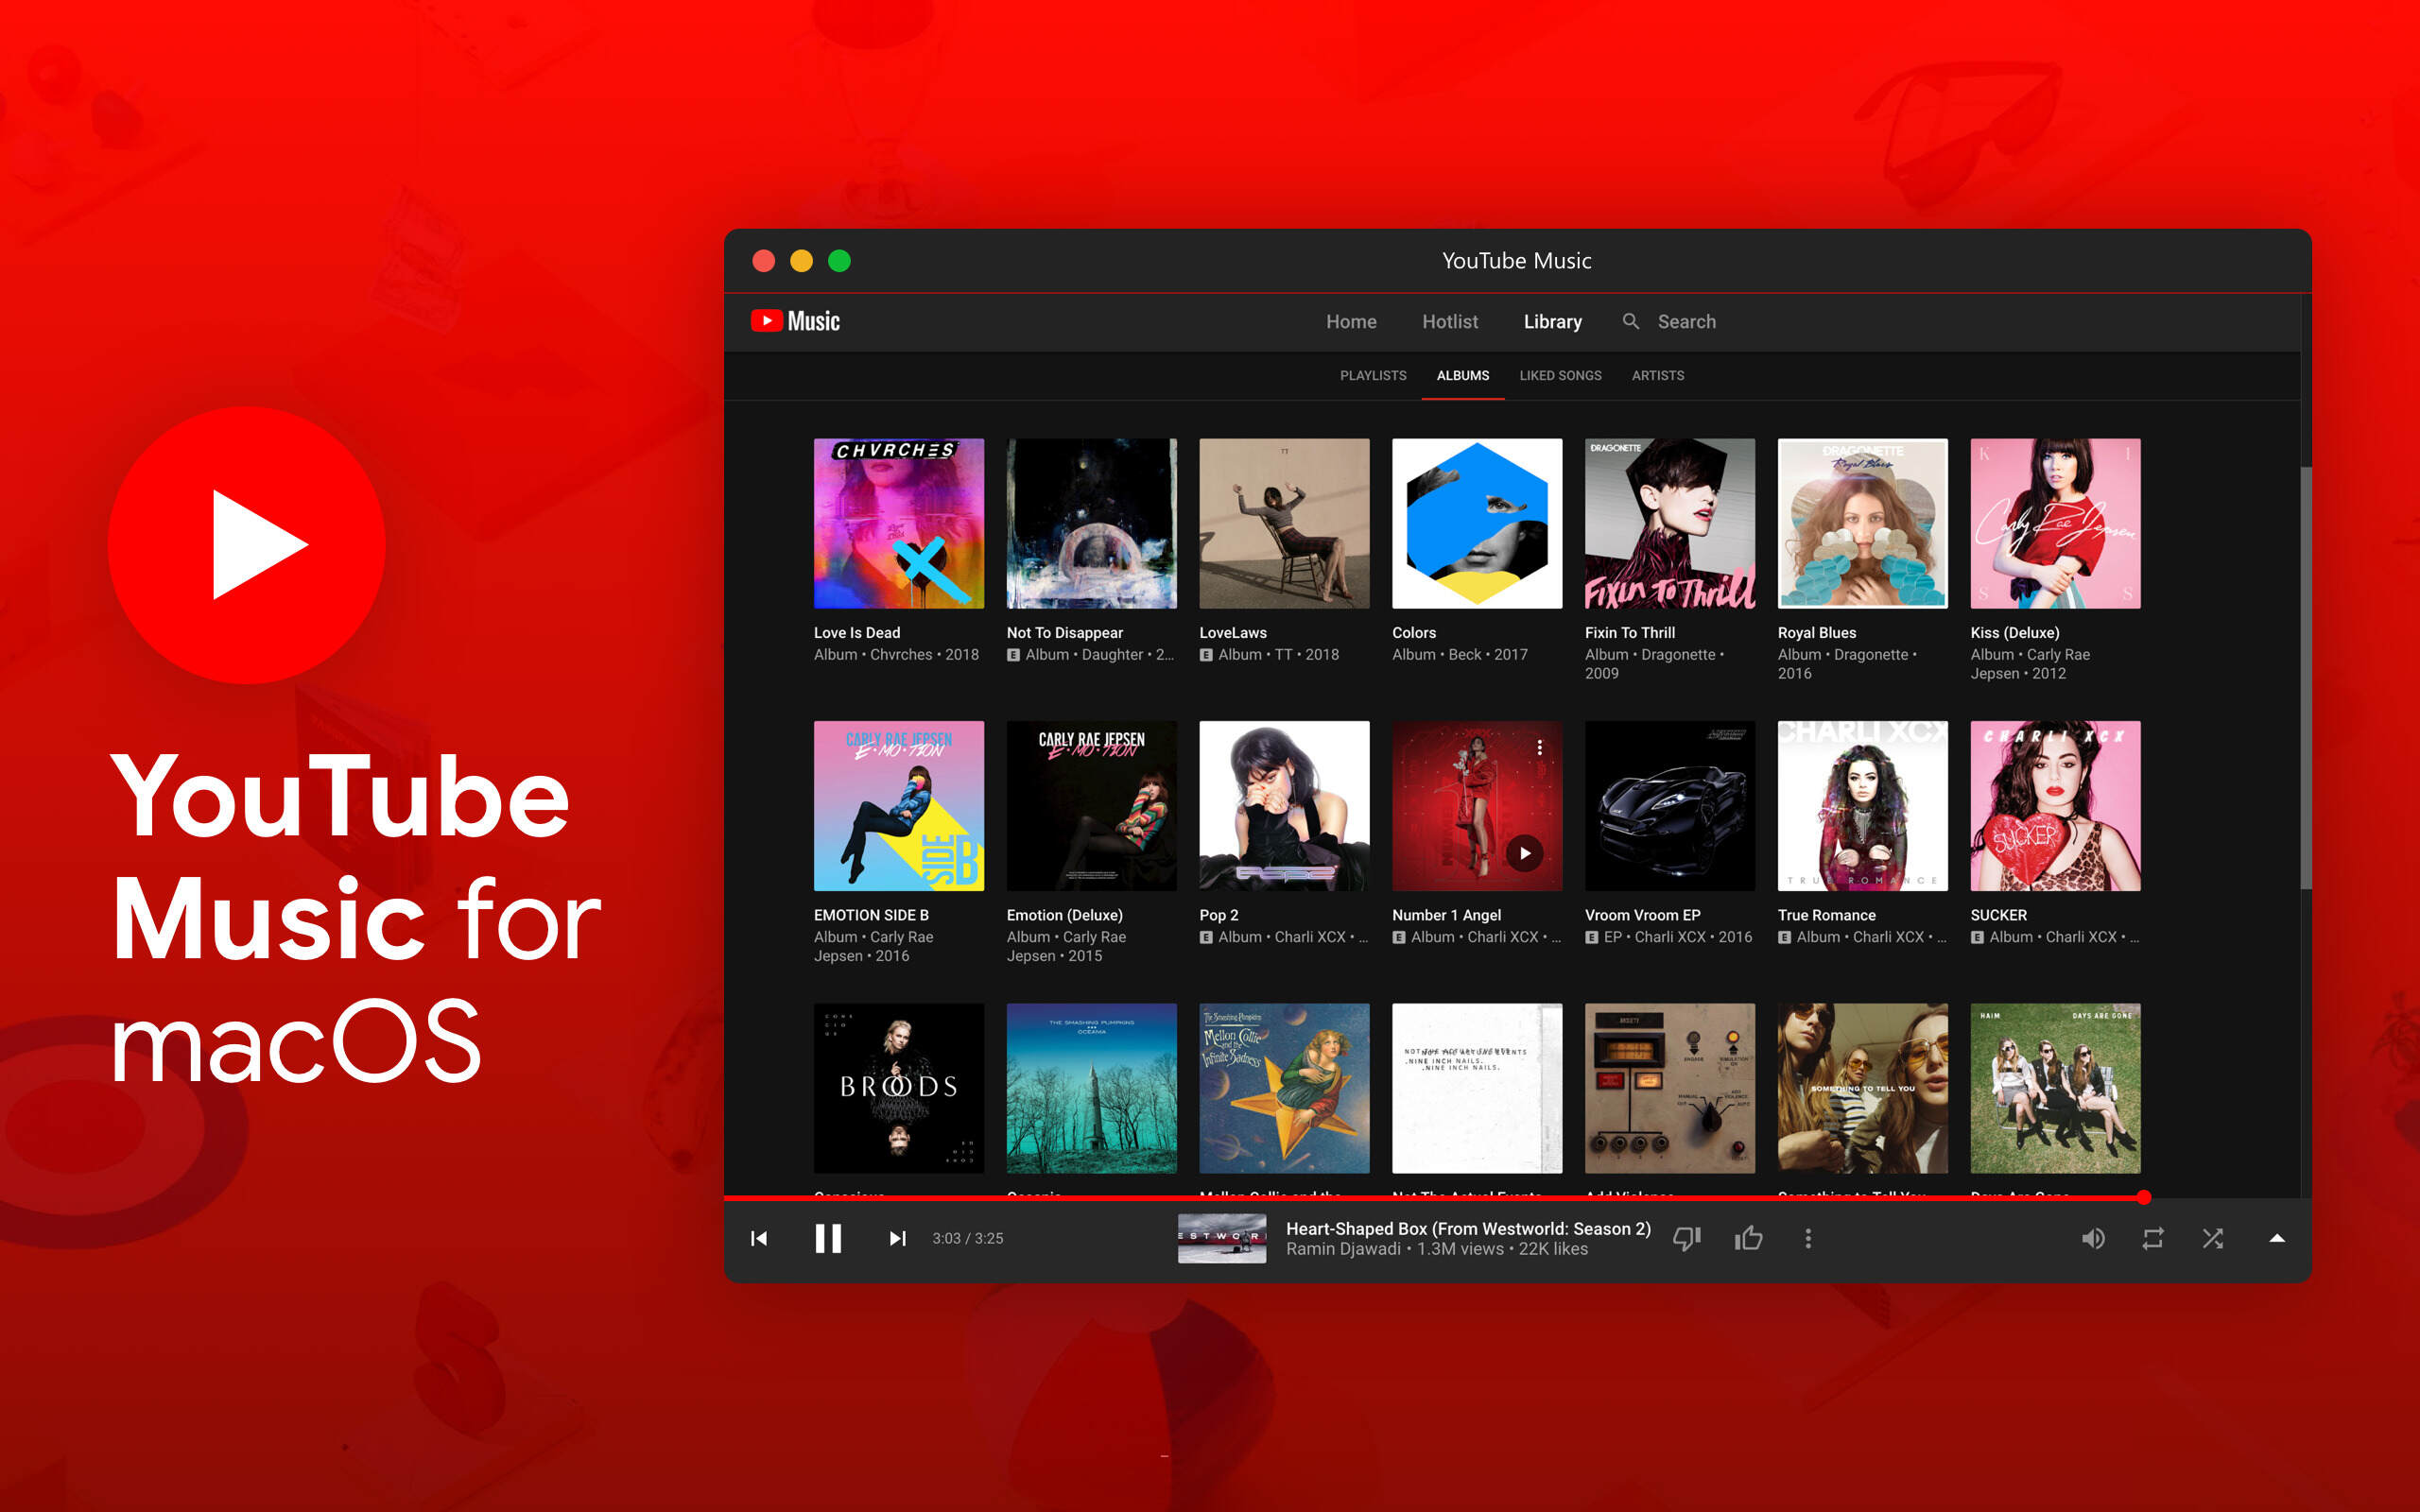
The first step in downloading YouTube songs to Apple Music is locating the desired song on YouTube. You can search for specific songs, artists, or albums using the search bar at the top of the YouTube website or app. You can also explore curated playlists or channels dedicated to your favorite genres or artists.
When searching for a song, try to include specific keywords such as the song title, artist name, and any additional information that may help narrow down the search results. This will ensure that you find the exact version of the song you are looking for.
Once you have located the desired song, ensure that it’s the official audio or a high-quality version to get the best listening experience. Look for videos with the highest view count or those uploaded by reputable channels to ensure the audio quality is top-notch.
Additionally, it is important to be aware of any copyright restrictions or usage terms for the YouTube song you wish to download. Some songs may have copyright protection or region-specific restrictions that prevent them from being downloaded or used outside of YouTube. Make sure you comply with any such restrictions to avoid any legal issues.
Remember to consider the audio quality of the YouTube video you’re about to download. Higher-quality videos will provide better sound when converted into an MP3 format for Apple Music. Look for videos with 1080p or 4K resolution, as these often have better audio quality than lower resolution videos.
By taking the time to find the perfect YouTube song, you’ll ensure an enjoyable listening experience when you add it to your Apple Music library.
Step 2: Convert YouTube Song to MP3
Once you have found the desired YouTube song, the next step is to convert it into an MP3 format that is compatible with Apple Music. There are several online converters and software programs available that can help you accomplish this task.
First, choose a reliable and reputable YouTube to MP3 converter. You can search for one online or ask for recommendations from friends or online communities. Be sure to select a converter that is safe to use and offers high-quality audio conversion.
Once you’ve chosen a converter, follow these steps:
- Copy the URL of the YouTube video containing the song you want to download.
- Paste the URL into the converter’s input field.
- Select the MP3 format as the output option.
- Click on the “Convert” or “Start” button to begin the conversion process.
- Wait for the conversion to complete.
- Download the converted MP3 file to your computer.
Remember to check the settings of the YouTube to MP3 converter to ensure that you are getting the best possible audio quality. Most converters allow you to adjust the bitrate, sample rate, and other audio settings to customize the output file according to your preferences.
It’s important to note that converting YouTube songs to MP3 format for personal use is generally legal, but distributing or using these files for commercial purposes without proper authorization may infringe on copyright laws. Make sure to use these converted files responsibly and only for your personal enjoyment.
Once you’ve successfully converted the YouTube song into an MP3 file, you’re ready to move on to the next step: importing the converted song into iTunes.
Step 3: Import Converted Song to iTunes
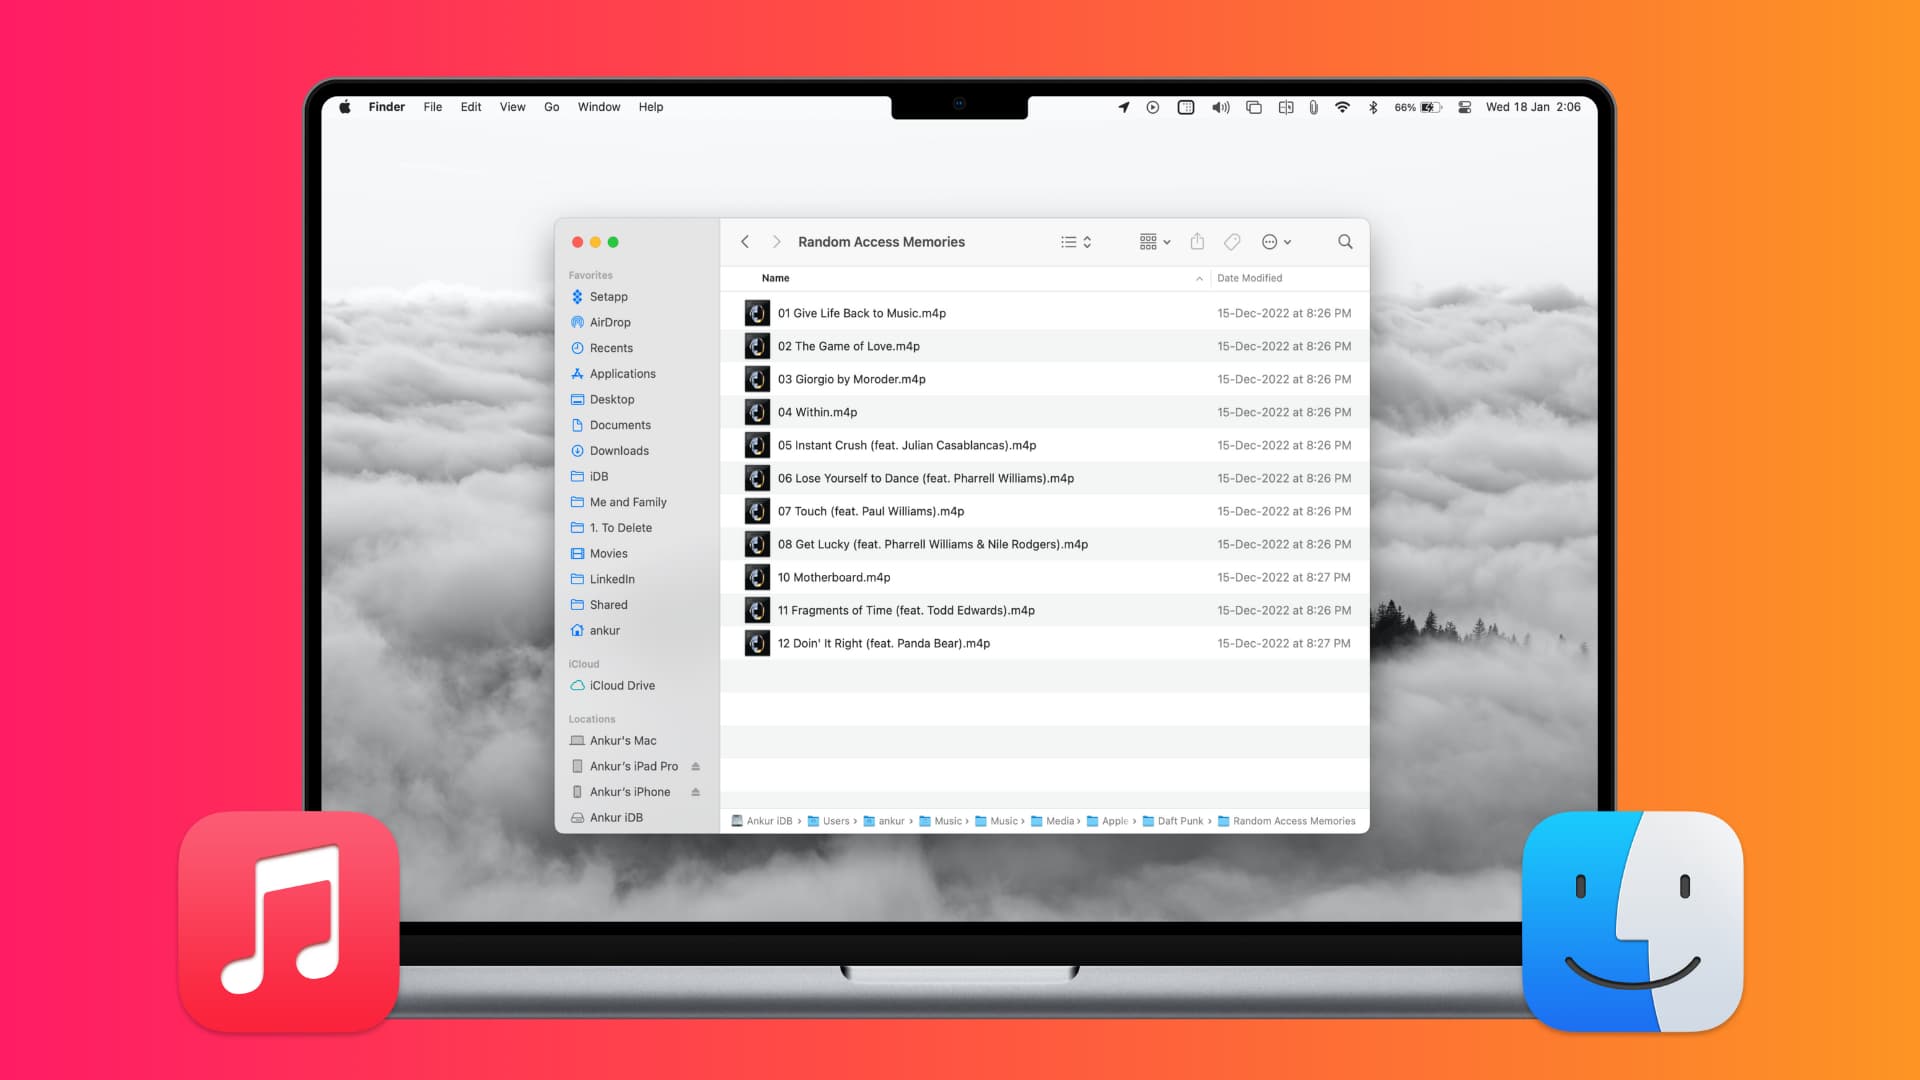
Now that you have the YouTube song converted to MP3, it’s time to import it into iTunes, which will allow you to manage and organize your music library, including syncing it with Apple Music. Follow these steps to import the converted song into iTunes:
- Open iTunes on your computer. If you don’t have iTunes installed, download and install it from the Apple website.
- Click on “File” in the top menu and select “Add File to Library” or “Add Folder to Library”, depending on whether you have a single song or a folder of songs to import.
- Browse your computer files and locate the converted MP3 song(s) you want to import. Select the song(s) and click “Open”.
- iTunes will then begin importing the song(s) into your library. The progress will be displayed in the iTunes window.
- Once the import is complete, you’ll find the imported song(s) in your iTunes library.
It’s important to ensure that your iTunes library is organized properly to easily find and manage your songs. You can create playlists, add tags, and edit song information within iTunes to keep your library neat and organized.
Remember to also check the imported song’s metadata, such as the song title, artist name, and album information, to ensure they are accurate. This will make it easier to search for and identify songs in your Apple Music library.
By importing your converted YouTube song into iTunes, you’re one step closer to enjoying it on your Apple Music library.
Step 4: Sync iTunes with Apple Music
After importing the converted song(s) into your iTunes library, the next step is to sync iTunes with Apple Music to ensure that the songs are available on all your devices. Here’s how you can sync iTunes with Apple Music:
- Ensure that you have the latest version of iTunes and that your Apple Music subscription is active.
- Connect your device, such as your iPhone or iPad, to your computer using a USB cable.
- Open iTunes and click on the device icon that appears in the upper left corner of the iTunes window.
- In the left sidebar, click on “Music”.
- Check the box next to “Sync Music” to enable the syncing of music.
- Choose whether you want to sync your entire music library or selected playlists, artists, albums, or genres.
- Click on the “Apply” or “Sync” button to start syncing your iTunes library with your device.
- Wait for the syncing process to complete. The progress will be displayed in the iTunes window.
- Once the sync is finished, you can disconnect your device from the computer.
By syncing your iTunes library with Apple Music, you will have access to the imported YouTube songs on your device through the Apple Music app. This allows you to enjoy your favorite tunes anytime, anywhere, even without an internet connection.
Remember to keep your Apple Music subscription active to continue accessing your synced music library. If your subscription expires, you may lose access to the synced songs until you renew it.
With iTunes and Apple Music in sync, you’re all set to enjoy the YouTube songs you downloaded on your devices.
Step 5: Enjoy Your YouTube Song on Apple Music
Now that you have successfully downloaded and synced your YouTube songs to Apple Music, it’s time to sit back, relax, and enjoy your favorite tunes. Here’s how you can access and enjoy your YouTube songs on Apple Music:
- Open the Apple Music app on your device. If you don’t have the app, download and install it from the App Store.
- Sign in to your Apple Music account using your Apple ID and password.
- Navigate to the “Library” tab within the Apple Music app.
- Here, you’ll find all your synced music from iTunes, including the YouTube songs you converted and imported.
- Browse through your music library or use the search function to find the specific song you want to listen to.
- Once you’ve found the song, simply tap on it to start playing.
- You can create playlists, organize your music, and even download songs for offline listening by clicking on the ellipsis (…) next to a song or album.
- Enjoy your YouTube songs on Apple Music whenever and wherever you want.
With Apple Music, you’ll have access to your entire music library, including the YouTube songs you downloaded, right at your fingertips. You can enjoy your favorite tunes on your iPhone, iPad, Mac, or any other device that supports Apple Music.
Remember to keep your Apple Music subscription active to continue enjoying your downloaded YouTube songs. If the subscription expires, you may lose access to the synced songs until you renew it.
Now that you’ve completed all the steps, you can fully enjoy your YouTube songs on Apple Music and have a personalized collection of music that perfectly suits your taste.