Introduction
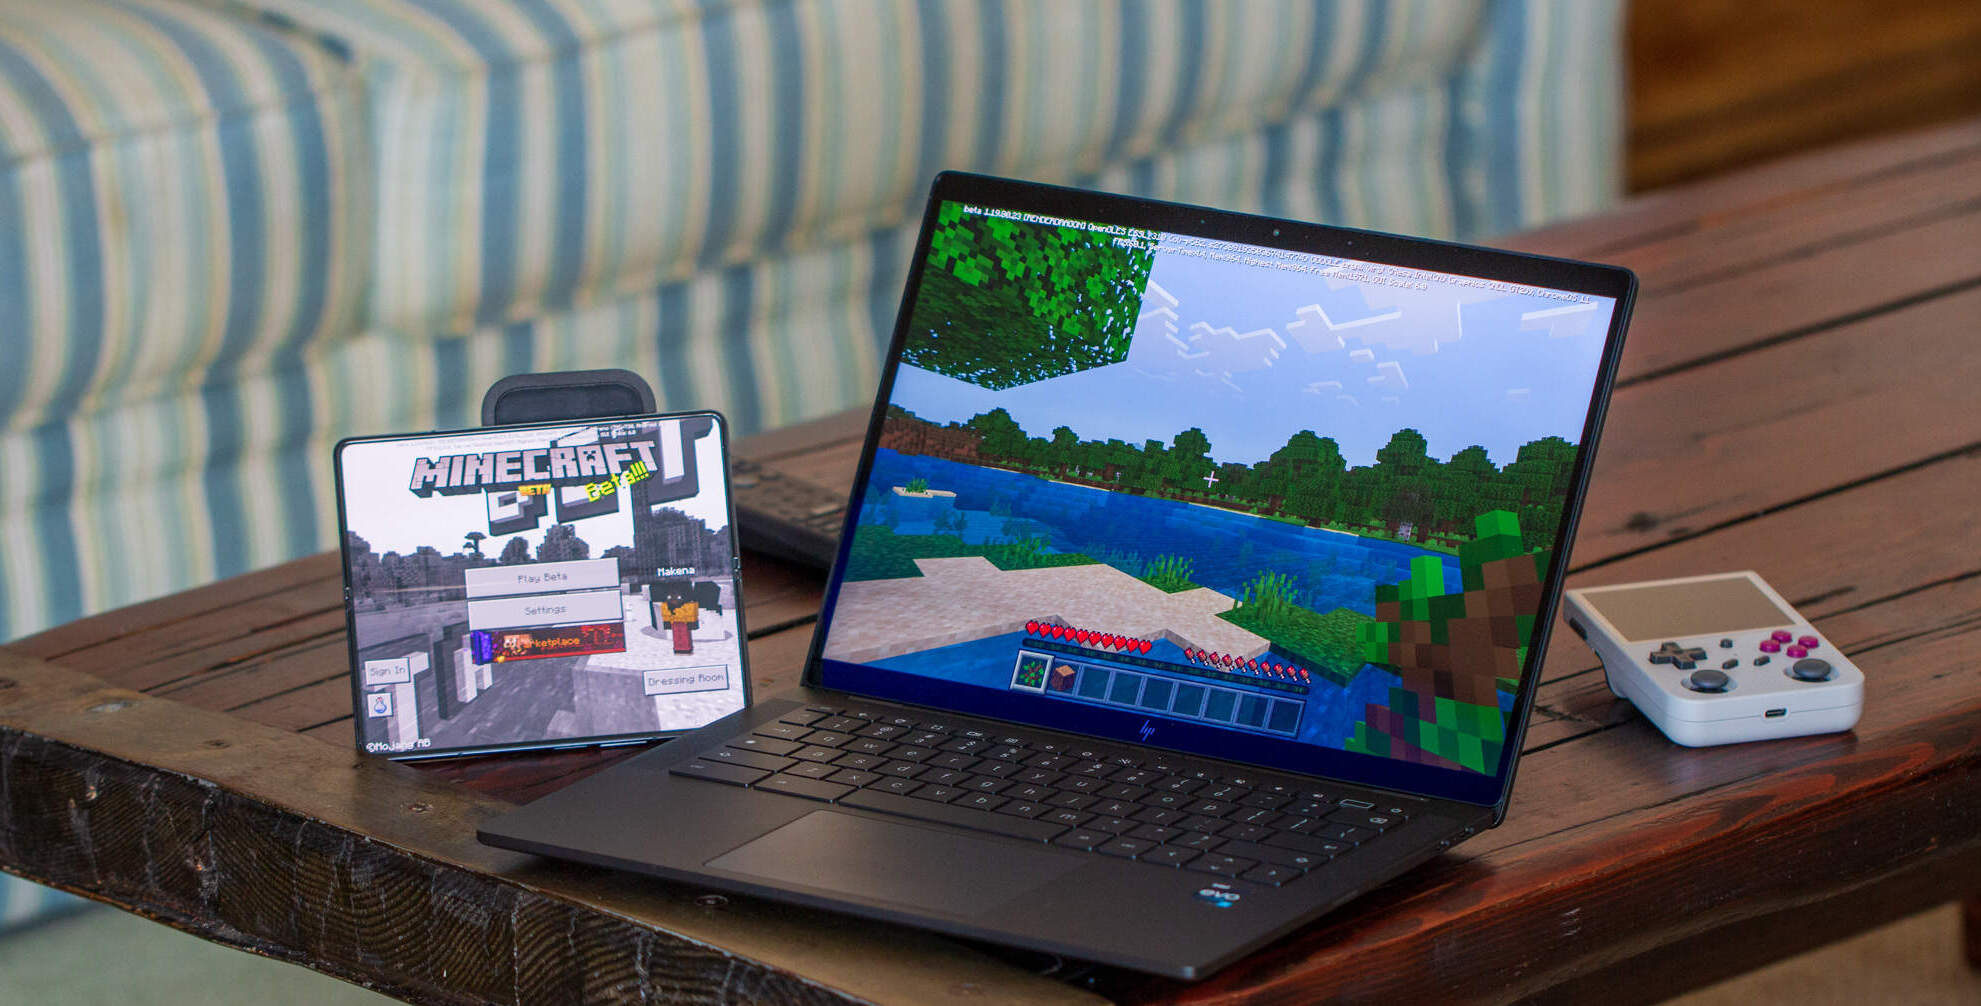
Welcome to the world of Minecraft! If you’re a Macbook user and have been itching to play this popular sandbox game, you’ve come to the right place. Minecraft offers a limitless open-world environment where players can explore, build, and create to their heart’s content. Whether you’re a seasoned gamer or new to the Minecraft universe, this guide will walk you through the step-by-step process of downloading and installing Minecraft on your Macbook.
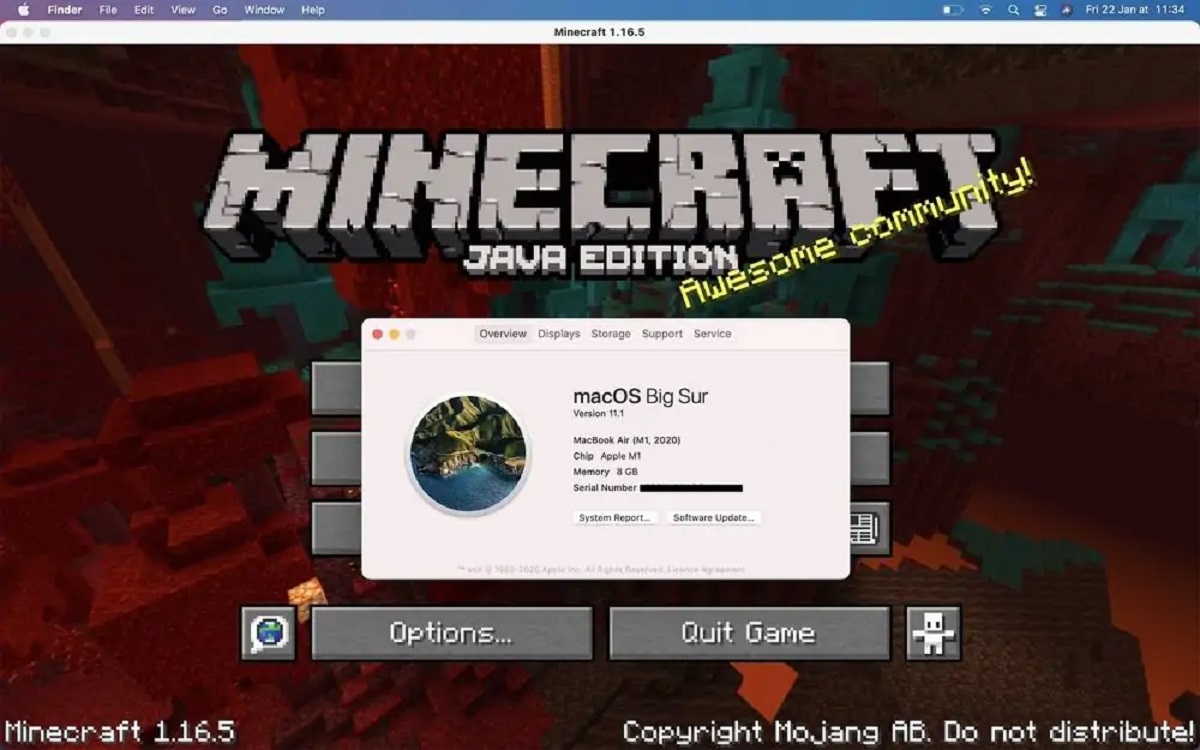
Before diving into the exciting world of Minecraft, it’s important to ensure that your Macbook meets the necessary system requirements. Minecraft is a resource-intensive game, so having the right hardware and software on your Macbook is crucial for optimal gameplay. In the next section, we will outline the system requirements and help you determine if your Macbook is ready for Minecraft.
So, let’s get started on this Minecraft adventure! By the end of this guide, you’ll be ready to explore, build, and craft your way through the endless possibilities of the Minecraft universe. Whether you’re embarking on a solo journey or joining friends in multi-player mode, get ready to unleash your creativity and immerse yourself in the captivating world of Minecraft on your Macbook.
System Requirements
Before you download and install Minecraft on your Macbook, it’s important to ensure that your system meets the necessary requirements to run the game smoothly. Minecraft is a Java-based game that demands a certain level of hardware and software specifications to function properly.
Here are the minimum system requirements for Minecraft on Macbook:
- Operating System: Mac OS X 10.9 Mavericks or later
- CPU: Intel Core i5-4690 or AMD A10-7800 or equivalent
- RAM: 8GB
- Graphics Card: Integrated Intel HD Graphics 4000 or AMD Radeon R5 series or NVIDIA GeForce 500 Series
- Storage: 4GB available space
It’s important to note that these are just the minimum requirements for Minecraft. If you wish to enhance your gaming experience and enjoy the game to its fullest, it’s recommended to have a Macbook with higher specifications, such as a more powerful CPU, more RAM, and a dedicated graphics card.
In addition to the hardware requirements, you’ll also need Java installed on your Macbook. Minecraft is built on Java technology, so having the latest version of Java is vital for smooth gameplay. You can download and install Java for Macbook from the official Oracle website.
Ensure that your Macbook meets these requirements for an optimal Minecraft experience. Once you have confirmed that your system is ready, you’re ready to proceed to the next section – downloading Minecraft onto your Macbook.
Step 1: Downloading Minecraft
Now that you have confirmed that your Macbook meets the system requirements, it’s time to download Minecraft. Follow the steps below to get started:
- Visit the official Minecraft website: Head over to the official Minecraft website at www.minecraft.net.
- Choose the Mac version: On the Minecraft homepage, locate the “Get Minecraft” button and click on it. From the drop-down menu, select “Minecraft for Mac”.
- Select Minecraft edition: Minecraft offers different editions, such as Java Edition and Bedrock Edition. Choose the edition that suits your preferences and click on it.
- Sign in or create an account: If you already have a Minecraft account, sign in using your login credentials. Otherwise, click on “Create Account” to create a new account.
- Purchase Minecraft: Once you are signed in, you will be prompted to purchase Minecraft. Follow the instructions to complete the purchase.
- Download Minecraft: After purchasing, you will be redirected to the download page. Click on the “Download” button to start the download process.
Depending on your internet speed, the download process may take a few minutes. Once the download is complete, you’re ready to proceed to the next step – installing Minecraft on your Macbook.
It’s worth mentioning that Minecraft has a demo version available for free, allowing you to test the game before making a purchase. If you’re unsure about buying Minecraft, you can try out the demo version first to get a feel for the gameplay and features.
Now that you have successfully downloaded Minecraft, let’s move on to the next step – installing the game on your Macbook!
Step 2: Installing Minecraft
After downloading Minecraft onto your Macbook, the next step is to install the game. Follow the instructions below to install Minecraft on your Macbook:
- Locate the downloaded file: Open Finder on your Macbook and navigate to the “Downloads” folder or the location where you saved the Minecraft installation file.
- Double-click the installation file: Once you have located the file, double-click it to begin the installation process.
- Confirm installation: A popup window will appear asking for your confirmation to install Minecraft. Click “Open” or “Confirm” to proceed.
- Follow the installation wizard: The Minecraft installation wizard will guide you through the installation process. Read and accept the license agreement, choose the installation location, and click “Install”.
- Wait for the installation to complete: The installation process may take a few minutes. Be patient and allow the installer to complete the necessary steps.
- Installation completed: Once the installation is finished, a confirmation message will appear. Click “Close” or “Finish” to exit the installer.
After following these steps, Minecraft will be successfully installed on your Macbook. You can now proceed to the exciting part – launching the game and starting your Minecraft adventure!
It’s important to note that if you encounter any installation issues or errors, make sure you have followed the system requirements and downloaded the appropriate version of Minecraft for your Macbook. If the problem persists, you can visit the Minecraft support website or reach out to their customer support for further assistance.
Now that Minecraft is installed on your Macbook, let’s move on to the final step – launching the game and starting your Minecraft journey!
Step 3: Launching Minecraft
Now that Minecraft is installed on your Macbook, it’s time to launch the game and start your Minecraft adventure. Follow these steps to launch Minecraft:
- Locate the Minecraft launcher: Open Finder on your Macbook and navigate to the installation location of Minecraft. By default, the Minecraft launcher is located in the Applications folder.
- Double-click the Minecraft launcher: Once you have located the launcher, double-click it to open the Minecraft application.
- Sign in to your Minecraft account: On the Minecraft launcher, enter your login credentials (username and password) and click “Log In” to sign in to your Minecraft account.
- Choose your Minecraft version: The Minecraft launcher allows you to choose from different game versions. Select the version you want to play by clicking on the drop-down menu next to the “Play” button.
- Click “Play” to launch Minecraft: After selecting the desired game version, click the “Play” button to launch Minecraft.
Once you have launched Minecraft, you will be taken to the game’s main menu. From here, you can start a new single-player game, join a multiplayer server, or access the Minecraft Marketplace to explore available content.
Before diving into your Minecraft adventure, take some time to explore the game settings, customize your character, and familiarize yourself with the controls. Minecraft offers a vast and immersive world, so make sure to make the most out of your experience!
Congratulations! You have successfully launched Minecraft on your Macbook. Now, it’s time to unleash your creativity, embark on epic adventures, and build incredible structures in the captivating world of Minecraft.
Happy gaming and enjoy your Minecraft journey!
Conclusion
Congratulations on successfully downloading, installing, and launching Minecraft on your Macbook! You are now ready to embark on an exciting journey in the vast world of Minecraft. Whether you desire to build elaborate structures, explore hidden caves, or engage in epic battles, Minecraft offers endless possibilities for creativity and adventure.
Throughout this guide, we covered the essential steps to get Minecraft up and running on your Macbook. From checking system requirements to downloading the game, installing it, and finally launching Minecraft, you have followed a smooth and straightforward process.
Remember, Minecraft is not just a game – it’s a vibrant community of players from around the world. Take advantage of online multiplayer mode to connect with friends or join existing servers for collaborative projects and engaging gameplay experiences.
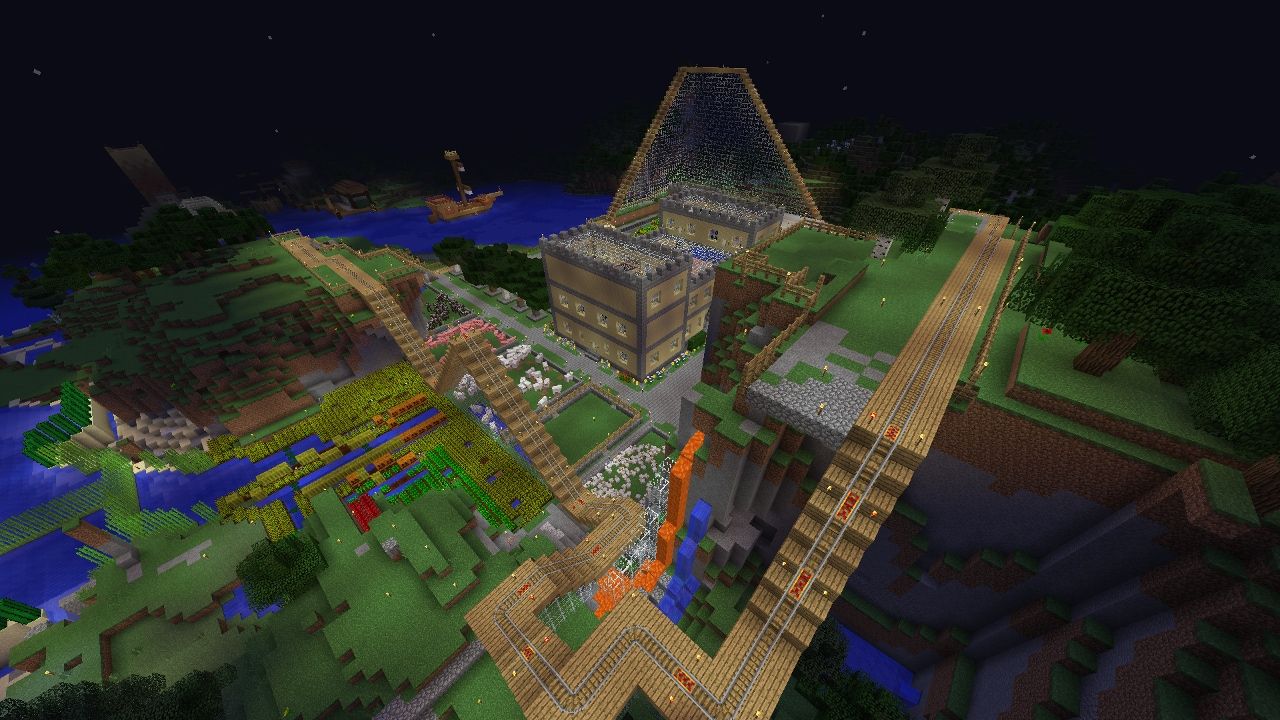
As you delve deeper into the Minecraft universe, don’t be afraid to experiment and unleash your imagination. From constructing grand castles to creating redstone contraptions or delving into challenging survival scenarios, Minecraft allows you to shape and mold the world according to your vision.
Should you encounter any issues or have questions along the way, don’t hesitate to explore the Minecraft support website or seek assistance from the Minecraft community. There are countless resources available to help you navigate any obstacles and make the most of your Minecraft experience.
Now that you’re familiar with the process of downloading, installing, and launching Minecraft on your Macbook, it’s time to embark on your Minecraft adventure. Enter a world of limitless creativity, thrilling exploration, and endless possibilities.
Get ready to discover the wonders of Minecraft, unleash your creativity, and have countless hours of fun on your Macbook!