Introduction
So, you’re a proud owner of the popular game Minecraft, and you’re ready to dive back into the block-filled world of creativity and adventure. Perhaps you’ve purchased Minecraft in the past and are looking to download it again on a new device, or maybe you’re reinstalling it on your current computer. Whatever the case may be, we’re here to help you through the process!
Minecraft, developed by Mojang Studios, is a sandbox game that allows players to build and explore virtual worlds made up of 3D blocks. It has become a global phenomenon with millions of players of all ages immersing themselves in its limitless possibilities. Whether you want to build towering castles, explore treacherous caves, or battle hordes of monsters, Minecraft offers endless fun.
Downloading Minecraft is a straightforward process that can be completed in just a few simple steps. In this guide, we’ll take you through the process of downloading Minecraft if you already own it. We’ll cover everything from accessing the website to installing the game files, so you’ll be back in the game in no time.
Whether you’re playing on a PC, Mac, or Linux machine, the process is similar, so you can easily follow along regardless of your operating system. So, grab your pickaxe, put on your diamond armor, and let’s get started on your Minecraft download adventure!
Note: This guide assumes that you already have a Minecraft account. If you don’t have one, you can create a new account on the official Minecraft website before proceeding with the download.
Step 1: Access the Minecraft Website
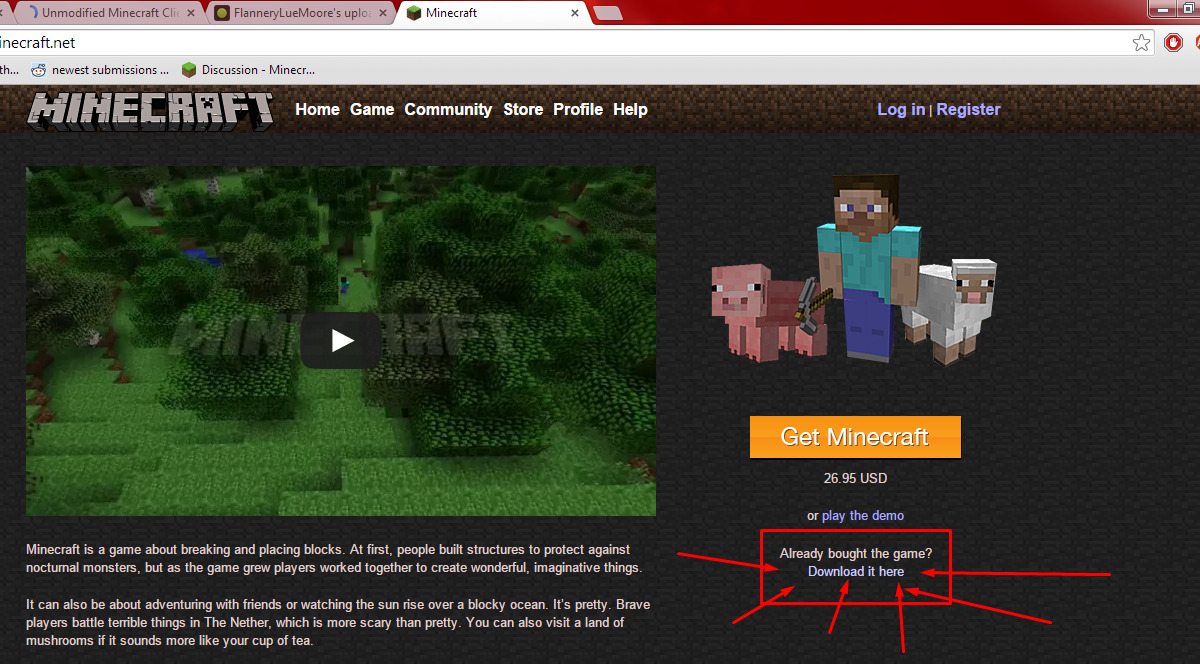
The first step in downloading Minecraft is to access the official Minecraft website. Open up your preferred web browser and type www.minecraft.net in the address bar. Press Enter, and you’ll be directed to the Minecraft website’s homepage.
Once you’re on the Minecraft homepage, take a few moments to explore the various sections and learn more about the game’s latest updates, community creations, and additional features. The Minecraft website is a valuable resource for staying up-to-date with the game and connecting with other players.
If you’re not automatically redirected to the correct country-specific page, you can use the region selector located at the top right corner of the homepage to choose your desired region. This ensures that you download the appropriate version of Minecraft for your location.
Now that you’re on the Minecraft website, you’re ready to move on to the next step: logging in to your Minecraft account. If you’ve already logged in before, you can skip ahead to Step 3. If not, read on to learn how to access your account.
Note: If you encounter any issues accessing the Minecraft website, make sure your internet connection is stable and your browser is up-to-date. Clearing your browser’s cache and cookies might also help resolve any potential connectivity issues.
Step 2: Log in to Your Minecraft Account
In order to download Minecraft, you need to log in to your Minecraft account. If you already have an account, follow these steps to log in:
- On the top right corner of the Minecraft website, click on the “Log in” button. This will take you to the login page.
- Enter the email address associated with your Minecraft account in the “Email” field. Make sure to double-check for any typos or errors.
- Next, enter your password in the “Password” field. Take care to input the correct password, paying attention to the capitalization and any special characters.
- Once you have entered your login credentials, click on the “Log in” button to proceed.
If you have forgotten your password, you can click on the “Forgot Password?” link on the login page. This will guide you through the process of resetting your password and gaining access to your Minecraft account again.
If you don’t already have a Minecraft account, you will need to create one before you can proceed with the download. Click on the “Register” button on the homepage, and you will be directed to the account creation page. Follow the instructions there to create a new account using a valid email address and password.
By logging in to your Minecraft account, you gain access to various features, such as the ability to download the game, manage your Minecraft profile, join multiplayer servers, and more. It also ensures that you can enjoy all the benefits and updates that come with owning a Minecraft account.
Once you are successfully logged in, you are now ready to move on to the next step: navigating to the download page on the Minecraft website.
Step 3: Navigate to the Download Page
After logging in to your Minecraft account, the next step is to navigate to the download page. Here’s how you can do it:
- On the top navigation bar of the Minecraft website, click on the “Games” tab. This will open a dropdown menu with a list of games and versions.
- From the dropdown menu, select “Minecraft” to access the Minecraft game page.
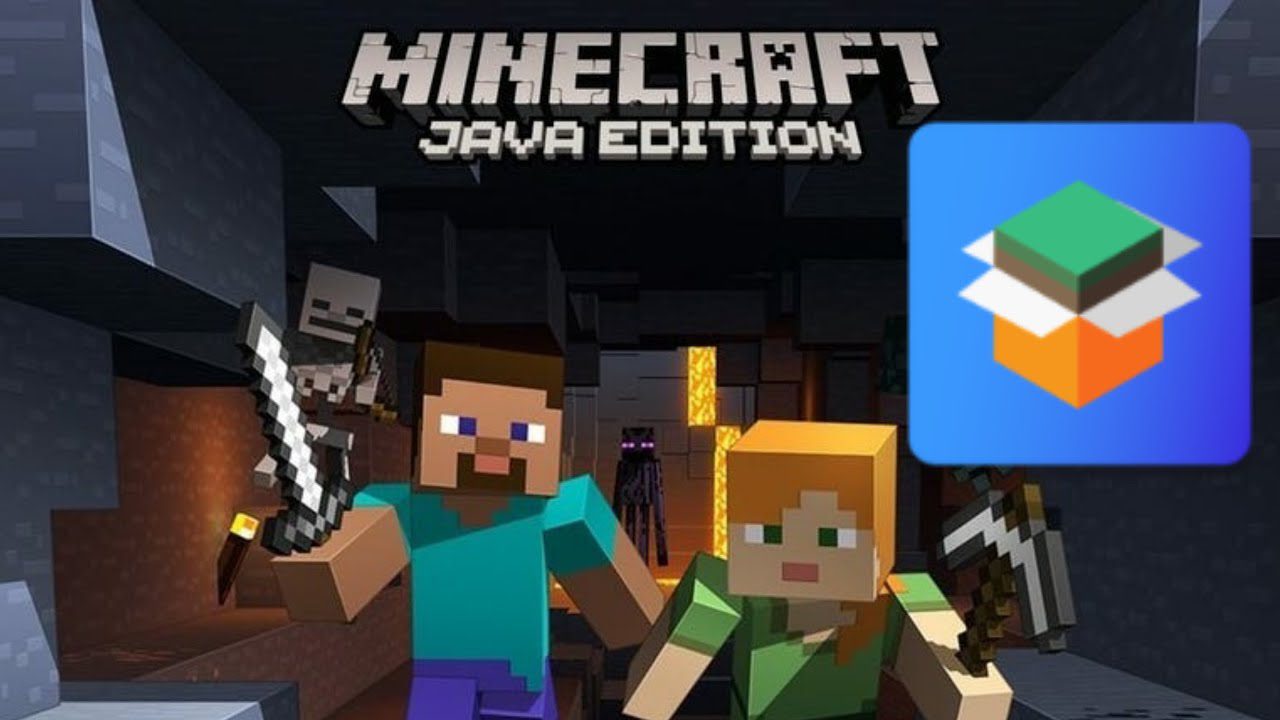
- On the Minecraft game page, scroll down until you find the section titled “Minecraft: Java Edition”. This is the version of Minecraft that you will be downloading.
- Within the “Minecraft: Java Edition” section, click on the “Download” button. This will take you to the download page for the game.
On the download page, you’ll find information about the latest version of Minecraft, including its size, system requirements, and any patch notes or release notes. Take a moment to review this information, ensuring that your computer meets the necessary specifications for running the game.
It’s important to note that the Minecraft: Java Edition is the original version of Minecraft, which provides access to the full range of gameplay features and modding capabilities. If you’re looking to download Minecraft on a different platform, such as Minecraft: Bedrock Edition for consoles or Minecraft: Pocket Edition for mobile devices, you will need to access the appropriate download page on the Minecraft website.
Once you’ve reached the download page and reviewed the necessary information, you’re now ready to proceed to the next step: selecting your preferred Minecraft version.
Step 4: Choose Your Preferred Minecraft Version
With the download page open, you’ll have the opportunity to choose your preferred version of Minecraft. Here’s what you need to do:
- On the download page, you’ll see a list of available versions. These may include the latest release, snapshots of upcoming updates, and older versions.
- Take a moment to consider which version you want to download. If you’re not sure, you can always opt for the latest stable release, which is recommended for most players.
- To download the latest stable release, simply click on the “Download” button beside the appropriate version. This will initiate the download process.
If you are interested in testing out upcoming features and providing feedback to the Minecraft development team, you can choose to download a snapshot version. Snapshot versions are experimental builds that give you a sneak peek into what’s coming in future updates. However, keep in mind that snapshot versions may have bugs or incomplete features, so they are not as stable as the official releases.
Alternatively, if you wish to play an older version of Minecraft for nostalgic reasons or compatibility purposes, you can select an older version from the list. Older versions can be useful if you want to play on servers or with mods that require specific Minecraft versions.
Once you have made your selection and initiated the download process, the Minecraft launcher file will be saved to your computer. This launcher is the key to installing and launching the game on your system. Now, it’s time to move on to the next step: selecting your operating system.
Step 5: Select Your Operating System
After choosing your preferred Minecraft version, it’s time to select the appropriate operating system to download the game. Follow these steps:
- On the download page, you’ll find a list of available operating systems. These may include Windows, macOS, and Linux distributions such as Ubuntu or Debian.
- Identify the operating system of the device you’re using to play Minecraft.
- Click on the corresponding download button for your operating system to begin the download process.
It’s important to select the correct operating system to ensure compatibility and optimal performance. Minecraft provides dedicated versions for various operating systems, so be sure to choose the one that matches your device.
If you’re using a Windows computer, select the Windows download button. This will initiate the download of the Minecraft installer file (typically ending with “.exe”) specific to the Windows platform.
For macOS users, choose the macOS download button. This will save the Minecraft installer file (ending with “.dmg”) designed for macOS systems.
If you’re running a Linux distribution, locate the appropriate download button for your specific version. Each distribution may have its own set of instructions for installation, so be sure to follow any additional steps provided.
Remember to save the installer file to a location on your computer where you can easily locate it. This will make it easier to proceed with the installation process in the next steps.
Once you have successfully downloaded the installer file for your operating system, you’re now ready to move on to the next step: installing the Minecraft launcher.
Step 6: Download Minecraft Launcher
Now that you’ve chosen the appropriate operating system, it’s time to download the Minecraft Launcher. The launcher is a vital component that allows you to manage and launch Minecraft on your computer. Follow these steps to download the launcher:
- Locate the Minecraft installer file you downloaded in the previous step.
- Double-click on the installer file to open it. This will typically open a setup wizard or prompt.
- Follow the on-screen instructions provided by the setup wizard. These instructions may vary based on your operating system.
- Review the license agreement and accept it to proceed with the installation.
- Choose the installation location for the Minecraft Launcher on your computer. By default, it will be installed in the recommended directory.
- Click on the “Install” or “Next” button to start the installation process.
- Wait for the installation to complete. The launcher will be installed to your computer.
The Minecraft Launcher acts as a hub where you can access and manage different versions of Minecraft, including the ones you’ve downloaded. It allows you to select specific game versions, manage mods, create profiles, and join multiplayer servers.
Once the installation is finished, you will have the Minecraft Launcher installed on your computer. You’re now one step closer to diving back into the world of Minecraft! The next step will guide you through the process of logging into the launcher with your Minecraft account.
Step 7: Install Minecraft Launcher
With the Minecraft launcher downloaded, it’s time to install it on your computer. The launcher is the gateway to launching and managing your Minecraft game. Follow these steps to install the Minecraft launcher:
- Locate the Minecraft launcher installer file that you downloaded in the previous step. It should be saved to a location on your computer, such as your Downloads folder.
- Double-click on the installer file to begin the installation process. This will open the Minecraft launcher setup wizard.
- Follow the on-screen instructions provided by the setup wizard to proceed with the installation. The instructions may vary depending on your operating system.
- Read and accept the license agreement to continue with the installation.
- Choose the destination folder where you want to install the Minecraft launcher. By default, it will be installed in the recommended directory.
- Click on the “Install” or “Next” button to start the installation process.
- Wait for the installation to complete. Once finished, you will see a confirmation message indicating that the installation was successful.
Once you have successfully installed the Minecraft launcher, you’re one step closer to re-entering the world of Minecraft. The launcher is the central hub where you can access and manage different Minecraft versions, mods, and multiplayer servers.
With the Minecraft launcher installed, you’re now ready to move on to the next step: logging in to the launcher with your Minecraft account details. This will grant you access to your Minecraft profile and allow you to download and play the game.
Step 8: Log in to the Launcher with Your Minecraft Account
Now that the Minecraft launcher is installed on your computer, it’s time to log in using your Minecraft account. Here’s how you can do it:
- Launch the Minecraft launcher from your desktop or the installation directory where you installed it.
- The Minecraft launcher will open, presenting you with the login screen. Enter your Minecraft account credentials, including your email address and password.
- Double-check the information you entered to ensure it is accurate. Remember to use the same credentials that you used when logging in to your Minecraft account on the Minecraft website.
- Click on the “Log In” or “Sign In” button to proceed.
- The launcher will verify your credentials and log you into your Minecraft account. If successful, you will be directed to the Minecraft launcher’s home screen.
Logging in to the Minecraft launcher is an essential step to access and manage your Minecraft profile, game versions, and multiplayer servers. It ensures that you can download and play the game using your Minecraft account.
If you encounter any issues during the login process, double-check your credentials for any errors. Ensure that your internet connection is stable and that you have a valid Minecraft account. If you have forgotten your password, you can use the “Forgot Password?” option to reset it.
Once you have successfully logged in to the Minecraft launcher, you’re now ready to proceed with the next step: downloading and installing the Minecraft game files onto your computer.
Step 9: Download and Install Minecraft Game Files
With the Minecraft launcher logged in to your account, it’s time to download and install the Minecraft game files. Follow these steps to proceed:
- On the Minecraft launcher’s home screen, you’ll see a list of available game versions. These versions may include the latest release, snapshots, or any custom profiles you have created.
- If you wish to download the latest release version, click on the “Play” button. The launcher will automatically start the download process for the selected version.
- The Minecraft launcher will display a progress bar indicating the download status. Wait for the download to complete.
- After the download is finished, the launcher will prompt you to install the downloaded game files. Click on the “Install” button to start the installation process.
- The launcher will extract and install the necessary Minecraft game files onto your computer. This may take some time, so be patient until the installation is completed.
- Once the installation is finished, the launcher will display a confirmation message indicating that the game files have been successfully installed.
After completing these steps, you now have the Minecraft game files installed on your computer. The launcher will manage and update the game files as needed, ensuring that you have the latest version of Minecraft available.
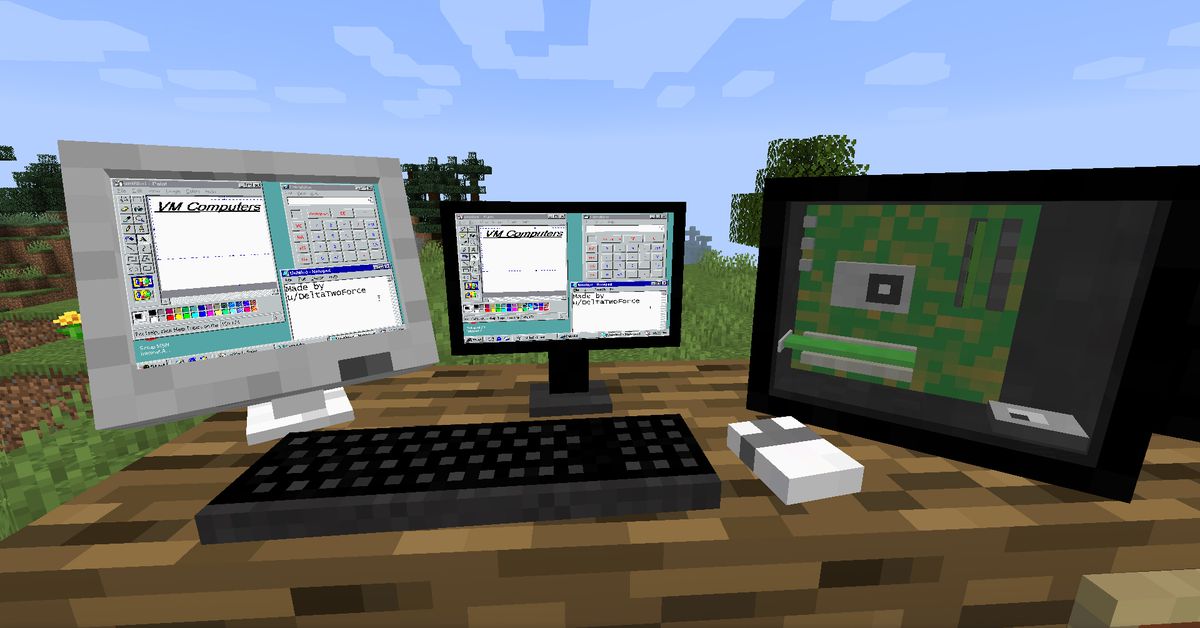
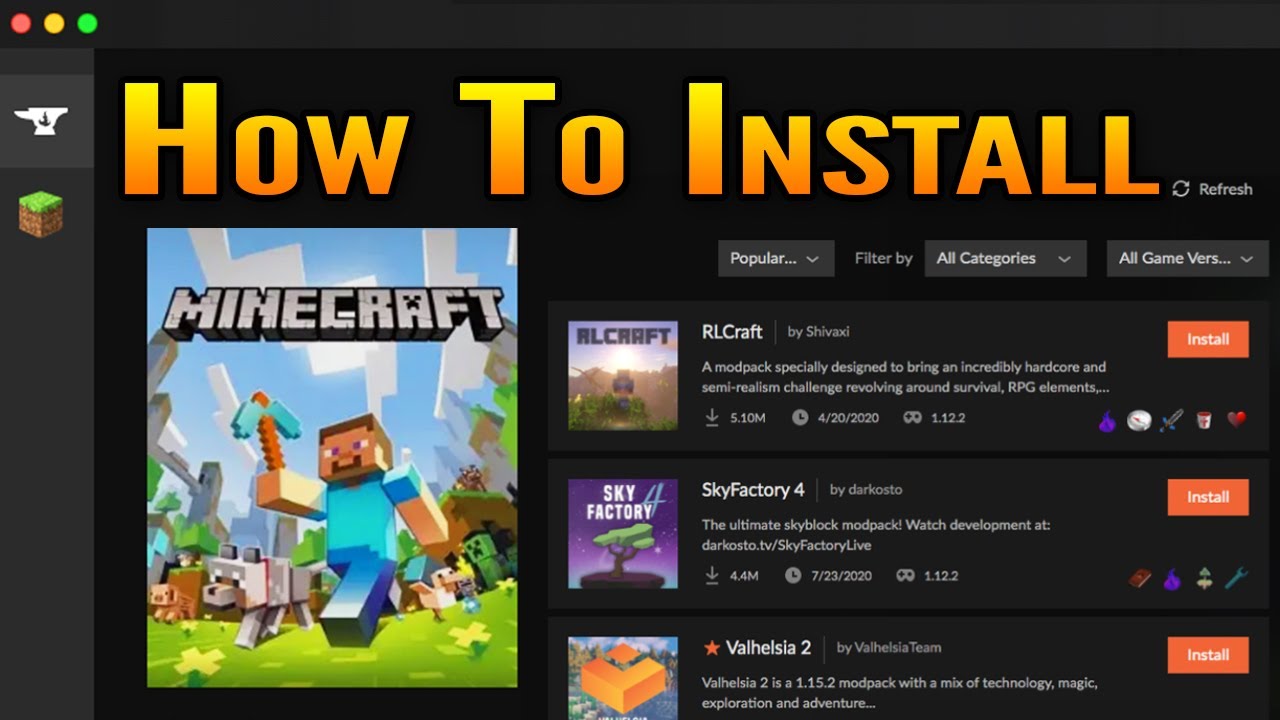
It’s worth noting that if you want to play different versions of Minecraft or use mods, you can create custom profiles in the launcher. This allows you to switch between different game versions and configurations easily.
Now that the Minecraft game files are installed, you’re almost ready to jump back into the blocky world of adventure and creativity. The next step will guide you through launching the game and starting your Minecraft experience!
Step 10: Launch Minecraft and Start Playing
Now that you have installed the Minecraft game files, it’s time to launch the game and embark on your Minecraft adventure. Follow these simple steps to get started:
- Open the Minecraft launcher on your computer.
- If you have multiple game versions installed or customized profiles, select the version or profile you want to play from the list on the launcher’s home screen.
- Once you’ve selected the desired version, click on the “Play” or “Start” button.
- The Minecraft game will load, and you’ll be taken to the main menu, where you can choose to start a new game, join a multiplayer server, or continue your previous adventures.
- If you’re starting a new game, select “Singleplayer” and then “Create New World”. Customize your world settings or select a preset, and then click on the “Create New World” button.
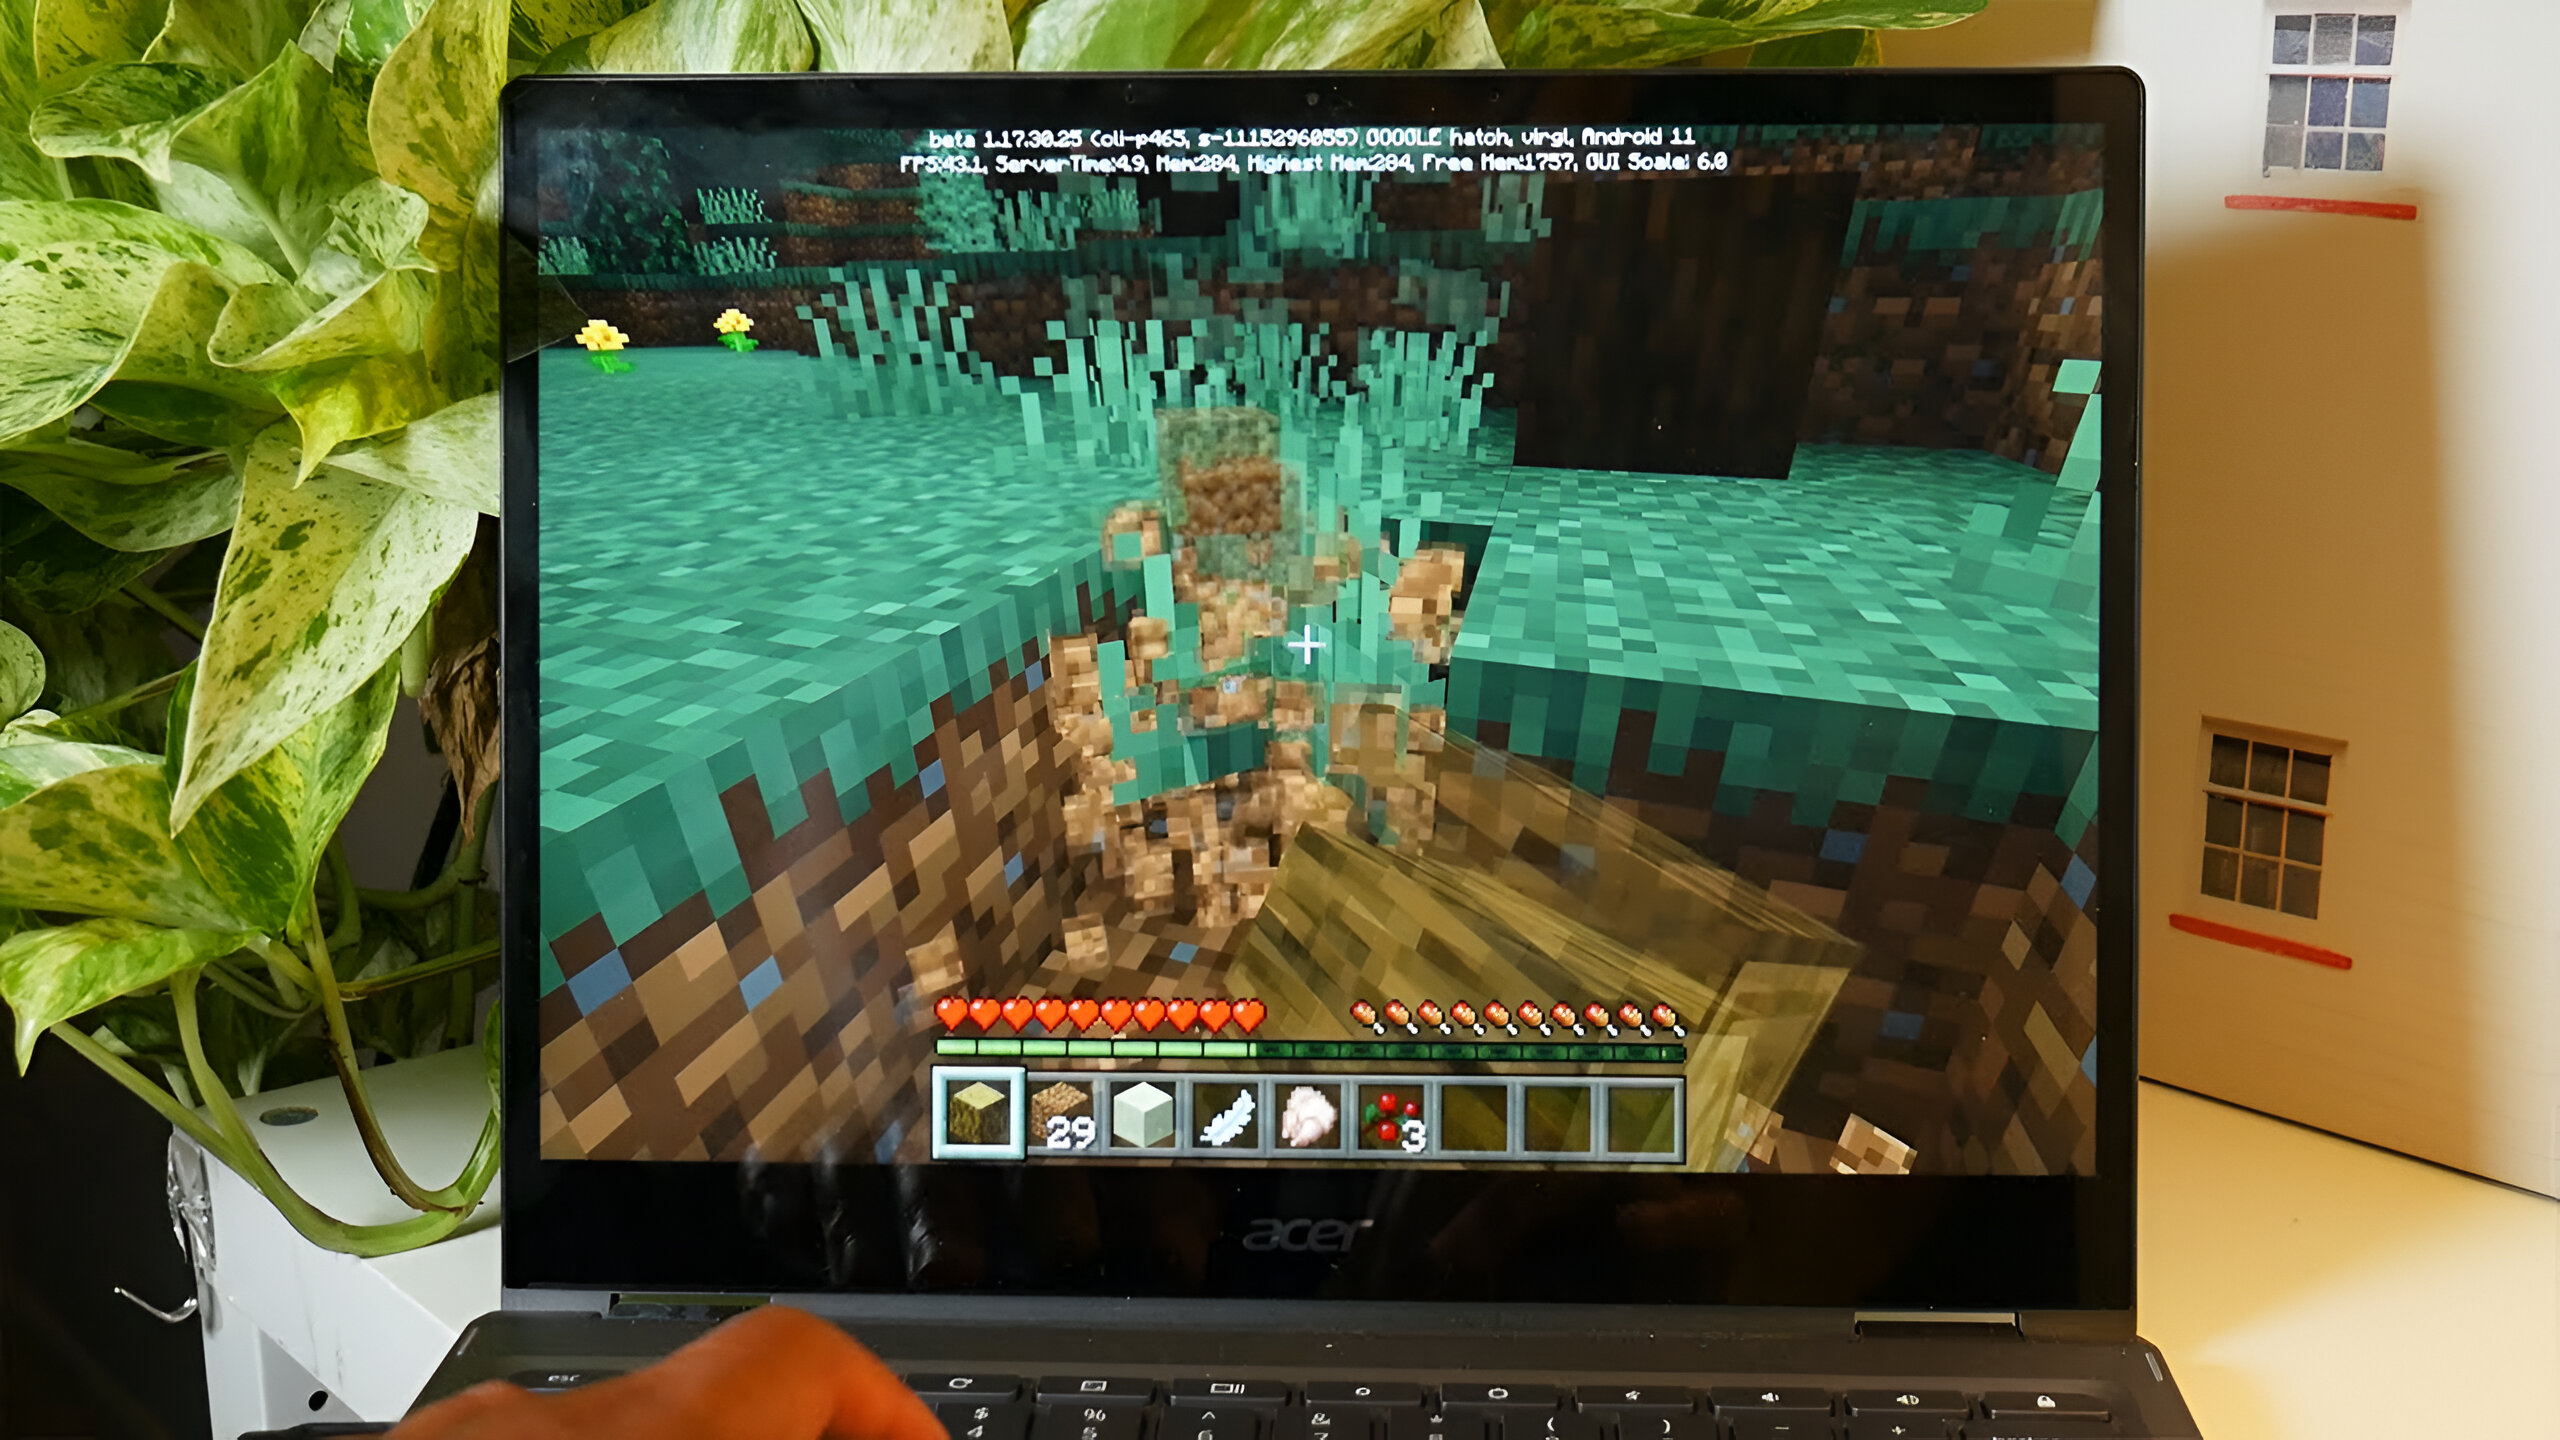
- Wait for the world to generate, and you’ll be dropped into the vast, blocky landscape of Minecraft. Begin exploring, building, and interacting with the world to create your own unique experience.
Congratulations! You have successfully launched Minecraft and are ready to jump into a world filled with endless possibilities. Whether you choose to embark on epic quests, build magnificent structures, or simply enjoy the serene beauty of the blocky landscapes, Minecraft offers something for every player.
Remember to save your progress regularly and explore all the features and gameplay options Minecraft has to offer. You can always return to the Minecraft launcher to switch between different versions or profiles, install mods, or join different multiplayer servers.
Now that you’re all set to dive into the game, it’s time to unleash your creativity and imagination within the boundless world of Minecraft. Enjoy your adventure!
Conclusion
Congratulations! You’ve successfully navigated through the steps to download and install Minecraft if you already own it. You’ve accessed the Minecraft website, logged in to your Minecraft account, and selected your preferred Minecraft version. You’ve also chosen your operating system, downloaded and installed the Minecraft launcher, and logged in with your Minecraft account. Finally, you’ve downloaded and installed the Minecraft game files and launched the game to start your Minecraft adventure.
Minecraft, with its endless possibilities and immersive gameplay, offers a world of creativity and exploration. From building massive structures to battling mobs in challenging caves, the game allows you to shape your own unique experience. As you continue to play, don’t forget to explore the vibrant Minecraft community, where countless player-created mods, resource packs, and servers await your discovery.
Remember to keep your Minecraft account information secure and up-to-date as you venture into the multiplayer world or engage with online communities. Additionally, stay informed about the latest updates and news from the Minecraft developers to enjoy the most up-to-date features and improvements.
Now that you have successfully downloaded, installed, and launched Minecraft, it’s time to let your imagination run wild. Explore, build, mine, and survive in this blocky universe that’s limited only by your creativity. Whether you’re playing alone or joining friends on multiplayer servers, Minecraft offers a boundless world of fun and adventure.
So grab your pickaxe, gather your resources, and embark on an unforgettable journey within the virtual realm of Minecraft. Enjoy the endless possibilities, express your creativity, and let the game’s vast landscape become your canvas.