Introduction
Welcome to the world of Minecraft, an incredibly popular sandbox game that allows players to unleash their creativity and explore endless virtual landscapes. Whether you are a seasoned gamer or new to the world of gaming, Minecraft offers a unique and immersive experience for players of all ages and skill levels.
In this guide, we will walk you through the step-by-step process of downloading Minecraft on your Mac. Don’t worry if you’re not a tech-savvy individual; we will provide detailed instructions to make the process as easy as possible.
Before diving into the downloading process, it’s important to ensure that your Mac meets the necessary system requirements. Minecraft is a resource-intensive game, so having the right hardware and software is crucial for optimal performance. Once your system is ready, you’ll create a Mojang account, purchase the game, and then proceed with the downloading and installation process.
So, grab your pickaxe and get ready to embark on an exciting journey in the virtual world of Minecraft. Let’s get started!
Step 1: System Requirements
Before downloading Minecraft on your Mac, you need to ensure that your system meets the minimum requirements to run the game smoothly. Here are the recommended system specifications:
- Operating System: Mac OS X 10.13 High Sierra or later
- Processor: Intel Core i5-4690 or AMD A10-7800 (or equivalent)
- Memory: 8 GB RAM
- Graphics: NVIDIA GeForce 700 Series or AMD Radeon Rx 200 Series (or equivalent) with OpenGL 4.5 support
- Storage: At least 4 GB of available space
- Internet Connection: High-speed broadband connection
Keep in mind that these are the recommended specifications for an optimal gaming experience. Minecraft may still run on lower-end hardware, but you may experience performance issues or limitations in game features.
If your Mac does not meet the recommended requirements, you can still try running Minecraft, but you may need to adjust the settings to improve performance. Lowering the graphics settings and render distance can help alleviate some strain on your system.
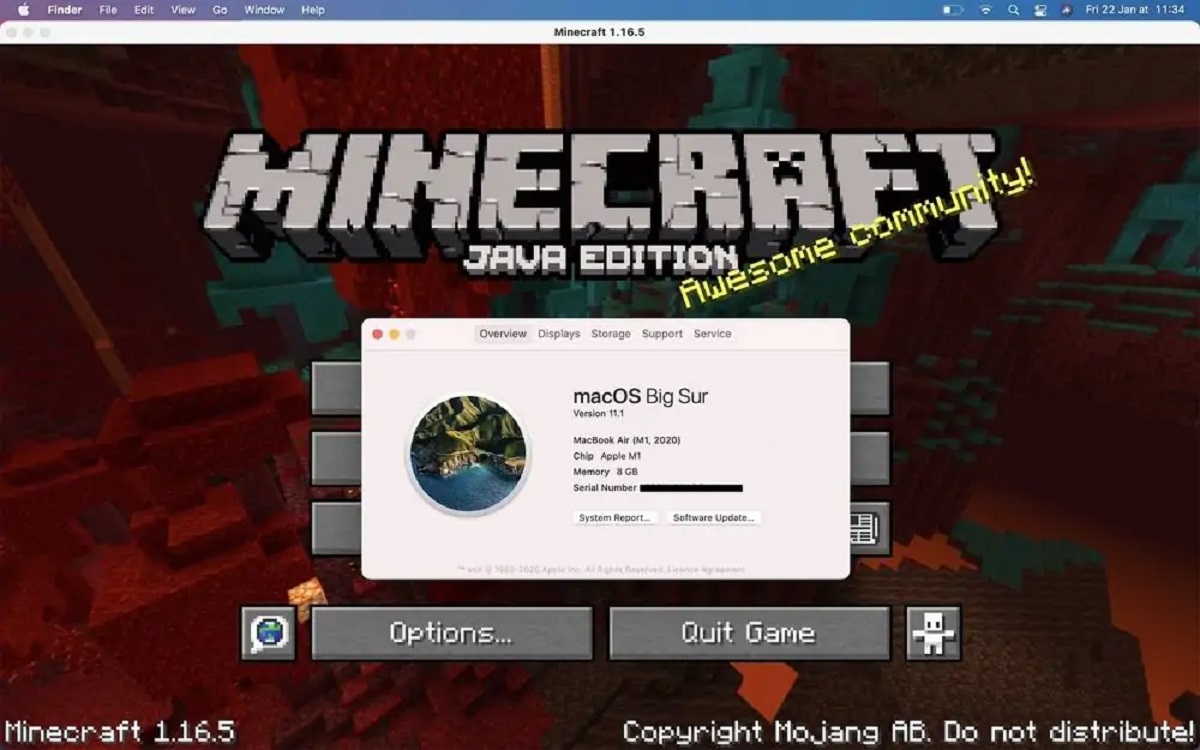
To check your Mac’s specifications, click the Apple menu in the top-left corner of your screen, select “About This Mac,” and navigate to the “Overview” tab. Here, you’ll find information about your Mac’s model, processor, memory, and graphics card.
Once you have confirmed that your Mac meets the system requirements, you’re ready to move on to the next step: creating a Mojang account.
Step 2: Creating a Mojang Account
In order to download and play Minecraft on your Mac, you need to create a Mojang account. Follow these steps to create your account:
- Open your preferred web browser and go to the official Minecraft website at www.minecraft.net.
- Click on the “Menu” button located at the top-right corner of the webpage and select “Sign in” from the dropdown menu.
- On the sign-in page, click on the “Register” button.
- Fill in the required information, including your email address, date of birth, and password. Make sure to choose a strong password to protect your account.
- After filling in the information, click on the “Create Account” button to proceed.
- Verify your email address by clicking on the verification link sent to your email. If you don’t see the email, check your spam or junk folder.
Once you have successfully created and verified your Mojang account, you’ll have access to the Minecraft store and be able to purchase the game.
Having a Mojang account also gives you additional benefits, such as the ability to change your Minecraft username, access to game statistics and achievements, and the option to play Minecraft on other platforms, such as Windows and consoles.
Now that you have your Mojang account, it’s time to move on to the next step: purchasing Minecraft.
Step 3: Purchasing Minecraft
Now that you have your Mojang account set up, it’s time to purchase Minecraft. Follow these steps to buy the game:
- Go to the official Minecraft website at www.minecraft.net and sign in to your Mojang account.
- Once signed in, click on the “Menu” button at the top-right corner of the webpage and select “Store” from the dropdown menu.
- Browse through the available options to find the version of Minecraft you want to purchase. You can choose between the Java Edition, which is the original version, or the newer Bedrock Edition, which allows cross-platform play.
- Click on the “Buy” button next to your preferred edition of Minecraft. You’ll be redirected to the purchase page.
- Select your preferred payment method and fill in the necessary details to complete the purchase. Minecraft accepts various payment options, including credit/debit cards, PayPal, and prepaid cards.
- Review your order details and click on the “Place Order” or “Buy Now” button to finalize the purchase.
- Once the purchase is complete, you’ll receive a confirmation email with the details of your Minecraft purchase.
Congratulations! You have successfully purchased Minecraft. Now, let’s move on to the next step: downloading the game to your Mac.
Note that Minecraft is a paid game, and you need to purchase it in order to play the full version. However, there is also a free alternative called Minecraft: Demo, which offers a limited gameplay experience and can be downloaded separately from the official website.
With the purchasing step complete, you’re ready to move on to the next step: downloading Minecraft on your Mac.
Step 4: Downloading
After purchasing Minecraft, you’re just a few steps away from diving into the exciting world of block-building and exploration. Follow the instructions below to download the game on your Mac:
- Go to the official Minecraft website at www.minecraft.net.
- Click on the “Menu” button at the top-right corner of the webpage and select “Log in” from the dropdown menu. Enter your Mojang account credentials to sign in.
- Once signed in, click on the “Menu” button again and select “Downloads”.
- Scroll down to the “Minecraft for Mac OS X” section and click on the “Download” button.
- Your Mac will initiate the download process. The file size is approximately 400 MB, so the time it takes to download will depend on your internet connection speed.
- After the download is complete, locate the downloaded file (usually in your Downloads folder) and double-click on it to begin the installation process.
During the installation, you may be prompted to grant permission for the application to make changes to your system. Enter your admin password if requested and proceed with the installation.
Once the installation is complete, you’re ready to move on to the final step: launching Minecraft on your Mac.
It’s worth noting that the Minecraft download file is an installer, which means it will install the game files on your Mac. You’ll need to keep the installer file in case you want to reinstall Minecraft or update the game in the future.
Now, with Minecraft successfully downloaded on your Mac, let’s move on to the last step: launching the game and starting your virtual adventure!
Step 5: Installing
Now that you have downloaded the Minecraft installer on your Mac, it’s time to install the game and get ready to embark on your block-building journey. Follow these steps to install Minecraft:
- Locate the downloaded Minecraft installer file (typically in your Downloads folder) and double-click on it.
- A pop-up window will appear, asking for permission to open the installer. Click on the “Open” button to proceed.
- The installer will launch, and you will be greeted with the Minecraft installation wizard.
- Read and accept the terms and conditions of the Minecraft End User License Agreement (EULA) by checking the box and clicking “Next.”
- Choose the installation location for Minecraft on your Mac. The default location is usually in the Applications folder, but you can select a different folder if desired. Click “Next” to proceed.
- Review the installation settings and click on the “Install” button to begin the installation process. You may be prompted to enter your admin password to authorize the installation.
- The installer will now extract and install the necessary files for Minecraft on your Mac. This process may take a few minutes.
- Once the installation is complete, you will see a confirmation message. Click on the “Finish” button to close the installer.
Congratulations! You have successfully installed Minecraft on your Mac. Now, it’s time to launch the game and start your adventure in the blocky world.
Note that Minecraft updates are released periodically to introduce new features and bug fixes. It’s a good practice to keep your game up to date by regularly checking for updates through the Minecraft launcher.
With the installation process complete, let’s move on to the final step: launching Minecraft on your Mac and beginning your epic journey.
Step 6: Launching
Now that you have successfully installed Minecraft on your Mac, it’s time to launch the game and venture into the vast and imaginative world of blocks. Follow these steps to start your Minecraft adventure:
- Locate the Minecraft application on your Mac. You can find it in the Applications folder or search for it using Spotlight (the magnifying glass icon in the top-right corner of your screen).
- Double-click on the Minecraft icon to launch the game. The Minecraft launcher window will appear.
- If this is your first time launching Minecraft, you will be prompted to sign in with your Mojang account. Enter your account credentials and click “Log In.” If you’re already signed in, proceed to the next step.
- The Minecraft launcher window will now provide you with various options. Select your desired game version (Java Edition or Bedrock Edition) from the drop-down menu. You can also adjust other settings, such as allocated memory and graphics preferences, as per your preference.
- Click the “Play” button to start Minecraft. The game will begin loading, and you will be greeted by the Minecraft main menu.
- From the main menu, you can choose to start playing in Singleplayer mode, join a Multiplayer server, access your Minecraft worlds, or customize your game settings.
- Select “Singleplayer” to create a new world or load an existing one. If you want to join a Multiplayer server, click “Multiplayer” and enter the server IP address or browse through the available servers.
- Once you’ve selected your desired game mode, click “Play” to jump into the captivating world of Minecraft. Let your creativity soar, and embark on countless adventures in this immersive sandbox game.
Congratulations! You have successfully launched Minecraft on your Mac. Get ready to build, mine, and explore to your heart’s content!
Remember to save your progress regularly and have fun discovering all the secrets and possibilities that Minecraft has to offer.
With the final step completed, you are now fully equipped to enjoy the captivating world of Minecraft on your Mac. Get ready to embark on your epic block-building journey!
Conclusion
Congratulations! You have successfully downloaded, installed, and launched Minecraft on your Mac. You are now ready to explore the limitless creativity and adventures that await you in the blocky world.
Throughout this guide, we walked you through the step-by-step process, starting from checking the system requirements to creating a Mojang account, purchasing the game, downloading the installer, installing Minecraft, and finally launching the game on your Mac.
Remember, Minecraft offers endless possibilities and opportunities for you to build, mine, craft, and explore. Whether you prefer embarking on solo adventures or joining friends on multiplayer servers, there is something for everyone in this captivating sandbox game.
Make sure to keep your game updated by checking for updates through the Minecraft launcher. This will ensure that you have access to the latest features and bug fixes, providing an optimal gaming experience.
So, gather your tools, unleash your creativity, and immerse yourself in the fascinating world of Minecraft. Uncover hidden treasures, construct impressive structures, and embark on thrilling quests. The only limit is your imagination!
Enjoy your Minecraft adventure and have a blast exploring the limitless possibilities that await you in this beloved sandbox game.


