Introduction
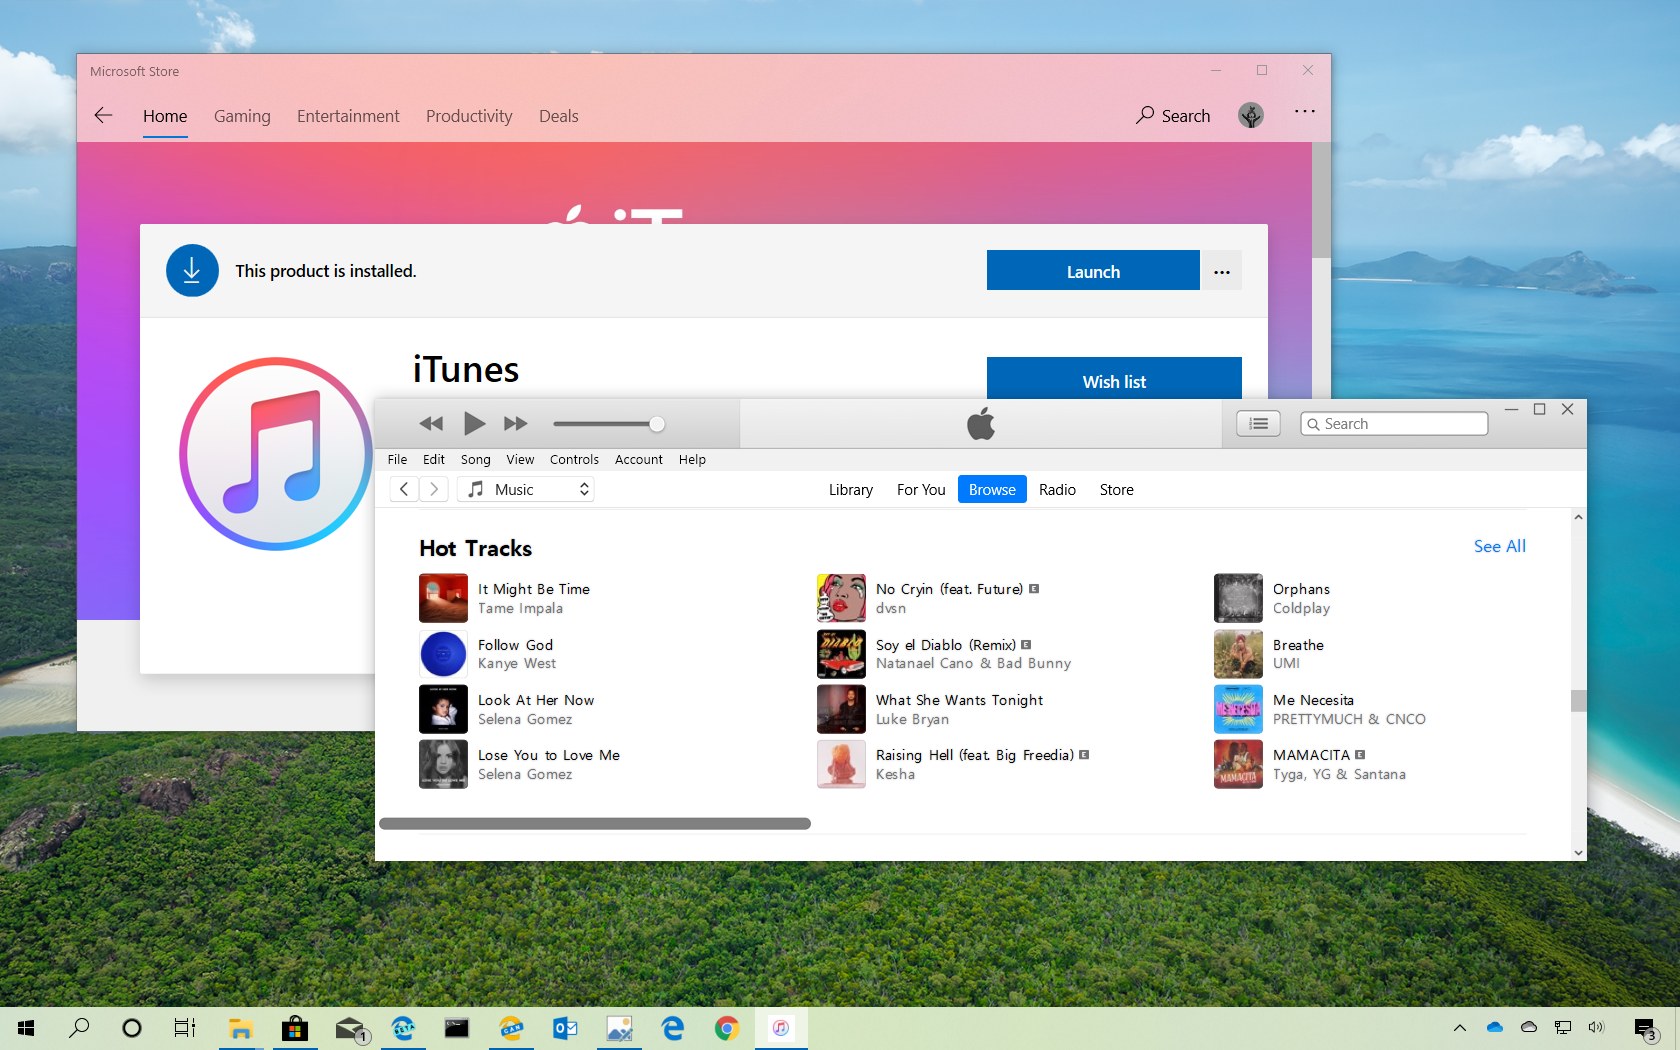
Downloading iTunes without the Microsoft Store can be a convenient option for Windows users who prefer to have more control over the installation process. While the Microsoft Store makes it easier to find and install apps, some users may encounter issues or restrictions that can limit their experience with iTunes. Fortunately, you can still download iTunes directly from the official Apple website, bypassing the need to use the Microsoft Store.
In this guide, we will walk you through the steps to download iTunes without the Microsoft Store. Whether you’re looking to update your existing iTunes installation or install it for the first time, this tutorial will help you get started. So, let’s dive in and learn how to download iTunes and enjoy all the features it has to offer on your Windows device.
Please note that the steps provided in this guide are for Windows users. If you’re using a Mac, you can download iTunes directly from the App Store without the need for any additional steps.
Note: Ensure that you have a stable internet connection throughout the download and installation process to avoid any interruptions.
Step 1: Open your web browser
To begin the process of downloading iTunes without the Microsoft Store, you will first need to open your preferred web browser. Whether you use Google Chrome, Mozilla Firefox, Microsoft Edge, or any other browser, make sure it is up-to-date for the best performance.
Locate the icon for your web browser on your desktop or in your taskbar and click on it to launch the browser. Alternatively, you can also search for your web browser in the Start menu and click on it to open.
Once your web browser is open, you will see a blank address bar, usually located at the top of the window. This is where you can type in the website address or URL of the page you want to visit. In the case of downloading iTunes, you will need to navigate to the official Apple website.
Tips: Pressing Ctrl + T on your keyboard will open a new tab in most browsers. This can be useful if you want to keep the browser window open while navigating to the Apple website in a new tab.
Note: If you have set a default homepage for your browser, you can change it temporarily by clicking on the browser’s settings or preferences menu. Look for options related to the homepage or start page, and enter the official Apple website URL.
With your web browser open and ready to go, it’s time to move on to the next step: navigating to the official Apple website where you can download iTunes without the Microsoft Store.
Step 2: Go to the official Apple website
Once you have your web browser open, the next step is to navigate to the official Apple website. This is where you will find the download page for iTunes.
To go to the official Apple website, you can simply enter the web address in the address bar of your web browser. The official Apple website URL is www.apple.com.
Alternatively, you can use a search engine, such as Google, Bing, or Yahoo, to search for “Apple”. The search results will typically show a link to the official Apple website at the top of the list. Clicking on this link will take you directly to the website.
Ensure that the website you are visiting is the official Apple website by double-checking the URL in the address bar. Scammers and malicious websites may attempt to mimic the official Apple website to trick unsuspecting users. Always verify the URL before proceeding.
Note: It is recommended to use the official Apple website to download iTunes to ensure that you are getting the legitimate and latest version of the software.
Once you are on the official Apple website, you can proceed to the next step to find the download page for iTunes.
Step 3: Navigate to the iTunes download page
After reaching the official Apple website, the next step is to navigate to the iTunes download page. This is where you will find the download link for iTunes for Windows.
On the Apple website, you will find various sections and options. Look for the “Products” or “iTunes” section, usually located in the top menu or the sidebar of the website. Click on the appropriate section to access more information about iTunes.
In the iTunes section, you may find details about the features, system requirements, and other relevant information. To download iTunes without the Microsoft Store, you need to find the download page.
Scroll down on the iTunes section page until you find a button or link that says “Download” or “Get iTunes for Windows”. This is usually accompanied by an icon representing the Windows operating system.
Alternatively, you can use the search bar on the Apple website to search for “iTunes for Windows”. The search results should show the relevant download page. Click on the link that leads to the official download page.
Note: The layout and design of the website may vary over time or based on your location. However, the basic navigation principles should remain the same, allowing you to find the iTunes download page.
Once you have located the iTunes download page, you are ready to proceed to the next step: choosing the appropriate iTunes version for Windows.
Step 4: Choose the iTunes version for Windows
After you have successfully navigated to the iTunes download page on the official Apple website, it’s time to choose the appropriate version of iTunes for your Windows operating system.
On the iTunes download page, you will typically find different versions of iTunes listed, catering to different Windows operating systems. Look for the section or drop-down menu that allows you to select the Windows version.
If you are unsure about the specific version of Windows you are using, you can check by following these steps:
- Open the Start menu by clicking on the Windows icon in the bottom left corner of your screen.
- Click on the “Settings” icon, which resembles a gear.
- In the Settings menu, click on “System”.
- In the System menu, click on “About”.
- Under the “Windows specifications” section, you will find the “Edition” and “Version” of your Windows operating system.
Once you have determined your Windows version, select the corresponding iTunes version from the options provided on the iTunes download page. For example, if you are using Windows 10, choose the iTunes version specifically labeled for Windows 10.
Note: It is crucial to choose the correct version to ensure compatibility and a smooth installation process.
After selecting the appropriate iTunes version for your Windows operating system, you are now ready to move on to the next step: initiating the iTunes download.
Step 5: Start the iTunes download
Once you have selected the correct iTunes version for your Windows operating system, it’s time to initiate the download process. Follow the steps below to start downloading iTunes without the Microsoft Store:
- On the iTunes download page, look for a button or link that says “Download” or “Get” next to the chosen version of iTunes for your Windows operating system.
- Click on the download button or link to start the iTunes download process.
- A small pop-up window may appear, asking you to confirm the download. Click on the “Save” or “Save File” option to proceed.
- The iTunes installer file will begin downloading to your computer. Depending on your internet speed, this process may take a few minutes.
Note: The download speed may vary based on your internet connection, so be patient if the download process takes longer than expected.
During the download, avoid closing the web browser or interrupting the download process to ensure a successful download. You can monitor the progress of the download through a progress bar or percentage indicator, which will show you how much of the file has been downloaded.
Tip: It’s a good practice to save the downloaded iTunes installer file in a location that is easily accessible, such as your desktop or a dedicated downloads folder, as it will be required for the installation process in the next step.
Once the iTunes download is complete, you are now ready to move on to the next step: running the downloaded file to begin the installation process.
Step 6: Run the downloaded file
After successfully downloading the iTunes installer file, the next step is to run the downloaded file to initiate the installation process. Follow these steps to run the file:
- Locate the downloaded iTunes installer file on your computer. The file is usually saved in your default Downloads folder or the location you specified during the download process.
- Double-click on the iTunes installer file to run it. This action will begin the installation process.
- A security prompt may appear, asking for your confirmation to run the file. Click on “Run” or “Yes” to proceed with running the file.
- The iTunes installer will launch, presenting you with the initial setup options and license agreement.
Note: Ensure that you have administrative privileges on your Windows user account to run the installer file and complete the installation process.
Once the installation process begins, you may see a progress bar or percentage indicator showing the progress of the installation. The time it takes to install iTunes will depend on your computer’s speed and performance.
Tip: It is recommended to close any other unnecessary applications during the installation process to avoid any potential conflicts that may hinder the installation.
Once the iTunes installation is complete, you are now ready to proceed to the final step: completing the iTunes installation process on your Windows device.
Step 7: Complete the iTunes installation process
After running the iTunes installer file, you are now in the final stage of the installation process. Follow these steps to complete the installation of iTunes on your Windows device:
- Once the iTunes installer launches, you will be presented with the initial setup options. Review and customize the installation settings according to your preferences.
- Click on the “Next” or “Continue” button to proceed with the installation.
- The installer will ask you to review and accept the license agreement. Read through the terms and conditions, then check the box to indicate your acceptance.
- Click on the “Install” or “Next” button to start the installation process.
- The installer will begin installing iTunes and its associated components on your Windows device. You may see a progress bar or percentage indicator showing the installation progress.
- Once the installation is complete, you will be presented with a confirmation message. Click on the “Finish” or “Close” button to exit the installer.
Note: During the installation process, the installer may prompt you to install additional Apple software, such as Apple Software Update and iCloud. You can choose to install these additional components or opt-out by unchecking the respective boxes.
Congratulations! You have successfully completed the iTunes installation process on your Windows device. You can now launch iTunes and start enjoying all the features and functionalities it has to offer.
Tip: To ensure the smooth functioning of iTunes, it is recommended to regularly update the software to the latest version. This will not only provide you with the latest features but also address any potential security or compatibility issues.
Now that you have successfully installed iTunes without using the Microsoft Store, you can easily manage your music, movies, podcasts, and more on your Windows device.
Conclusion
Downloading iTunes without the Microsoft Store allows Windows users to have more control over the installation process and enjoy the full benefits of iTunes on their devices. In this guide, we have provided the step-by-step instructions to download iTunes without using the Microsoft Store, ensuring a seamless and hassle-free experience.
Starting from opening your web browser and navigating to the official Apple website, you were able to find the iTunes download page and choose the appropriate version for your Windows operating system. You then successfully initiated the iTunes download and ran the downloaded file to begin the installation process. Finally, you completed the installation and are now ready to explore and enjoy iTunes on your Windows device.
Please keep in mind that using the official Apple website guarantees that you will get the legitimate and latest version of iTunes, ensuring a secure and reliable software installation. Additionally, regular updates to iTunes will not only provide new features but also address any potential security vulnerabilities or compatibility issues.
Whether you’re syncing your music library, managing your podcasts, or exploring the vast collection of media available on iTunes, you can now do so without relying on the Microsoft Store. Take advantage of the powerful features of iTunes and make the most out of your Windows experience.
With the steps provided in this guide, you are now equipped with the knowledge to download iTunes without the Microsoft Store. Enjoy your iTunes journey and elevate your digital media experience on your Windows device.