Introduction
PowerPoint presentations are a popular tool for sharing information and ideas in a visually appealing format. However, there may be times when you come across a PowerPoint presentation that contains images you would like to download. Whether it’s for personal use, reference purposes, or to enhance your own presentations, being able to download these images can be a valuable skill.
In this article, we will explore various methods you can use to download images from a PowerPoint file. From saving individual images to extracting all images at once, we’ve got you covered. We’ll also discuss converting PowerPoint files to images and using screen capture tools as alternative options. By the end of this article, you’ll have a range of techniques at your disposal to easily download images from PowerPoint presentations.
Before we dive into the methods, it’s important to note that the ability to download images from a PowerPoint file relies on certain permissions. If the presentation has disabled image saving or has password protection, you may not be able to download the images. Additionally, ensure that you have the legal right to download and use the images, as copyright laws may apply.
Method 1: Saving Images from a PowerPoint Slide
If you’ve found a specific image within a PowerPoint slide that you want to save, you can easily do so by following these steps:
- Open the PowerPoint presentation that contains the slide with the image you wish to download.
- Navigate to the specific slide that contains the image.
- Zoom in on the image to ensure better clarity and visibility.
- Right-click on the image and select “Save as Picture” or “Save Image As” (depending on your version of PowerPoint).
- Choose a location on your computer where you want to save the image and provide a descriptive name.
- Select the appropriate file format for the image (such as JPEG or PNG) and click the “Save” button.
By following these steps, you can save the specific image from the PowerPoint slide and access it whenever you need it. Keep in mind that this method only allows you to save individual images, so if you want to extract multiple images from a PowerPoint presentation, you may need to explore additional methods.
Method 2: Extracting all Images from a PowerPoint File
If you need to extract multiple images from a PowerPoint presentation all at once, you can use the following steps:
- Open the PowerPoint file that contains the images you want to extract.
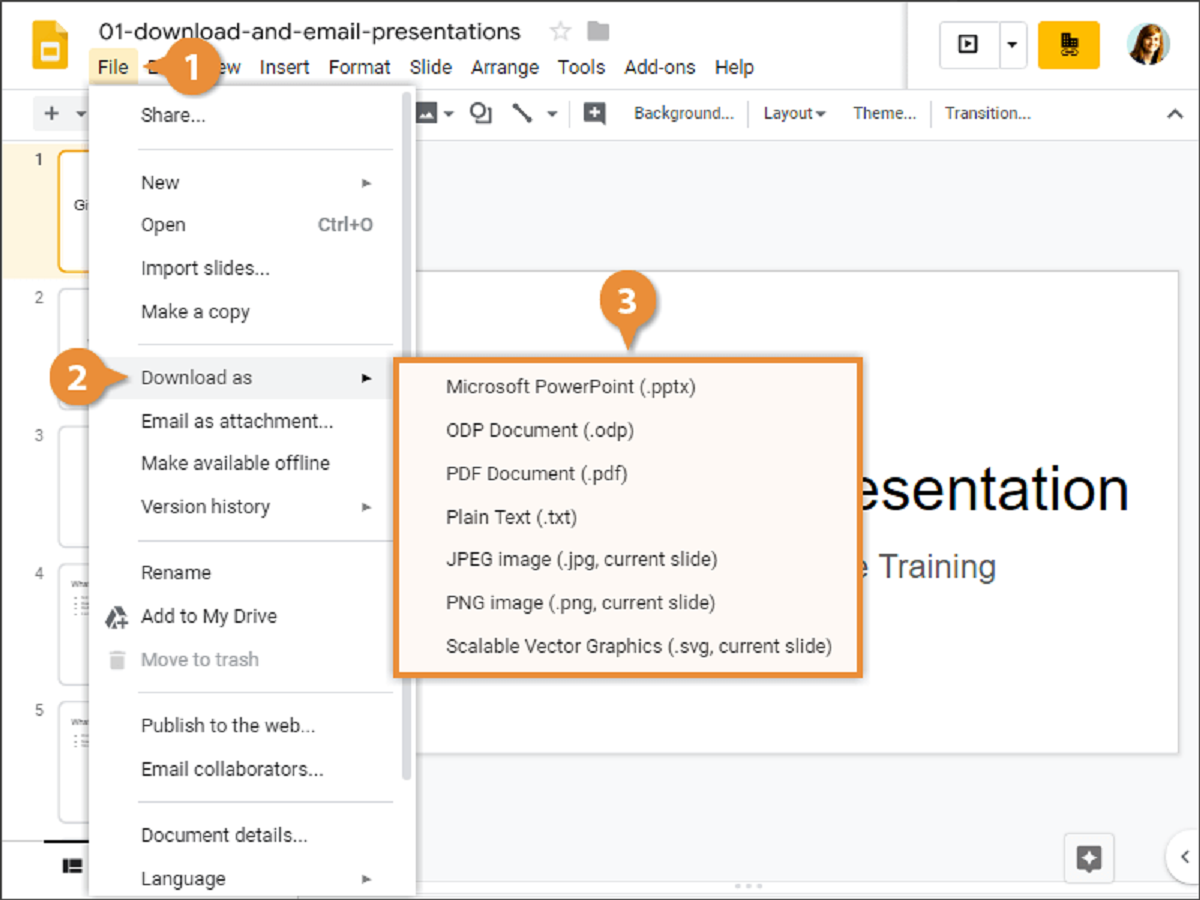
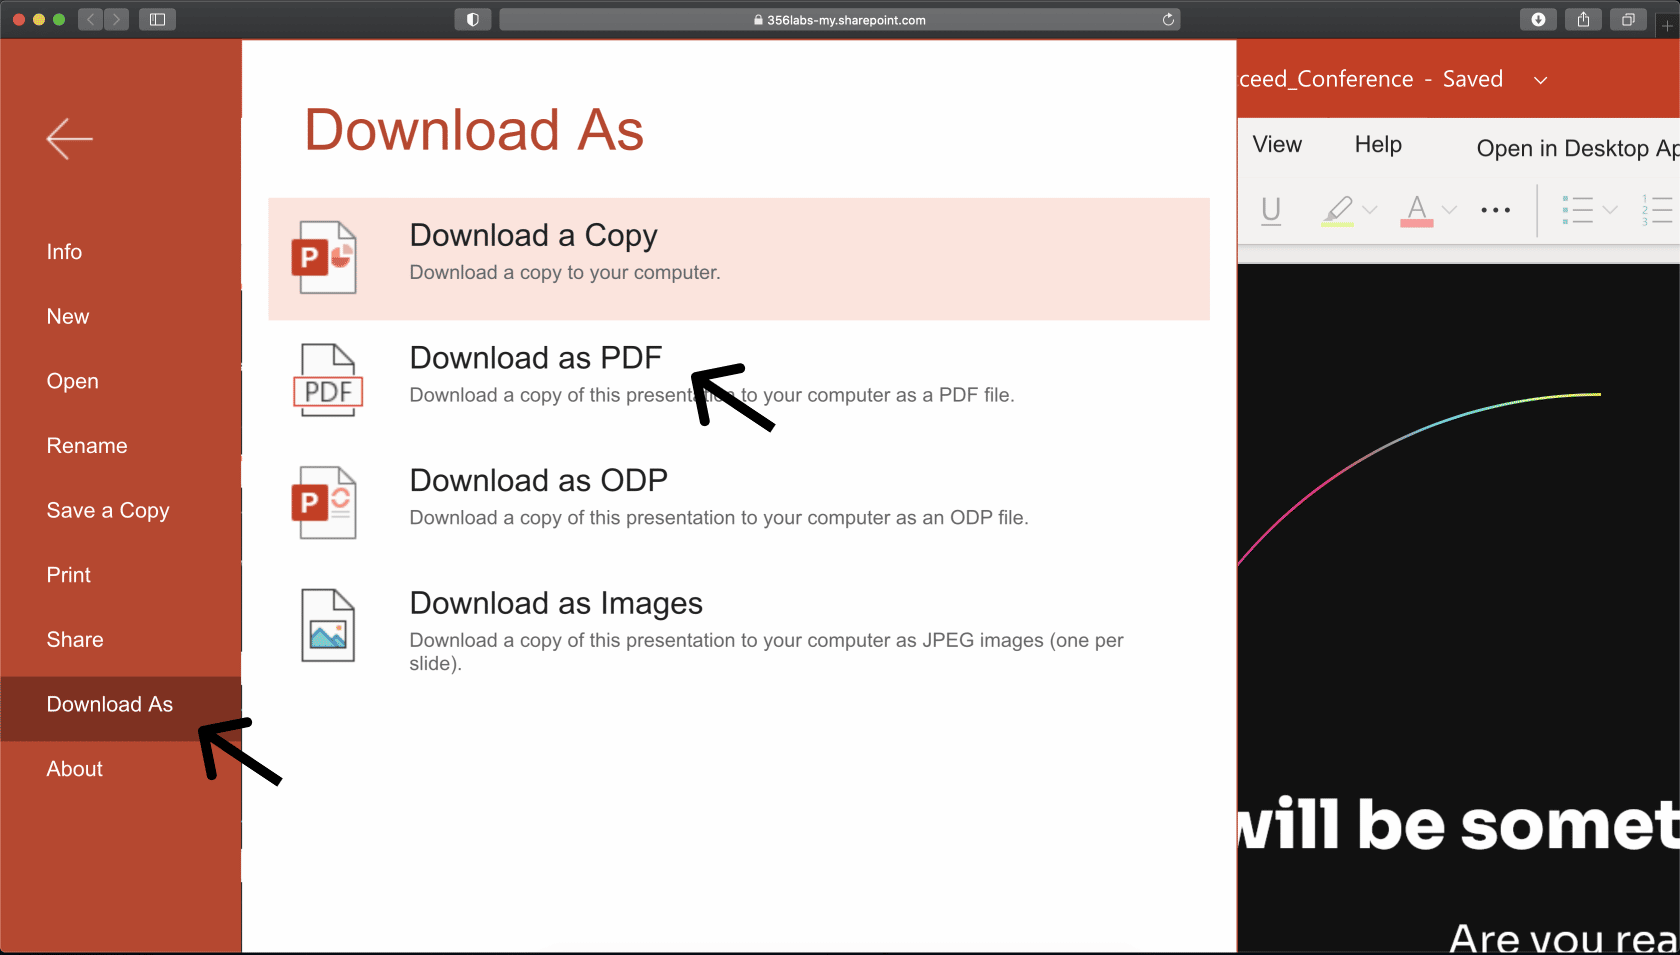
- Click on the File tab in the top menu and select “Save As” or “Save a Copy” (depending on your version of PowerPoint).
- Choose a location on your computer where you want to save the extracted images.
- In the Save As dialog box, select the “Save as type” dropdown menu and choose “JPEG” or “PNG” format to ensure compatibility.
- Click the “Save” button to save the PowerPoint file as images.
- In the saved location, you will find a new folder with the same name as your PowerPoint file. Open this folder.
- You will see that all the slides from your PowerPoint presentation have been converted into separate image files.
This method allows you to extract all the images present in the PowerPoint presentation in one go. It is a convenient option if you have a large number of images to extract or if you want to have all the images organized in a separate folder for easy access.
Keep in mind that the images extracted using this method will be in the format you selected (JPEG or PNG) and may not retain the same quality as the original images in the PowerPoint slides. You might need to adjust the image quality settings or use alternative methods if you require higher-quality images.
Method 3: Converting PowerPoint File to Images
If you want to convert an entire PowerPoint file into a series of images, you can utilize the following method:
- Open the PowerPoint presentation you wish to convert into images.
- Click on the File tab in the top menu and select “Save As” or “Save a Copy” (depending on your version of PowerPoint).
- Choose a location on your computer where you want to save the converted images.
- In the Save As dialog box, select the “Save as type” dropdown menu and choose “JPEG” or “PNG” format.
- Click the “Save” button to save the PowerPoint file as images.
- A prompt will appear asking whether you want to save every slide as an image or just the current slide. Choose “Every Slide” to convert the entire presentation into images.
- The PowerPoint file will be saved as a series of images, with each slide corresponding to a separate image file.
This method is especially useful when you need to convert an entire PowerPoint presentation into a sequence of images. You can use these images for various purposes, such as creating image-based tutorials, showcasing a slideshow on a website, or sharing the presentation on platforms that support image formats.
Keep in mind that the images converted using this method will reflect the appearance of the slides, including any animations, transitions, or effects. However, note that this method may lead to large file sizes depending on the complexity of your PowerPoint presentation. If you require smaller file sizes or a different image format, you may need to explore other tools or software that provide more advanced conversion options.
Method 4: Using a Screen Capture Tool
If you’re unable to directly extract or save images from a PowerPoint file using the previous methods, you can resort to using a screen capture tool to capture the images you want. Follow these steps to use a screen capture tool:
- Open the PowerPoint presentation and navigate to the slide that contains the image you wish to capture.
- Launch a screen capture tool of your choice. This could be built-in software like Snipping Tool (for Windows) or Grab (for macOS), or you can use third-party screen capture software.
- Set the screen capture tool to capture a specific region or the entire screen, depending on your requirements.
- Capture the area of the slide where the image is located. Ensure that the image is captured in high resolution for better quality.
- Save the captured image to a location on your computer.
This method allows you to manually capture any image from a PowerPoint slide, regardless of any restrictions that may prevent direct saving or extraction. Using a screen capture tool gives you the flexibility to capture images from other sources as well, such as websites or applications.
Keep in mind that the image quality and resolution may vary depending on the settings of your screen capture tool. It’s also important to consider any copyright restrictions or permissions when using screen captures of images.
Conclusion
Downloading images from a PowerPoint presentation can be a useful skill, whether you need them for personal use, reference, or enhancing your own presentations. Throughout this article, we’ve explored various methods to help you download images from PowerPoint.
Method 1 allows you to save individual images by right-clicking on them and selecting “Save as Picture”. This straightforward approach is ideal when you only need to download a specific image from a slide.
If you want to extract multiple images from a PowerPoint file, Method 2 is your best choice. By saving the PowerPoint file in JPEG or PNG format, you can conveniently access all the images contained within it.
Method 3 involves converting the entire PowerPoint file into a series of images. This method is particularly useful if you want to share the entire presentation as a sequence of images or use them in image-based tutorials.
Lastly, if the previous methods are not suitable, Method 4 suggests using a screen capture tool to capture the desired images. This versatile approach allows you to capture images not only from PowerPoint but also from other sources.
Remember to respect intellectual property rights and ensure you have the proper permissions before downloading or using any images. Additionally, consider the quality and resolution of the images depending on your specific needs.
By utilizing these methods, you can easily download images from PowerPoint presentations and make the most out of the visual content they offer.


