Introduction
Welcome to the world of iCloud, Apple’s cloud storage and syncing service that allows you to access your files, photos, contacts, and more across all your Apple devices. iCloud is also home to the Notes app, a handy tool for jotting down thoughts, ideas, and to-do lists.
While iCloud offers seamless synchronization of your notes across devices, you may find yourself wanting to download your notes for easy offline access or to share them with others who don’t have iCloud accounts. In this article, we’ll guide you through the process of downloading iCloud notes and show you how to ensure that all your valuable information is safely backed up.
Whether you’re using a computer or a mobile device, accessing and downloading your iCloud notes is a straightforward process. We’ll provide step-by-step instructions that will help you navigate your way through the iCloud interface and retrieve your notes effortlessly and efficiently. So, let’s get started and learn how to download iCloud notes!
Prerequisites
Before you dive into downloading your iCloud notes, there are a few prerequisites you need to have in place. These requirements will ensure a smooth and successful process:
- An iCloud Account: To access and download your iCloud notes, you must have an active iCloud account. If you don’t have one, you can easily create an account using your Apple ID. Visit the Apple website or use the Apple ID settings on your iOS device to create an account.
- Internet Connection: Since iCloud is a cloud-based service, you’ll need a stable internet connection to access and download your notes. Make sure you have a reliable internet connection before proceeding.
- Access to a Computer or iOS Device: You can download iCloud notes using a computer or an iOS device such as an iPhone or iPad. Ensure that you have access to either of these devices for the steps outlined in this guide.
- Latest Software Updates: To ensure compatibility and smooth functioning of the iCloud service, make sure that your computer or iOS device is running the latest software updates. This will help prevent any potential issues while accessing and downloading your notes.
Once you have these prerequisites in place, you’re ready to embark on the journey of downloading your iCloud notes. Now, let’s move on to the next section and learn how to access iCloud on a computer.
Step 1: Accessing iCloud on a Computer
The first step to downloading your iCloud notes is to access the iCloud platform using a computer. Follow these simple steps to get started:
- Open a web browser: Launch your preferred web browser, such as Google Chrome, Safari, or Firefox, on your computer.
- Go to the iCloud website: In the address bar of your web browser, type in www.icloud.com and press Enter.
- Sign in with your Apple ID: On the iCloud homepage, you’ll find the login section. Enter your Apple ID and password in the respective fields, then click on the arrow button or press Enter to sign in.
- Two-factor authentication (optional): If you have enabled two-factor authentication for your Apple ID, you will be prompted to enter the verification code sent to your trusted device or phone number. Follow the on-screen instructions to complete the authentication process.
Once you have successfully signed in to your iCloud account, you’re ready to access your notes and proceed to the next step. In the next section, we’ll guide you on how to navigate to the Notes app within iCloud.
Step 2: Signing in to iCloud
Now that you have accessed the iCloud platform on your computer, it’s time to sign in to your iCloud account. Follow these steps to complete the sign-in process:
- Enter your Apple ID: On the iCloud sign-in page, enter your Apple ID in the designated field. Your Apple ID is the email address associated with your iCloud account.
- Provide your password: Below the Apple ID field, enter your password. Make sure to enter it correctly to avoid any login issues.
- Click on the arrow or press Enter: After entering your Apple ID and password, click on the arrow button or press Enter on your keyboard to proceed.
- Two-factor authentication (if enabled): If you have enabled two-factor authentication for your Apple ID, you will need to verify your identity by entering the verification code sent to your trusted device or phone number. Follow the on-screen instructions to complete this step.
Once you have successfully signed in to your iCloud account, you will be redirected to the iCloud dashboard, where you can access various iCloud services, including the Notes app. In the next section, we’ll guide you on how to navigate to the Notes app within iCloud and proceed with downloading your notes.
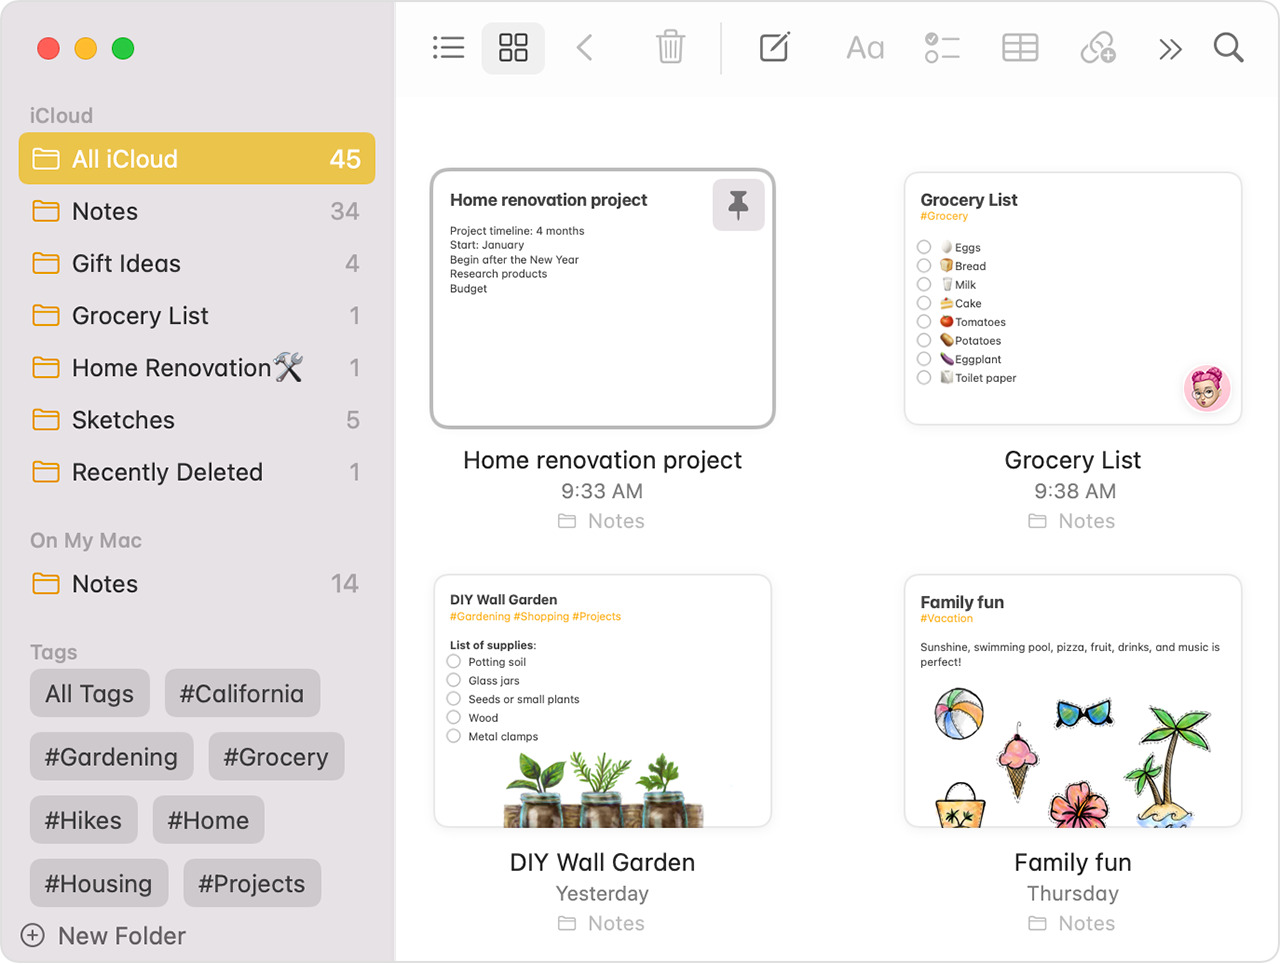
Step 3: Navigating to the Notes App
After signing in to your iCloud account, it’s time to navigate to the Notes app within iCloud. Follow these steps to find the Notes app:
- Locate the iCloud Dashboard: Once you’re signed in to your iCloud account, you’ll be taken to the iCloud Dashboard. This is where you can access all the available iCloud services.
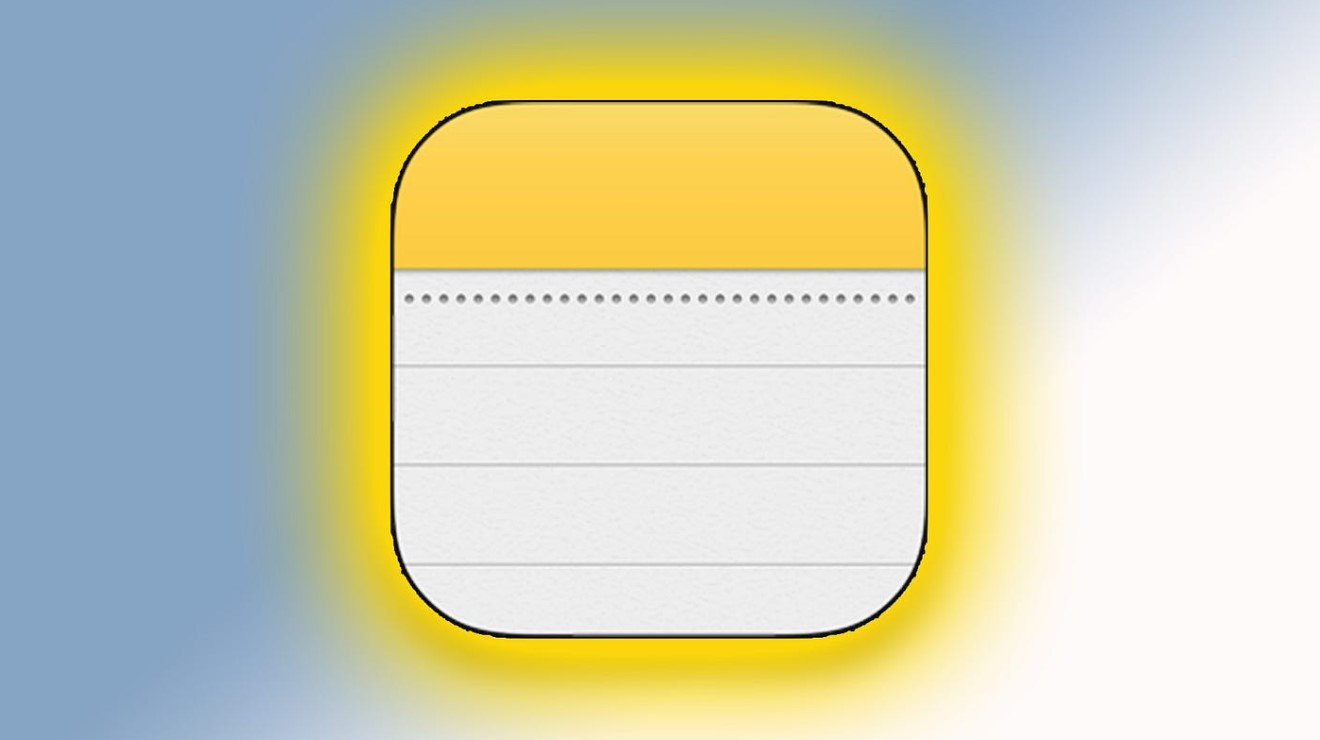
- Scroll down or search for the Notes app: On the iCloud Dashboard, scroll down until you find the Notes app icon. It looks like a yellow notepad with a white pen on top. If you’re unable to locate it, you can use the search bar at the top of the page and type in “Notes” to quickly find the app.
- Click on the Notes app icon: Once you’ve found the Notes app, click on its icon to open it. This will take you to the Notes interface, where you can view, edit, and organize your notes.
Now that you have successfully navigated to the Notes app within iCloud, you’re ready to move on to the next step: downloading your notes. In the next section, we’ll guide you through the process of downloading your iCloud notes and ensuring that you have a local copy of your important information.
Step 4: Downloading Notes
Downloading your iCloud notes is a simple process that allows you to have a local copy of your important information. Follow these steps to download your notes:
- Select the notes you want to download: In the Notes app interface, browse through your notes and select the ones you want to download. You can select individual notes by clicking on them or use keyboard shortcuts like Ctrl+Click (Windows) or Command+Click (Mac) to select multiple notes.
- Click on the Share button: Once you’ve selected the desired notes, locate the Share button at the top-right corner of the Notes interface. It looks like a square with an arrow pointing upwards.
- Choose the “Export as PDF” option: When you click on the Share button, a dropdown menu will appear. From this menu, select the “Export as PDF” option. This will initiate the download process.
- Select the download location: After selecting the “Export as PDF” option, you may be prompted to choose a download location on your computer. Select a suitable location and click “Save” to start downloading the PDF files of your selected notes.
- Repeat the process for other notes (optional): If you have more notes to download, repeat these steps for each note, selecting and exporting them as PDF files.
Once the download is complete, you will have a local copy of your iCloud notes in PDF format. These files can be opened and viewed on any device with a PDF reader. Now you have successfully downloaded your iCloud notes. In the next section, we’ll cover how to sync and export your notes to ensure they are securely backed up and accessible across devices.
Step 5: Syncing and Exporting Notes
After downloading your iCloud notes as PDF files, you may want to sync and export them to ensure easy access and backup. Here’s how you can sync and export your notes:
- Sync your notes across devices: If you have multiple Apple devices, such as an iPhone, iPad, or Mac, make sure that all devices are connected to the same iCloud account. This will enable automatic synchronization of your notes, so any changes you make on one device will be reflected on all others.
- Export notes to other formats (optional): If you need your notes in a format other than PDF, you can export them from the Notes app to various file formats. To export a note, open it in the Notes app, click on the Share button, and choose the desired export format, such as Text, Rich Text Format (RTF), or HTML.
- Backup your notes regularly: To ensure you don’t lose any important notes, it’s essential to back them up regularly. You can use iCloud backup or third-party backup solutions to create secure backups of your notes and other iCloud data. Check Apple’s support website or consult your device’s user manual for instructions on how to set up and manage backups.
By syncing your notes across devices and regularly backing them up, you can be confident that your important information is safe and accessible whenever you need it. Remember to keep your devices updated with the latest software versions to maintain compatibility and security.
With this final step, you have successfully downloaded, synced, and exported your iCloud notes. Now you can easily access and manage your notes across different devices and have peace of mind knowing that your valuable information is securely backed up. Congratulations!
Conclusion
Downloading your iCloud notes is a straightforward process that allows you to have offline access to your important information. Whether you’re using a computer or a mobile device, accessing and downloading your iCloud notes can be done with just a few simple steps.
We started by discussing the prerequisites, such as having an active iCloud account, a stable internet connection, and access to a computer or iOS device. These prerequisites ensure a smooth and successful note downloading process.
We then guided you through each step of the process, from accessing iCloud on a computer to signing in and navigating to the Notes app within iCloud. Once you were in the Notes app, we explained how to select and download your desired notes as PDF files. We also discussed the importance of syncing and exporting your notes to ensure backup and secure access across devices.
Remember to regularly sync, backup, and update your devices to keep your notes safe and accessible. These actions will further enhance your overall experience with iCloud notes and ensure the longevity and security of your valuable information.
Now that you have a local copy of your iCloud notes and are familiar with the process of downloading them, you can enjoy the convenience of accessing your notes offline and sharing them with others who may not have iCloud accounts.
Thank you for choosing iCloud and utilizing its features to enhance your productivity and organization. We hope that this guide has been helpful in assisting you with downloading your iCloud notes. Should you have any additional questions or require further assistance, consult the Apple Support website or reach out to their customer support team.