Introduction
Welcome to this guide on how to download notes from iCloud. iCloud is a cloud storage and synchronization service provided by Apple, and it allows users to store and access various types of data, including notes. Whether you’re a student, professional, or someone who relies heavily on notes for organization and productivity, being able to download your notes from iCloud can be incredibly helpful.
While iCloud offers seamless synchronization across all your Apple devices, there may be instances where you want to have your notes stored locally on your device. This could be to access them offline or to have a backup in case anything happens to your iCloud account. In this guide, we will walk you through the steps to download your notes from iCloud and save them to your device.
Downloading your notes from iCloud not only provides you with a local backup but also gives you the flexibility to access them on other platforms or share them with individuals who may not have access to iCloud. So, whether you’re switching to a non-Apple device or simply prefer to have your notes stored locally, the following steps will help you accomplish that.
Before we dive into the steps, please make sure you have a stable internet connection and access to your iCloud account credentials. Now, let’s get started on how to download notes from iCloud!
Step 1: Sign in to iCloud
The first step in downloading your notes from iCloud is to sign in to your iCloud account. To do this, follow the steps below:
- Open a web browser on your computer or launch the iCloud app on your iOS device.
- Visit the iCloud website by typing in “icloud.com” in the address bar or tapping on the iCloud app icon.
- Enter your Apple ID and password in the respective fields. If you have two-factor authentication enabled, you may be prompted to enter a verification code sent to your trusted device.
- Click on the arrow or press Enter to sign in.
Once you have successfully signed in to your iCloud account, you will have access to all the iCloud services, including the Notes app. Proceed to the next step to access the Notes app and begin downloading your notes.
Step 2: Access the Notes app
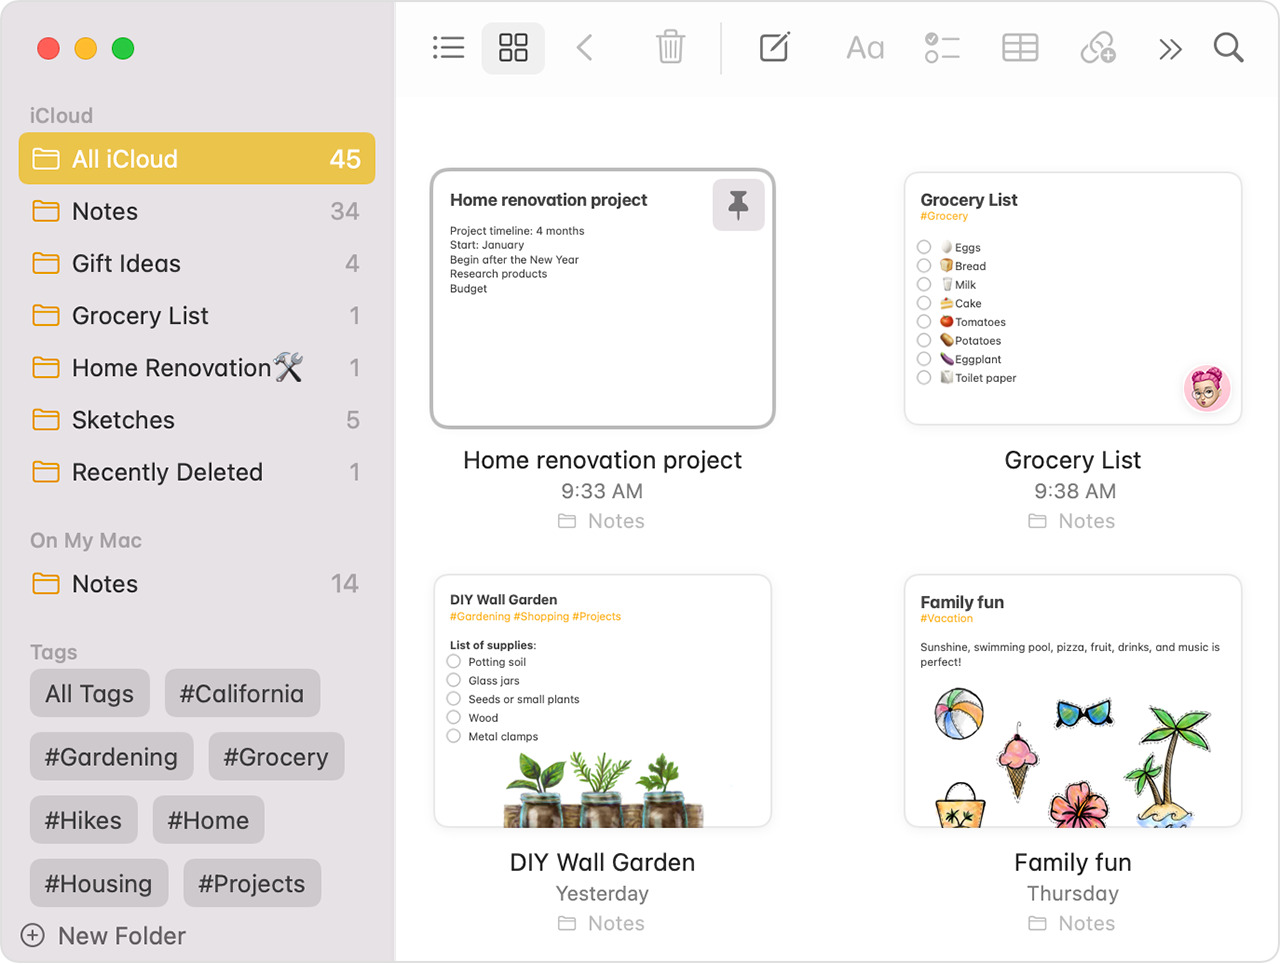
After signing in to your iCloud account, the next step is to access the Notes app. Here’s how you can do it:
- On the iCloud homepage, look for the Notes app icon. It usually appears as a yellow notepad with a pen on it.
- Click on the Notes app icon to launch the app.
If you’re using an iOS device, you can access the Notes app by following these steps:
- On your home screen, locate the Notes app icon. It typically has a yellow notepad with a pen on it.
- Tap on the Notes app icon to open the app.
Once you have successfully accessed the Notes app, you will be able to view all your synced notes. The Notes app provides a user-friendly interface for managing and organizing your notes. Proceed to the next step to select the notes you wish to download.
Step 3: Select the notes you want to download
Now that you have accessed the Notes app, it’s time to select the notes you want to download from iCloud. Follow the steps below:
- Scan through your list of notes and identify the ones you wish to download. You can use the search bar at the top of the app to search for specific keywords if you have a large number of notes.
- Click on each note to select it. You can select multiple notes by holding down the Ctrl key (Windows) or Command key (Mac) and clicking on each note.
- On an iOS device, tap on the circular button on the left side of each note to select it. You can select multiple notes by tapping on the circles next to each note.
Make sure to double-check your selections before proceeding to the next step. Once you have chosen the notes you want to download, move on to the next step to export them from iCloud.
Step 4: Export the selected notes
After selecting the notes you want to download from iCloud, the next step is to export them. Exporting allows you to save the notes to your computer or device for offline access. Follow the instructions below to export your selected notes:
- On the iCloud Notes app, look for the options or settings menu, usually represented by three dots or a gear icon. Click on it to reveal a drop-down menu with various options.
- In the drop-down menu, look for the “Export” or “Download” option. Click on it to proceed.
If you’re using an iOS device, follow these steps to export your notes:
- On the Notes app, tap on the “Select” button located at the top-right corner of the screen.
- Select the notes you want to export by tapping on them.
- Tap on the share button, usually represented by a square with an arrow pointing upwards.
- In the share options, select the “Export” or “Save to Files” option.
By choosing the export option, you are instructing iCloud to package your selected notes into a downloadable format. Proceed to the next step to choose the preferred format for your download.
Step 5: Choose the preferred format for download
Once you have exported your selected notes from iCloud, you will have the option to choose the preferred format for download. The format you select will determine how your notes are saved and the compatibility with different platforms and applications. Follow the steps below to choose the preferred format:
- After selecting the export option in the previous step, you will be presented with a list of available formats.
- Common formats include “PDF” (Portable Document Format) and “HTML” (Hypertext Markup Language).
- Select the desired format by clicking on it or tapping on it, depending on the device you are using.
PDF format is widely supported and provides a fixed layout that preserves the formatting of your notes. It is ideal if you want to view, print, or share your notes as-is without making any further modifications.
HTML format, on the other hand, offers a more flexible and editable format that can be opened in web browsers or compatible text editors. It allows for easy customization and copy-pasting of text into other applications.
Consider your intended use for the downloaded notes and choose the format that suits your needs best. Once you have made your selection, proceed to the final step to save the downloaded notes on your computer or device.
Step 6: Save the downloaded notes
After choosing the preferred format for your downloaded notes, it’s time to save them on your computer or device for future access. Follow the steps below to save the downloaded notes:
- Specify the location where you want to save the downloaded notes. You can choose a folder or directory on your computer or select a specific location on your device.
- Provide a suitable name for the downloaded file. This will help you identify and locate the notes easily at a later time.
- Click on the “Save” button or tap on the “Save” option to initiate the download process.
- Wait for the download to complete. The time taken will depend on the size of the selected notes and the speed of your internet connection.
- Once the download is complete, navigate to the specified location where you saved the notes to verify that they have been successfully downloaded.
Congratulations! You have successfully downloaded and saved your notes from iCloud.
Remember to keep a backup copy of your downloaded notes in a safe location. This will ensure that you have a copy of your important information in case of any unforeseen data loss or device issues.
Now that you have learned how to download notes from iCloud, you can access them offline or transfer them to other devices or platforms as needed. Enjoy the convenience and flexibility of having your notes readily available whenever you need them!
Conclusion
Downloading your notes from iCloud allows you to have a local copy of your important information, providing you with flexibility and peace of mind. In this guide, we walked you through the steps to download your notes from iCloud:
- Sign in to your iCloud account.
- Access the Notes app.
- Select the notes you want to download.
- Export the selected notes.
- Choose the preferred format for download.
- Save the downloaded notes.
By following these steps, you can easily download your notes and have them available offline or share them with others who may not have access to iCloud. Remember to choose the appropriate file format for your needs, whether it’s the fixed layout of a PDF or the flexibility of an HTML file.
Having a local backup of your notes is essential, as it ensures that you can access and reference your information even without an internet connection or if any issues arise with your iCloud account. Additionally, it provides you with the freedom to transfer and use your notes on different platforms or devices.
Now that you have learned how to download your notes from iCloud, you can enjoy the convenience of accessing your important information anytime, anywhere. Make sure to regularly back up and update your downloaded notes to stay organized and prepared for any situation.
We hope this guide has been helpful in assisting you with downloading your notes from iCloud. If you have any further questions or need additional assistance, feel free to reach out to Apple support or consult the iCloud Help Center for more detailed information.
Happy note-taking and downloading!