Introduction
Are you a music enthusiast looking to download FL Studio on your Mac? Look no further – we’ve got you covered! FL Studio, also known as FruityLoops, is a popular digital audio workstation (DAW) used by music producers and DJs worldwide. While FL Studio was initially designed for Windows, there is a way to run it on your Mac using Crossover software. In this article, we will guide you through the step-by-step process of downloading and installing FL Studio on your Mac so that you can start creating music right away.
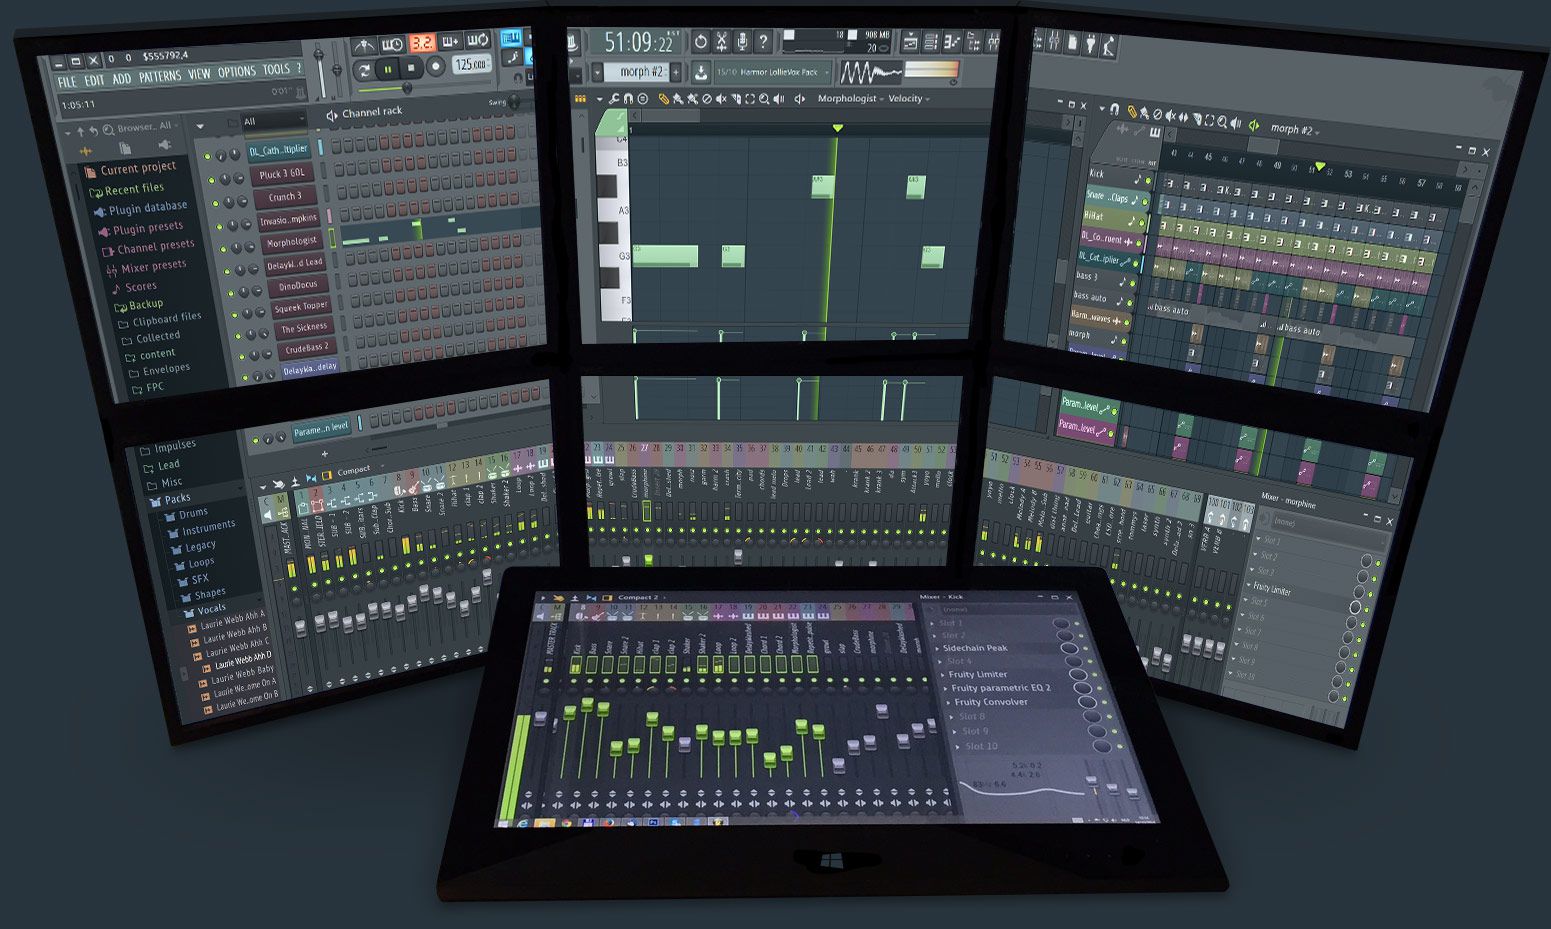
With FL Studio, you can unleash your creativity and produce professional-grade tracks with its extensive range of features and tools. From composing melodies to recording vocals, mixing tracks, and adding effects, FL Studio provides you with a comprehensive platform to bring your musical ideas to life.
Before we dive into the installation process, it’s essential to ensure that your Mac meets the system requirements for running FL Studio smoothly. Make sure you have enough storage space, sufficient RAM, and a compatible operating system. Once you’ve verified your Mac’s compatibility, you can proceed with the installation process.
Step 1: Check System Requirements
Before downloading and installing FL Studio on your Mac, it’s crucial to ensure that your system meets the necessary requirements. This will ensure a smooth and seamless experience when using the software. Here are the system requirements for running FL Studio on your Mac:
- Operating System: FL Studio is compatible with macOS 10.13 or later. Be sure to check that your Mac meets this requirement.
- Processor: A multicore Intel processor with 64-bit support is recommended for optimal performance.
- RAM: FL Studio requires a minimum of 4 GB of RAM, but it is recommended to have 8 GB or more for a better experience.
- Storage: You will need at least 4 GB of free space on your hard drive to install FL Studio. However, additional space may be required for storing your music projects and samples.
- Sound Card: A compatible sound card is essential for high-quality audio output.
- Display: FL Studio is best experienced with a display resolution of 1280×800 or higher.
- Internet Connection: An active internet connection is required for registration, updates, and online features of FL Studio.
It’s worth noting that these are the minimum requirements, and for optimal performance, it is recommended to have a more powerful system. Once you’ve ensured that your Mac meets these specifications, you’re ready to proceed to the next step – downloading the FL Studio trial version.
Step 2: Get the FL Studio Trial Version
Now that you’ve verified your Mac’s system requirements, it’s time to download the FL Studio trial version. The trial version allows you to explore the software and its features before committing to a full purchase. Here’s how you can get the FL Studio trial version:
- Open your preferred web browser on your Mac and navigate to the official FL Studio website.
- Once you’re on the website, locate the “Download” or “Try it free” button. Click on it to initiate the download.
- You may be prompted to create an account or log in if you already have one. Follow the instructions provided to proceed.
- Select the appropriate version of FL Studio for Mac and click on the download link.
- The file will begin downloading. Depending on your internet connection speed, this may take a few minutes.
- Once the download is complete, locate the downloaded file in your Downloads folder or the location you specified.
- Double-click on the FL Studio installer file to begin the installation process.
It’s important to note that the trial version of FL Studio has some limitations, such as saving projects with all features, exporting high-quality audio, and using some advanced plugins. However, it still provides you with a great opportunity to explore the software and get a taste of its capabilities.
With the FL Studio trial version downloaded, you’re one step closer to unleashing your musical creativity. The next step involves installing the Crossover software, which will allow you to run FL Studio on your Mac. Let’s move on to the next step!
Step 3: Install the Crossover Software
In order to run FL Studio on your Mac, you will need to install the Crossover software, which acts as a compatibility layer to run Windows applications on macOS. Follow these steps to install Crossover:
- Visit the official Crossover website and download the Crossover installer for macOS.
- Once the download is complete, locate the installer file and double-click on it to start the installation process.
- Follow the on-screen instructions provided by the Crossover installer. The installation process is straightforward and typically involves agreeing to the terms of service, choosing an installation location, and confirming the installation.
- After the installation is complete, launch the Crossover software on your Mac.
Crossover creates a Windows environment within macOS, allowing you to install and run Windows applications seamlessly. This will enable FL Studio, which was originally designed for Windows, to run smoothly on your Mac.
With Crossover installed and ready to go, you’re now ready for the next step – launching Crossover and selecting the “Bottles” tab. We’ll cover this in the next section!
Step 4: Launch Crossover and Select the “Bottles” Tab
After successfully installing Crossover on your Mac, it’s time to launch the software and navigate to the “Bottles” tab. The Bottles tab is where you will create the environment to install and run FL Studio. Follow these steps:
- Locate the Crossover application in your Applications folder or search for it using Spotlight.
- Double-click on the Crossover icon to launch the software.
- Once Crossover is open, you will see a list of your installed bottles on the left-hand side. Bottles are essentially separate environments that allow you to install and run Windows applications.
- Click on the “Bottles” tab to access the list of bottles.
- If you’re setting up Crossover for the first time, your bottles list may be empty. In that case, click on the “+” (plus) button to create a new bottle.
Now that you’ve reached the “Bottles” tab in Crossover, you’re ready to proceed to the next step – installing FL Studio. In the following section, we’ll guide you through the process of installing FL Studio using Crossover. Let’s dive in!
Step 5: Click on “Install a Windows Application”
Now that you’ve reached the “Bottles” tab in Crossover, it’s time to install FL Studio. Follow these steps to proceed:
- On the “Bottles” tab, click on the “Install a Windows Application” button. This will open a window that allows you to select the installer file for FL Studio.
- If you already have the FL Studio installer file on your Mac, click on the “Choose Installer File” button and navigate to the location where the file is saved. Select the installer file and click “Open.”
- If you don’t have the installer file yet, you can download it from the official FL Studio website.
- After selecting the installer file, follow the prompts provided by Crossover to proceed with the installation. Crossover will guide you through the setup process, just like you would on a Windows computer.
- During the installation, you may be asked to specify the installation location and make certain configuration choices. Follow the instructions given by the FL Studio installer.
- Once the installation is complete, you will see FL Studio listed in the “Bottles” tab within Crossover. This indicates that the software is successfully installed and ready to be launched.
Congratulations! You have now installed FL Studio on your Mac using Crossover. In the next step, we will cover how to configure FL Studio settings to optimize your experience. Let’s move on!
Step 6: Browse for the FL Studio Installer
In this step, we will browse for the FL Studio installer file within Crossover. Follow these steps to proceed:
- On the “Bottles” tab in Crossover, locate the FL Studio bottle in which you want to install the software. If you haven’t created a bottle yet, refer back to Step 4 to create a new one specifically for FL Studio.
- Right-click on the FL Studio bottle and select the “Run Command” option from the context menu. This will open a window where you can run commands within the bottle.
- In the command window, type in “Browse” and hit Enter. This will open a file browser within the FL Studio bottle.
- Navigate to the location where you have saved the FL Studio installer file on your Mac.
- Select the FL Studio installer file and click “OK.” This will initiate the installation process within the FL Studio bottle.
- Follow the prompts provided by the FL Studio installer to proceed with the installation. Make any necessary configuration choices as instructed by the installer.
- Wait for the installation to complete. This may take some time, so be patient.
Once the installation is finished, you will have FL Studio installed and ready to use within the FL Studio bottle in Crossover. In the next step, we will cover how to run FL Studio and configure its settings. Let’s move on!
Step 7: Run the FL Studio Installer
In this step, we will run the FL Studio installer within the FL Studio bottle in Crossover. Follow these steps to proceed:
- Locate the FL Studio bottle within the “Bottles” tab in Crossover. If you haven’t created a bottle yet, refer back to Step 4 to create a new one specifically for FL Studio.
- Right-click on the FL Studio bottle and select the “Run Command” option from the context menu. This will open a window where you can run commands within the bottle.
- In the command window, type in the name of the FL Studio installer file followed by the file extension (e.g., flstudio-installer.exe) and hit Enter. This will initiate the FL Studio installer within the FL Studio bottle.
- Follow the prompts provided by the FL Studio installer to proceed with the installation. Make any necessary configuration choices as instructed by the installer.
- Wait for the installation to complete. This may take some time, so be patient.
Once the installation is finished, FL Studio will be installed and ready to use within the FL Studio bottle in Crossover. In the next step, we will cover how to configure FL Studio settings to optimize your experience. Let’s move on!
Step 8: Configure FL Studio Settings
After installing FL Studio within the FL Studio bottle in Crossover, it’s important to configure the software’s settings to ensure optimal performance and usability. Follow these steps to configure FL Studio settings:
- Launch Crossover and navigate to the “Bottles” tab.
- Locate the FL Studio bottle and right-click on it.
- Select “Run Command” from the context menu to open the command window within the FL Studio bottle.
- In the command window, type “winecfg” and hit Enter. This command will open the Wine configuration window.
- Within the Wine configuration window, navigate to the “Graphics” tab.
- Configure the graphics settings according to your preferences. You may need to experiment with different options to find the best balance between performance and visual quality.
- After configuring the graphics settings, click “Apply” and then “OK” to save the changes.
- Close the Wine configuration window.
Once you have configured the FL Studio settings through the Wine configuration window, you can further personalize the software by exploring its internal settings. FL Studio provides a wide range of options to customize your workflow, audio settings, MIDI settings, and more.
Now that you have successfully configured FL Studio settings, you’re ready to start using FL Studio on your Mac. In the next step, we will cover how to efficiently work with FL Studio and unleash your musical creativity. Let’s proceed!
Step 9: Start Using FL Studio on Your Mac
Now that you have completed all the necessary steps to download, install, and configure FL Studio on your Mac using Crossover, it’s time to start using the software and unleash your musical creativity. Follow these steps to begin your FL Studio journey:
- Launch Crossover and navigate to the “Bottles” tab.
- Locate the FL Studio bottle and double-click on it to open it.
- FL Studio will start running within the bottle, and you will be greeted with the FL Studio interface.
- Take some time to familiarize yourself with the various features and tools FL Studio has to offer.
- Start creating your music by adding instruments, composing melodies, recording vocals, and experimenting with different effects.
- Take advantage of the vast library of samples and presets available in FL Studio to enhance your tracks.
- Explore the different plugins and effects included with FL Studio to further customize your sound.
- Save your projects regularly to ensure you don’t lose any of your hard work.
- Don’t hesitate to refer to the FL Studio documentation, tutorials, and user forums for additional guidance and inspiration.
Remember, FL Studio provides a powerful platform for music production and composition, allowing you to bring your musical ideas to life. So, dive in, experiment, and let your creativity flow.
Congratulations! You are now equipped with the knowledge to download, install, and use FL Studio on your Mac using Crossover. Enjoy exploring the world of music production and have a fantastic time creating your own unique sound.
Conclusion
Congratulations! You have successfully downloaded, installed, and configured FL Studio on your Mac using Crossover. This opens up a world of possibilities for music production and allows you to express your creativity to the fullest. With FL Studio’s powerful features and tools at your disposal, you can compose, mix, and create professional-quality music right from your Mac.
Throughout this article, we guided you through a step-by-step process, starting from checking system requirements to installing the FL Studio trial version, configuring Crossover, and finally launching and using FL Studio on your Mac. By following these steps and exploring FL Studio’s interface and features, you can embark on an exciting musical journey.
Remember, as you work with FL Studio, continue to learn and grow as a music producer. Experiment with different sounds, techniques, and genres to find your unique style. Be open to exploring new plugins, techniques, and resources that can take your music to the next level.
To enhance your skills, consider joining online forums, participating in music production communities, and seeking tutorials and resources provided by the FL Studio community. These resources can provide valuable insights, tips, and tricks to improve your workflow and expand your knowledge.
Now that you have FL Studio on your Mac, it’s time to let your creativity soar. Embrace the possibilities, enjoy the process, and let your music be a reflection of your unique voice and passion. Happy producing!