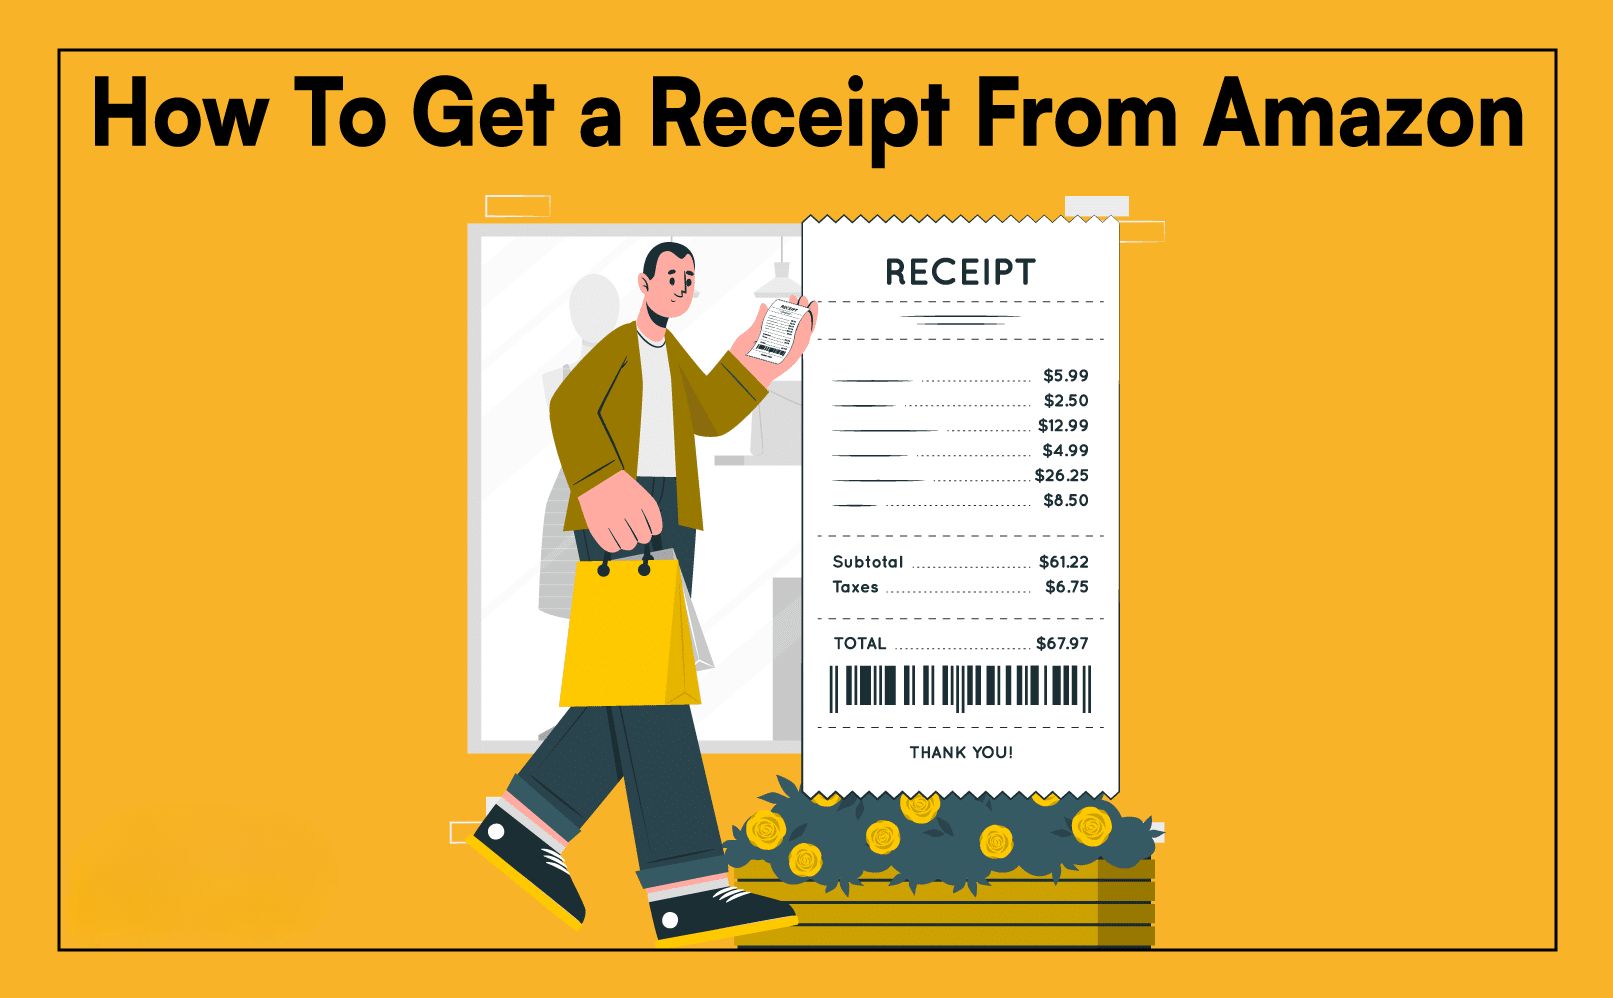
Introduction
Welcome to our comprehensive guide on how to download all your Amazon orders. As an Amazon customer, you have access to a vast collection of digital content, physical products, and services. Over time, you may accumulate a large number of orders, making it difficult to keep track of your purchase history.
Fortunately, Amazon offers a convenient way to download your complete order history, providing you with a comprehensive record of all your past purchases. This can be incredibly useful for various reasons, such as managing expenses, tracking warranty information, or organizing your digital library.
In this guide, we will walk you through the step-by-step process of accessing and downloading your order history. By following these instructions, you will have a locally stored copy of your complete order history, easily accessible on your computer or any other device.
Whether you’re a frequent Amazon shopper, an e-book enthusiast, or someone who values meticulous recordkeeping, this guide will equip you with the knowledge and tools to access and save your order history. Let’s get started!
Step 1: Accessing Your Amazon Account
The first step in downloading your Amazon order history is to access your Amazon account. Follow these simple instructions:
- Open your preferred web browser on your computer or mobile device.
- Navigate to Amazon’s homepage by typing www.amazon.com in the address bar and pressing Enter.
- Click on the “Sign In” button located at the top right corner of the page. If you’re already signed in, skip to the next step.
- Enter your Amazon account email address or phone number in the designated field.
- Type your password in the password field. If you have trouble remembering your password, you can click on the “Forgot your password?” link below the sign-in form for assistance.
- Click the “Sign In” button.
Once you successfully sign in to your Amazon account, you will have access to a wide range of features and settings specific to your account. Now that you’re signed in, let’s move on to the next step: navigating to your orders.
Step 2: Navigating to Your Orders
After signing in to your Amazon account, you will need to navigate to the page where you can view and manage your orders. Follow these steps to access your order history:
- On the top right corner of the Amazon homepage, hover your cursor over the “Accounts & Lists” option. A dropdown menu will appear.
- From the dropdown menu, click on “Your Orders.” This will take you to the “Your Orders” page, where you can view and manage all your past purchases and orders.
On the “Your Orders” page, you will see a chronological list of all your orders, starting with the most recent. Each order will display essential information such as the date of purchase, order number, items ordered, and current status.
By default, only the most recent orders are displayed on this page. To see older orders, you can navigate through the pages using the pagination options at the bottom of the page or adjust the displayed timeline using the search filters.
Now that you have successfully accessed the “Your Orders” page, it’s time to move on to the next step: setting filters for all orders to include in your download.
Step 3: Setting Filters for All Orders
Before downloading your order history, you may want to set filters to include specific orders or a certain timeframe. This can help you narrow down the results and only retrieve the order data that is relevant to you. Here’s how you can set filters for all orders:
- On the “Your Orders” page, locate the search bar at the top of the page.
- Click on the dropdown arrow next to “All Orders” to reveal a menu of filtering options.
- Depending on your preferences, you can select one of the pre-defined filters such as “Last 30 days,” “Last 6 months,” or “Last year” to automatically update the list of displayed orders.
- If you want to set custom filters, select “Custom” from the dropdown menu.
- A dialog box will appear, allowing you to specify various filter options such as order status, item category, payment method, and more. Choose the desired criteria to refine your order history.
- Once you have set the filters to your liking, click on the “Apply” or “Search” button to update the displayed orders based on your chosen criteria.
By setting filters, you can have more control over the data you download and make it easier to manage and analyze your order history. After configuring the filters, it’s time to proceed to the next step: exporting your order history for download.
Step 4: Exporting Your Order History
Once you have applied the desired filters to your order history, it’s time to export the data for download. Amazon provides an option to export your order history in a convenient format. Follow these steps to export your order history:
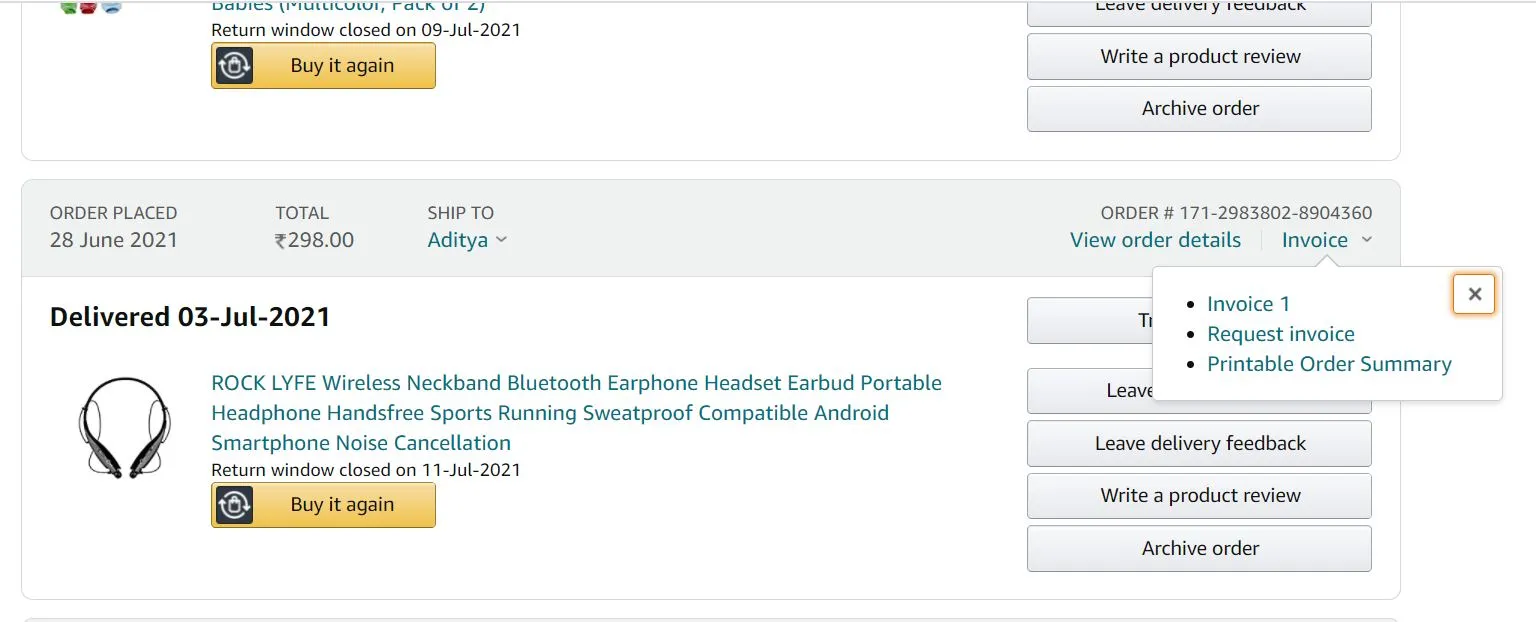
- On the “Your Orders” page, locate the “Order History Reports” section on the right-hand side of the page.
- Click on the “Download order reports” link within that section.
- You will be redirected to the “Order History Reports” page, where you can access and manage your order reports.
- On this page, you will see a list of available reports for download. Look for the report that corresponds to the timeframe and filters you have set.
- Click on the “Download” button next to the report you wish to export.
Depending on the size of your order history and the number of orders included, the report generation may take a few moments. Once the report is ready for download, it will be saved in a compatible file format, usually CSV (Comma Separated Values).
Amazon provides multiple report options, such as the Basic Report, Extended Report, and Custom Report, each offering different levels of information and details. Choose the report that suits your needs and download it to your computer.
With your order history exported, you can proceed to the final step: downloading the order history file to save it locally on your device.
Step 5: Downloading Your Order History
With your order history report generated and ready for download, it’s time to retrieve the file and save it to your device. Follow these simple steps to download your order history:
- Locate the file you generated in the previous step on the “Order History Reports” page.
- Click on the file name or the corresponding “Download” button to initiate the download process.
- Depending on your browser settings, you may be prompted to choose a location on your computer or device to save the file. Select a suitable location and click “Save” or “OK” to confirm the download.
- The file will begin downloading, and the progress will be indicated by a status bar or notification in your browser.
- Once the download is complete, navigate to the location where you saved the file on your device.
Congratulations! You have successfully downloaded your Amazon order history. The file will be in a compatible format such as CSV, which can be opened and viewed with a spreadsheet program like Microsoft Excel or Google Sheets.
Keep in mind that the file may contain sensitive information, such as order details, shipping addresses, and payment information. Therefore, it’s essential to store the file securely and consider encrypting it if necessary.
Now that you have your order history file downloaded and saved, it’s time for the final step: reviewing and saving your order history for future reference.
Step 6: Reviewing and Saving Your Order History
After successfully downloading your Amazon order history, it’s important to take the time to review the file and ensure its accuracy. Follow these steps to review and save your order history:
- Locate the downloaded order history file on your device.
- Open the file using a spreadsheet program such as Microsoft Excel or Google Sheets.
- Take a moment to review the information included in the file, such as order dates, order numbers, item details, prices, and any other relevant data.
- Check for any discrepancies or errors in the order history. If you find any inaccuracies, you may need to contact Amazon customer support for assistance.
- Once you have reviewed the file and confirmed its accuracy, consider saving a backup copy of the order history in a secure location, such as an external hard drive or cloud storage service.
- Organize the file in a way that suits your needs, such as creating additional sheets or applying filters to specific columns for easy searching and analysis.
Having a locally saved copy of your complete order history provides you with a valuable resource for future reference. You can use the data to track your spending, monitor warranty periods, and organize your purchases.
Remember to regularly update the order history file by repeating the download process if you wish to keep your records up to date. Additionally, it’s a good practice to periodically review and reconcile your order history to ensure that it aligns with your own records.
By following these steps, you have successfully reviewed and saved your Amazon order history. Take advantage of this valuable resource to stay informed and organized with your past purchases.
Conclusion
Congratulations! You have now learned how to download all your Amazon orders, giving you the ability to access and manage your complete order history at any time. By following the step-by-step process outlined in this guide, you can easily retrieve your order data and save it for future reference.
Having a locally stored copy of your order history allows you to keep track of your expenses, track warranty information, and organize your digital library. You can use this information to analyze your purchasing patterns, monitor budgets, and make informed decisions about future purchases.
Remember to periodically update your order history by repeating the download process to ensure that your records remain accurate and up to date. Additionally, take the time to review and reconcile your order history to identify any discrepancies and address them promptly with Amazon customer support.
We hope that this guide has been helpful in assisting you with downloading your Amazon order history. With your order data readily available, you can stay organized and manage your Amazon purchases more efficiently.
Thank you for reading, and happy exploring!