Introduction
Welcome to this step-by-step guide on how to download a ZIP file on Mac. ZIP files, also known as compressed files, are commonly used to contain multiple files or folders in a single file for easy storage and transfer. Whether you need to download software, documents, or any other type of file, knowing how to handle ZIP files is an essential skill for any Mac user.
In this guide, we will walk you through the process of finding, downloading, and extracting the contents of a ZIP file on your Mac. With just a few simple steps, you’ll be able to access and use the files contained within the ZIP file.
Before we dive into the steps, it’s important to note that the process may vary slightly depending on the browser you’re using. In this guide, we will cover the general steps that should work across different browsers, but keep in mind that there may be some minor differences in the interface or specific options.
Now, let’s get started with Step 1: Finding the ZIP file. Follow along and soon you’ll be a pro at downloading and handling ZIP files on your Mac!
Step 1: Finding the ZIP file
The first step in downloading a ZIP file on your Mac is to locate the file you want to download. This could be a file hosted on a website, a file received through email, or a file stored on a cloud storage service.
If you’re downloading a ZIP file from a website, start by navigating to the webpage where the file is located. Look for a download link or button associated with the ZIP file. It may be labeled as “Download,” “Download ZIP,” or something similar. Click on the link or button to initiate the download process.
If you received the ZIP file through email, open the email and look for an attachment with a .zip extension. Save the attachment to a location on your Mac where you can easily find it later.
If the ZIP file is stored on a cloud storage service like Dropbox or Google Drive, access the service using your web browser or the respective desktop app. Locate the ZIP file and select it, then look for a download option or button. Click on the option or button to start the download.
Once you’ve initiated the download process, your web browser or the specific application will start downloading the ZIP file to your Mac. The download progress will typically be displayed in your browser’s download manager or in the application’s interface.
Remember to pay attention to the file size and estimated download time, especially if you’re on a slower or limited internet connection. Larger ZIP files may take longer to download, so be patient while the download completes.
Now that you’ve found and initiated the download of the ZIP file, it’s time to move on to Step 2: Downloading the ZIP file. We’ll guide you through the process of saving the ZIP file to your Mac and ensuring it is successfully downloaded and ready for extraction.
Step 2: Downloading the ZIP file
After locating the ZIP file in Step 1, the next step is to download it to your Mac. Depending on the browser you’re using, the download process may differ slightly, but the general steps remain the same.
If you’re using Safari as your web browser, when you click on the download link or button for the ZIP file, a pop-up window will appear at the top-right corner of the browser. It will display the name of the file and give you the option to choose the download location. Select a folder or directory on your Mac where you want to save the ZIP file and click on the “Save” button.
If you’re using Google Chrome, clicking on the download link or button will start the download automatically. The file will be saved to the default “Downloads” folder on your Mac. You can change the download location by clicking on the arrow next to the file name in the browser’s download bar and selecting “Show in Finder”.
For Firefox users, when you click on the download link or button, a pop-up window will appear with options for saving the file. Choose a destination folder on your Mac and click on the “Save” button to initiate the download.
No matter which browser you’re using, a progress bar or indicator will typically appear to show you the download progress. Once the download is complete, you’ll see a notification confirming that the ZIP file has been successfully downloaded to your chosen location on your Mac.
It’s worth noting that some browsers may automatically extract the contents of a downloaded ZIP file, depending on your settings. If this happens, you’ll find the extracted files in the same location as the original ZIP file. If you prefer to manually extract the ZIP file, make sure to change your browser’s settings accordingly.
Congratulations! You have successfully downloaded the ZIP file to your Mac. Now, let’s proceed to Step 3: Locating the downloaded ZIP file, where we’ll guide you through finding the downloaded file on your Mac.
Step 3: Locating the downloaded ZIP file
Once you have completed the download of the ZIP file in Step 2, the next step is to locate where the file has been saved on your Mac. The downloaded ZIP file will typically be saved in the folder or directory that you specified during the download process. Follow these steps to find the downloaded ZIP file:
- Open a new Finder window on your Mac by clicking on the Finder icon in the Dock or by selecting File > New Finder Window from the menu bar.
- In the Finder window, navigate to the location where you chose to save the downloaded ZIP file. This could be the default “Downloads” folder or any other folder that you selected during the download.
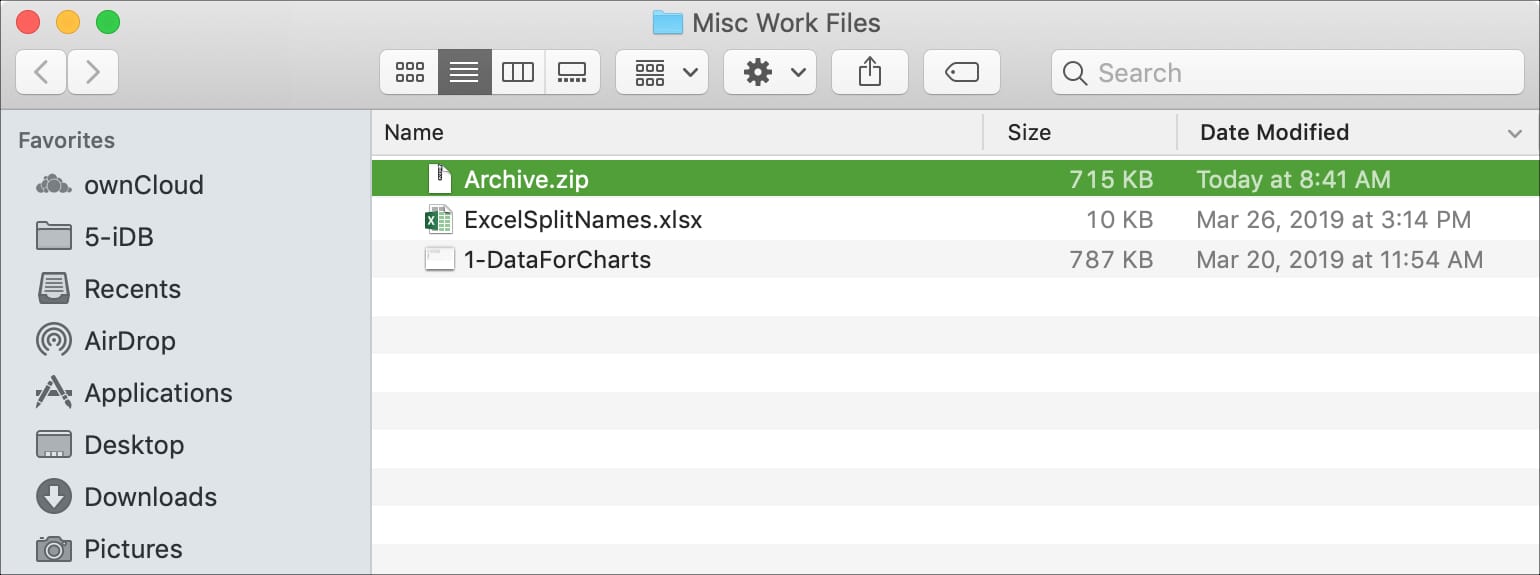
- Look for the ZIP file in the Finder window. It will usually have the same name as the original file you downloaded, with a “.zip” extension at the end.
If you’re having trouble locating the ZIP file, you can use the built-in search function in Finder. Simply click on the search bar in the top-right corner of the Finder window and type in the name of the ZIP file. The search results will display any files or folders that match the search query.
Once you’ve found the downloaded ZIP file, you’re ready to move on to the next step: extracting the contents of the ZIP file. But before we do that, let’s take a moment to ensure you have a clear understanding of how to locate the downloaded ZIP file on your Mac.
Remember that the location of the downloaded ZIP file will depend on the preferences you set during the download process. If you’re still unable to find the file, double-check the destination folder you selected or perform a thorough search using Finder’s search function.
Now that you’ve successfully located the downloaded ZIP file, let’s proceed to Step 4: Extracting the contents of the ZIP file, where we’ll guide you through the process of accessing the files within the ZIP file on your Mac.
Step 4: Extracting the contents of the ZIP file
Now that you have located the downloaded ZIP file in Step 3, it’s time to extract its contents so that you can access and use the files within. Follow these steps to extract the contents of the ZIP file on your Mac:
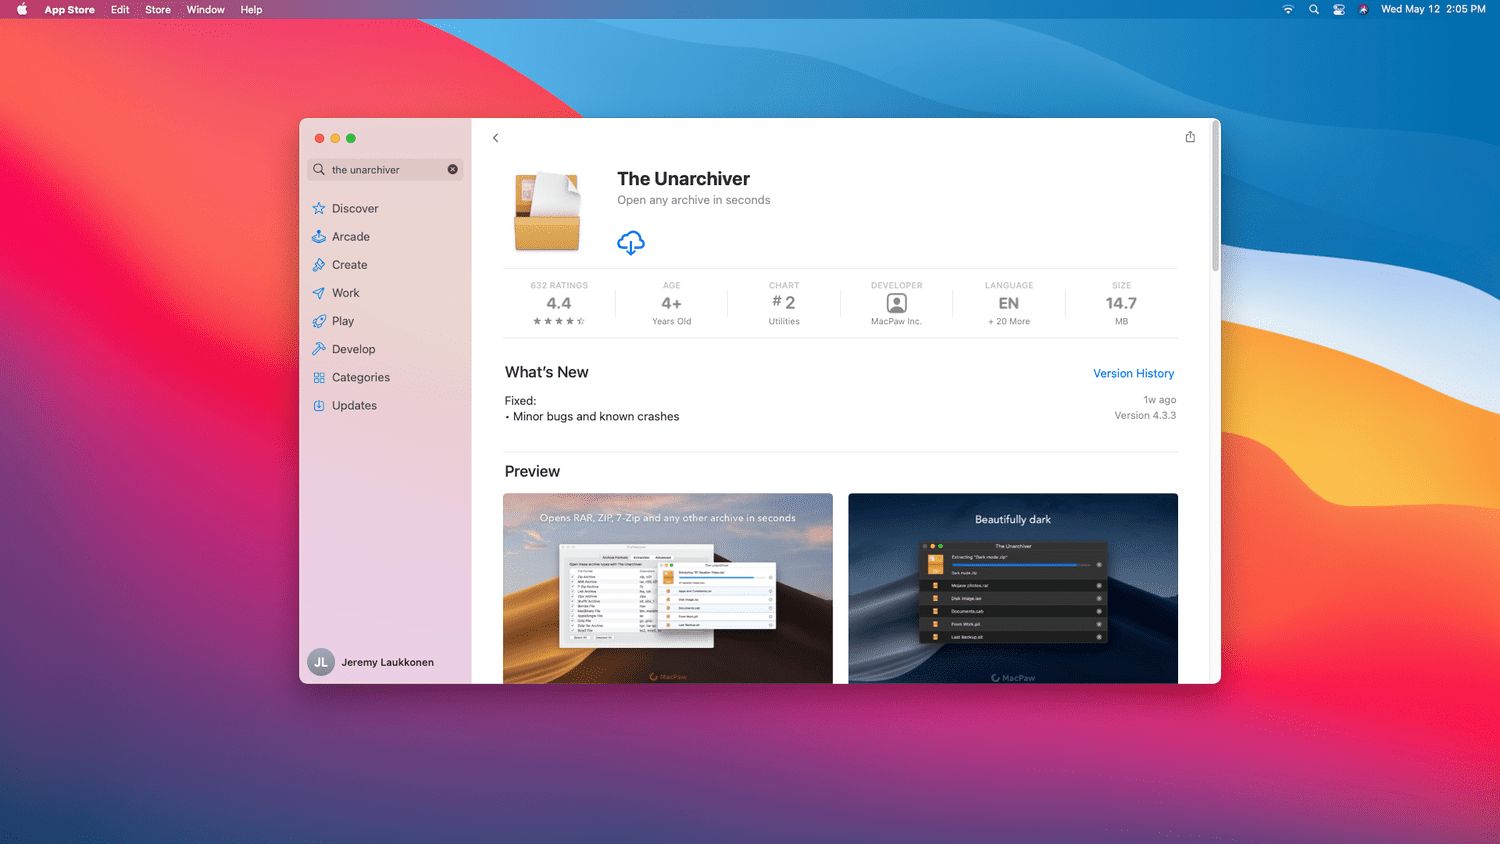
- Start by double-clicking on the ZIP file. This action will typically open the Archive Utility, a built-in macOS app that handles file compression and extraction.
- The Archive Utility will automatically start extracting the contents of the ZIP file to the same location as the original ZIP file. You may see a progress bar or indicator showing the extraction progress.
- Once the extraction process is complete, you will find a new folder in the same location as the ZIP file. This folder will have the same name as the original ZIP file, but without the “.zip” extension.
- Open the newly created folder to access the files and folders that were contained within the ZIP file. You can now use, move, or modify these files as needed.
If the Archive Utility does not automatically open when you double-click on the ZIP file, you can manually open it by following these steps:
- Right-click on the ZIP file.
- Select “Open With” from the context menu.
- Choose “Archive Utility” from the list of available applications. If it is not listed, click on “Other” and locate the Archive Utility in the Applications folder.
- The Archive Utility will open and start extracting the contents of the ZIP file.
Once you have successfully extracted the contents of the ZIP file, you can freely work with the individual files and folders within the extracted folder. You can open, edit, move, or delete these files as needed.
Remember to keep the extracted files in a safe location on your Mac, especially if you plan to make changes or modifications. It’s a good practice to create a backup or copy of the extracted files in case you accidentally delete or lose them.
Congratulations! You have successfully extracted the contents of the ZIP file on your Mac, allowing you to access and use the files contained within. Take some time to explore and familiarize yourself with the extracted files, and enjoy the convenience of working with ZIP files on your Mac!
Conclusion
Congratulations! You have now learned how to download and handle ZIP files on your Mac. With the step-by-step guide provided in this article, you can confidently navigate the process of finding, downloading, locating, and extracting the contents of ZIP files.
ZIP files are incredibly useful for compressing and organizing multiple files into a single, easy-to-manage package. They are commonly used for sharing files, storing backups, and reducing file size for more efficient storage and transfer. Knowing how to work with ZIP files will undoubtedly make your Mac experience more convenient and hassle-free.
Throughout this guide, we covered essential steps such as finding the ZIP file, downloading it to your Mac, locating the downloaded file, and extracting its contents. Remember to pay attention to the specific options and interface of your preferred web browser, as the process may vary slightly.
By following these steps, you can quickly and effectively handle ZIP files on your Mac and access the files and data they contain. Feel free to explore the extracted files, make changes, or share them with others as needed.
Now that you have acquired the skills to download and handle ZIP files, you can enhance your productivity and efficiency when working with compressed files on your Mac. So the next time you come across a ZIP file, you can confidently navigate the download and extraction process.
Thank you for reading, and we hope this guide has been helpful to you. Happy ZIP file downloading and extracting!