Introduction
Creating a download link is a simple yet essential task when you want to make a file available for others to access and download. Whether you are sharing a document, a video, or a software program, a download link allows users to easily obtain the file without any complicated steps. In this article, we will guide you through the process of creating a download link to ensure that your files are readily available for others to download.
By following the steps outlined below, you will be able to upload your file to a web hosting service and generate a customized download link. We will also provide you with tips on how to test the download link to verify that it is working correctly. So, whether you are sharing your work with colleagues, distributing files to clients, or making resources available to the public, this guide will give you all the information you need to create an effective download link.
Before we get started, it is important to note that creating a download link requires familiarity with HTML and the use of web hosting services. Having a basic understanding of these concepts will ensure that you can easily follow the steps outlined in this article. Now, let’s proceed to the first step of creating a download link – preparing the file for download.
Step 1: Prepare the file for download
Before you can create a download link, you need to ensure that the file you want to share is properly prepared. Here are the steps you should follow:
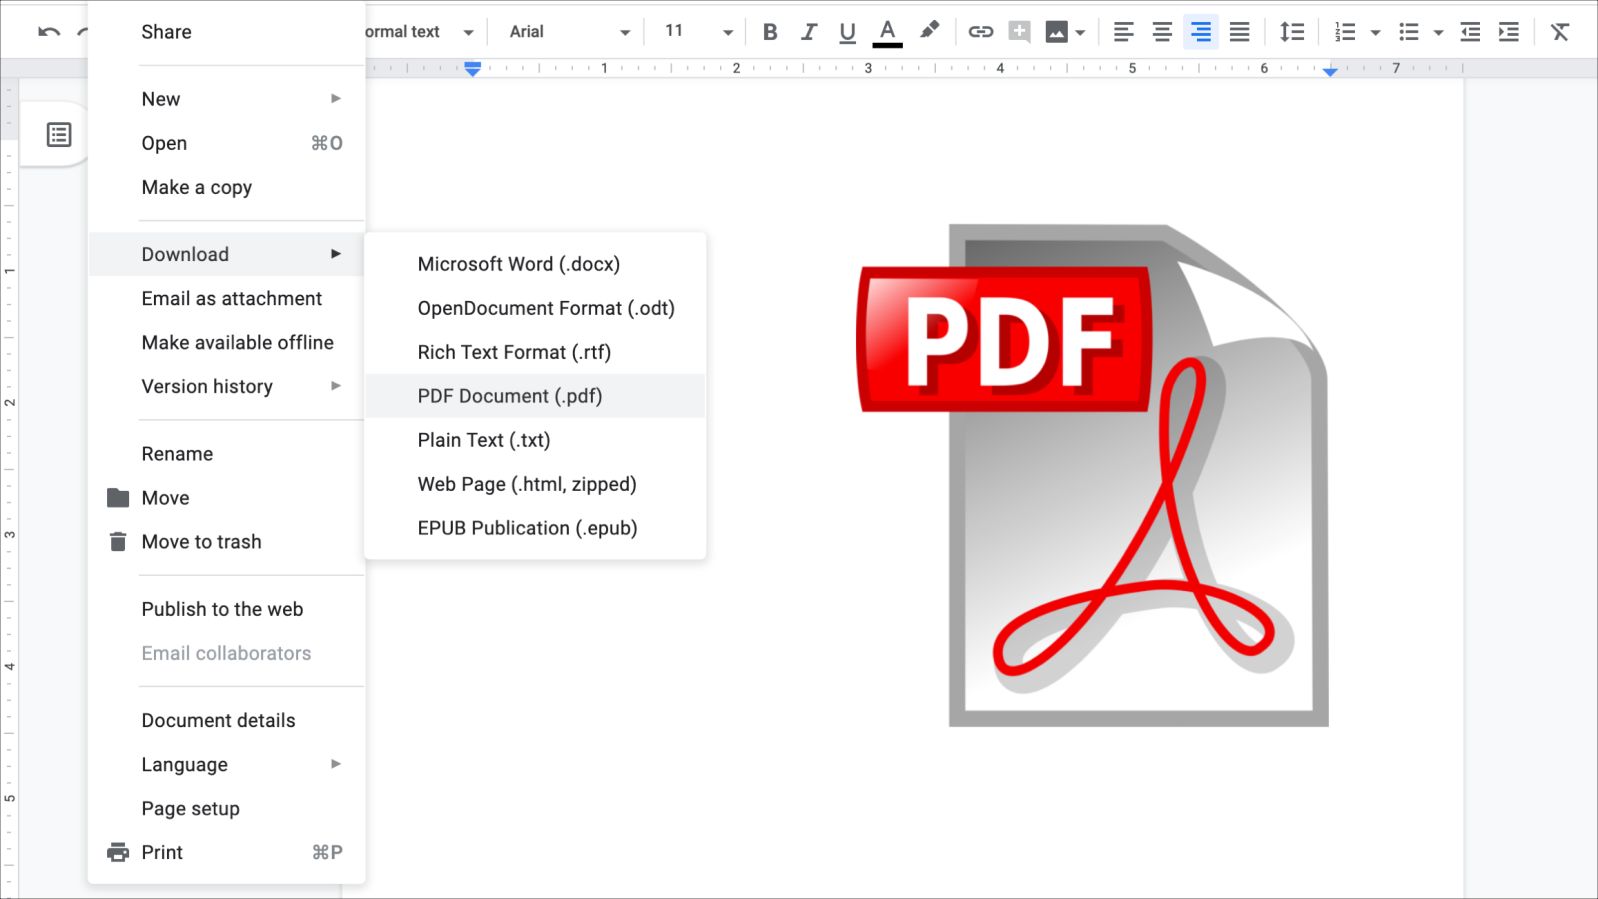
1. File format: First, make sure that your file is in a format that can be easily downloaded and accessed by users. Common file formats for downloads include PDF, DOCX, MP4, and ZIP. If your file is in a different format, consider converting it to a more widely supported format.
2. File size: Check the file size to ensure that it is suitable for download. Large files may take longer to download and could potentially pose difficulties for users with slow internet connections. If your file is too large, consider compressing it into a ZIP file or dividing it into smaller parts.
3. File organization: It’s important to organize your file and its contents in a way that makes sense to the user. If you have multiple files, create a folder and place all the related files within it. This will make it easier for users to download and locate the files they need.
4. File naming: Give your file a clear and descriptive name that accurately reflects its content. Avoid using generic or ambiguous names that may confuse users. It’s also a good practice to include the file format as part of the name (e.g. “Annual_Report_2022.pdf”) to make it clear to users what type of file they are downloading.
By properly preparing your file for download, you can ensure that users have a seamless experience when accessing and downloading your files. Once your file is ready, you can proceed to the next step – uploading it to a web hosting service.
Step 2: Upload the file to a web hosting service
Once your file is prepared, the next step is to upload it to a web hosting service. A web hosting service provides a server where you can store your files, making them accessible to users online. Follow these steps to upload your file:
1. Select a web hosting service: There are numerous web hosting services available, ranging from free options to paid plans with more features and storage. Choose a hosting service that aligns with your needs and budget. Some popular hosting services include Dropbox, Google Drive, and Amazon S3.
2. Create an account: Sign up for an account on the hosting service of your choice. Provide the necessary information and agree to any terms and conditions.
3. Access the file upload area: Once you have created an account, log in to the hosting service’s website. Look for an area or option that allows you to upload files. This may be labeled as “Upload,” “File Manager,” or something similar.
4. Select the file: Click on the “Choose File” or “Browse” button to locate and select the file you want to upload from your computer’s local storage.
5. Start the upload: After selecting the file, click on the “Upload” button to initiate the file upload process. Depending on the file size and your internet connection speed, the upload may take a few moments to complete. Be patient and wait for the progress to reach 100%.
6. Confirm the upload: Once the upload is finished, the hosting service will provide a confirmation message indicating that the file has been successfully uploaded.
7. Note the file’s URL: Take note of the file’s URL provided by the hosting service. This URL is what you will use to generate the download link in the next step.
By uploading your file to a web hosting service, you ensure that it can be accessed and downloaded by users through a secure and reliable platform. With the file uploaded, you can proceed to the next step – generating a download link.
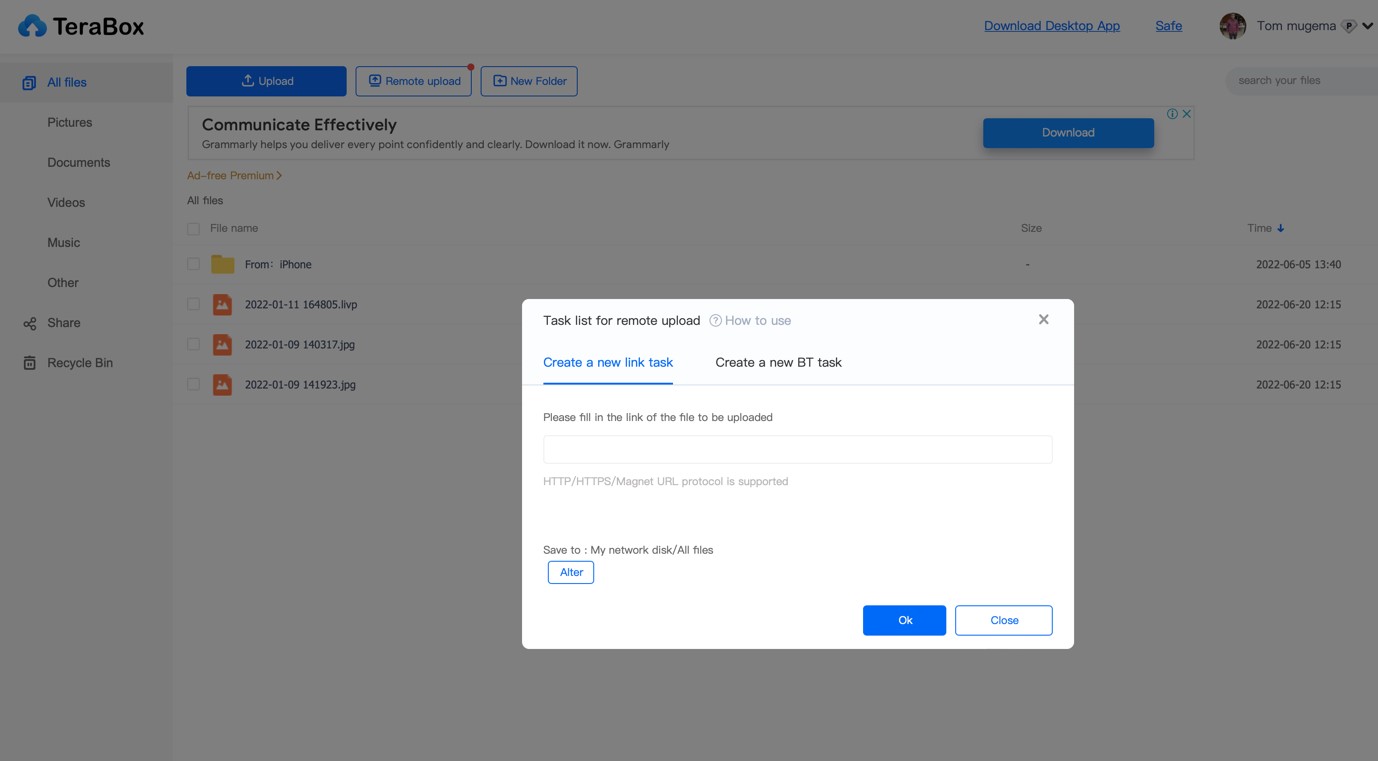
Step 3: Generate a download link
After uploading your file to a web hosting service, the next step is to generate a download link. A download link is a URL that, when clicked, allows users to download the file directly to their device. Here’s how you can generate a download link:
1. Open the file in the hosting service: Log in to your account on the web hosting service and navigate to the file you uploaded. You may need to locate it in the file manager or the specific folder where you saved it.
2. Access the file options: Look for options or settings related to the file. Depending on the hosting service, this may be labeled as “Share” or “Link Options.”
3. Generate the download link: Click on the option to generate a download link for the file. The hosting service will generate a unique URL that you can use as the download link.
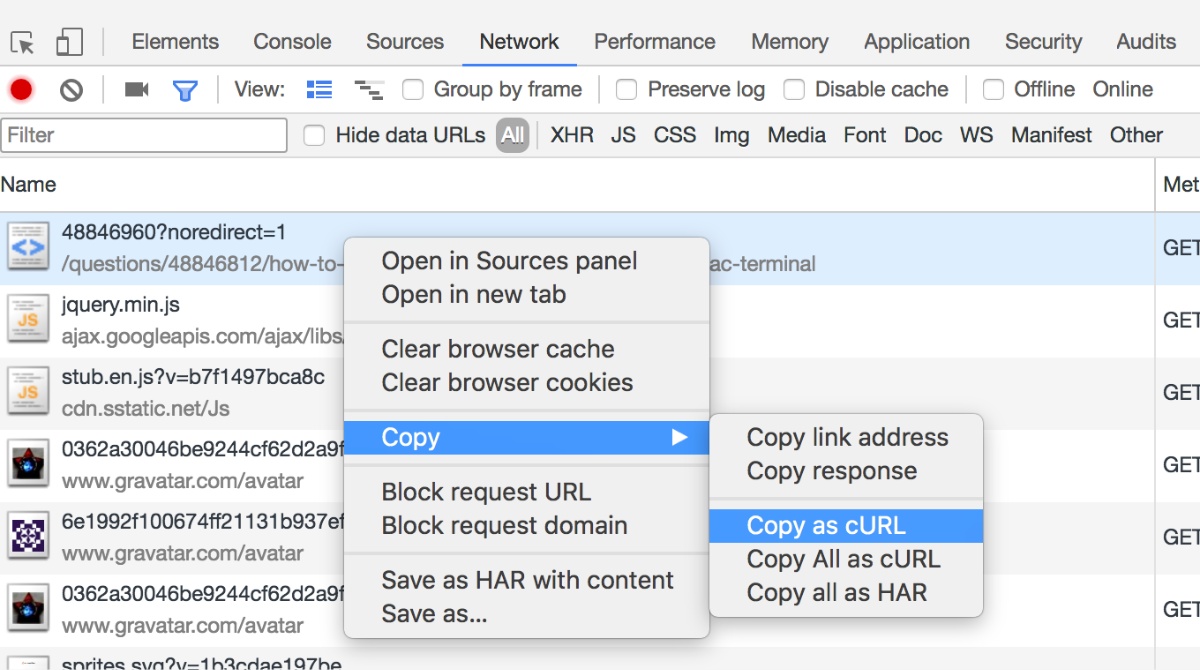
4. Copy the download link: Once the download link is generated, copy it to your clipboard by either right-clicking on it and selecting “Copy” or using a keyboard shortcut (e.g., Ctrl+C or Command+C).
5. Paste the download link: Now, you can paste the download link wherever you want to make it available to users. This can be on a webpage, in an email, or even in a document. When users click on the link, the file will be downloaded directly to their device.
6. Consider using anchor text: Instead of displaying the URL itself as the download link, you can use anchor text to make it more descriptive and user-friendly. For example, you can make the download link say “Click here to download the file” or “Download now.”
By generating a download link, you make it convenient for users to access and download your file with just a click. In the next step, we will look at how you can customize the download link to make it even more user-friendly and attractive.
Step 4: Customize the download link
Customizing the download link not only enhances its visual appeal but also helps users better understand what they are downloading. Making the download link more descriptive and user-friendly can increase user engagement and improve the overall user experience. Here are some ways to customize the download link:
1. Link text: Instead of using the actual file name as the link text, you can provide a more descriptive and enticing phrase. For example, if you’re sharing a PDF document, the link text can say “Download our comprehensive guide” or “Get your free ebook here.”
2. Button styling: Convert the download link into a button to make it stand out and attract attention. You can add CSS styles to the link to change its appearance, such as background color, font style, and hover effects.
3. Add a call-to-action: In addition to customizing the link text, you can include a call-to-action statement that prompts users to click the link. For example, you can add phrases like “Grab your copy now” or “Start downloading” to encourage users to take action.
4. Use visuals: Consider including an icon or an image next to the download link to make it more visually appealing and recognizable. This can help users quickly identify the purpose of the link, especially if you are sharing multiple files.
5. Embed the link: If you’re sharing the download link on a website or blog, you can embed it within a relevant paragraph or sentence. This makes the link seamlessly blend into the content and encourages users to click on it.
Remember, the goal of customizing the download link is to make it more engaging, informative, and visually appealing. By implementing these customization techniques, you can create a download link that captures users’ attention and compels them to click and download your file.
Now that you have customized your download link, it’s important to test it to ensure it is functioning correctly. In the next step, we will guide you through the process of testing the download link.
Step 5: Test the download link
Before sharing your download link with others, it’s crucial to test it to ensure that everything is working seamlessly. Testing the download link allows you to identify any potential issues or errors that may arise when users try to download the file. Here’s how you can test your download link:
1. Click the download link: Start by clicking on the download link yourself. This will allow you to experience the user journey firsthand and ensure that the download process is smooth from your perspective.
2. Monitor the download speed: Take note of the download speed and check if it is reasonable for the file size. If the download is unusually slow, it may indicate an issue with the hosting service or the user’s internet connection.
3. Confirm file integrity: After the download is complete, open the file to ensure that it has been downloaded correctly and is not corrupted. Check if the file can be opened, played (if applicable), or extracted (if a compressed file).
4. Test on different devices and browsers: If possible, try downloading the file using various devices such as a computer, smartphone, or tablet. Additionally, check if the download link works on different web browsers to ensure cross-compatibility.
5. Test with different user accounts: If your hosting service allows for multiple user accounts, consider testing the download link using a different account. This will help ensure that the file is accessible to users with different permissions or access levels.
6. Ask for feedback: Reach out to a trusted group of colleagues, friends, or users to test the download link and provide feedback. Their insights and observations can help identify any potential issues that you may have missed.
By thoroughly testing the download link, you can identify and address any issues that may hinder users from successfully downloading the file. Remember that a smooth and hassle-free download experience is key to user satisfaction and engagement.
Now that you have successfully tested the download link and ensured its functionality, you can confidently share it with your intended audience. In the next section, we will wrap up our guide on creating a download link.
Conclusion
Creating a download link allows you to easily share files with others, whether it’s a document, video, software program, or any other type of file. By following the step-by-step process outlined in this guide, you can ensure that your files are readily available for users to access and download.
First, you learned the importance of preparing the file for download, including considerations such as file format, size, organization, and naming. Then, you explored how to upload the file to a web hosting service, enabling users to access it online.
Next, you discovered how to generate a download link, customizing it to make it more descriptive, visually appealing, and user-friendly. By utilizing anchor text, button styling, call-to-action statements, visuals, and embedding, you can make the download link stand out and engage users.
Lastly, you learned the significance of testing the download link to ensure its smooth functionality. By clicking the link yourself, monitoring the download speed, confirming file integrity, testing on different devices and browsers, and seeking feedback from others, you can identify and address any potential issues before sharing the download link with your audience.
Remember, creating a seamless and enjoyable download experience is essential for user satisfaction and engagement. By following these steps and refining your download link creation process, you can share your files efficiently and effectively.
Now that you have a comprehensive understanding of how to create a download link, go ahead and share your files with confidence. Whether you’re distributing important documents, sharing resources with clients, or making your content more accessible to the public, the ability to create download links will simplify the process and enhance user experience.