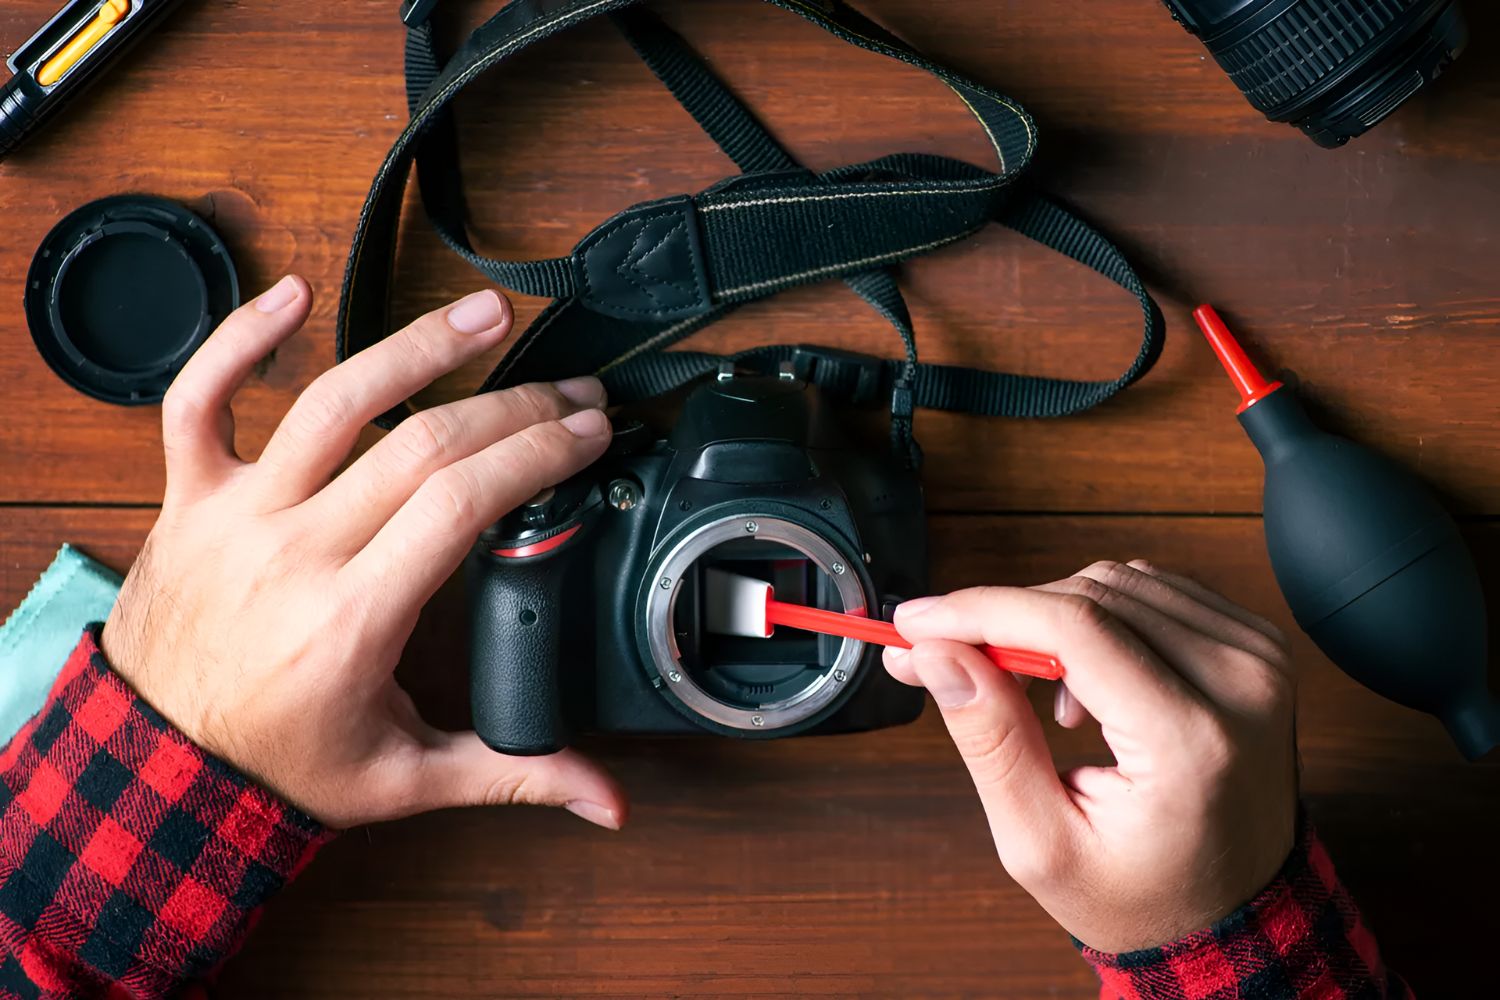
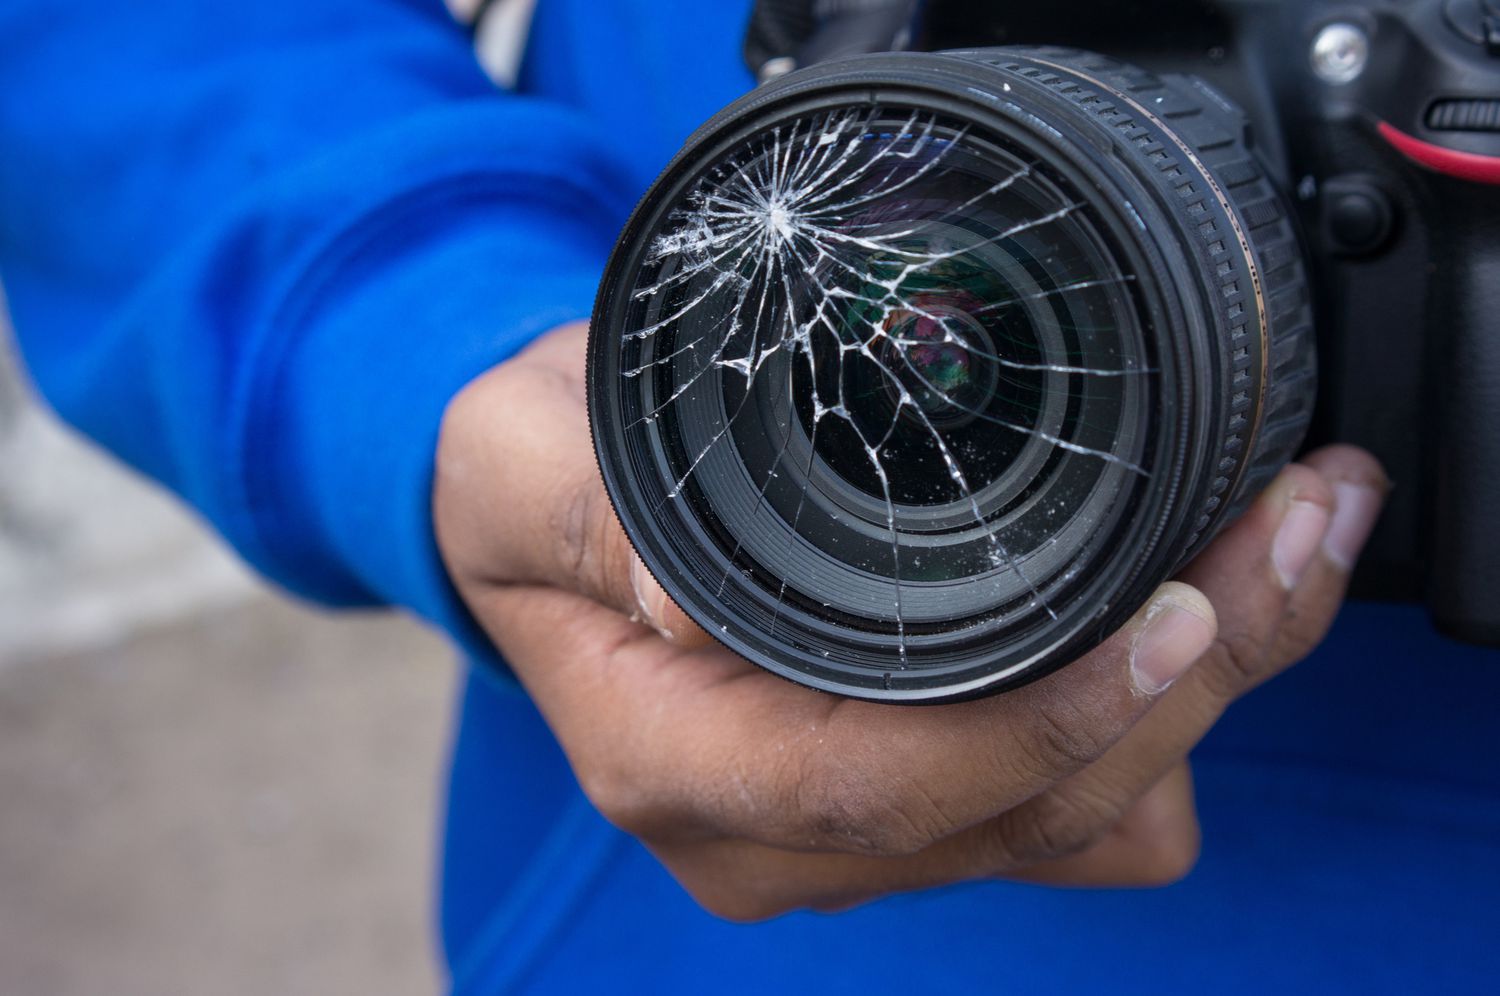
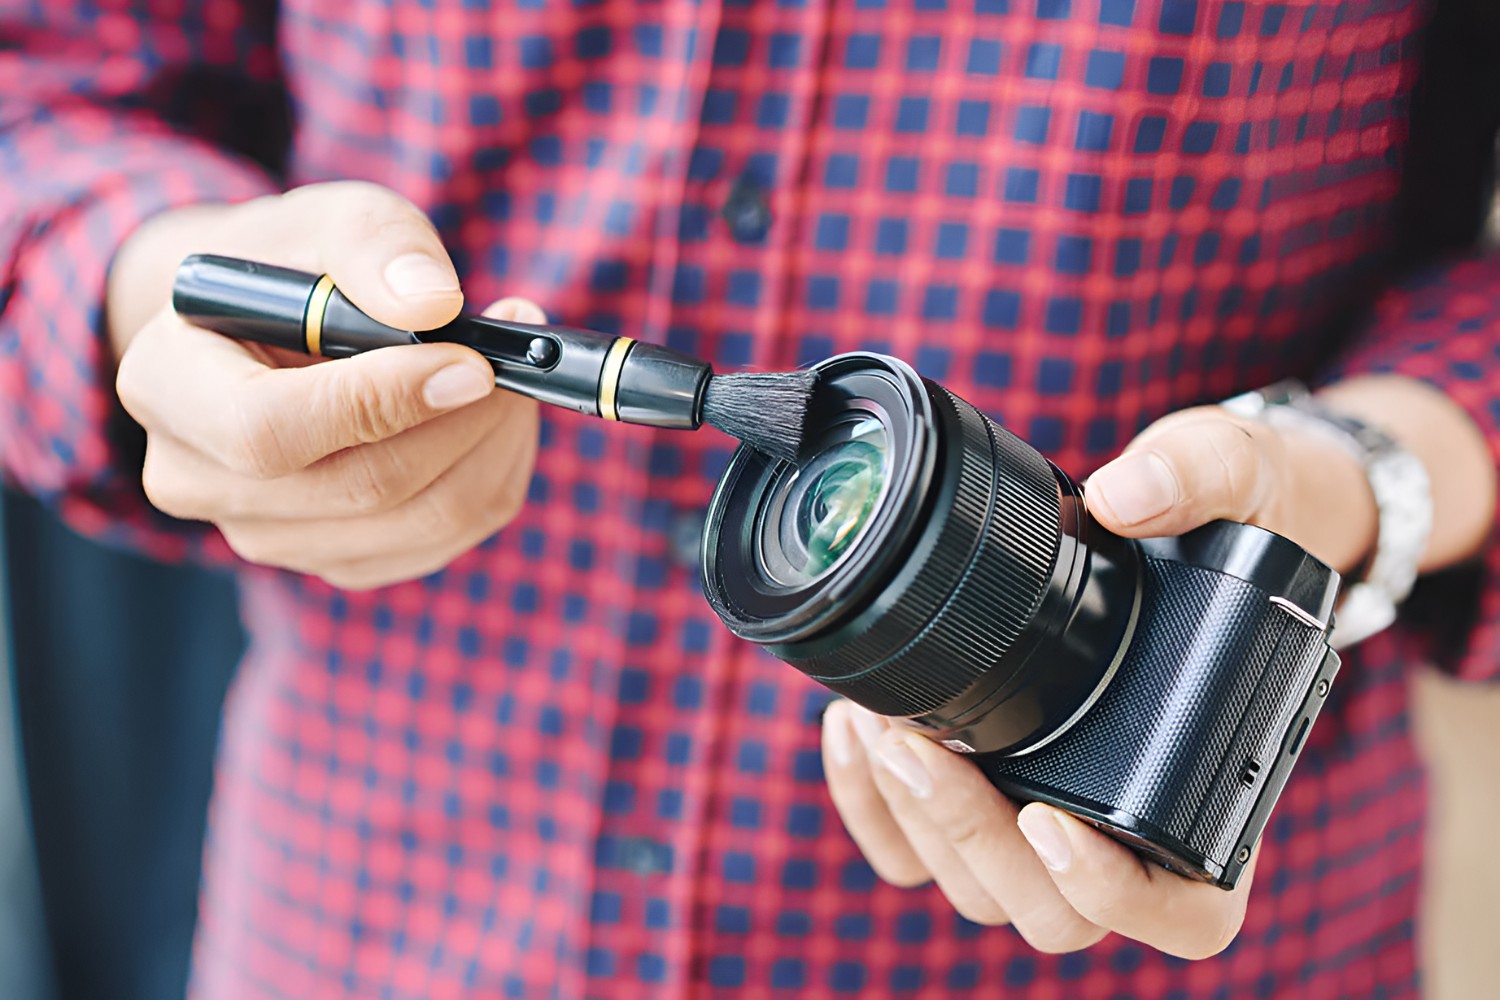
As a photographer and/or videographer, you’d no doubt be familiar with how expensive it is to acquire the best equipment and capture the best shots. And with how much money you spend, it is crucial for you to properly maintain your equipment to ensure their longevity. Of all the camera parts you have to maintain, the lens is the most important. It is the window to your surroundings and through which your shots are captured, after all. It is thus important for you to learn how to clean your camera lens, and we’re here to show you how.
Why Learn How to Clean Camera Lens?
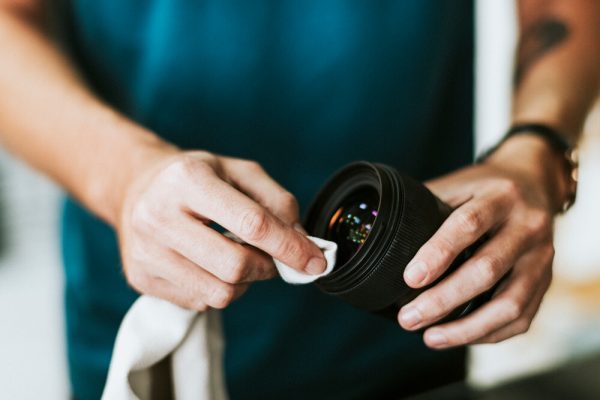

This goes without saying, but the accumulation of grime and dirt on your camera lens will negatively impact image quality. A dirty camera lens is more prone to taking shots that are blurry or cloudy, the result of dirt, oil, and other debris blocking your camera lens. Even the smallest speck of dust is enough to impact your image output, so you’ll want to ensure that you keep your camera lens spick and span.
When to Clean Camera Lens
While cleaning your camera lens is undeniably important, this doesn’t mean that you should do so all the time. Just because dirt and dust frequently settle on it, doesn’t mean that it needs to be cleaned often. Excessive cleaning will not be beneficial to your camera; on the contrary, it could even damage it.
Also, note that camera lenses are very sensitive—any scratch or pressure can impact them so you have to be very careful with your cleaning jobs. You should only clean your camera lens when it’s an absolute must.
How to Clean Camera Lens
And now we come to the main star of the show: how to clean your camera lens. Do note that your camera lens has inner and outer structures that need to be cleaned.
Before you get started, you’ll first need to verify if it’s time for you to clean your camera lens. You can do so with a quick dirt test:
How to Do a Dirt Test
There are four ways to conduct a dirt test, and they are as follows:

1. Infinity Focus
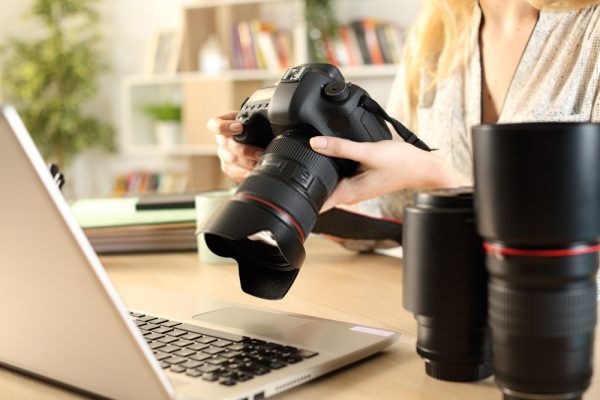
The first technique is simple and involves adjusting your camera lens’s focus. Firstly, you have to set your DLSR camera to manual mode. Afterward, set the focus ring to infinity. Through this method, you can check the viewfinder to see if any dust or debris has settled on your lens.
2. Plain Surface Photos
The next method is to take photos of a plain surface. Look around the house or your area and find a plain, flat surface. Better yet, find two surfaces: one light-colored and one dark-colored. Once you find them, take a photo of each surface. This will help you better spot dust on your lens.
3. Recent Photos
The third method is to closely examine your recently shot photos. Zoom in on your most recent images through the camera’s playback. If you spot areas that are hazy or blurry, your lens may be dusty or dirty.
4. Other Signs
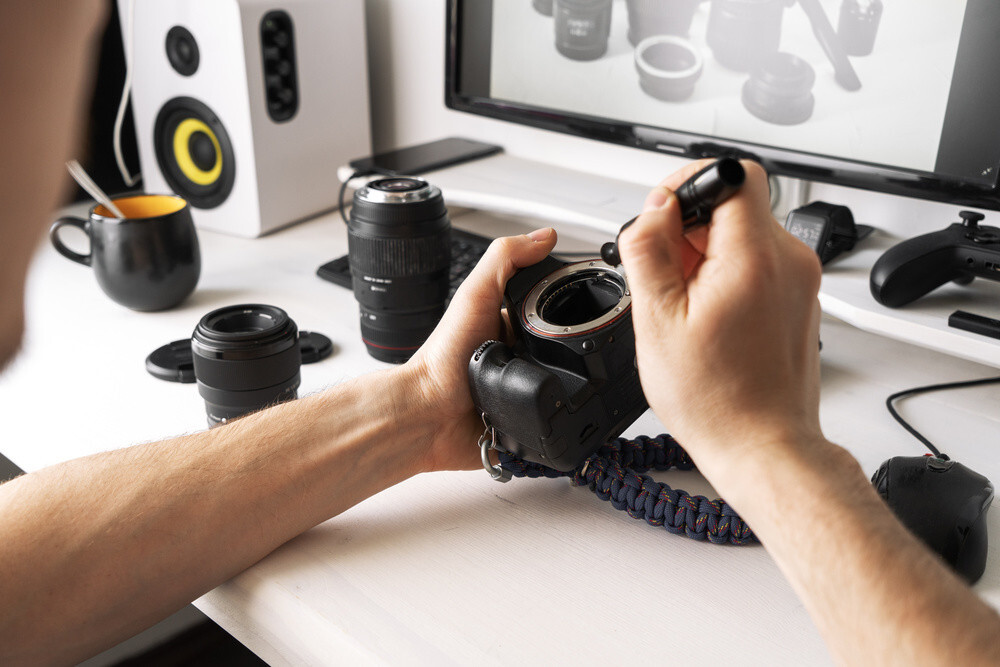
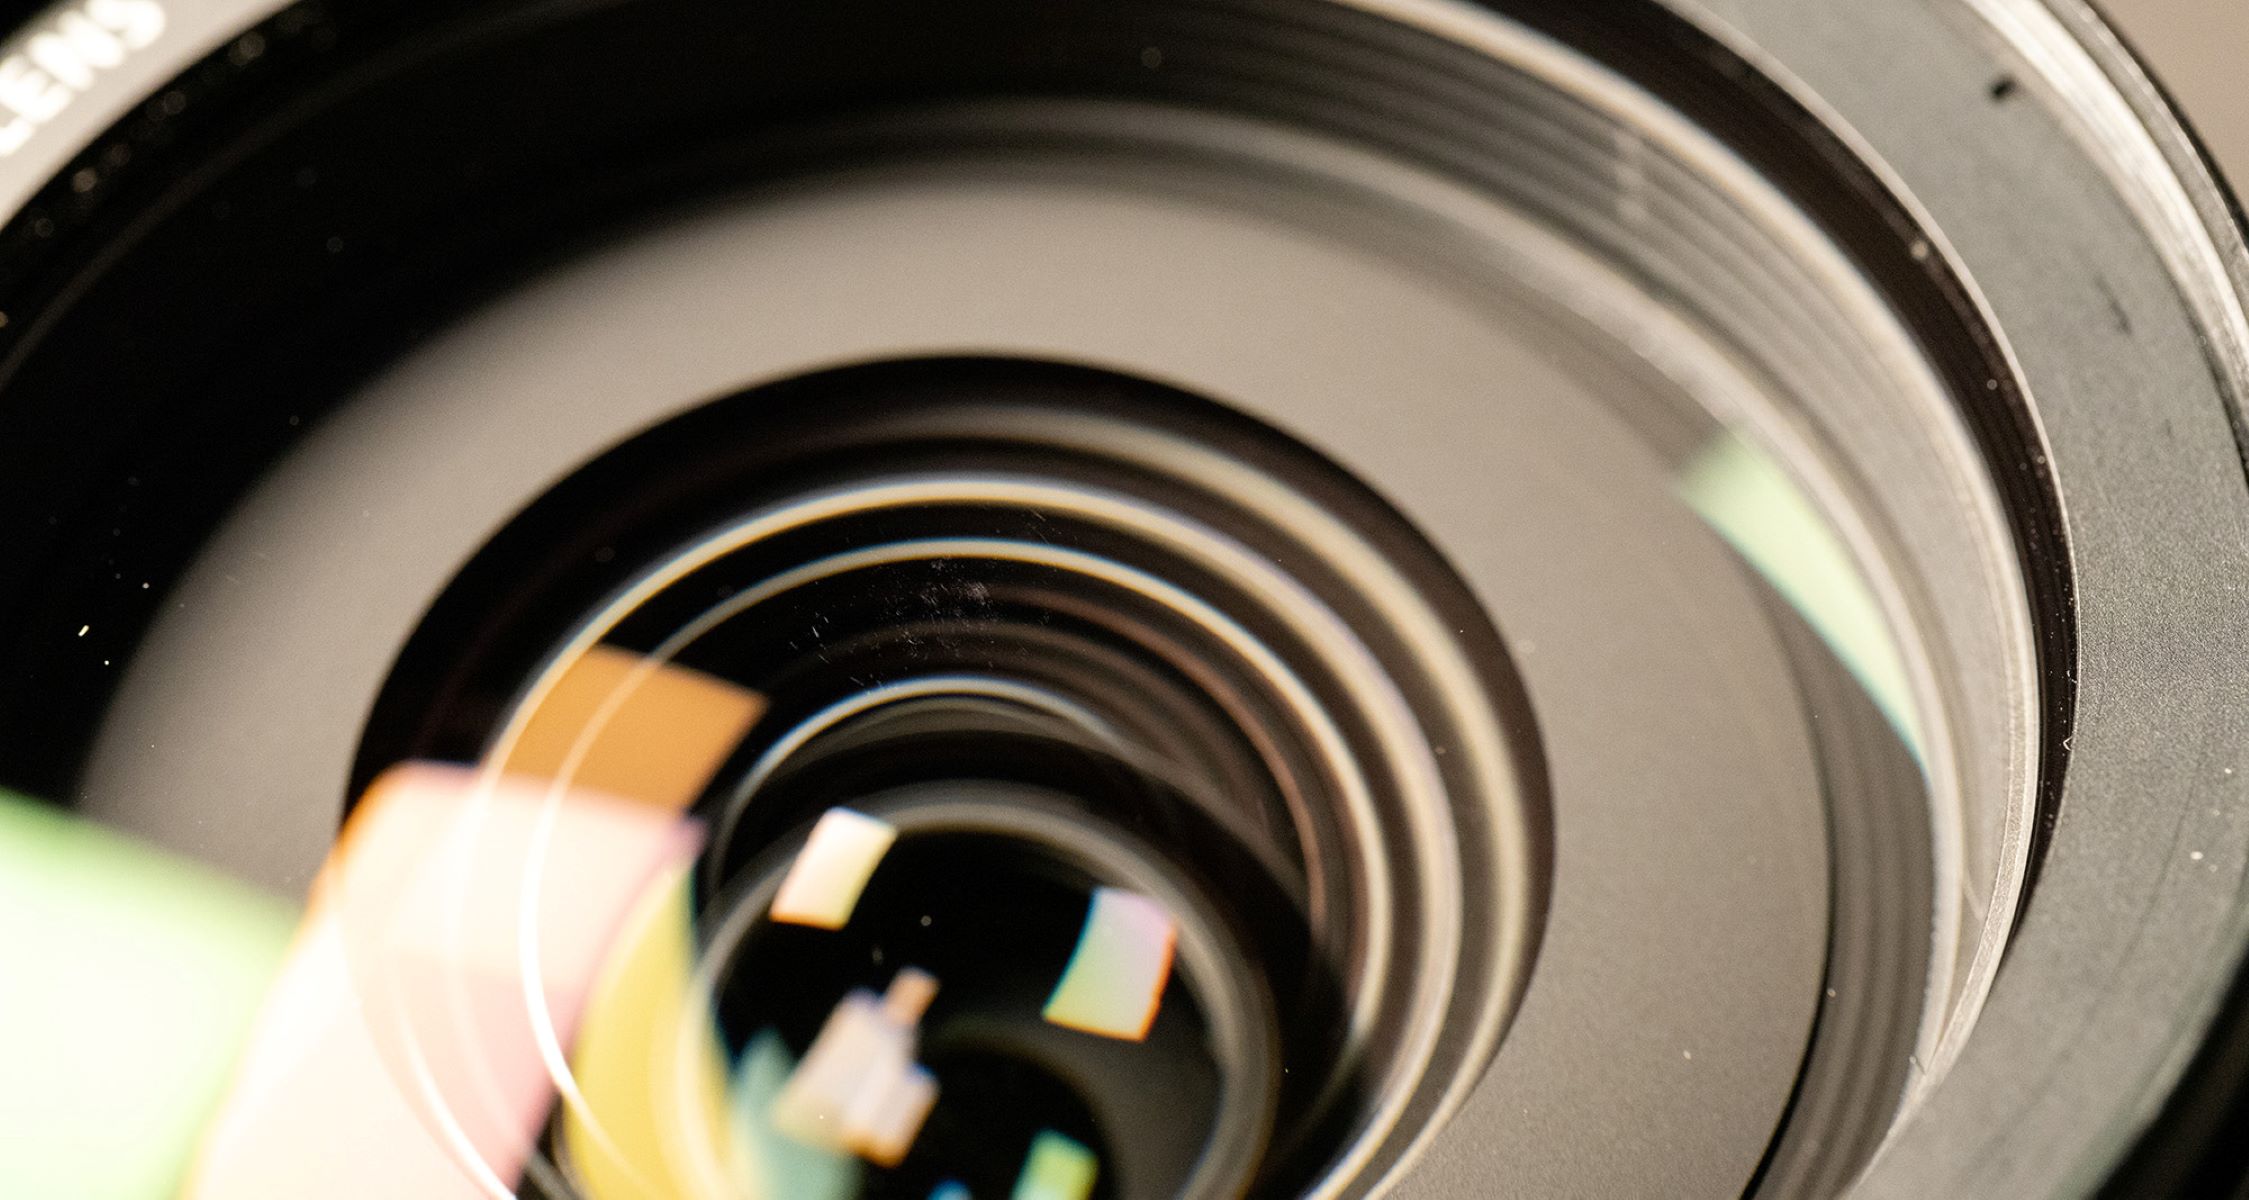
Lastly, examine your DSLR lens closely. Check for any signs of dust or smudges on the rear of your lens. Make sure to check for signs of mold, too. If there’s only dust, grime, or smudges on the area, you can clean it yourself. However, you might have to ask a professional to clean your lens if you detect mold. Mold is a little tricky to deal with on your own, so it’s best to ask for professional help to deal with it.
Use the Right Tools
If you’ve confirmed that your camera lens is indeed due for a cleaning, it’s time to get started. There are a number of tools you will need:
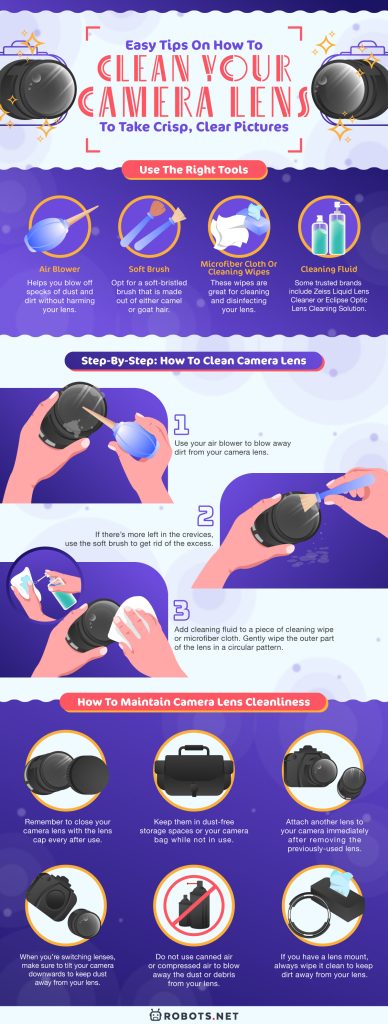
1. Air Blower
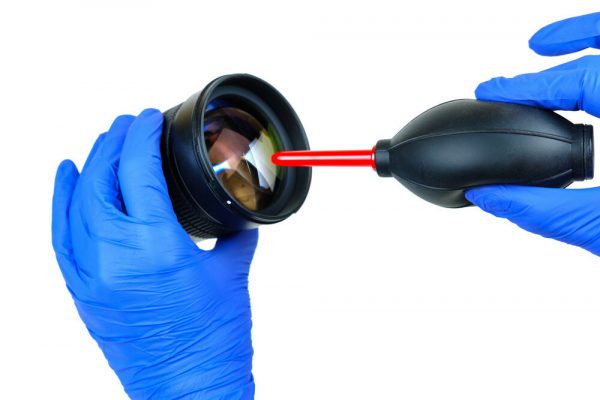

While you may think using your breath to blow dust and dirt off your lens is fine, but you should think twice before doing so. Your breath usually has droplets of saliva. These droplets carry acids that can damage your lens.
To ensure the condition of your lens, get yourself an air blower. This small handheld device will help you blow off specks of dust and dirt without harming your lens.
2. Soft Brush
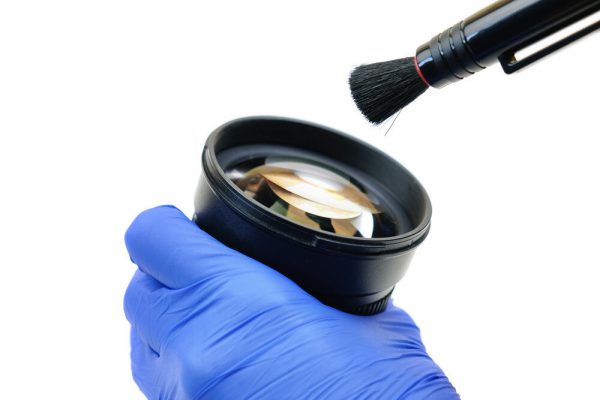

Mere blowing isn’t enough to remove all the dust and dirt. It’s also a terrible idea to use your fingers to remove the excess dirt as they will leave behind oil and fingerprints on your lens. Regular toothbrushes and other brushes are off the list too since their bristles are too hard and will scratch your sensitive camera lens.
Instead, opt for a soft-bristled brush that is made out of either camel or goat hair. This brush is not just gentle but is also the perfect tool to wick off the remaining dust and dirt off your lens.
3. Microfiber Cloth or Cleaning Wipes
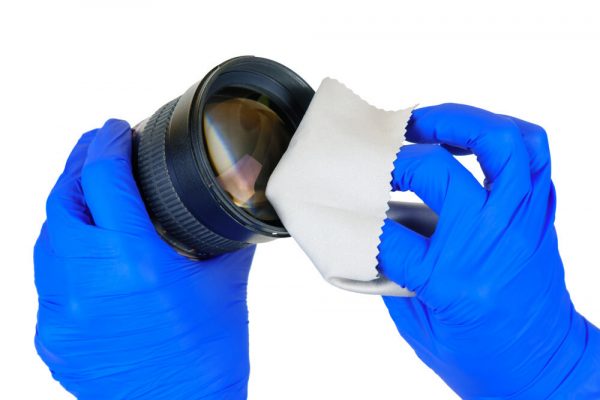

Wiping your camera lens using a tissue or your shirt isn’t a good idea. That’s because our clothes and tissues are too rough for this purpose. Moreover, clothes usually aren’t made of a material that is soft enough for your lenses.
Cleaning wipes are a good option to use instead, and they’re sanitized to boot. These wipes are great for cleaning and disinfecting your lens.
As an alternative, you can also use a microfiber cloth that you can reuse multiple times to clean your lens. However, make sure that you don’t wash this cloth with fabric softeners; the chemicals in these products can damage the coating of your lens.
4. Cleaning Fluid
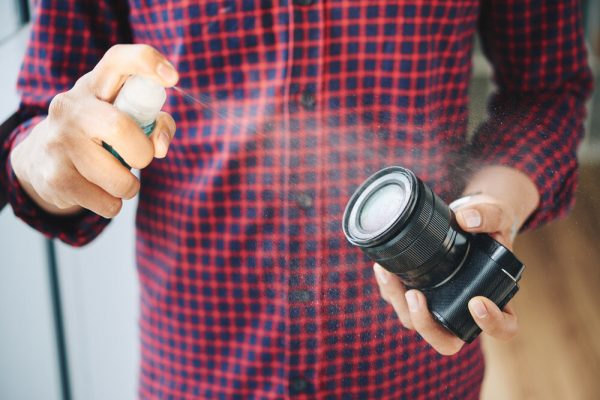

Lastly, you’ll need the proper cleaning fluid to use on your microfiber cloth or wipes while cleaning. Some trusted brands include Zeiss Liquid Lens Cleaner or Eclipse Optic Lens Cleaning Solution.
If you don’t have either of these on-hand, mild isopropyl alcohol is a decent substitute. While these solutions shouldn’t leave streaks on your lens, don’t use too much at once; just one or two drops is enough. After all, you don’t want any excess fluid to get on your lens.
Step-By-Step: How to Clean Camera Lens
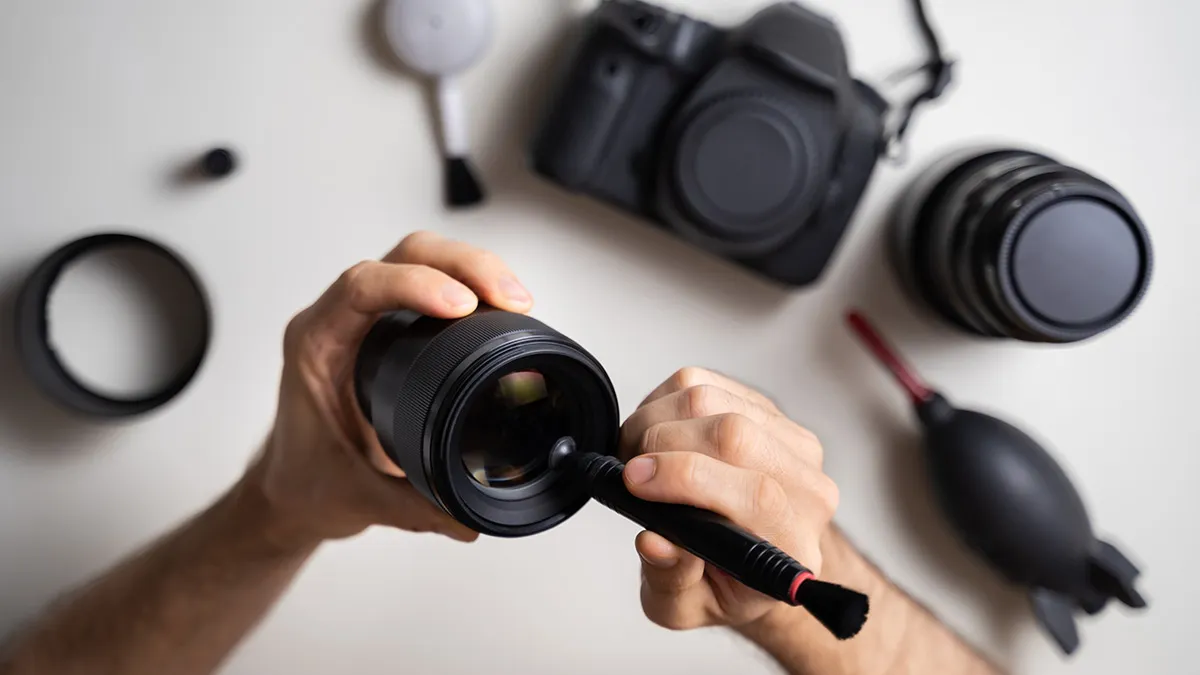
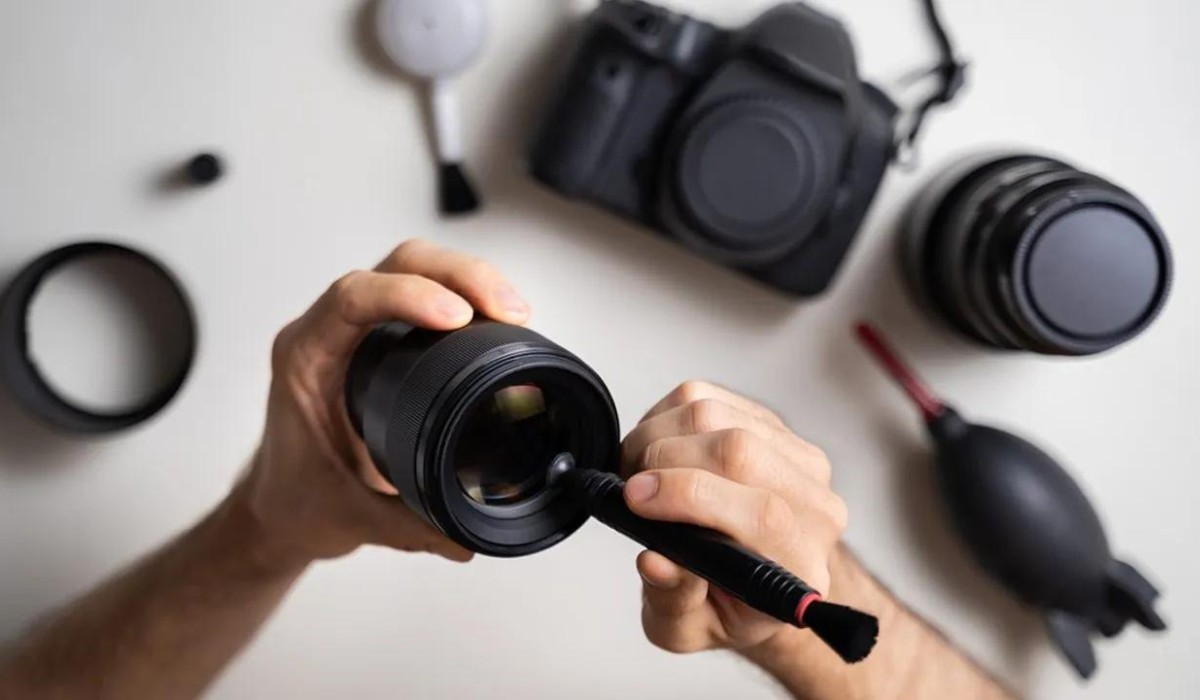
Now that you have all the tools, it’s time to learn how to clean camera lens structures properly. Just follow these simple steps to clean your lens thoroughly:
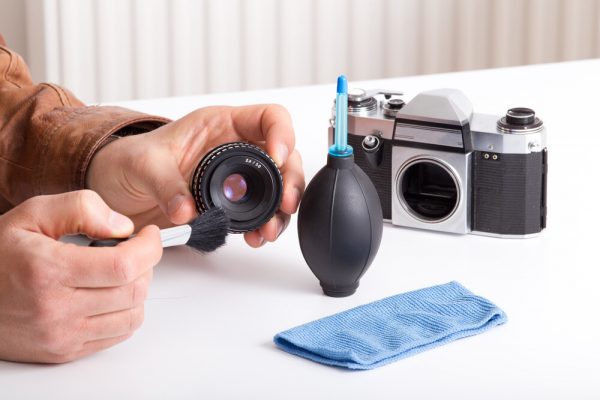

- Use your air blower to blow away dirt from your camera lens.
- If there’s more left in the crevices, use the soft brush to get rid of the excess.
- Add cleaning fluid to a piece of cleaning wipe or microfiber cloth. Gently wipe the outer part of the lens in a circular pattern. Gradually move toward the center and the inner parts of the lens to remove excess dust, oil, smudges, and dirt.
It’s a simple but effective process. Just make sure to properly inspect your camera lens so that there’s no dust, dirt, or grime left afterward.
How to Maintain Camera Lens Cleanliness
While manually cleaning your camera lens is crucial, there are still steps you can take to minimize the amount of grime and dirt that accumulates on your equipment. Here are some tips to take note of:
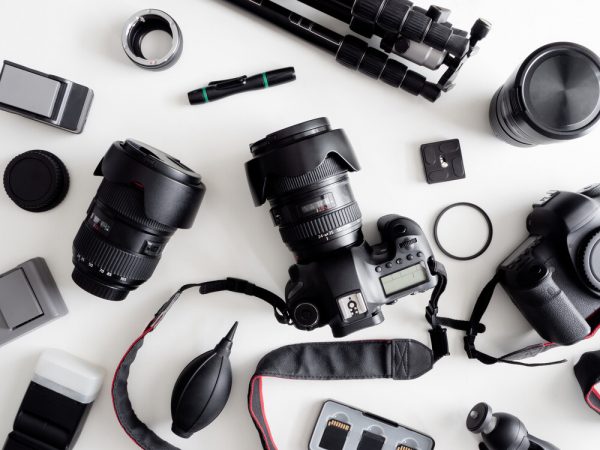

- Remember to close your camera lens with the lens cap every after use. This is especially important to prevent scratches when you’re putting them away in your camera bag.
- Don’t store your camera lenses in dusty areas around the house. Keep them in dust-free storage spaces or your camera bag while not in use.
- Attach another lens to your camera immediately after removing the previously-used lens. If one is not available, use a camera cap to cover your camera lens to keep it from getting dirty.
- Keep the lens cap on whenever your camera is not in use.
- When you’re switching lenses, make sure to tilt your camera downwards to keep dust away from your lens.
- Do not use canned air or compressed air to blow away the dust or debris from your lens. Canned or compressed air might damage your lens’ optics and sensors. Always use a manual air blower to carefully blow away dust particles.
- If you have a lens mount, always wipe it clean to keep dirt away from your lens.
Conclusion
Camera lenses are a very important part of photography and videography. They can change the perspective and quality of your images, depending on what you’re going for. Add on the fact that they are a pretty expensive investment and it’s thus important for you to keep them clean and preserve their longevity. These tips should help you keep your lenses in pristine condition for years to come.
