Introduction
Photography enthusiasts often encounter the unfortunate mishap of a DSLR camera lens falling off, which can be a disheartening experience. However, with the right guidance and a steady hand, it is possible to repair a broken DSLR camera lens that has detached from the camera body. This article will provide step-by-step instructions on how to reattach a broken DSLR camera lens, allowing you to restore functionality to your beloved camera and resume capturing stunning images.
Repairing a broken DSLR camera lens requires a methodical approach and the use of specific tools to ensure a successful outcome. By following the techniques outlined in this guide, you can regain the functionality of your camera and avoid the need for costly professional repairs.
Before embarking on the repair process, it’s essential to assess the extent of the damage and gather the necessary tools. With patience and precision, you can effectively reattach the lens to your DSLR camera, allowing you to continue pursuing your passion for photography without interruption.
Assessing the Damage
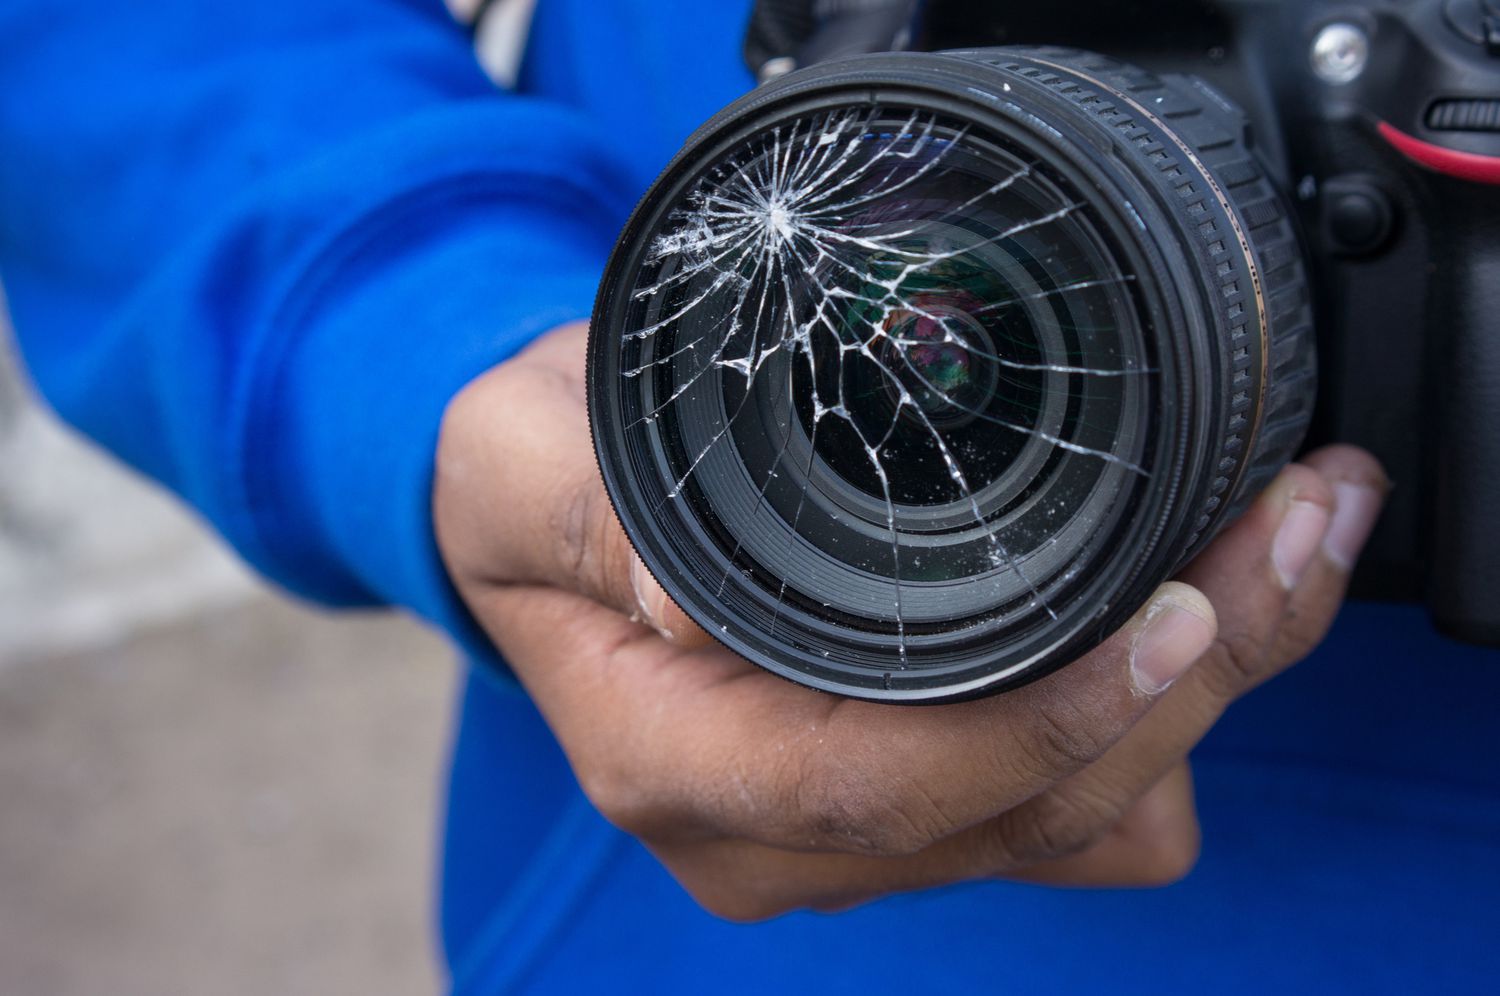
When a DSLR camera lens falls off, it’s crucial to carefully assess the extent of the damage before proceeding with any repair attempts. Begin by examining both the lens and the camera body for any visible signs of damage, such as cracks, dents, or misaligned components. Inspect the lens mount on the camera body and the corresponding attachment point on the lens to identify any irregularities or breakages.
If the lens mount on the camera body or the attachment point on the lens appears damaged, it may be necessary to seek professional repair services to ensure the structural integrity of the components. However, if the damage is limited to the detachment of the lens without visible structural issues, you can proceed with reattaching the lens using the appropriate techniques.
Additionally, check the electrical contacts on both the lens and the camera body for any signs of damage or debris. Ensure that the contacts are clean and free from obstruction, as poor electrical connections can impact the functionality of the lens and the camera. If the contacts appear dirty, carefully clean them using a soft, lint-free cloth and a small amount of isopropyl alcohol.
It’s important to approach the assessment process with a keen eye for detail, as overlooking any damage or irregularities could lead to further complications during the repair process. By thoroughly evaluating the condition of the lens, the camera body, and their respective components, you can make an informed decision regarding the appropriate course of action for reattaching the lens and restoring the functionality of your DSLR camera.
Gathering the Necessary Tools
Before embarking on the process of reattaching a broken DSLR camera lens, it’s essential to gather the necessary tools to ensure a smooth and effective repair. Having the right tools at your disposal will enable you to handle the delicate components of the camera and lens with precision, minimizing the risk of further damage during the reattachment process.
The following tools are recommended for repairing a broken DSLR camera lens:
- Lens Cleaning Cloth: A soft, lint-free cloth is essential for gently cleaning the lens and camera body components before reattachment. This helps remove any dust, debris, or fingerprints that may affect the optical quality or functionality of the lens.
- Lens Mount Cap: A lens mount cap can protect the rear element of the lens and the lens mount itself from damage while the lens is detached from the camera body.
- Lens Spanner Wrench: In some cases, a lens spanner wrench may be necessary to access internal components of the lens for repair or cleaning. This specialized tool allows for precise adjustments and disassembly of the lens.
- Isopropyl Alcohol: Isopropyl alcohol, when used sparingly with a soft cloth, can effectively clean electrical contacts on both the lens and the camera body, ensuring a secure and reliable connection.
- Microfiber Gloves: Wearing microfiber gloves can help prevent fingerprints and oils from transferring onto the lens elements or sensitive camera components during the repair process.
- Small Screwdriver Set: A set of small precision screwdrivers is essential for accessing and tightening screws on the lens or camera body, particularly when reattaching components or making minor adjustments.
By ensuring that these tools are readily available before initiating the repair process, you can approach the reattachment of the broken DSLR camera lens with confidence and precision. Proper preparation and the use of the right tools are key to achieving a successful repair outcome and restoring the functionality of your camera.
Reattaching the Lens
Once you have assessed the damage and gathered the necessary tools, you can proceed with the process of reattaching the broken DSLR camera lens to the camera body. Follow these step-by-step instructions to ensure a successful reattachment:
- Clean the Lens Mount: Using a lens cleaning cloth, gently clean the lens mount on the camera body to remove any dust or debris that may have accumulated. Similarly, clean the corresponding attachment point on the lens to ensure a clean and secure connection.
- Align the Lens: Carefully align the lens with the lens mount on the camera body, taking care to position it correctly without applying excessive force. Ensure that the alignment marks on both the lens and the camera body are matched before proceeding.
- Rotate and Lock: Once the lens is properly aligned with the lens mount, rotate it in the direction indicated by the lens manufacturer to secure it in place. You may hear a satisfying click as the lens locks into position, indicating a secure attachment.
- Test the Attachment: Gently attempt to wiggle the attached lens to ensure that it is firmly secured to the camera body. If there is any noticeable movement or instability, carefully detach the lens and repeat the alignment and attachment process to achieve a secure fit.
- Check the Electrical Contacts: After reattaching the lens, inspect the electrical contacts on both the lens and the camera body to ensure a clean and unobstructed connection. This step is crucial for maintaining proper communication between the lens and the camera.
It’s important to approach the reattachment process with patience and precision, ensuring that the lens is securely and correctly attached to the camera body. Avoid applying excessive force during the reattachment, as this can potentially cause damage to the lens mount or the electrical contacts.
By following these steps, you can effectively reattach the broken DSLR camera lens and restore the functionality of your camera, allowing you to resume capturing stunning photographs with confidence and peace of mind.
Testing the Camera
After reattaching the broken DSLR camera lens, it’s essential to conduct thorough testing to ensure that the camera functions properly and that the lens is securely attached. Follow these steps to test the camera and verify the successful reattachment of the lens:
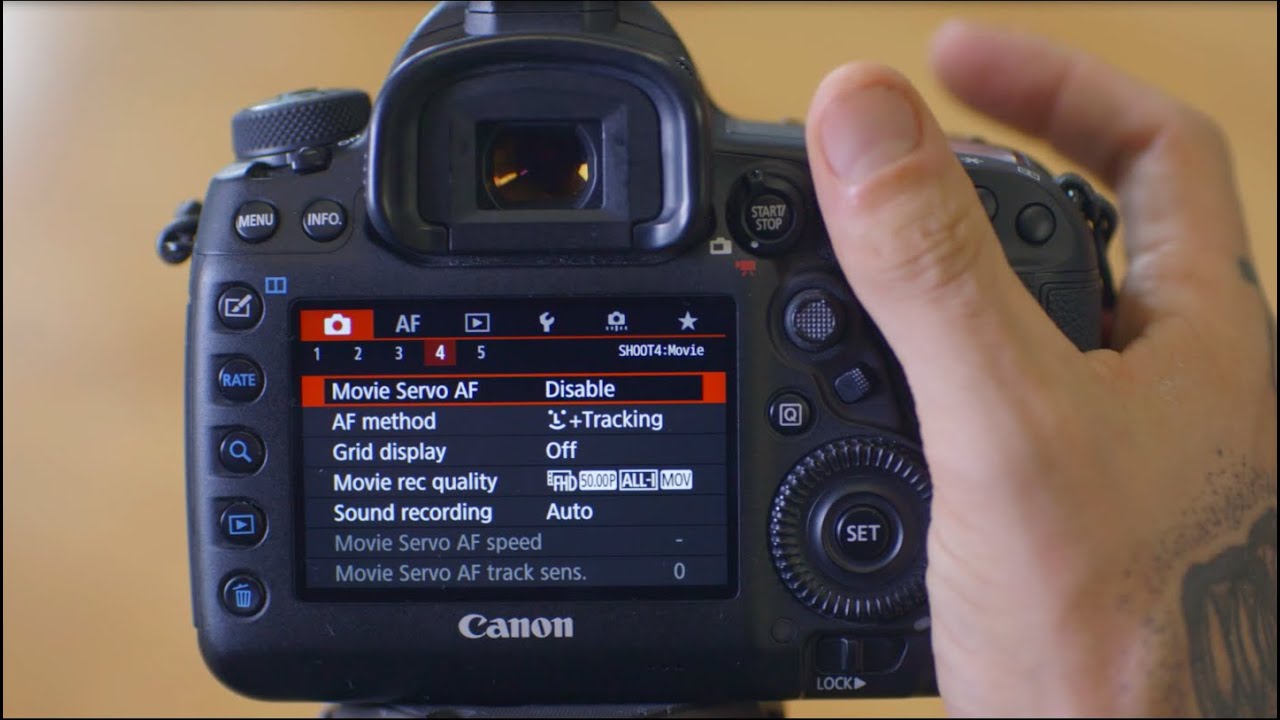
- Power On the Camera: Turn on the DSLR camera and ensure that it powers up without any error messages or unusual sounds. The camera should initialize normally, indicating that it recognizes the attached lens.
- Check Autofocus and Image Stabilization: Test the autofocus and image stabilization functions of the lens to ensure that they operate smoothly and accurately. Listen for any unusual noises or vibrations that may indicate issues with the lens or its attachment.
- Take Test Shots: Capture a series of test shots at different focal lengths and apertures to assess the optical performance of the reattached lens. Review the images on the camera’s display or transfer them to a computer for closer examination.
- Inspect Image Quality: Examine the test images for any signs of blurriness, distortion, or aberrations that may indicate a misaligned or improperly attached lens. Pay close attention to the edges and corners of the images for any irregularities.
- Verify Communication: Check the camera’s display for information regarding the attached lens, such as focal length, aperture settings, and any lens-specific data. Ensure that the camera recognizes the lens and displays the relevant information accurately.
During the testing phase, it’s important to be attentive to any irregularities or malfunctions that may indicate an issue with the reattached lens or its compatibility with the camera. If you encounter any unexpected behavior or performance issues, carefully detach the lens and repeat the reattachment process, ensuring proper alignment and secure attachment.
By conducting comprehensive testing, you can confirm that the DSLR camera and the reattached lens are functioning harmoniously, allowing you to proceed with confidence and peace of mind while capturing captivating photographs.
Conclusion
Repairing a broken DSLR camera lens that has detached from the camera body is a meticulous yet achievable task that can be successfully undertaken with the right approach and tools. By carefully assessing the damage, gathering the necessary tools, and following the step-by-step reattachment process, you can restore functionality to your camera and continue pursuing your passion for photography.
Throughout the repair process, patience and precision are paramount, ensuring that the lens is securely and correctly reattached to the camera body without causing further damage. Thorough testing of the camera following the reattachment is essential to verify the proper functioning of the lens and its seamless integration with the camera.
By taking the time to assess the damage, gather the required tools, and methodically reattach the broken DSLR camera lens, you can overcome the setback of a detached lens and regain the capability to capture stunning images with your DSLR camera. Additionally, the knowledge and skills acquired through this repair process can empower you to confidently address similar issues in the future, furthering your proficiency in maintaining and caring for your photography equipment.
Ultimately, successfully reattaching a broken DSLR camera lens not only restores the functionality of your camera but also reinforces your resourcefulness and capability as a photographer. With the guidance provided in this article, you can navigate the repair process with confidence, knowing that you have the necessary knowledge and skills to address this common issue effectively.