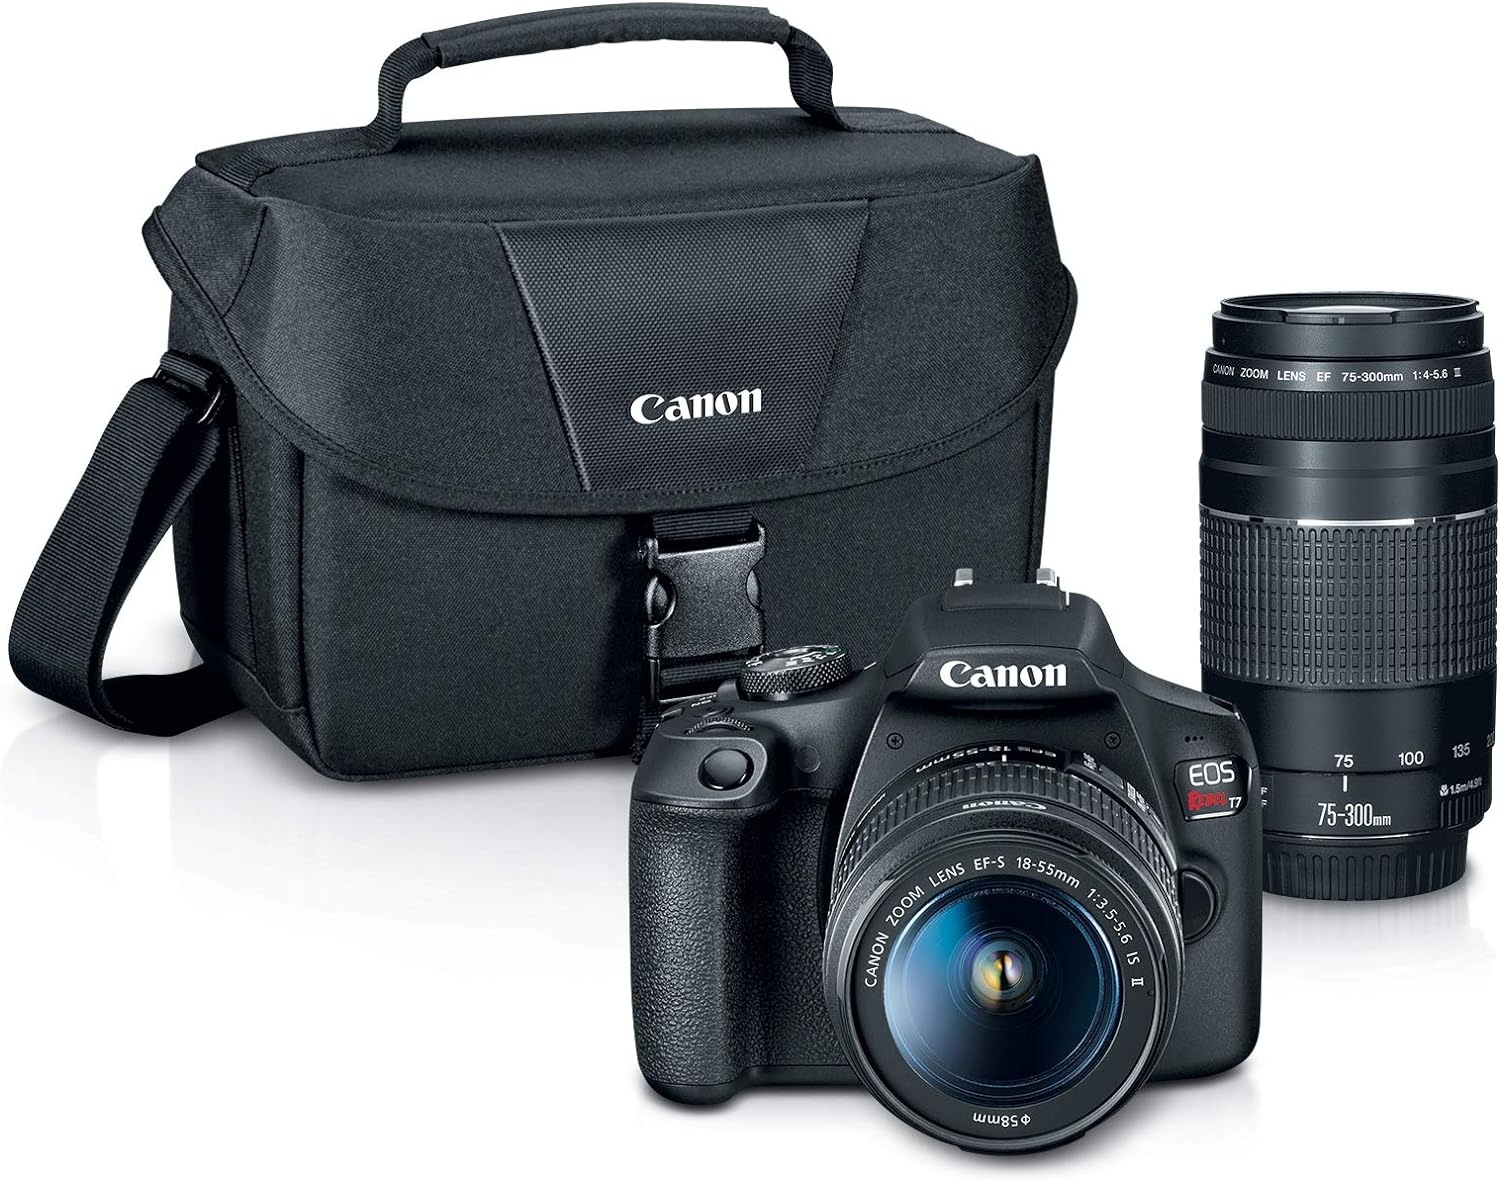
To use your Canon EOS Rebel T7, start by charging the battery, inserting it and an SD card, attaching the lens, and powering on, then set the language, date, and time. From there, you can shoot in Scene Intelligent Auto for instant results, or switch to P, TV, Av, or M modes to control focus and exposure, then transfer photos to your phone via Wi-Fi and record Full HD video. This guide covers the complete first-time setup, essential camera modes, focus and exposure basics, Wi-Fi photo transfer, and video recording in clear, step-by-step instructions.
How to use your Canon EOS Rebel T7: First-time setup
Before you capture your first image, you need to prepare the camera hardware. Follow these numbered steps in order to get your Rebel T7 ready for shooting.
- Charge the battery using the provided charger. Plug the charger into a wall outlet, insert the battery, and wait until the charge indicator light turns off (fully charged).
- Insert the charged battery into the battery slot at the bottom of the camera. Align the contacts and push until it clicks into place.
- Insert a compatible SD card into the SD card slot, also located at the bottom of the camera. Push the card in until it locks; to remove it later, push again to eject.
- Attach the lens. Align the white or red index mark on the lens with the matching mark on the camera mount, then rotate the lens clockwise until it locks with a click.
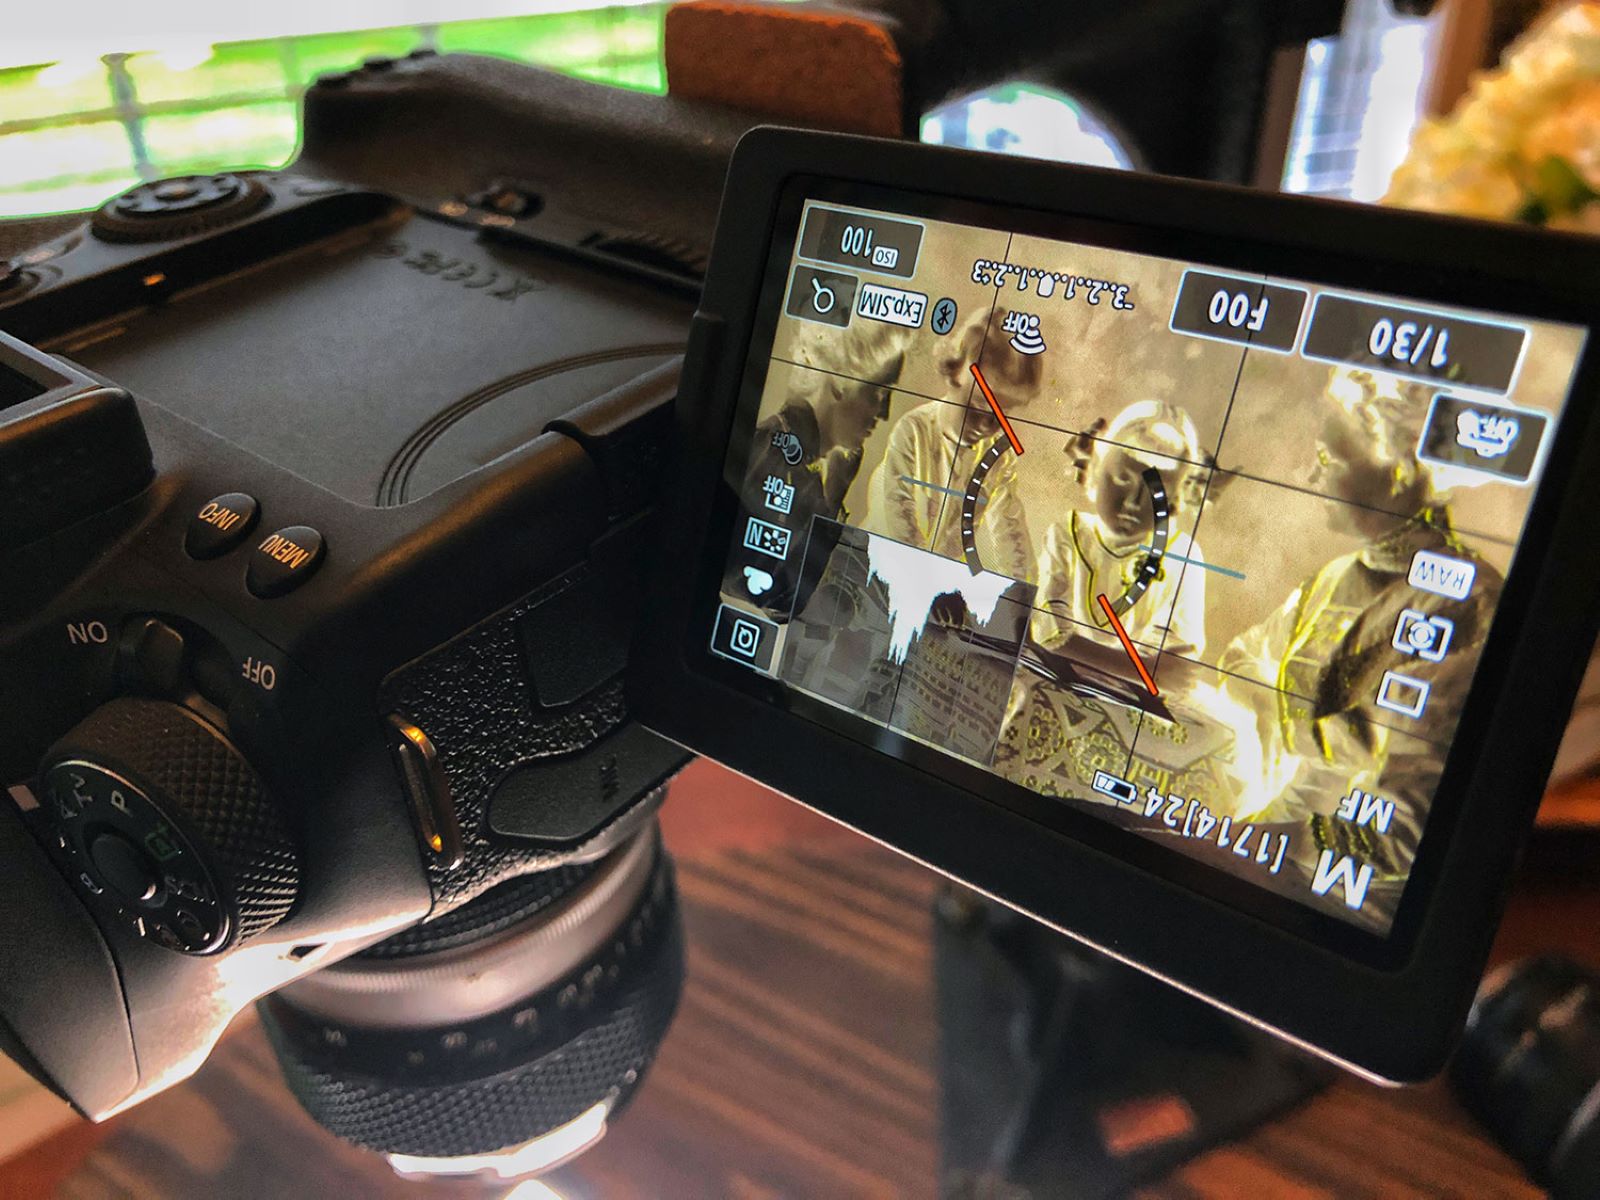
- Power on the camera by sliding the power switch to the "ON" position. The camera will display the setup screen on its 3.0-inch LCD monitor.
Initial camera configuration
On your first startup, the Rebel T7 will prompt you to configure basic settings. These steps ensure your camera operates correctly and timestamps your photos.
- Use the directional keys and Set button to select your language from the on-screen list.
- Set the date and time using the same controls. Accurate date/time is essential for organizing your photo library later.
- After setting the date, confirm the time zone if prompted. This ensures the camera's internal clock matches your location.
Check for firmware updates on the official Canon website periodically. Keeping the firmware current ensures optimal performance and may add new features or bug fixes.
Understanding the mode dial
The mode dial on top of the camera controls how much creative input you have over exposure. For a beginner, two groups of modes matter most: full-auto and semi-manual.
The camera analyzes the scene, selects the focus point, adjusts exposure, and even enables face detection. Use this when you want to hand the camera full control and get a well-exposed shot instantly.
For creative control, start with these four modes:
- P (Program AE): The camera sets aperture and shutter speed, but you can adjust ISO, white balance, and exposure compensation.
- TV (Shutter-Priority AE): You choose the shutter speed; the camera sets the aperture. Ideal for freezing motion or creating motion blur.
- Av (Aperture-Priority AE): You pick the aperture; the camera sets the shutter speed. Use this to control depth of field (background blur).
- M (Manual): You control both aperture and shutter speed, plus ISO. This gives full creative freedom but requires understanding of exposure.
Mastering focus and exposure basics
Getting sharp, well-lit images requires understanding the Exposure Triangle and choosing the right autofocus mode. The Exposure Triangle consists of three elements: aperture (controls light and depth of field), shutter speed (controls motion blur), and ISO (controls sensor sensitivity). A wider aperture (lower f-number) lets in more light and blurs backgrounds; a faster shutter speed freezes action; a higher ISO brightens the image but adds noise.
For autofocus, the Rebel T7 offers two practical modes:
- One-Shot AF: For still subjects. Press the shutter button halfway to lock focus; the camera beeps and stays locked until you shoot.
- AI Servo AF: For moving subjects. The camera continuously tracks focus while you hold the shutter button halfway. Use this for sports, kids, or pets.
To switch between them, press the AF button (or menu) and select the mode. In Scene Intelligent Auto, the camera picks the AF mode automatically.
How to transfer photos to your smartphone with Wi-Fi
You can send photos and videos directly to your phone using the built-in Wi-Fi and the Canon Camera Connect app.
- Select "Wi-Fi Function" from the same menu, then choose "Connect to Smartphone" (the phone icon).
- On your smartphone, enable Wi-Fi and look for the camera's network name (SSID) in the Wi-Fi settings list.
- Select the camera's SSID, then enter the encryption key (password) displayed on the camera's LCD monitor.
- Open the Canon Camera Connect app on your smartphone. The app will automatically detect the camera.
For future transfers, the camera will remember your phone, so you only need to re-enable Wi-Fi and open the app.
Recording your first video
The Rebel T7 records Full HD video at 1080p resolution. To start, flip the Live View/Movie switch (located around the viewfinder) to the movie camera icon.
For the best quality, set the movie resolution to Full HD.
For a more cinematic look, switch to Manual (M) mode before recording. This lets you set aperture, shutter speed, and ISO manually, giving you control over depth of field and exposure.
Use the built-in microphone for basic audio, or plug an external mic into the 3.5mm jack for better sound. For stable handheld footage, enable the camera's image stabilization if your lens has it, or use a tripod.
\nRelated reading: How To Use A DSLR Camera With An iPhone, How Do I Toggle From Viewfinder To Lcd Screen On My Canon DSLR Camera, and What DSLR Camera Will Use Older Minolta Lenses.