Introduction
So, you've decided to digitize your vinyl collection, and you're ready to embark on the rewarding journey of vinyl ripping. To ensure that the process yields high-quality digital audio files, it's crucial to set up your AV receiver properly. Whether you're a seasoned audiophile or a newcomer to the world of vinyl ripping, this guide will walk you through the essential steps to configure your AV receiver for optimal vinyl ripping performance.
Digitizing your vinyl collection not only preserves your cherished music but also allows for convenient playback across various devices. With the right setup, you can capture the warmth and richness of vinyl recordings in digital format, ensuring that every crackle and nuance is faithfully preserved. Before diving into the technical aspects of AV receiver setup, it's important to understand the role of your AV receiver in the vinyl ripping process and how it interfaces with your turntable.
In this comprehensive guide, we'll explore the intricacies of setting up your AV receiver for vinyl ripping, from connecting your turntable to configuring the receiver settings for optimal audio capture. By the end of this guide, you'll be equipped with the knowledge and confidence to unleash the full potential of your vinyl collection in the digital realm.
Let's delve into the world of vinyl ripping and unlock the transformative power of your AV receiver in preserving the timeless allure of vinyl records.
Understanding Your AV Receiver
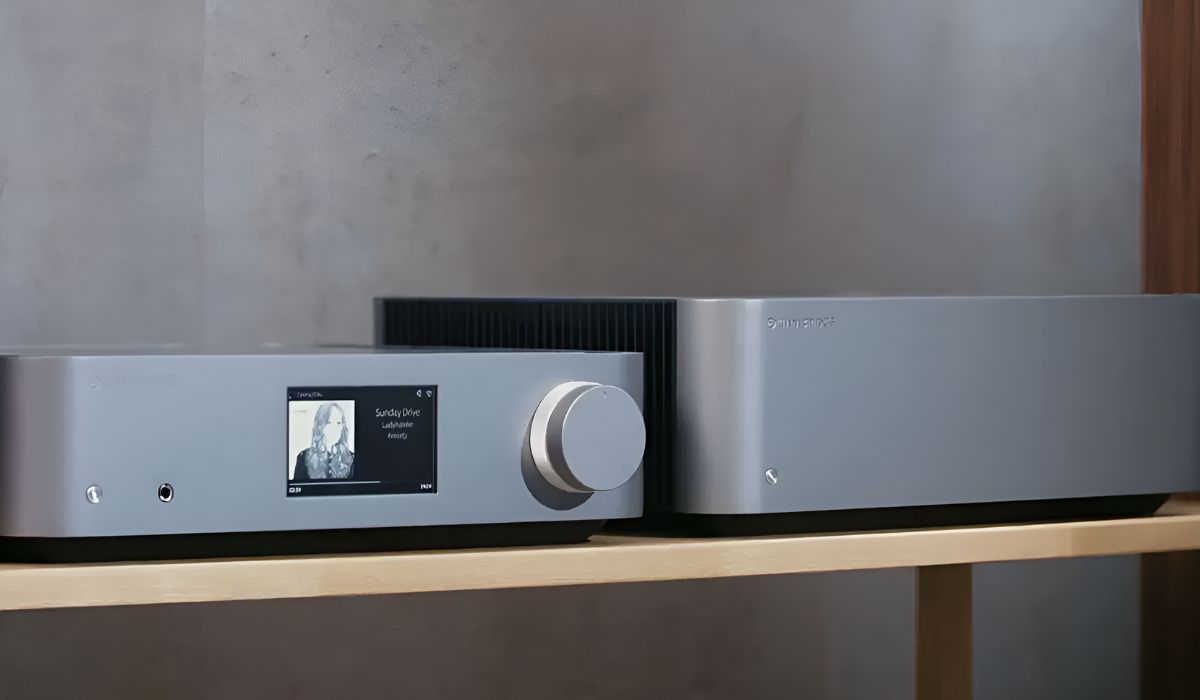
Before delving into the setup process, it’s essential to grasp the fundamental role of your AV receiver in the vinyl ripping workflow. An AV receiver serves as the central hub that processes and amplifies audio signals from various sources, including your turntable. It acts as a bridge between your analog vinyl records and the digital realm, ensuring that the audio signal is faithfully converted and processed for optimal recording quality.
AV receivers are equipped with a range of audio processing capabilities, including preamplification, equalization, and digital signal processing. These features play a pivotal role in capturing the nuances and fidelity of vinyl recordings during the ripping process. Understanding the key components of your AV receiver will empower you to make informed decisions when configuring it for vinyl ripping.
Key components of an AV receiver that are pertinent to vinyl ripping include:
- Preamplifier: Many turntables require a phono preamplifier to boost the audio signal from the cartridge to line level. Some AV receivers feature a built-in phono preamp, while others may require an external preamp to accommodate turntable connections.
- Audio Inputs: AV receivers typically offer a variety of audio inputs, such as RCA, HDMI, and optical inputs. When connecting your turntable, it’s essential to identify the appropriate input and configure it for optimal vinyl ripping performance.
- Equalization Settings: Certain AV receivers provide customizable equalization settings, allowing users to fine-tune the audio response to suit the characteristics of vinyl recordings. Understanding these settings can significantly impact the fidelity of the digitized audio.
- Output Options: AV receivers offer various output options, including digital and analog outputs. Selecting the appropriate output for vinyl ripping ensures that the captured audio is compatible with your desired playback devices.
By familiarizing yourself with these components and their functionalities, you’ll be better equipped to optimize your AV receiver for vinyl ripping. In the subsequent sections, we’ll delve into the practical aspects of connecting your turntable to the AV receiver and configuring its settings to achieve exceptional audio capture quality.
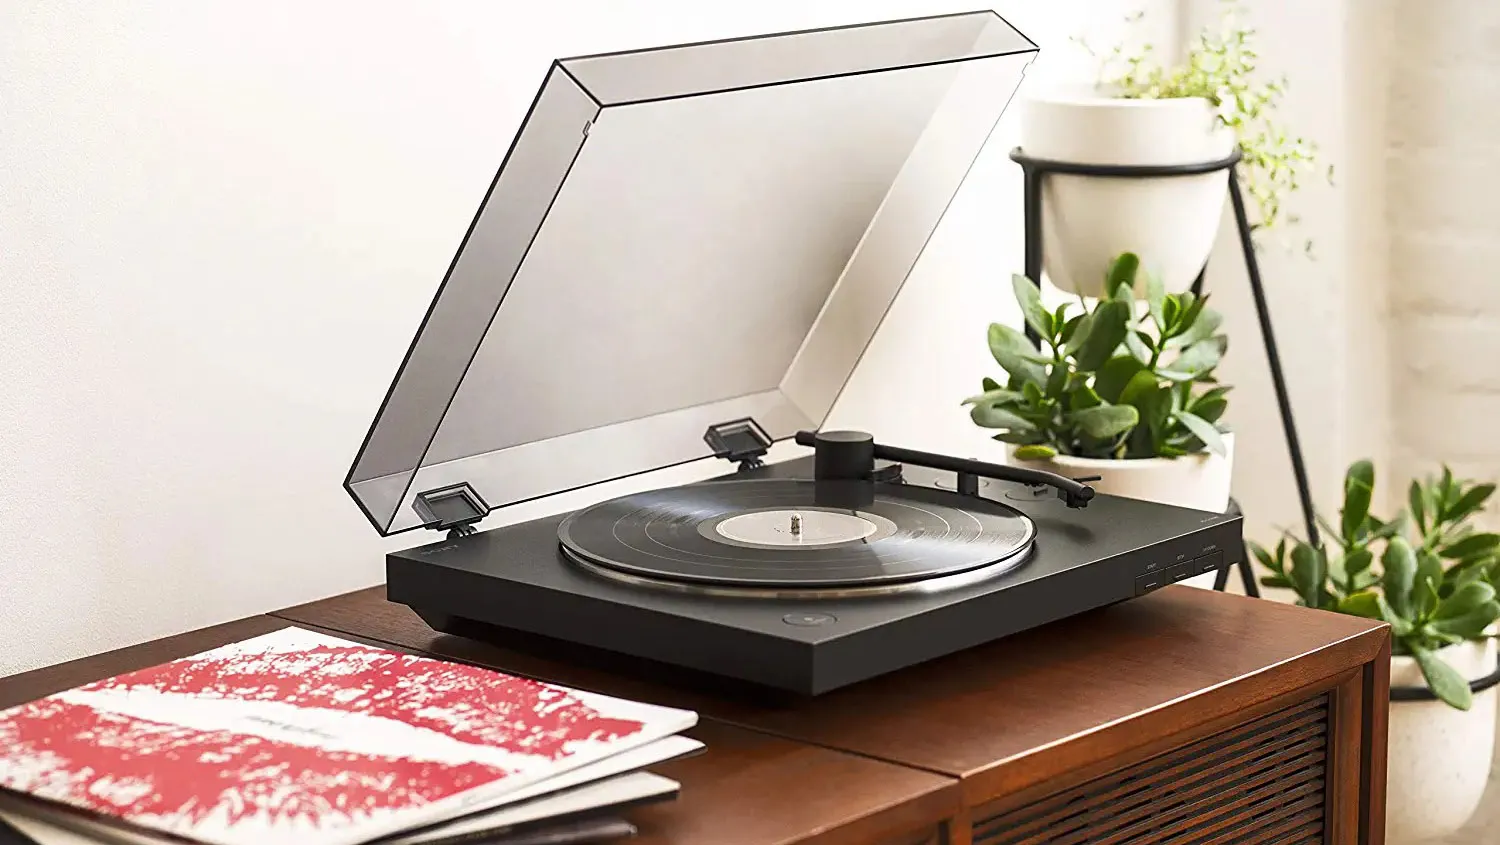
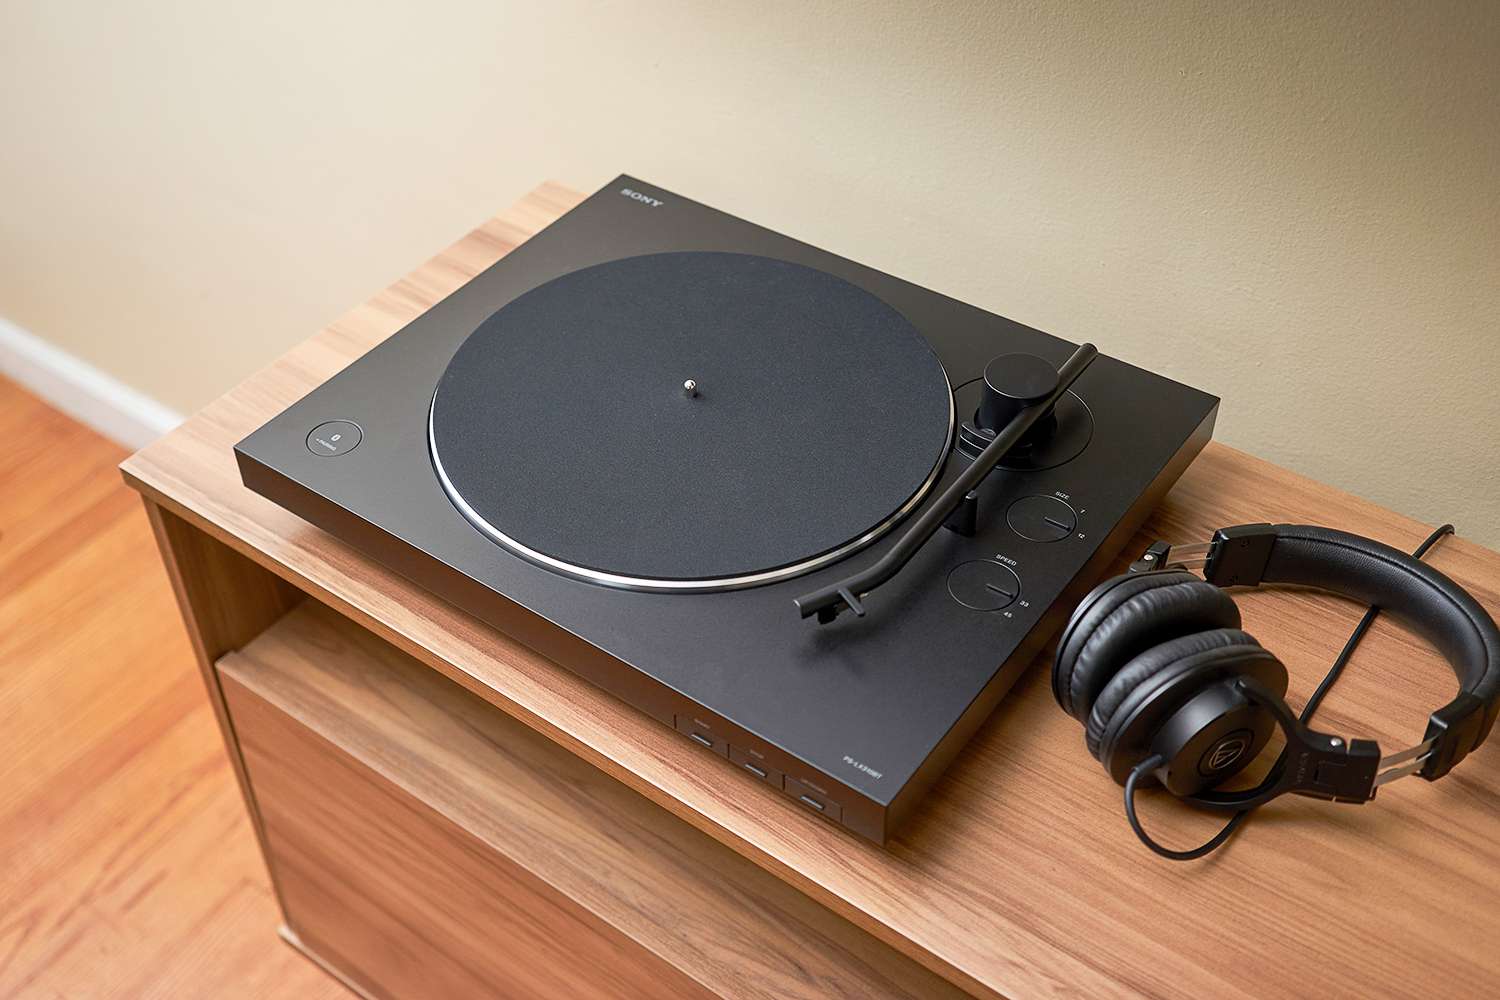
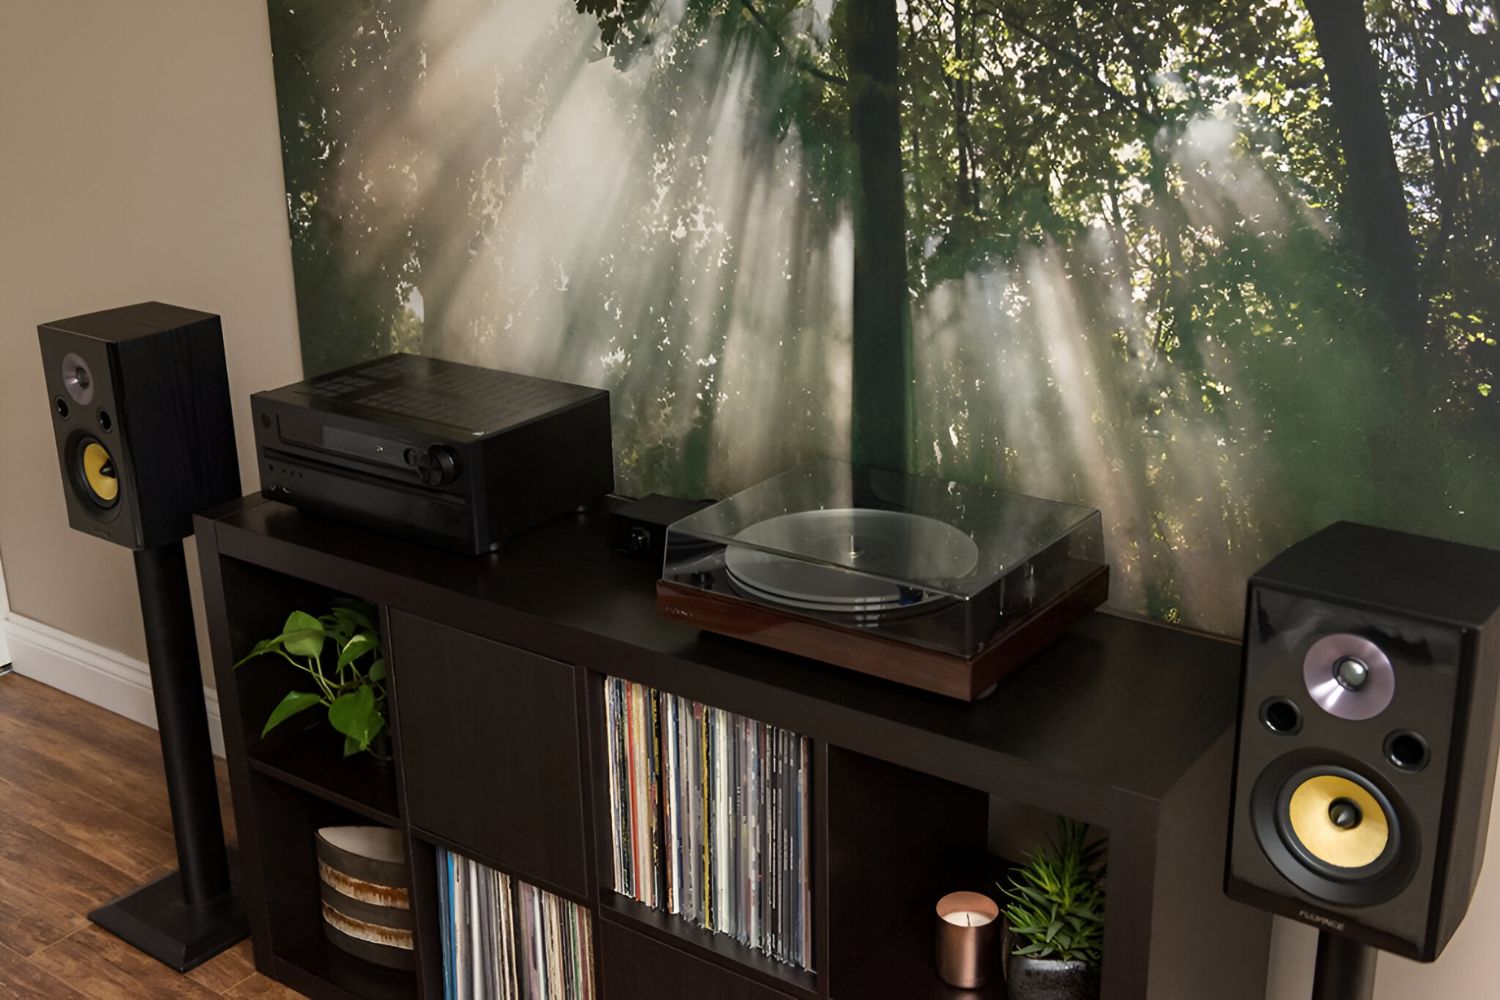
Connecting Your Turntable to Your AV Receiver
Once you’ve gained a foundational understanding of your AV receiver’s key components, it’s time to embark on the crucial step of connecting your turntable to the receiver. This process forms the physical and electrical link between your vinyl records and the AV receiver, laying the groundwork for seamless audio signal transmission and processing.
Here’s a step-by-step guide to connecting your turntable to your AV receiver:
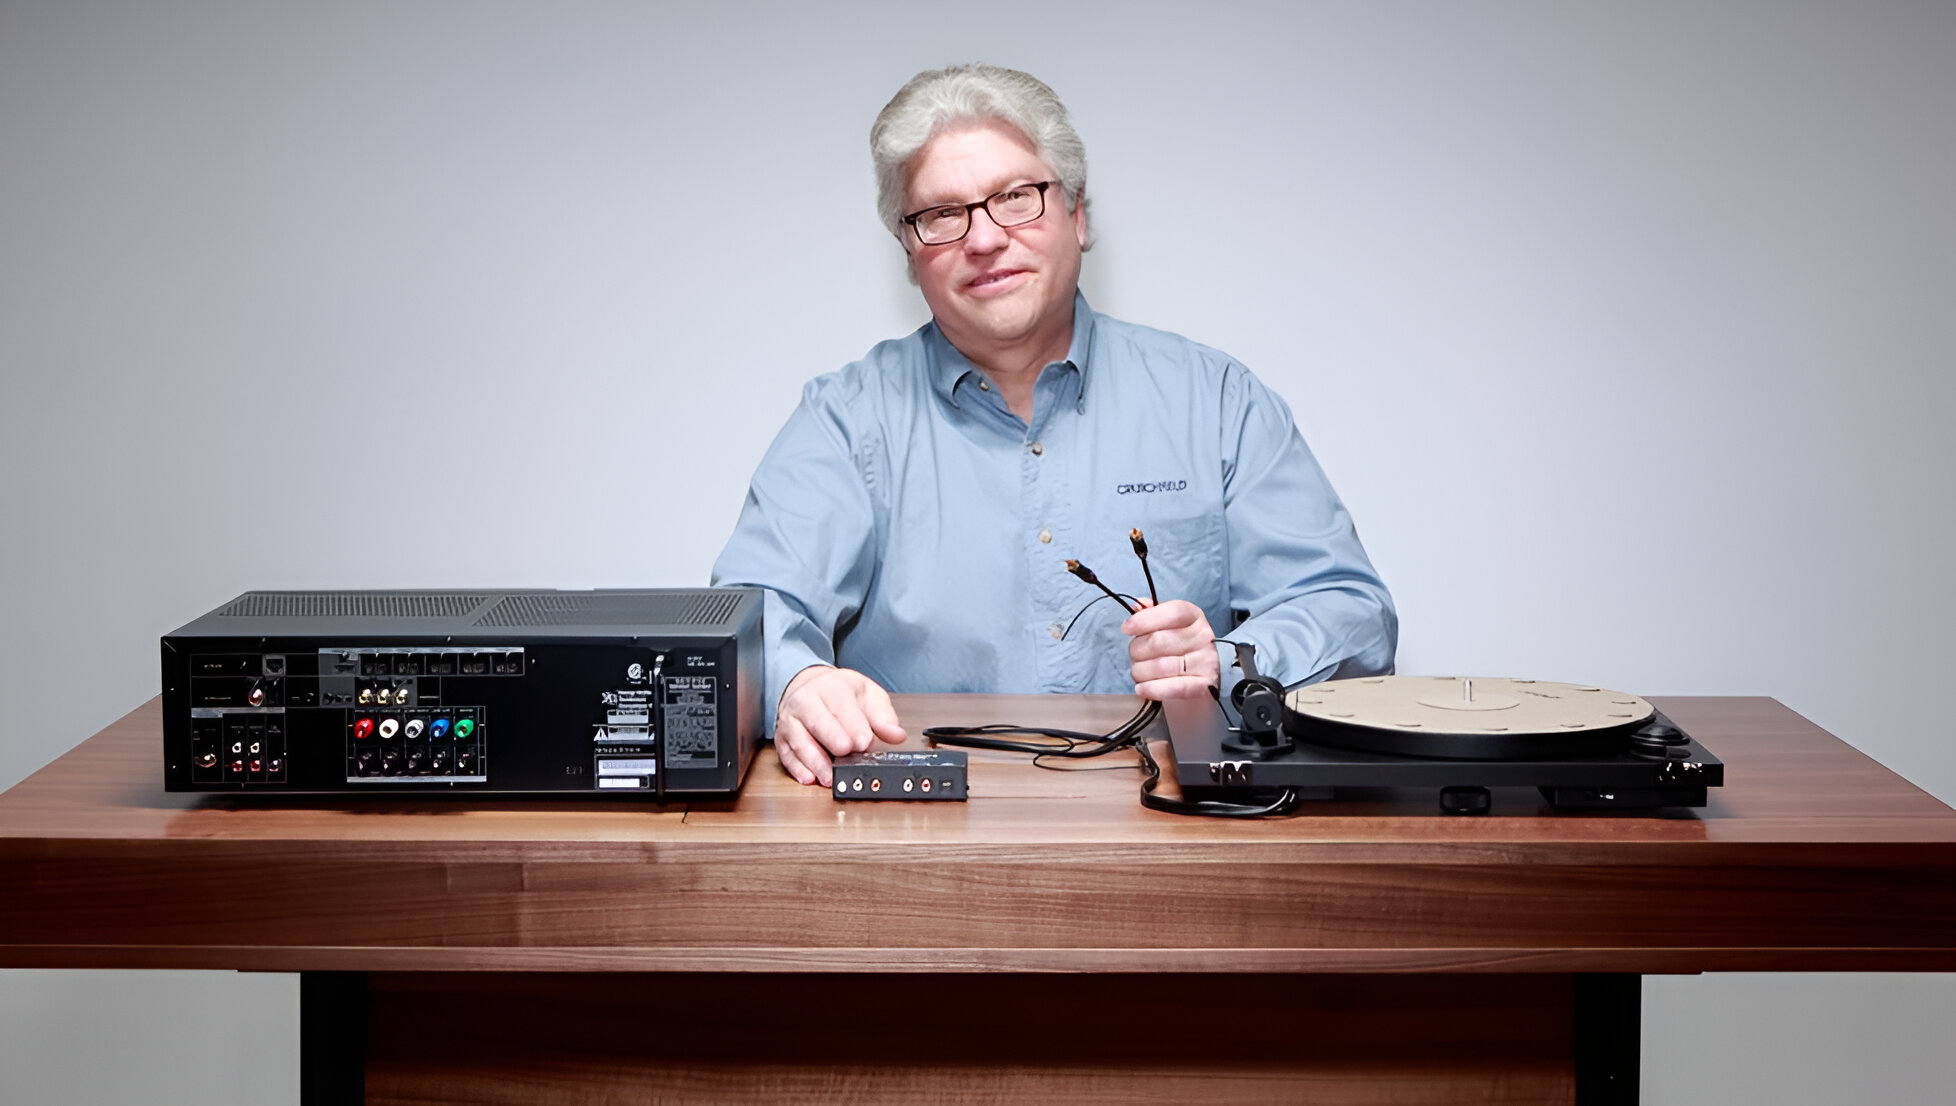
- Identify the Phono Input: Locate the designated phono input on your AV receiver. This input is specifically tailored to accommodate the unique electrical characteristics of turntable cartridges, ensuring optimal signal amplification and fidelity.
- Grounding Wire Connection: If your turntable features a grounding wire, connect it to the corresponding grounding terminal on the AV receiver. This helps minimize electrical interference and ensures a clean audio signal.
- Turntable Output to Receiver Input: Use high-quality RCA cables to connect the audio output from your turntable to the phono input on the AV receiver. Ensure a secure and snug connection to prevent signal loss or interference.
- Verify Preamplification: If your turntable requires preamplification and your AV receiver does not have a built-in phono preamp, ensure that an external phono preamp is connected between the turntable and the receiver to boost the audio signal to line level.
- Power On and Test: Once the connections are in place, power on the AV receiver and turntable. Verify that the audio signal is being transmitted and amplified correctly by playing a test track from your vinyl collection.
By meticulously following these steps, you’ll establish a robust and reliable connection between your turntable and AV receiver, setting the stage for seamless vinyl ripping. The next section will delve into the crucial process of configuring your AV receiver’s settings to optimize the vinyl ripping process and capture the essence of your cherished vinyl recordings in digital format.
Configuring Your AV Receiver for Vinyl Ripping
With your turntable seamlessly connected to your AV receiver, the next pivotal step is to configure the receiver’s settings to ensure optimal performance during the vinyl ripping process. Proper configuration not only enhances the fidelity of the digitized audio but also allows for customization based on the characteristics of your vinyl recordings and personal preferences.
Here are the essential settings to consider when configuring your AV receiver for vinyl ripping:
- Input Selection: Access the input selection menu on your AV receiver and ensure that the input corresponding to your turntable is selected. This directs the receiver to process the audio signal from the turntable, preparing it for digitization.
- Preamplifier Configuration: If your AV receiver features a built-in phono preamp, verify that it is activated for the phono input. This is crucial for amplifying the delicate audio signal from the turntable cartridge to line level, ensuring optimal recording levels.
- Equalization Settings: Some AV receivers offer customizable equalization settings, allowing users to tailor the audio response to match the characteristics of vinyl recordings. Adjusting the equalization settings can compensate for frequency irregularities inherent in vinyl playback, resulting in more faithful digitized audio.
- Volume and Gain Control: Set the volume and gain levels on the AV receiver to ensure that the audio signal from the turntable is neither under-amplified nor distorted. Optimal levels prevent clipping and preserve the dynamics of the original recording.
- Output Configuration: Verify that the output configuration aligns with your desired audio recording format. Whether you intend to capture the audio in a specific digital format or require analog outputs for further processing, ensuring the correct output configuration is essential.
By meticulously configuring these settings, you’ll harness the full potential of your AV receiver for vinyl ripping, capturing the timeless allure of your vinyl collection in pristine digital form. The subsequent section will delve into the nuances of adjusting settings for the best possible audio quality, ensuring that every subtle nuance and texture of your vinyl recordings is faithfully preserved in the digital realm.
Adjusting Settings for Best Quality
As you venture into the realm of vinyl ripping, fine-tuning the settings of your AV receiver is paramount to capturing the best possible audio quality from your cherished vinyl recordings. By delicately adjusting various parameters, you can ensure that the digitized audio faithfully preserves the warmth, richness, and nuances inherent in analog vinyl playback.
Here are the key settings to focus on when aiming for the best possible audio quality during vinyl ripping:
- Equalization Optimization: Utilize the customizable equalization settings on your AV receiver to compensate for the frequency irregularities and tonal characteristics specific to vinyl recordings. Fine-tuning the equalization can mitigate inherent vinyl playback nuances, resulting in a more faithful digital representation of the original recording.
- Gain and Signal Levels: Monitor and adjust the gain and signal levels to ensure that the audio signal from the turntable is optimally amplified without introducing distortion or clipping. Maintaining appropriate signal levels is crucial for preserving the dynamics and subtleties of the vinyl recording.
- Sampling Rate and Bit Depth: If your AV receiver offers the flexibility to adjust sampling rate and bit depth for audio recording, consider optimizing these parameters based on your intended use of the digitized audio. Higher sampling rates and bit depths can capture more detail, especially in complex musical passages.
- Output Format Selection: If you’re capturing the audio in digital format, ensure that the output format aligns with your intended playback and archival requirements. Selecting the appropriate output format ensures compatibility with various playback devices and software applications.
- Monitoring and Testing: Throughout the adjustment process, periodically monitor and test the audio capture to assess the impact of the settings on the overall sound quality. This iterative approach allows for fine adjustments to achieve the desired audio fidelity.
By meticulously adjusting these settings, you’ll unleash the full potential of your AV receiver in capturing the essence of your vinyl collection with uncompromising audio quality. The culmination of these meticulous adjustments will result in digital audio files that faithfully preserve the timeless allure and sonic intricacies of your cherished vinyl recordings.
Conclusion
Congratulations! You’ve successfully navigated the intricacies of setting up your AV receiver for vinyl ripping, paving the way for a transformative journey of preserving and enjoying your cherished vinyl collection in the digital domain. By understanding the role of your AV receiver, establishing the vital connections, and meticulously configuring the settings, you’ve unlocked the full potential of your audio system for capturing the warmth and richness of vinyl recordings in digital form.
As you embark on this endeavor, remember that the process of vinyl ripping is not merely a technical pursuit but a deeply personal and emotive experience. Each crackle, pop, and sonic nuance encapsulates the history and character of your vinyl collection, and by capturing these subtleties with care and precision, you’re immortalizing the essence of your musical treasures.
With your AV receiver primed for vinyl ripping, you’re poised to embark on a journey of rediscovery, where timeless melodies and sonic tapestries are revitalized in the digital realm. Whether you’re archiving rare vinyl pressings, creating custom digital playlists, or simply savoring the convenience of digital playback, the meticulous setup of your AV receiver ensures that every note and texture is faithfully preserved.
As you listen to the digitized renditions of your vinyl favorites, may the warmth and nostalgia of analog playback intertwine with the convenience and versatility of digital audio, creating a harmonious bridge between past and present. Your AV receiver, now finely tuned for vinyl ripping, stands as a conduit for capturing the essence of your vinyl collection, breathing new life into timeless classics and hidden gems alike.
Embrace the journey of vinyl ripping with reverence for the legacy of your vinyl collection and an unwavering commitment to preserving its sonic legacy. Through the seamless integration of your AV receiver into the vinyl ripping process, you’ve embarked on a captivating odyssey that transcends mere audio digitization, encapsulating the essence of your musical identity in every meticulously captured waveform.