Introduction
Are you a vinyl enthusiast looking to bring the warm, rich sound of your turntable into your home theater setup? Connecting a turntable to your AV receiver is a fantastic way to enjoy your favorite records with the full-bodied sound that only a high-quality audio system can provide. By integrating your turntable with your AV receiver, you can experience the nostalgic charm of vinyl alongside the convenience and power of modern audiovisual technology.
In this guide, we will walk you through the process of connecting your turntable to your AV receiver, ensuring that you can seamlessly blend the classic appeal of vinyl with the advanced capabilities of your home entertainment system. Whether you're a seasoned audiophile or a newcomer to the world of vinyl, this step-by-step guide will equip you with the knowledge and confidence to set up your turntable with ease.
As we delve into the intricacies of turntable and AV receiver connections, you'll gain a deeper understanding of the components involved and the significance of each step in the setup process. Through clear and concise instructions, we'll empower you to bridge the gap between analog and digital audio technologies, unlocking the full potential of your turntable within your home theater environment.
Join us on this journey as we explore the art of connecting a turntable to an AV receiver, merging the timeless allure of vinyl with the immersive capabilities of modern audio systems. Let's embark on this adventure together, as we embark on a quest to elevate your listening experience to new heights.
Understanding the Connections
Before diving into the physical setup, it’s essential to grasp the fundamental connections involved in integrating a turntable with an AV receiver. Understanding these connections will provide you with the knowledge needed to ensure a seamless and harmonious audio-visual experience.
First and foremost, it’s crucial to recognize the primary components of a turntable. The stylus, also known as the needle, is responsible for reading the grooves on the vinyl record and translating them into electrical signals. These signals are then transmitted through the tonearm, which houses the cartridge containing the stylus. The cartridge converts the physical movements of the stylus into electrical signals, which are then sent to the phono preamplifier, also known as the phono stage.
The phono preamplifier plays a pivotal role in the turntable setup, as it amplifies the delicate signals produced by the cartridge to a level that can be processed by the AV receiver. Additionally, it applies the RIAA equalization curve, which adjusts the frequency response of the audio signal to match the recording characteristics of vinyl records.
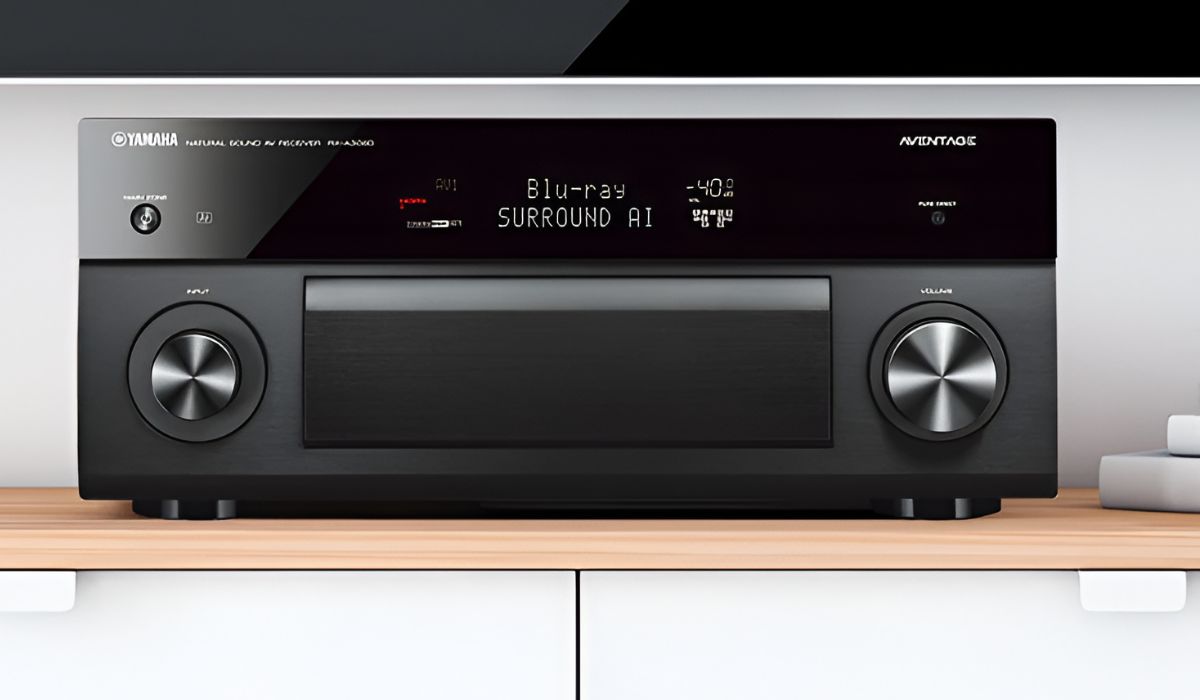
On the AV receiver side, it’s essential to identify the dedicated phono input. Unlike other audio sources, such as CD players or media streamers, turntables require a specific phono input due to their unique signal characteristics. The phono input incorporates a built-in phono preamplifier, allowing it to accept the amplified signals from the turntable without the need for an external phono stage.
By comprehending the intricacies of these connections, you’ll be well-equipped to proceed with confidence as you embark on the journey of integrating your turntable with your AV receiver. With this foundational knowledge in place, you’re ready to move on to the next crucial step: setting up the turntable itself.
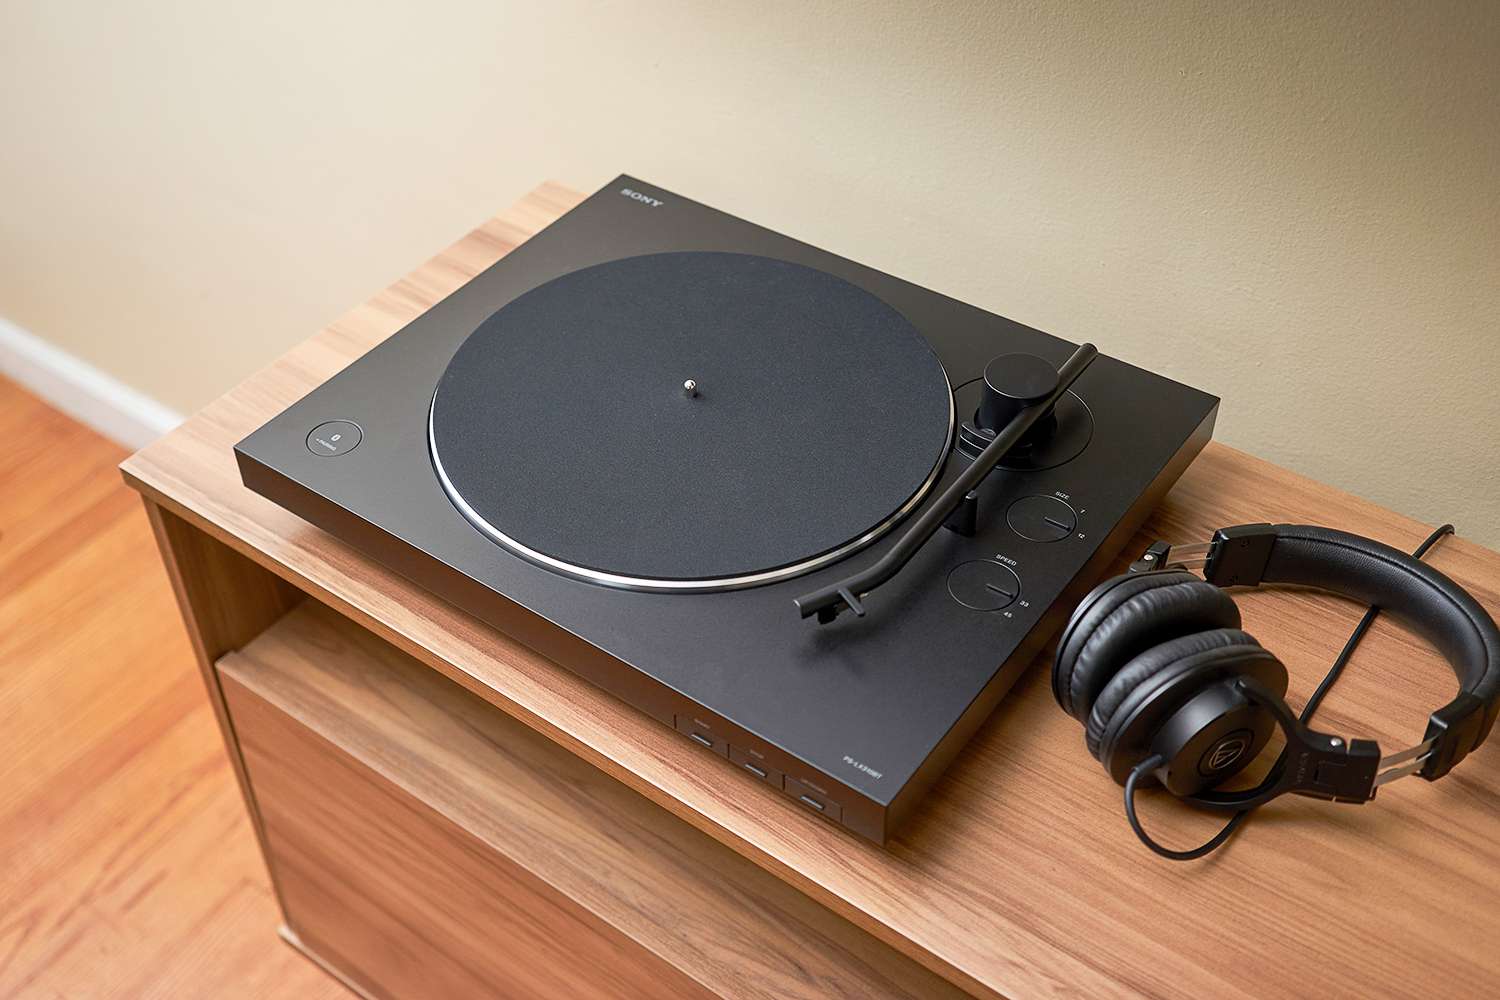
Setting Up the Turntable
Before connecting your turntable to the AV receiver, it’s essential to ensure that the turntable itself is properly set up and calibrated. This involves several key steps to guarantee optimal performance and audio quality.
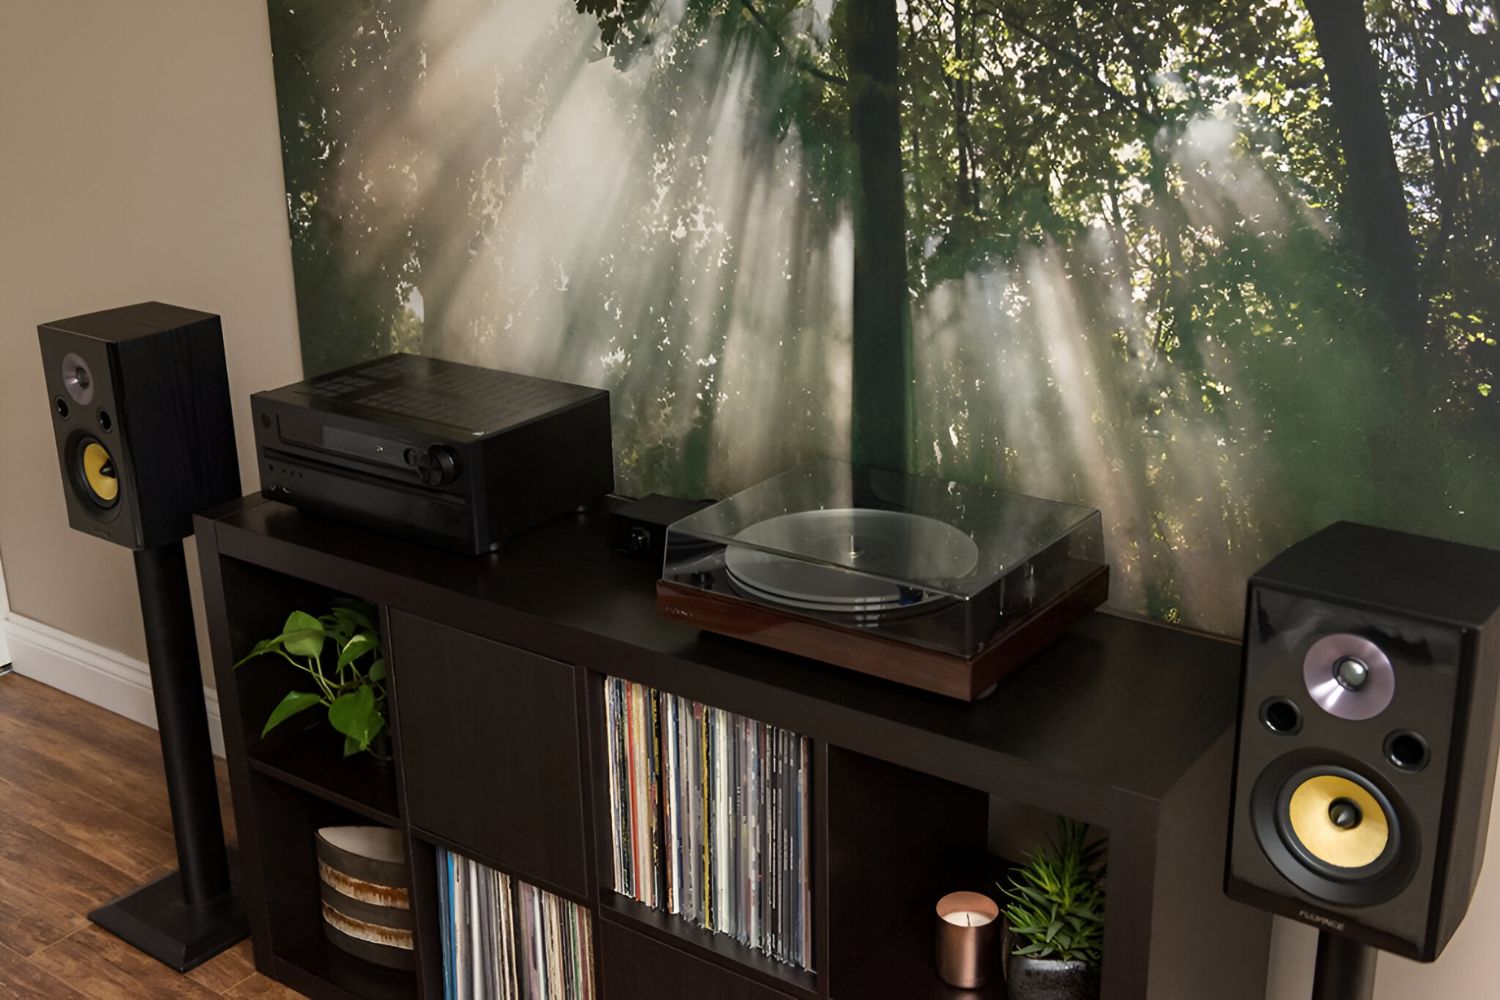
First, it’s crucial to place the turntable on a stable, level surface. Vibrations and uneven surfaces can adversely affect the playback quality and potentially damage the delicate components of the turntable. Additionally, positioning the turntable away from speakers and other sources of vibration is advisable to minimize interference with the playback.
Next, carefully balance and set the tracking force of the tonearm. The tracking force refers to the downward pressure exerted by the stylus on the record surface. This setting is critical for preserving the integrity of your records and ensuring accurate tracking of the grooves. Consult the turntable’s manual for specific instructions on adjusting the tracking force, as it may vary depending on the cartridge installed on your turntable.
Furthermore, aligning the cartridge and setting the anti-skate mechanism are essential steps in fine-tuning the turntable’s performance. Proper cartridge alignment ensures that the stylus accurately traces the record grooves, while the anti-skate mechanism helps counteract the tendency of the tonearm to pull towards the center of the record, maintaining balanced tracking across the entire playing surface.
Lastly, it’s important to confirm that the turntable’s built-in phono preamplifier, if equipped, is appropriately configured. Some turntables feature a switch or button to activate or deactivate the phono preamplifier, depending on whether you’re connecting to a dedicated phono input on an AV receiver or an auxiliary input that requires a line-level signal.
By meticulously attending to these setup details, you’ll ensure that your turntable is primed for optimal performance and ready to deliver the distinctive warmth and fidelity that vinyl enthusiasts cherish. With the turntable prepared, you’re now poised to proceed with connecting it to your AV receiver, bridging the gap between analog and digital audio technologies.
Connecting the Turntable to the AV Receiver
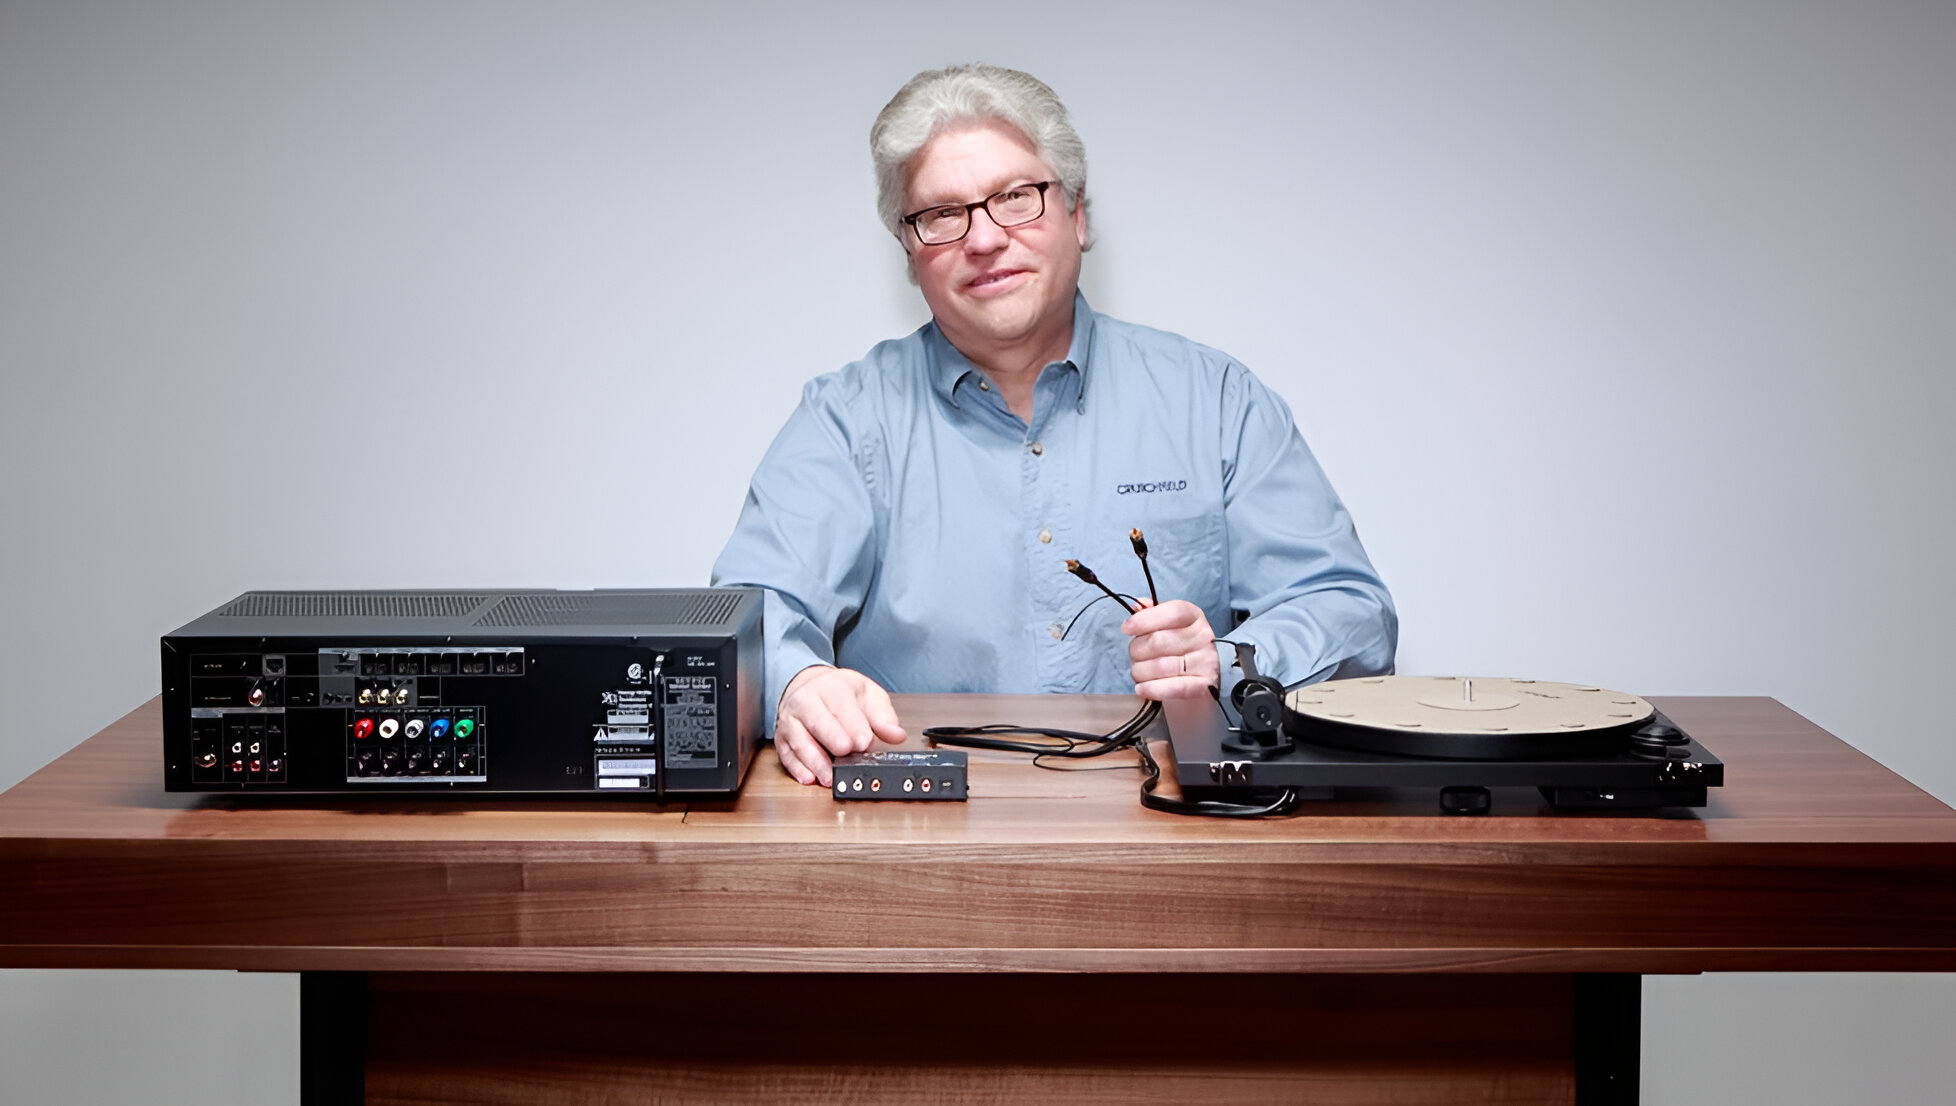
With your turntable properly set up, it’s time to establish the physical connection between the turntable and the AV receiver. This process involves identifying the appropriate input on the AV receiver, understanding the cabling requirements, and ensuring that the signal from the turntable is integrated seamlessly into the audio system.
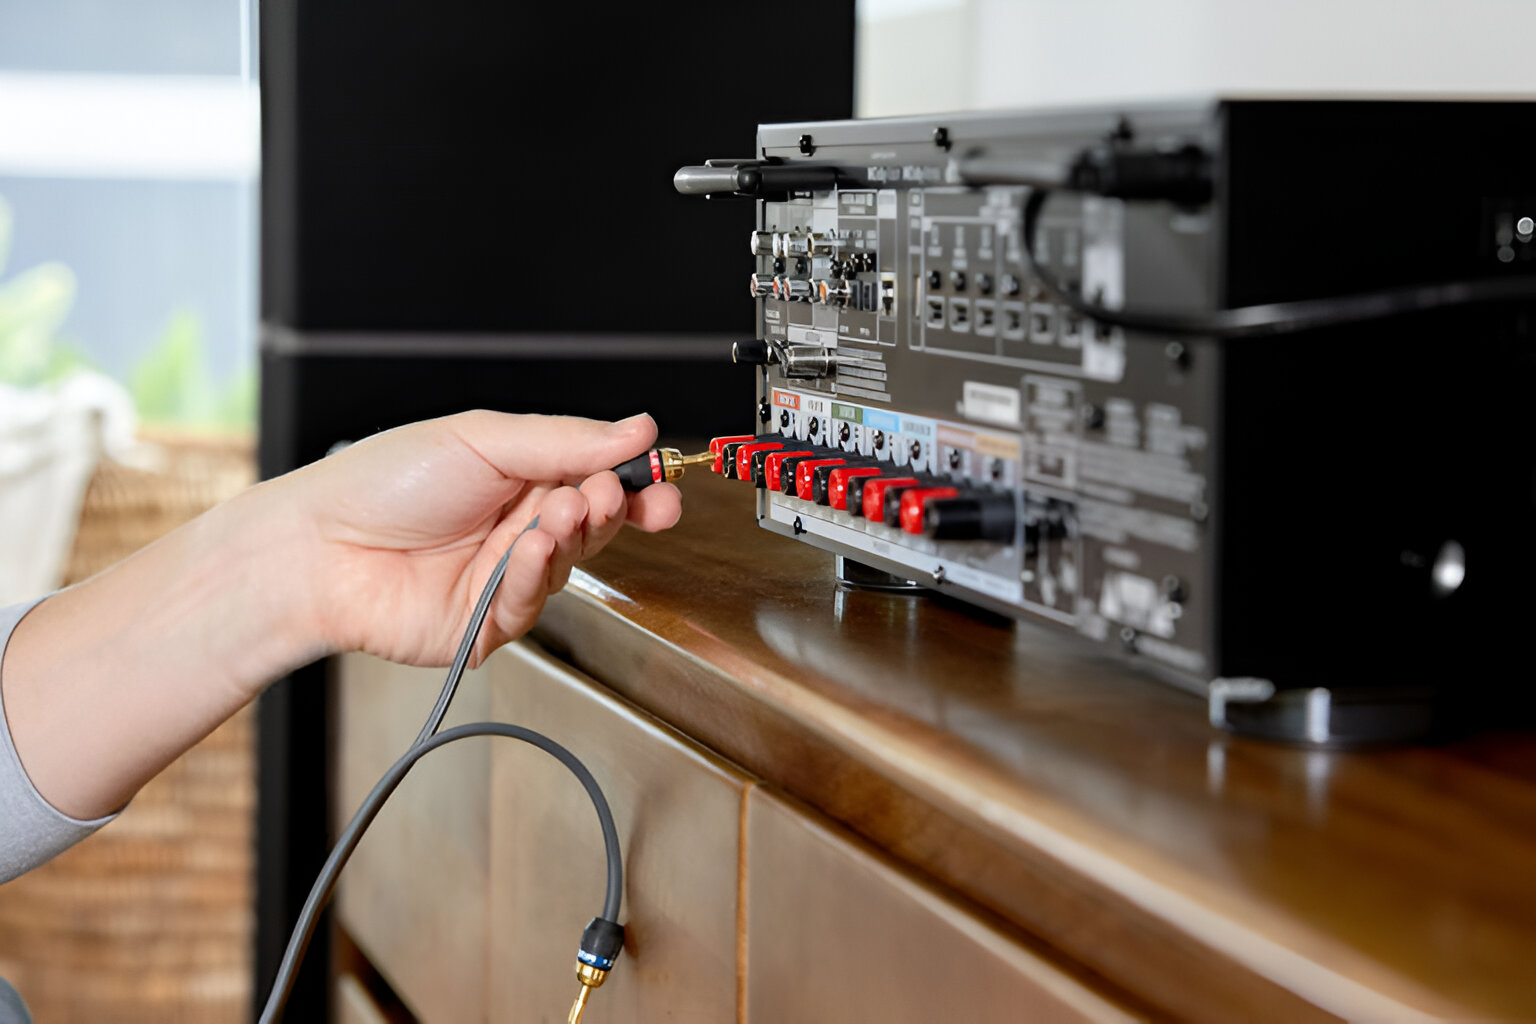
Begin by locating the dedicated phono input on your AV receiver. This specialized input is designed to accommodate the unique signal produced by the turntable and is equipped with a built-in phono preamplifier. If your AV receiver lacks a dedicated phono input, you may need to connect the turntable to an external phono preamplifier before routing the signal to an available line-level input on the receiver.
Once you’ve identified the phono input on the AV receiver, it’s time to connect the turntable using the appropriate cables. Most turntables utilize RCA cables for audio signal transmission. These cables typically feature red and white connectors for the right and left audio channels, along with a grounding wire to minimize potential hum or interference. Carefully connect the RCA cables from the turntable’s audio output to the corresponding inputs on the AV receiver, ensuring a secure and snug fit.
If your turntable features a separate grounding wire, connect it to the designated grounding post on the AV receiver or the external phono preamplifier if applicable. This grounding wire serves to mitigate unwanted electrical noise and interference, contributing to a cleaner and more pristine audio signal.
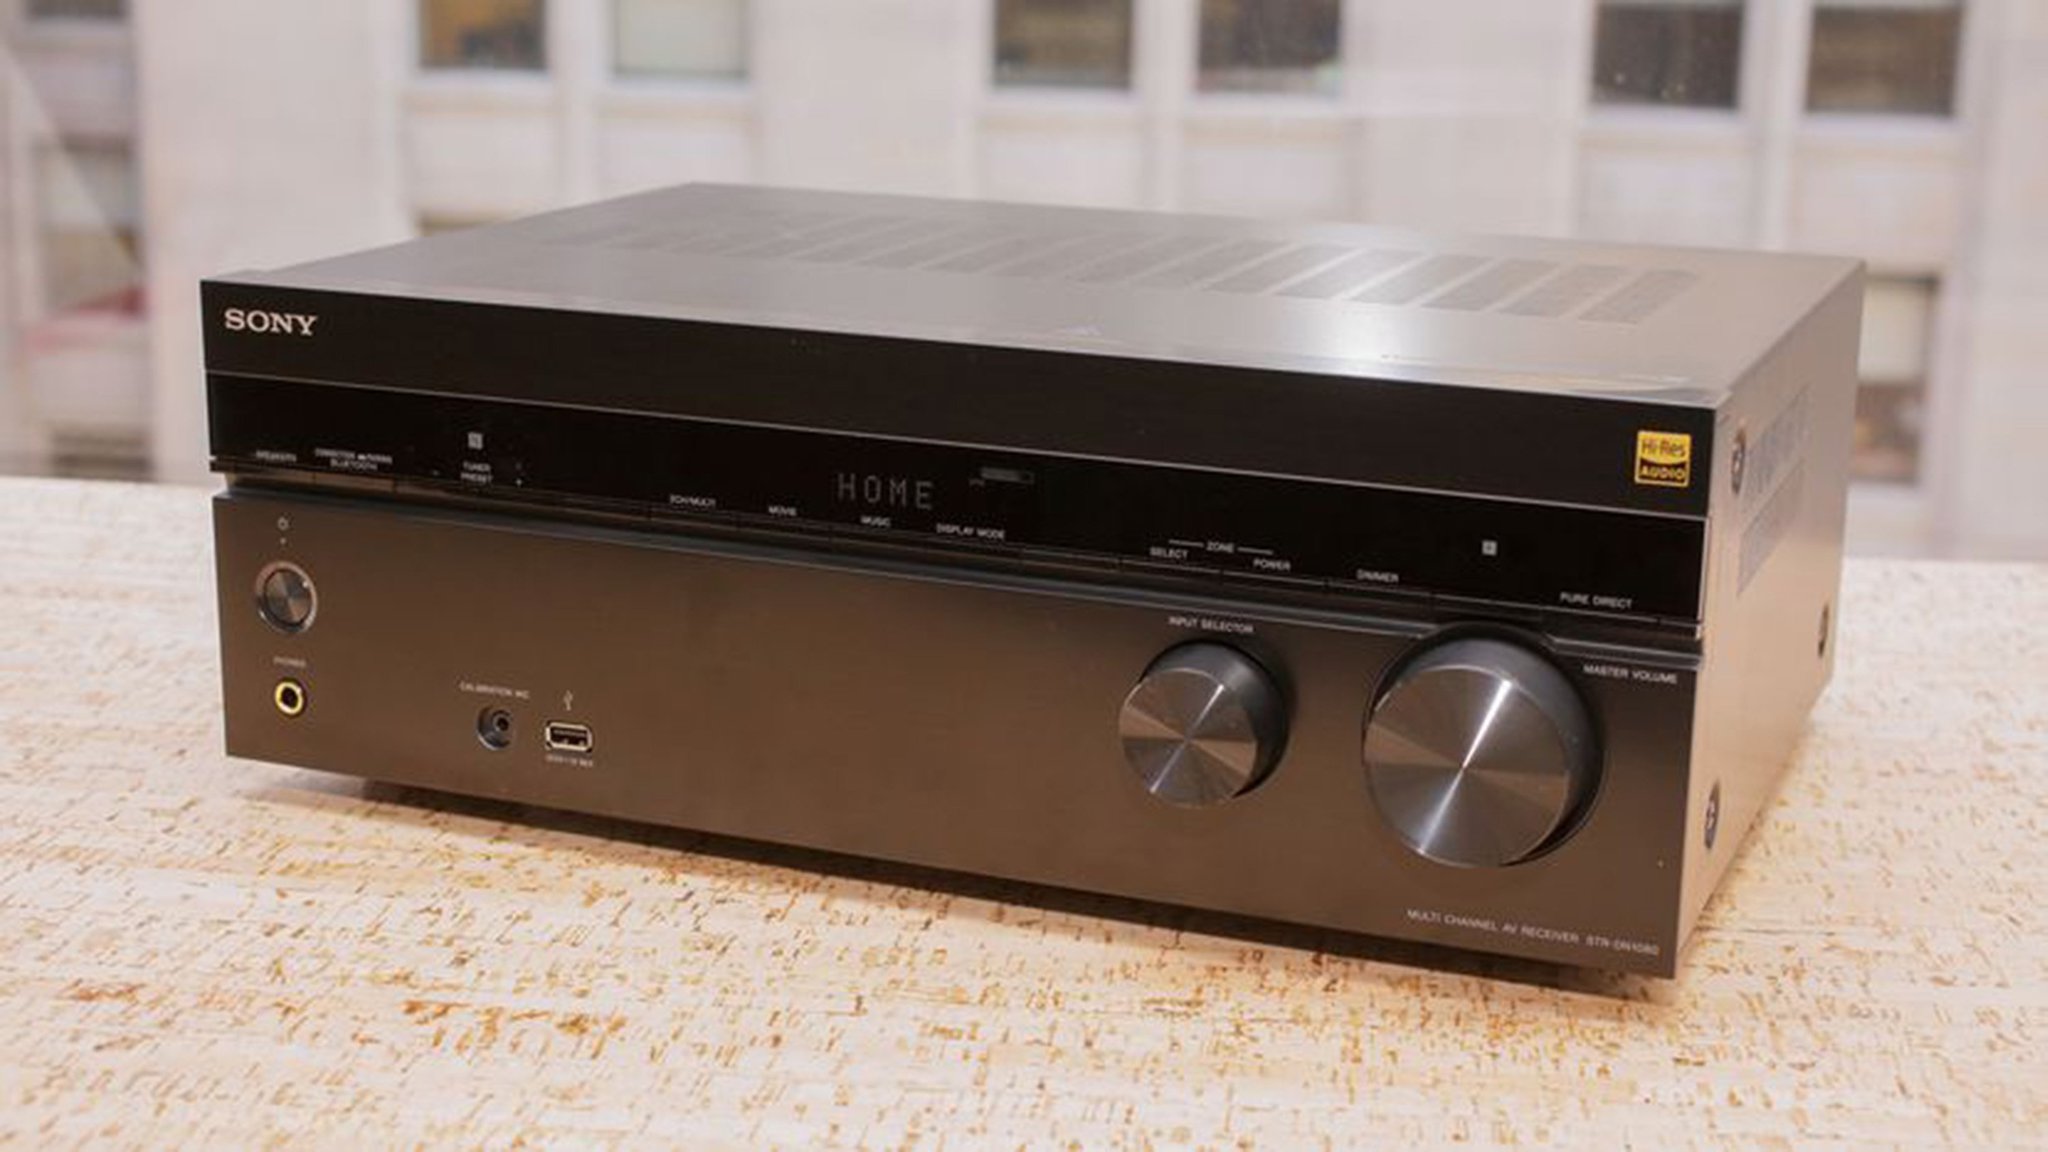
With the physical connections in place, it’s essential to verify that the input settings on the AV receiver are configured to recognize the turntable. Access the receiver’s input selection menu and choose the phono input as the active source. Additionally, ensure that any settings related to the phono input, such as the phono preamplifier activation, are adjusted according to the manufacturer’s recommendations.
By methodically establishing these connections and confirming the input settings, you’ll seamlessly integrate your turntable into the audio system, paving the way for an immersive listening experience that combines the timeless appeal of vinyl with the technological prowess of your AV receiver. With the physical and signal connections in place, you’re ready to proceed to the final step: testing the setup to ensure everything operates as intended.
Testing the Setup
After connecting your turntable to the AV receiver, it’s crucial to conduct a comprehensive test to ensure that the setup functions as intended and delivers the exceptional audio quality that vinyl enthusiasts cherish. This testing phase allows you to confirm the proper integration of the turntable into your audio system and address any potential issues that may arise.
Begin by powering on your AV receiver and selecting the input corresponding to the connected turntable. If your turntable features an automatic start function, initiate playback according to the manufacturer’s instructions. Alternatively, if your turntable requires manual operation, carefully lift the tonearm, position it over the desired section of the record, and gently lower it to commence playback.
As the stylus makes contact with the record, listen attentively for the warm, resonant sound that is characteristic of vinyl playback. Pay close attention to the tonal quality, clarity, and absence of any extraneous noise or distortion. If you notice any issues such as excessive hum, distortion, or imbalance between the left and right channels, it may indicate a problem with the setup that requires further investigation.
During the playback test, take the opportunity to adjust the volume and tone controls on the AV receiver to ensure that the sound levels and tonal characteristics align with your preferences. Experiment with different records across various genres to gauge the versatility and fidelity of the setup, allowing you to appreciate the unique sonic characteristics of each album.
In addition to evaluating the audio playback, visually inspect the connections and components to confirm that all cables are securely fastened, the grounding wire is properly attached, and the turntable and AV receiver are operating within normal parameters. Address any issues promptly to maintain the integrity of the setup and safeguard the longevity of your audio equipment.
Furthermore, consider conducting a brief comparison between the turntable and other audio sources connected to the AV receiver, such as digital music players or streaming devices. This comparative analysis can provide valuable insights into the distinctive qualities of vinyl playback and the enriching experience it offers in the context of your home audio system.
By meticulously testing the setup and actively engaging with the playback experience, you’ll gain a deeper appreciation for the seamless integration of your turntable with the AV receiver. This hands-on approach not only ensures the optimal performance of your audio system but also fosters a deeper connection with the captivating world of vinyl music.