Introduction
Are you looking to elevate your home entertainment experience by connecting an amplifier to your AV receiver? This comprehensive guide will walk you through the process, ensuring that you can seamlessly integrate these essential components to enhance your audio setup.
Connecting an amplifier to an AV receiver can significantly amplify the power and clarity of your sound system, providing a more immersive and dynamic listening experience. Whether you are a music enthusiast, a movie buff, or a gaming aficionado, this integration can unlock the full potential of your audio-visual setup.
In this guide, we will delve into the intricacies of amplifiers and AV receivers, offering insights into their functionalities and compatibility. Additionally, we will explore the selection of the appropriate cables, the step-by-step process of connecting the amplifier to the AV receiver, and the crucial configuration settings. By following these instructions, you can seamlessly establish a robust connection and optimize the audio output to suit your preferences.
As we embark on this journey to connect an amplifier to an AV receiver, it's important to note that this process may vary depending on the specific models and brands of the equipment involved. However, this guide aims to provide a foundational understanding and a general framework that can be adapted to various setups.
Let's dive into the intricacies of amplifiers and AV receivers, unravel the nuances of connecting them, and ultimately, elevate your audio-visual experience to new heights.
Understanding Amplifiers and AV Receivers
Before delving into the process of connecting an amplifier to an AV receiver, it is essential to grasp the fundamental roles and functionalities of these two integral components of an audio-visual system.
Amplifiers:
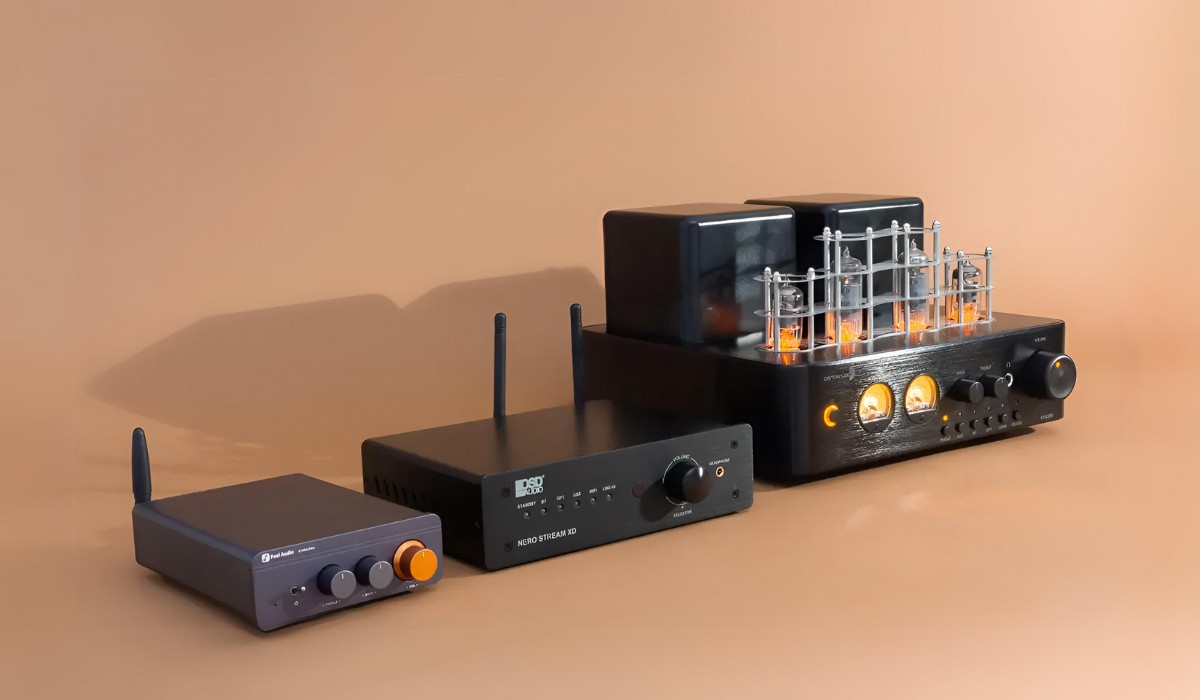
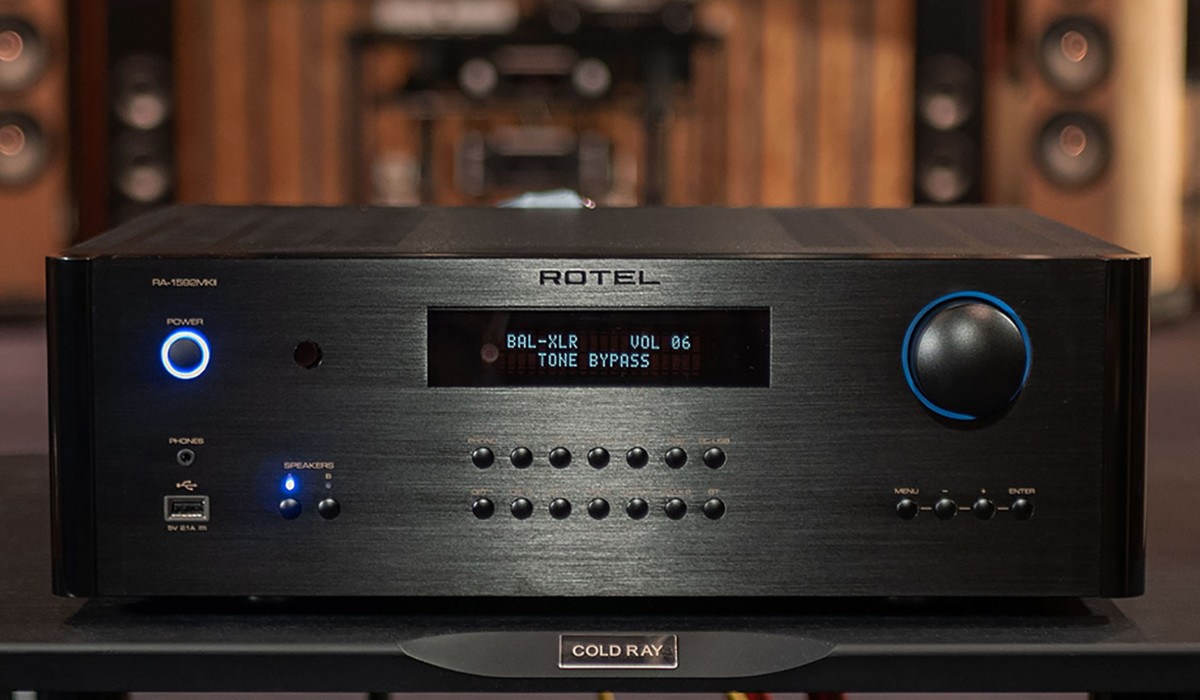
Amplifiers, often referred to as “amps,” serve the critical function of boosting the audio signals from various sources, such as a turntable, CD player, or streaming device, to drive the speakers with sufficient power. This amplification process enhances the clarity, volume, and overall quality of the audio output, allowing for a more impactful and immersive listening experience. Amplifiers come in various configurations, including stereo and surround sound formats, catering to different audio setups and preferences.
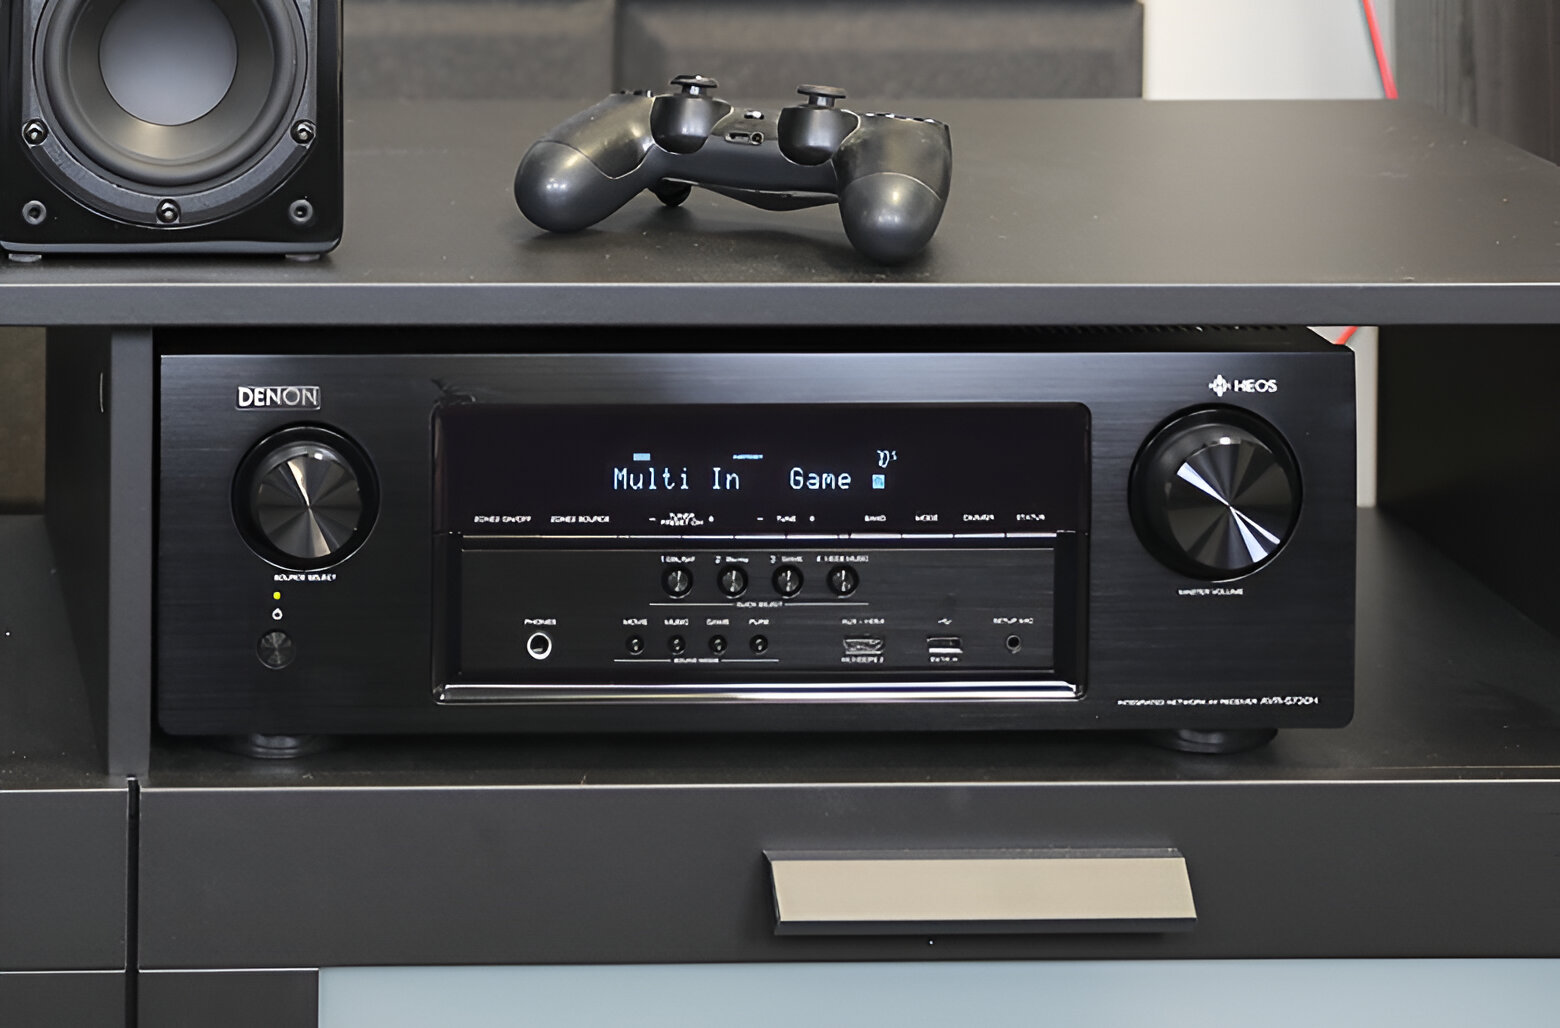
AV Receivers:
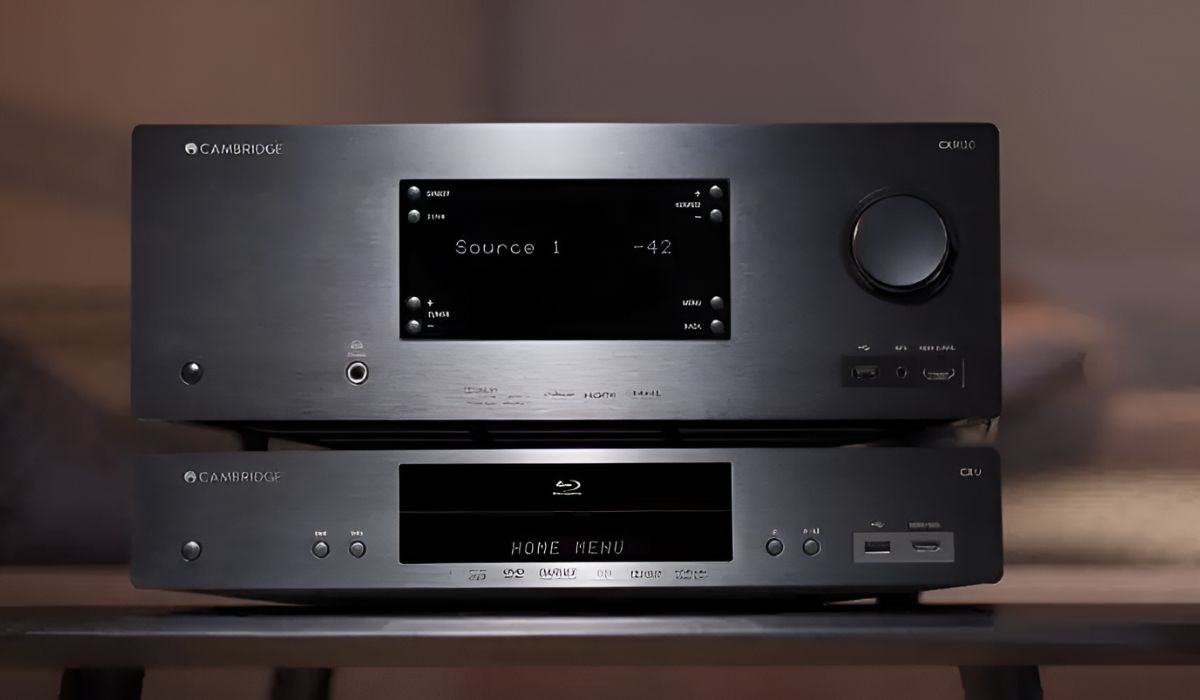
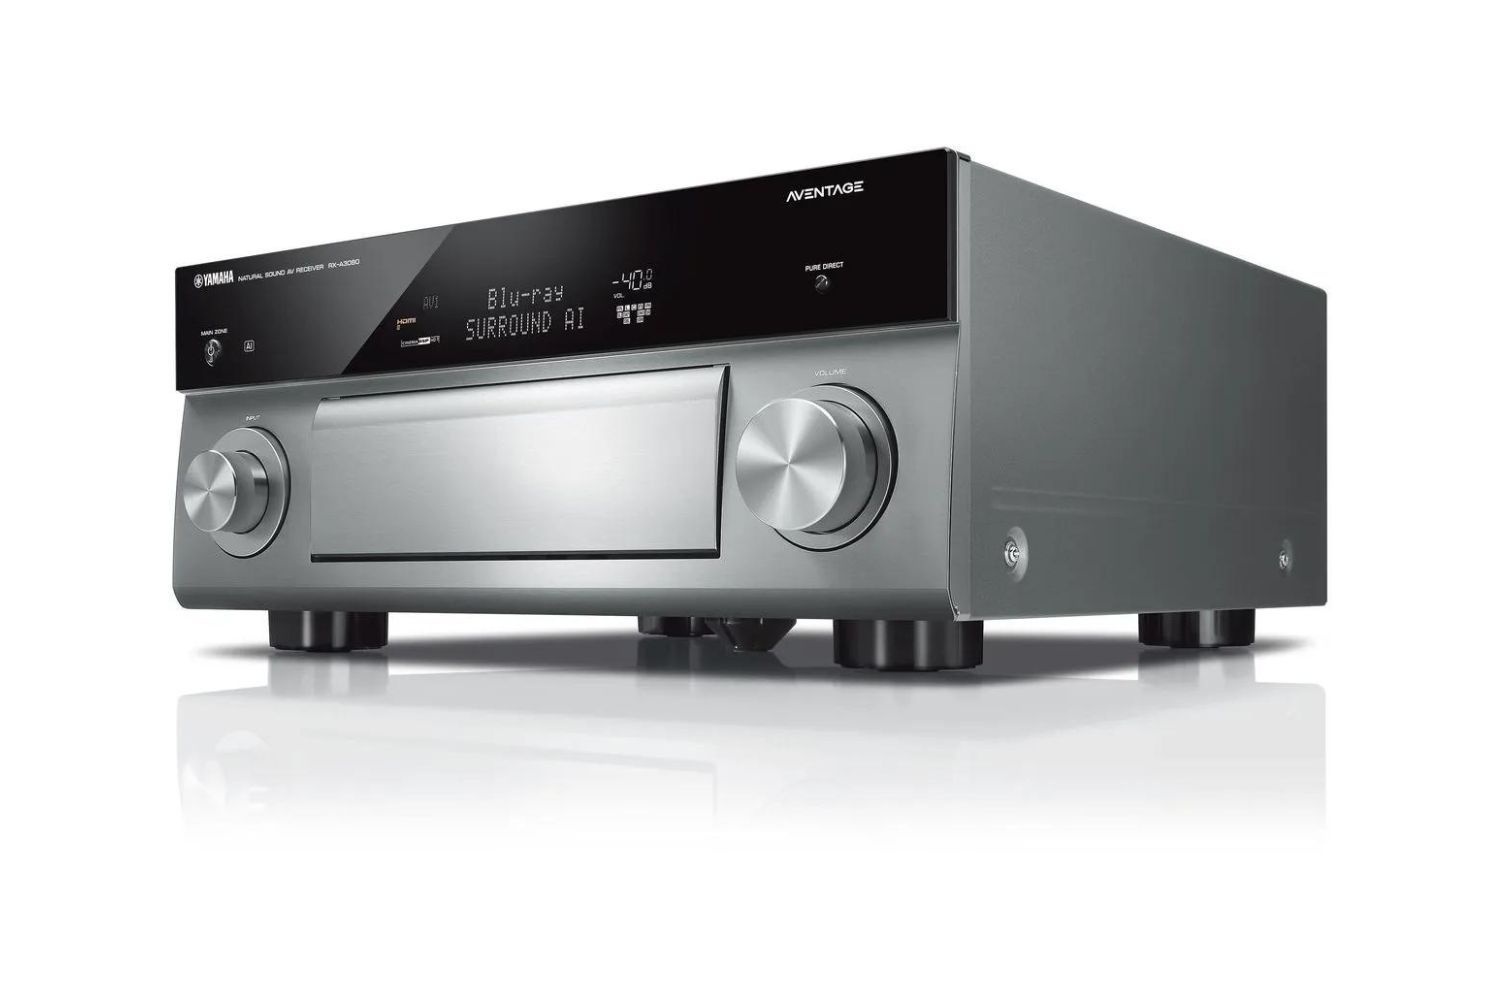
AV receivers act as the central hub of an audio-visual system, combining the functionalities of a preamplifier, amplifier, and audio/video switcher. These versatile devices not only amplify audio signals but also process and distribute video signals to the connected display devices. In addition to serving as a power source for the speakers, AV receivers often feature built-in surround sound processing, room calibration technologies, and support for various audio formats, making them indispensable for creating a captivating home theater environment.
When selecting an amplifier and AV receiver for integration, it is crucial to ensure compatibility in terms of power ratings, impedance levels, and audio formats. Understanding the specifications and capabilities of these components is paramount in creating a harmonious and efficient audio-visual setup.
By comprehending the distinct roles of amplifiers and AV receivers, you can appreciate their synergy in delivering high-quality audio and visual content. With this knowledge as our foundation, let’s proceed to the next steps of connecting and configuring these components to optimize your home entertainment system.
Choosing the Right Cables
When connecting an amplifier to an AV receiver, selecting the appropriate cables is crucial to ensure seamless signal transmission and optimal audio performance. The following types of cables are commonly used in this setup:
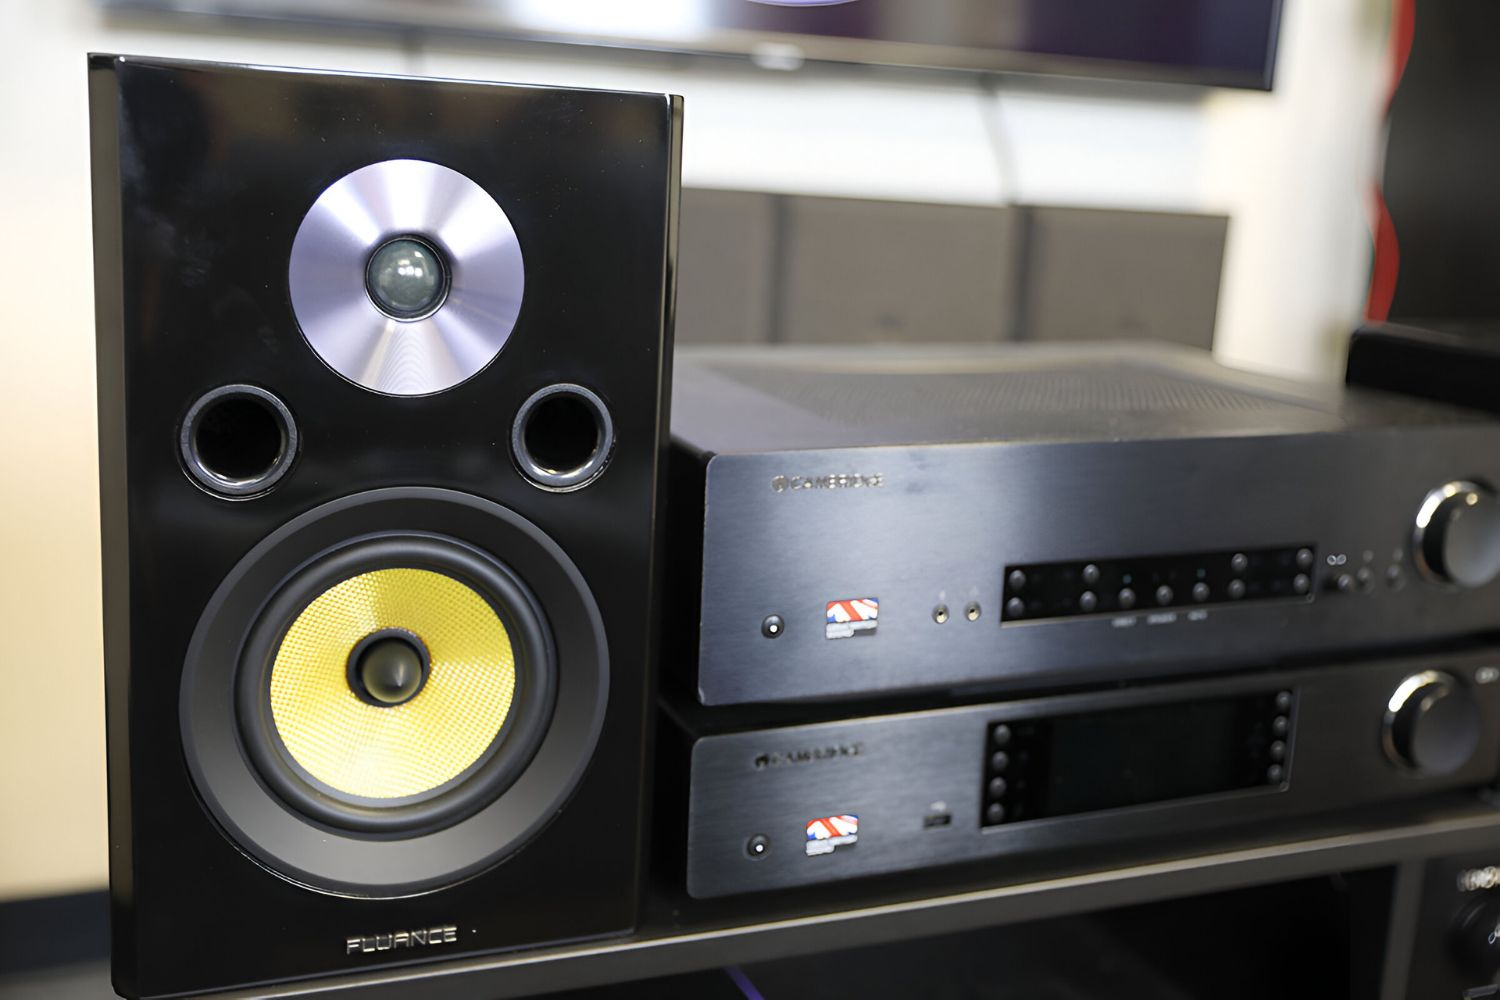
- Speaker Cables: These cables are essential for connecting the amplifier to the speakers. It is important to choose cables with the appropriate gauge and length based on the power output of the amplifier and the impedance of the speakers. Thicker cables with lower gauge numbers offer lower resistance and are suitable for higher power applications, while shorter lengths minimize signal loss.
- Interconnect Cables: Interconnect cables, such as RCA or XLR cables, are utilized to establish the connection between the AV receiver and the amplifier. These cables transmit audio signals from the receiver’s preamp outputs to the amplifier’s input, ensuring a clean and reliable signal transfer. It is advisable to use shielded cables to minimize interference and maintain signal integrity.
- Subwoofer Cables: If your audio setup includes a subwoofer, a dedicated subwoofer cable is necessary to connect the subwoofer to the AV receiver. These cables are designed to carry low-frequency signals, delivering deep and impactful bass reproduction for a more immersive audio experience.
When selecting cables, it is important to consider the quality of the connectors, the cable shielding, and the overall construction to minimize signal degradation and interference. Additionally, matching the cable lengths to the specific requirements of your setup can optimize signal transmission and prevent unnecessary clutter.
By choosing high-quality cables that are suitable for your specific audio-visual configuration, you can ensure a reliable and efficient connection between the amplifier and the AV receiver, laying the groundwork for an exceptional audio performance.
Connecting the Amplifier to the AV Receiver
Now that we have a solid understanding of amplifiers, AV receivers, and the importance of selecting the right cables, it’s time to embark on the process of physically connecting the amplifier to the AV receiver. This step-by-step guide will walk you through the seamless integration of these essential components:
- Power Off and Unplug: Before initiating any connections, ensure that both the amplifier and the AV receiver are powered off and unplugged from the electrical outlet to prevent any electrical mishaps.
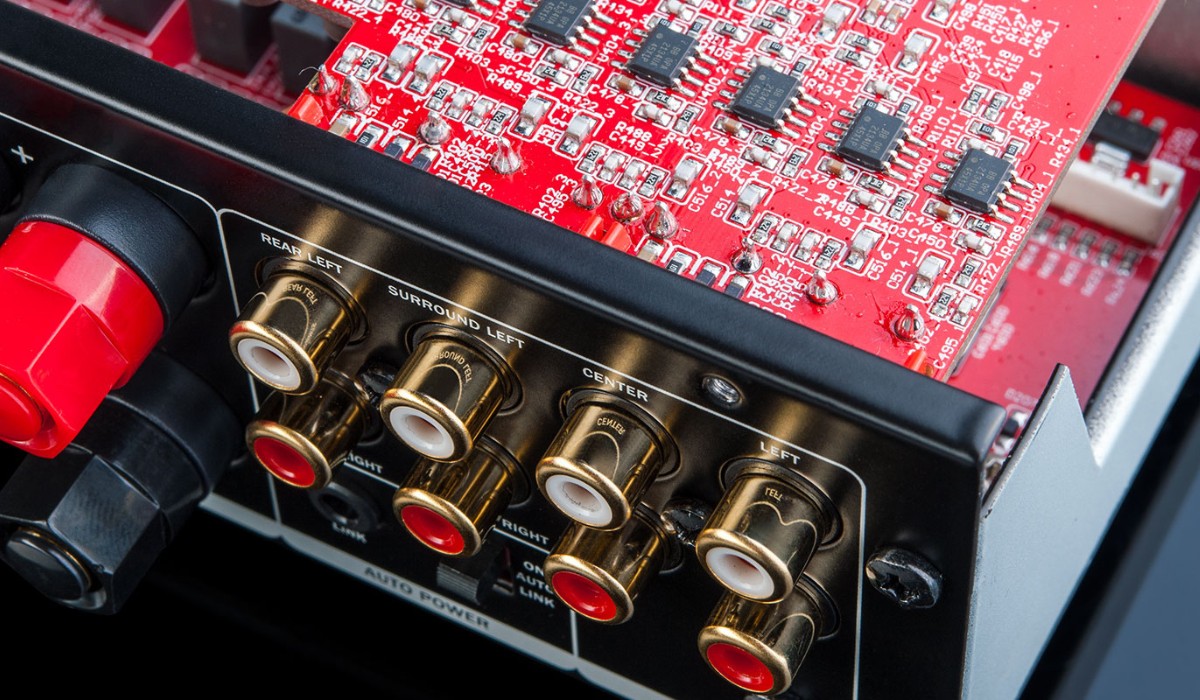
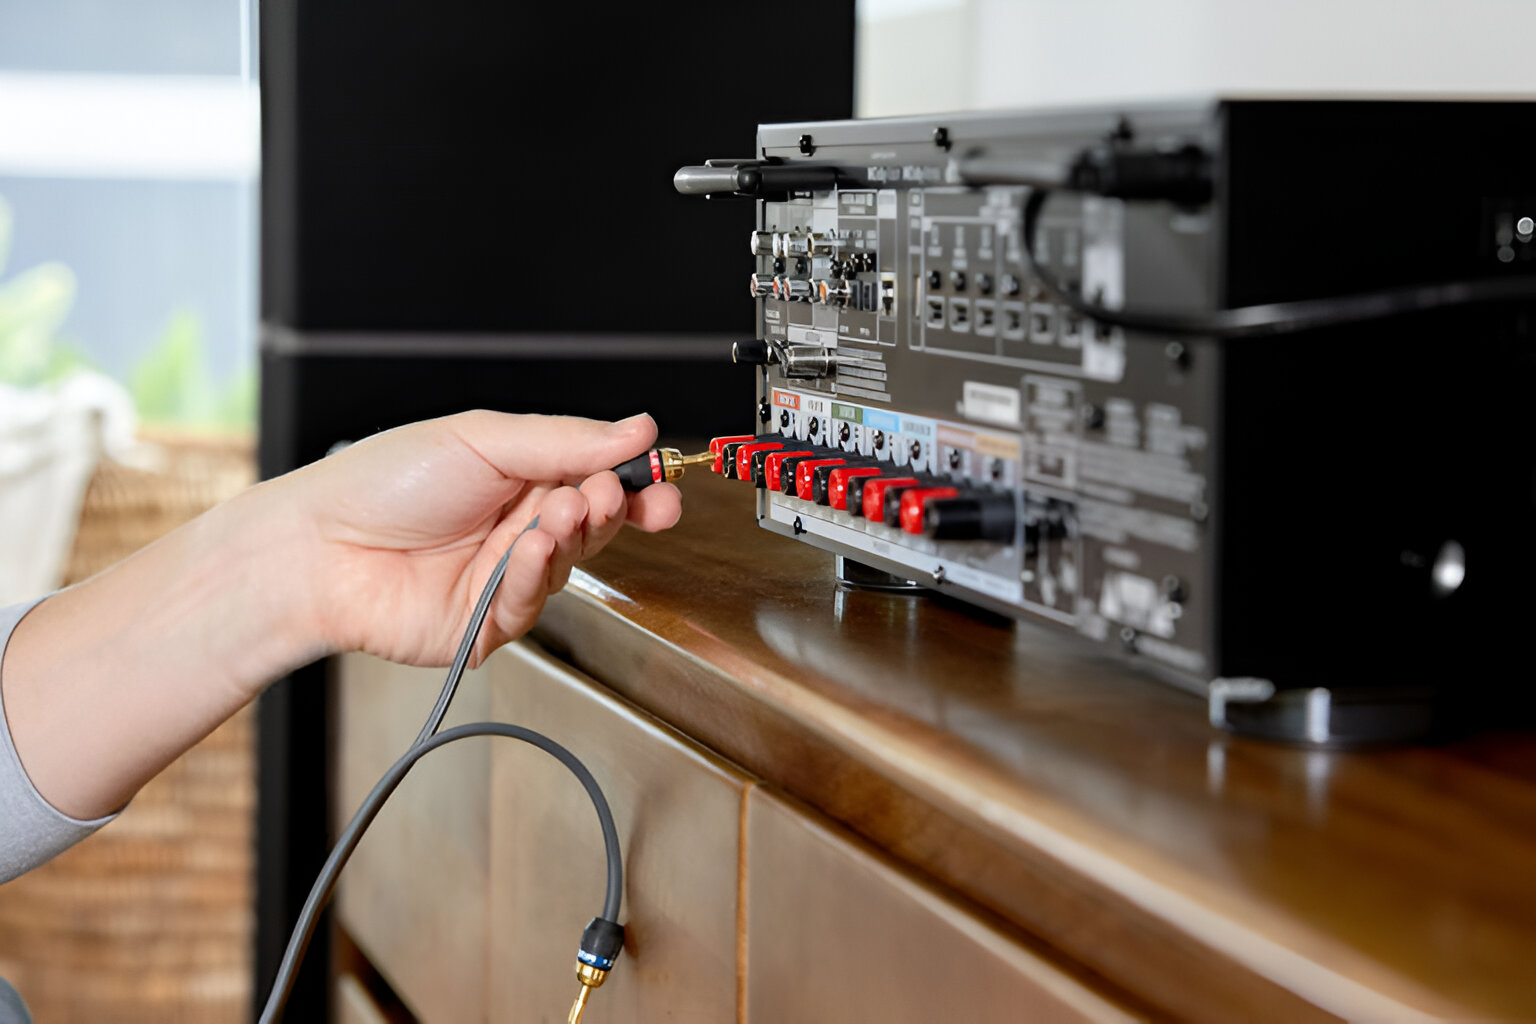
- Identify the Pre-Out and Main-In Terminals: Locate the pre-out and main-in terminals on the AV receiver and the corresponding input terminals on the amplifier. These terminals are typically labeled and color-coded for ease of identification.
- Connect the Interconnect Cables: Using the appropriate interconnect cables, connect the pre-out terminals on the AV receiver to the corresponding input terminals on the amplifier. Ensure a secure and snug connection to prevent signal loss or interference.
- Connect the Speaker Cables: Establish connections between the amplifier and the speakers using the designated speaker cables. Match the polarity (+/-) of the cables to the terminals on the amplifier and the speakers to maintain phase coherence and optimal audio performance.
- Connect the Subwoofer (If Applicable): If your audio setup includes a subwoofer, connect it to the subwoofer output on the AV receiver using the dedicated subwoofer cable, ensuring a firm connection for enhanced bass reproduction.
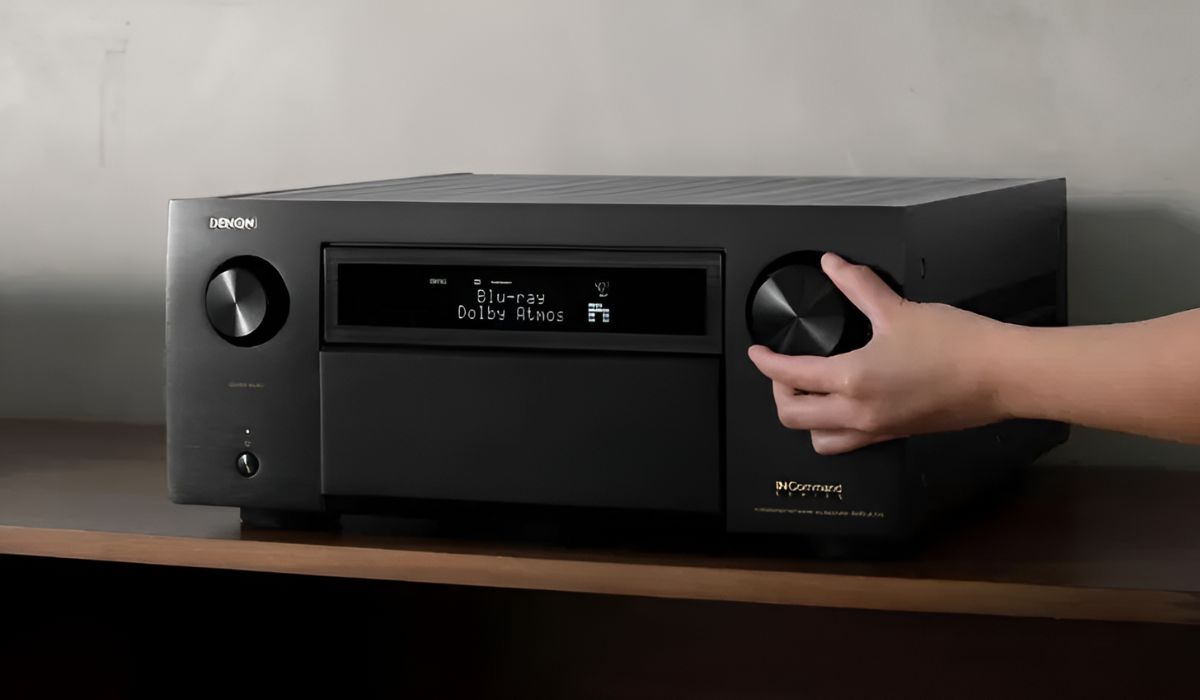
- Power On and Test the Connection: After completing the physical connections, power on the AV receiver and the amplifier. Verify that the connections are secure and that the audio output is functioning as expected. Adjust the volume levels and settings to suit your preferences.
By meticulously following these steps, you can successfully establish a robust and reliable connection between the amplifier and the AV receiver, setting the stage for an immersive audio-visual experience.
Configuring the Settings
Once the physical connections between the amplifier and the AV receiver are in place, it is essential to configure the settings to optimize the audio output and ensure seamless integration. The following steps will guide you through the configuration process:
- Input Selection: On the AV receiver, select the appropriate input source corresponding to the connected amplifier. This ensures that the receiver directs the audio signals from your desired source to the amplifier for amplification.
- Volume and Balance Adjustment: Set the initial volume levels on the amplifier to a low setting to prevent sudden loud audio output. Additionally, balance adjustment can be performed to ensure uniform sound distribution across the connected speakers.
- Speaker Configuration: Access the AV receiver’s speaker configuration settings to specify the number and size of the connected speakers. This step is crucial for optimizing the audio output based on the specific characteristics of your speaker setup.
- Room Calibration: Many modern AV receivers feature room calibration technologies that analyze the acoustic properties of the listening environment and automatically adjust the audio settings for optimal sound quality. Follow the manufacturer’s instructions to run the calibration process for enhanced audio performance.
- Equalization and Sound Modes: Explore the equalization options and sound modes available on the AV receiver to tailor the audio output to your preferences. These settings allow you to adjust the tonal characteristics and spatial effects to suit different types of audio content.
- Bass Management: If a subwoofer is integrated into your audio setup, configure the bass management settings on the AV receiver to ensure seamless integration and balanced low-frequency reproduction.
By carefully configuring these settings, you can harness the full potential of your amplifier and AV receiver, fine-tuning the audio output to deliver a captivating and immersive listening experience tailored to your preferences and the characteristics of your audio-visual setup.
Testing the Connection
After completing the physical connections and configuring the settings, it is crucial to conduct a comprehensive test to ensure that the connection between the amplifier and the AV receiver is functioning optimally. The following steps will guide you through the testing process:
- Audio Playback: Initiate audio playback from various sources, such as music, movies, or gaming content, to assess the performance of the integrated system. Pay attention to the clarity, balance, and spatial imaging of the audio output to ensure that the connection is delivering the desired sound quality.
- Volume Stress Test: Gradually increase the volume levels to evaluate the system’s ability to handle higher power outputs without distortion or signal degradation. This test helps determine the amplifier’s capability to drive the speakers effectively without compromising audio fidelity.
- Bass Response Check: If a subwoofer is part of your audio setup, play content with prominent low-frequency elements to assess the subwoofer’s bass reproduction and integration with the overall audio output. Verify that the bass response is impactful and well-balanced across the listening area.
- Channel Balance Verification: Utilize audio test tracks or content with distinct channel separation to confirm that the connected speakers are accurately reproducing the audio signals with consistent balance and imaging. This step ensures that the amplifier and AV receiver are effectively driving the speakers to deliver a cohesive audio experience.
- Dynamic Range Assessment: Test the system’s ability to reproduce subtle nuances and dynamic shifts in audio content. Evaluate the system’s capability to deliver clear dialogue, nuanced musical details, and impactful sound effects across a wide dynamic range.
By conducting these comprehensive tests, you can ascertain the integrity of the connection between the amplifier and the AV receiver, identifying any potential issues and fine-tuning the settings to achieve an exceptional audio performance that aligns with your preferences and the capabilities of your audio-visual setup.
Conclusion
Embarking on the journey to connect an amplifier to an AV receiver has provided a deeper understanding of the intricate process of integrating these essential components to elevate your home entertainment experience. By comprehending the roles of amplifiers and AV receivers, selecting the right cables, establishing the physical connections, configuring the settings, and conducting comprehensive tests, you have paved the way for a seamless and immersive audio-visual setup.
As you navigate through the intricacies of this integration, it is crucial to adapt the guidelines to the specific models and configurations of your equipment, ensuring a tailored approach that aligns with your preferences and the capabilities of your audio-visual system.
Connecting an amplifier to an AV receiver is not merely a technical endeavor; it is an opportunity to unlock the full potential of your audio setup, immersing yourself in the richness of sound and the captivating allure of high-quality audio-visual content. Whether you are indulging in your favorite music, diving into cinematic experiences, or immersing yourself in the world of gaming, a well-integrated amplifier and AV receiver can enrich every moment with unparalleled audio fidelity and impact.
By following the comprehensive steps outlined in this guide, you have empowered yourself to create a harmonious and efficient connection between your amplifier and AV receiver, laying the foundation for a captivating audio-visual journey. As you fine-tune the settings and savor the immersive audio experience, may this integration serve as a testament to the power of seamless connectivity and the transformative potential of a well-crafted audio-visual setup.
Now, as you embark on this audio-visual odyssey, may the synergy between your amplifier and AV receiver envelop you in a world of captivating soundscapes, bringing every moment to life with unparalleled clarity, depth, and emotion.