Introduction
Welcome to the comprehensive guide on how to test an AV receiver transformer. AV receivers are essential components of home entertainment systems, responsible for processing audio and video signals from various sources and delivering them to speakers and displays. The transformer in an AV receiver is a crucial component that steps up or steps down the voltage to power the different circuits within the device. Testing the transformer is important for diagnosing power-related issues and ensuring the proper functioning of the AV receiver.
In this guide, we will walk you through the step-by-step process of testing an AV receiver transformer. We will cover safety precautions to ensure your well-being and the integrity of the equipment. We will also delve into the methods for checking the transformer for physical damage, testing for continuity, and measuring voltage output. By the end of this guide, you will have a clear understanding of how to assess the health of the transformer in your AV receiver.
Whether you are a seasoned audiovisual enthusiast or a DIY hobbyist looking to troubleshoot your home theater system, this guide will equip you with the knowledge and confidence to perform these tests effectively. Understanding the functionality of the transformer and how to test it will empower you to identify and resolve potential issues, ultimately enhancing your overall AV receiver performance.
Let's dive into the essential safety precautions to keep in mind before initiating the testing process.
Safety Precautions
Before embarking on the process of testing an AV receiver transformer, it is imperative to prioritize safety. Working with electrical components requires careful attention to prevent accidents and equipment damage. Here are essential safety precautions to adhere to:
- Power Disconnection: Ensure that the AV receiver is completely disconnected from the power source before initiating any testing procedures. This involves unplugging the receiver from the electrical outlet and verifying that there is no residual power in the system.
- Capacitor Discharge: Capacitors within the AV receiver can store electrical charge even when the device is unplugged. It is crucial to discharge the capacitors to avoid the risk of electric shock. Refer to the manufacturer’s instructions or seek professional guidance on discharging capacitors safely.
- Insulation: When handling the internal components of the AV receiver, use insulated tools and ensure that the testing environment is dry to prevent electrical hazards.
- Personal Protective Equipment: Wear appropriate personal protective equipment, such as insulated gloves and safety goggles, to safeguard against potential electrical mishaps.
- Knowledge and Experience: If you are unfamiliar with electrical systems and testing procedures, consider seeking assistance from a qualified technician or professional who can guide you through the process or perform the testing on your behalf.
By prioritizing safety measures, you can mitigate the risks associated with testing electrical components and create a secure environment for both yourself and the AV receiver. With these precautions in place, you are ready to proceed with checking the transformer for physical damage.
Checking for Physical Damage
Inspecting the transformer for physical damage is the initial step in the testing process. Physical damage can manifest in various forms, including visible cracks, burns, or bulges on the transformer’s casing. Here’s a systematic approach to checking for physical damage:
- Visual Examination: Carefully examine the transformer for any signs of physical damage. Look for cracks, discoloration, or any irregularities on the surface of the transformer. Additionally, check for loose connections or detached wires that may indicate damage.
- Burn Marks: Inspect the transformer for burn marks or scorching, which can indicate overheating or electrical faults. Pay close attention to the areas surrounding the transformer’s terminals and connections.
- Bulging or Swelling: Check for any bulging or swelling of the transformer’s casing, as this can be a sign of internal damage or insulation breakdown. Bulging may indicate the presence of excessive heat or internal pressure within the transformer.
- Odor and Residue: Sniff around the transformer to detect any unusual odors, which could indicate burnt insulation or other internal issues. Additionally, look for any residue or debris around the transformer that may signal a malfunction.
By conducting a thorough visual inspection and being attentive to potential signs of physical damage, you can gain valuable insights into the condition of the transformer. If you observe any concerning indications of damage, it may be necessary to proceed with further testing and diagnostics to assess the transformer’s functionality.
Once the visual inspection is complete, the next step involves testing for continuity to evaluate the electrical integrity of the transformer’s windings.
Testing for Continuity
Testing for continuity is a critical aspect of assessing the functionality of an AV receiver transformer. Continuity testing helps determine if the electrical pathways within the transformer are intact and free from breaks or interruptions. Here’s how to perform continuity testing on the transformer:
- Isolation: Ensure that the AV receiver is disconnected from the power source and that all capacitors are safely discharged before proceeding with continuity testing. This precaution is essential to prevent electrical accidents during the testing process.
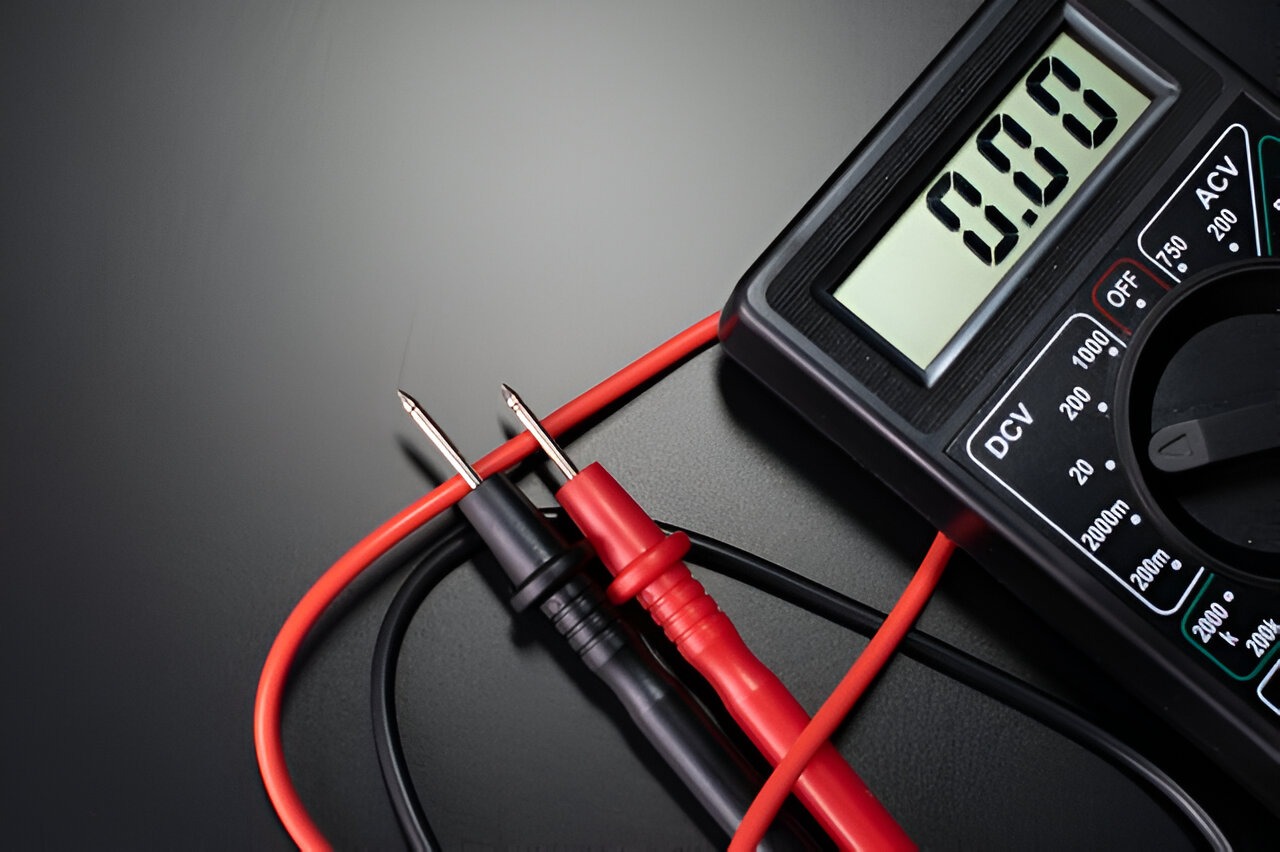
- Multimeter Setup: Set the multimeter to the continuity or resistance setting. Ensure that the multimeter is functioning properly and set to the appropriate range for continuity testing.
- Probe Placement: Place the multimeter probes on the primary and secondary winding terminals of the transformer. The primary winding is typically designated as “PRI,” while the secondary winding is labeled as “SEC.”
- Reading Interpretation: The multimeter should indicate continuity or low resistance if the windings are intact. If the multimeter displays an open circuit or infinite resistance, it suggests a break in the winding or a fault within the transformer.
- Secondary Winding Testing: If the transformer features multiple secondary windings, repeat the continuity testing process for each secondary winding to ensure the integrity of all the electrical pathways.
By systematically conducting continuity tests on the transformer’s windings, you can identify any potential faults or interruptions in the electrical pathways. If the continuity testing reveals irregularities, further diagnostic measures may be necessary to pinpoint the specific areas of concern within the transformer.
Following the continuity testing, the next step involves measuring the voltage output of the transformer to ascertain its performance under load conditions.
Measuring Voltage Output
Measuring the voltage output of an AV receiver transformer is an essential step in evaluating its performance and ensuring that it delivers the appropriate voltage to power the audio and video circuits. Here’s a detailed guide on how to measure the voltage output of the transformer:
- Load Disconnection: Disconnect all loads from the secondary windings of the transformer to isolate the voltage output measurement from the connected circuits. This prevents any interference from the AV receiver’s components during the testing process.
- AC Voltage Setting: Set the multimeter to the AC voltage measurement setting. Ensure that the multimeter’s voltage range is suitable for the expected output voltage of the transformer.
- Probe Placement: Place the multimeter probes on the output terminals of the transformer’s secondary winding. The terminals are typically labeled with their corresponding voltage ratings, such as 12V, 24V, or 48V, depending on the transformer’s specifications.
- Measurement Recording: Record the voltage readings displayed on the multimeter for each secondary winding. Compare the measured voltages with the specified ratings to verify if the transformer is supplying the expected voltages.
- Load Testing: If the voltage readings deviate significantly from the specified ratings, consider conducting a load test by connecting a suitable load to the transformer and re-measuring the voltage output. This helps assess the transformer’s performance under realistic operating conditions.
Measuring the voltage output provides valuable insights into the transformer’s ability to supply the necessary voltages for the AV receiver’s components. It allows you to verify if the transformer is functioning within the expected parameters and identify any deviations that may impact the system’s performance.
By following these steps, you can effectively assess the voltage output of the AV receiver transformer and make informed decisions regarding its functionality within the audiovisual system.
Conclusion
Testing an AV receiver transformer is a fundamental aspect of maintaining and troubleshooting audiovisual systems. By adhering to safety precautions and systematically evaluating the transformer’s physical condition, continuity, and voltage output, you can gain valuable insights into the overall health of the component.
Throughout the testing process, it is essential to prioritize safety measures to mitigate the risks associated with working with electrical components. By ensuring proper isolation, capacitor discharge, and the use of personal protective equipment, you create a secure environment for conducting tests on the AV receiver transformer.
Checking for physical damage provides a visual assessment of the transformer’s external condition, allowing you to identify any visible signs of wear, overheating, or structural issues that may impact its performance. Continuity testing delves into the electrical integrity of the transformer, revealing potential breaks or faults within the windings. Measuring the voltage output offers a quantitative assessment of the transformer’s ability to supply the required voltages for the AV receiver’s circuits.
By integrating these testing procedures into your maintenance and diagnostic routines, you can proactively address potential issues and ensure the optimal performance of your AV receiver. Whether you are a home theater enthusiast or a professional audiovisual technician, understanding how to test an AV receiver transformer empowers you to uphold the reliability and functionality of these essential components within entertainment systems.
With the knowledge and insights gained from this guide, you are equipped to navigate the testing process with confidence and precision, setting the stage for a seamless audiovisual experience.