Introduction
Mounting a DSLR camera to a Meade 10 Lightbridge Truss-Tube Dobsonian Reflector opens up a world of possibilities for capturing stunning celestial images. Whether you're an amateur astronomer or a seasoned astrophotographer, this setup allows you to photograph the wonders of the night sky with remarkable clarity and detail. By attaching your DSLR camera to your telescope, you can photograph the moon, planets, star clusters, and even distant galaxies, creating breathtaking images that showcase the beauty of the cosmos.
Capturing celestial objects with a DSLR camera and a telescope requires a precise and secure mounting system to ensure stability and minimize vibrations. In this guide, we will walk through the process of mounting your DSLR camera to the Meade 10 Lightbridge Truss-Tube Dobsonian Reflector, providing step-by-step instructions to help you achieve optimal results. With the right equipment and proper technique, you can embark on a captivating journey through the cosmos, capturing mesmerizing images of celestial objects that have fascinated humanity for centuries.
Whether you're a novice stargazer eager to explore astrophotography or a seasoned astronomer looking to enhance your imaging capabilities, mounting your DSLR camera to your telescope can significantly expand your photographic horizons. With the guidance provided in this tutorial, you'll be well-equipped to embark on an awe-inspiring photographic adventure, capturing the splendor of the night sky with your Meade 10 Lightbridge Truss-Tube Dobsonian Reflector and DSLR camera.
Step 1: Gather the Necessary Equipment
Before embarking on the process of mounting your DSLR camera to the Meade 10 Lightbridge Truss-Tube Dobsonian Reflector, it’s essential to gather the required equipment to ensure a seamless and successful setup. Here’s a list of the necessary items:
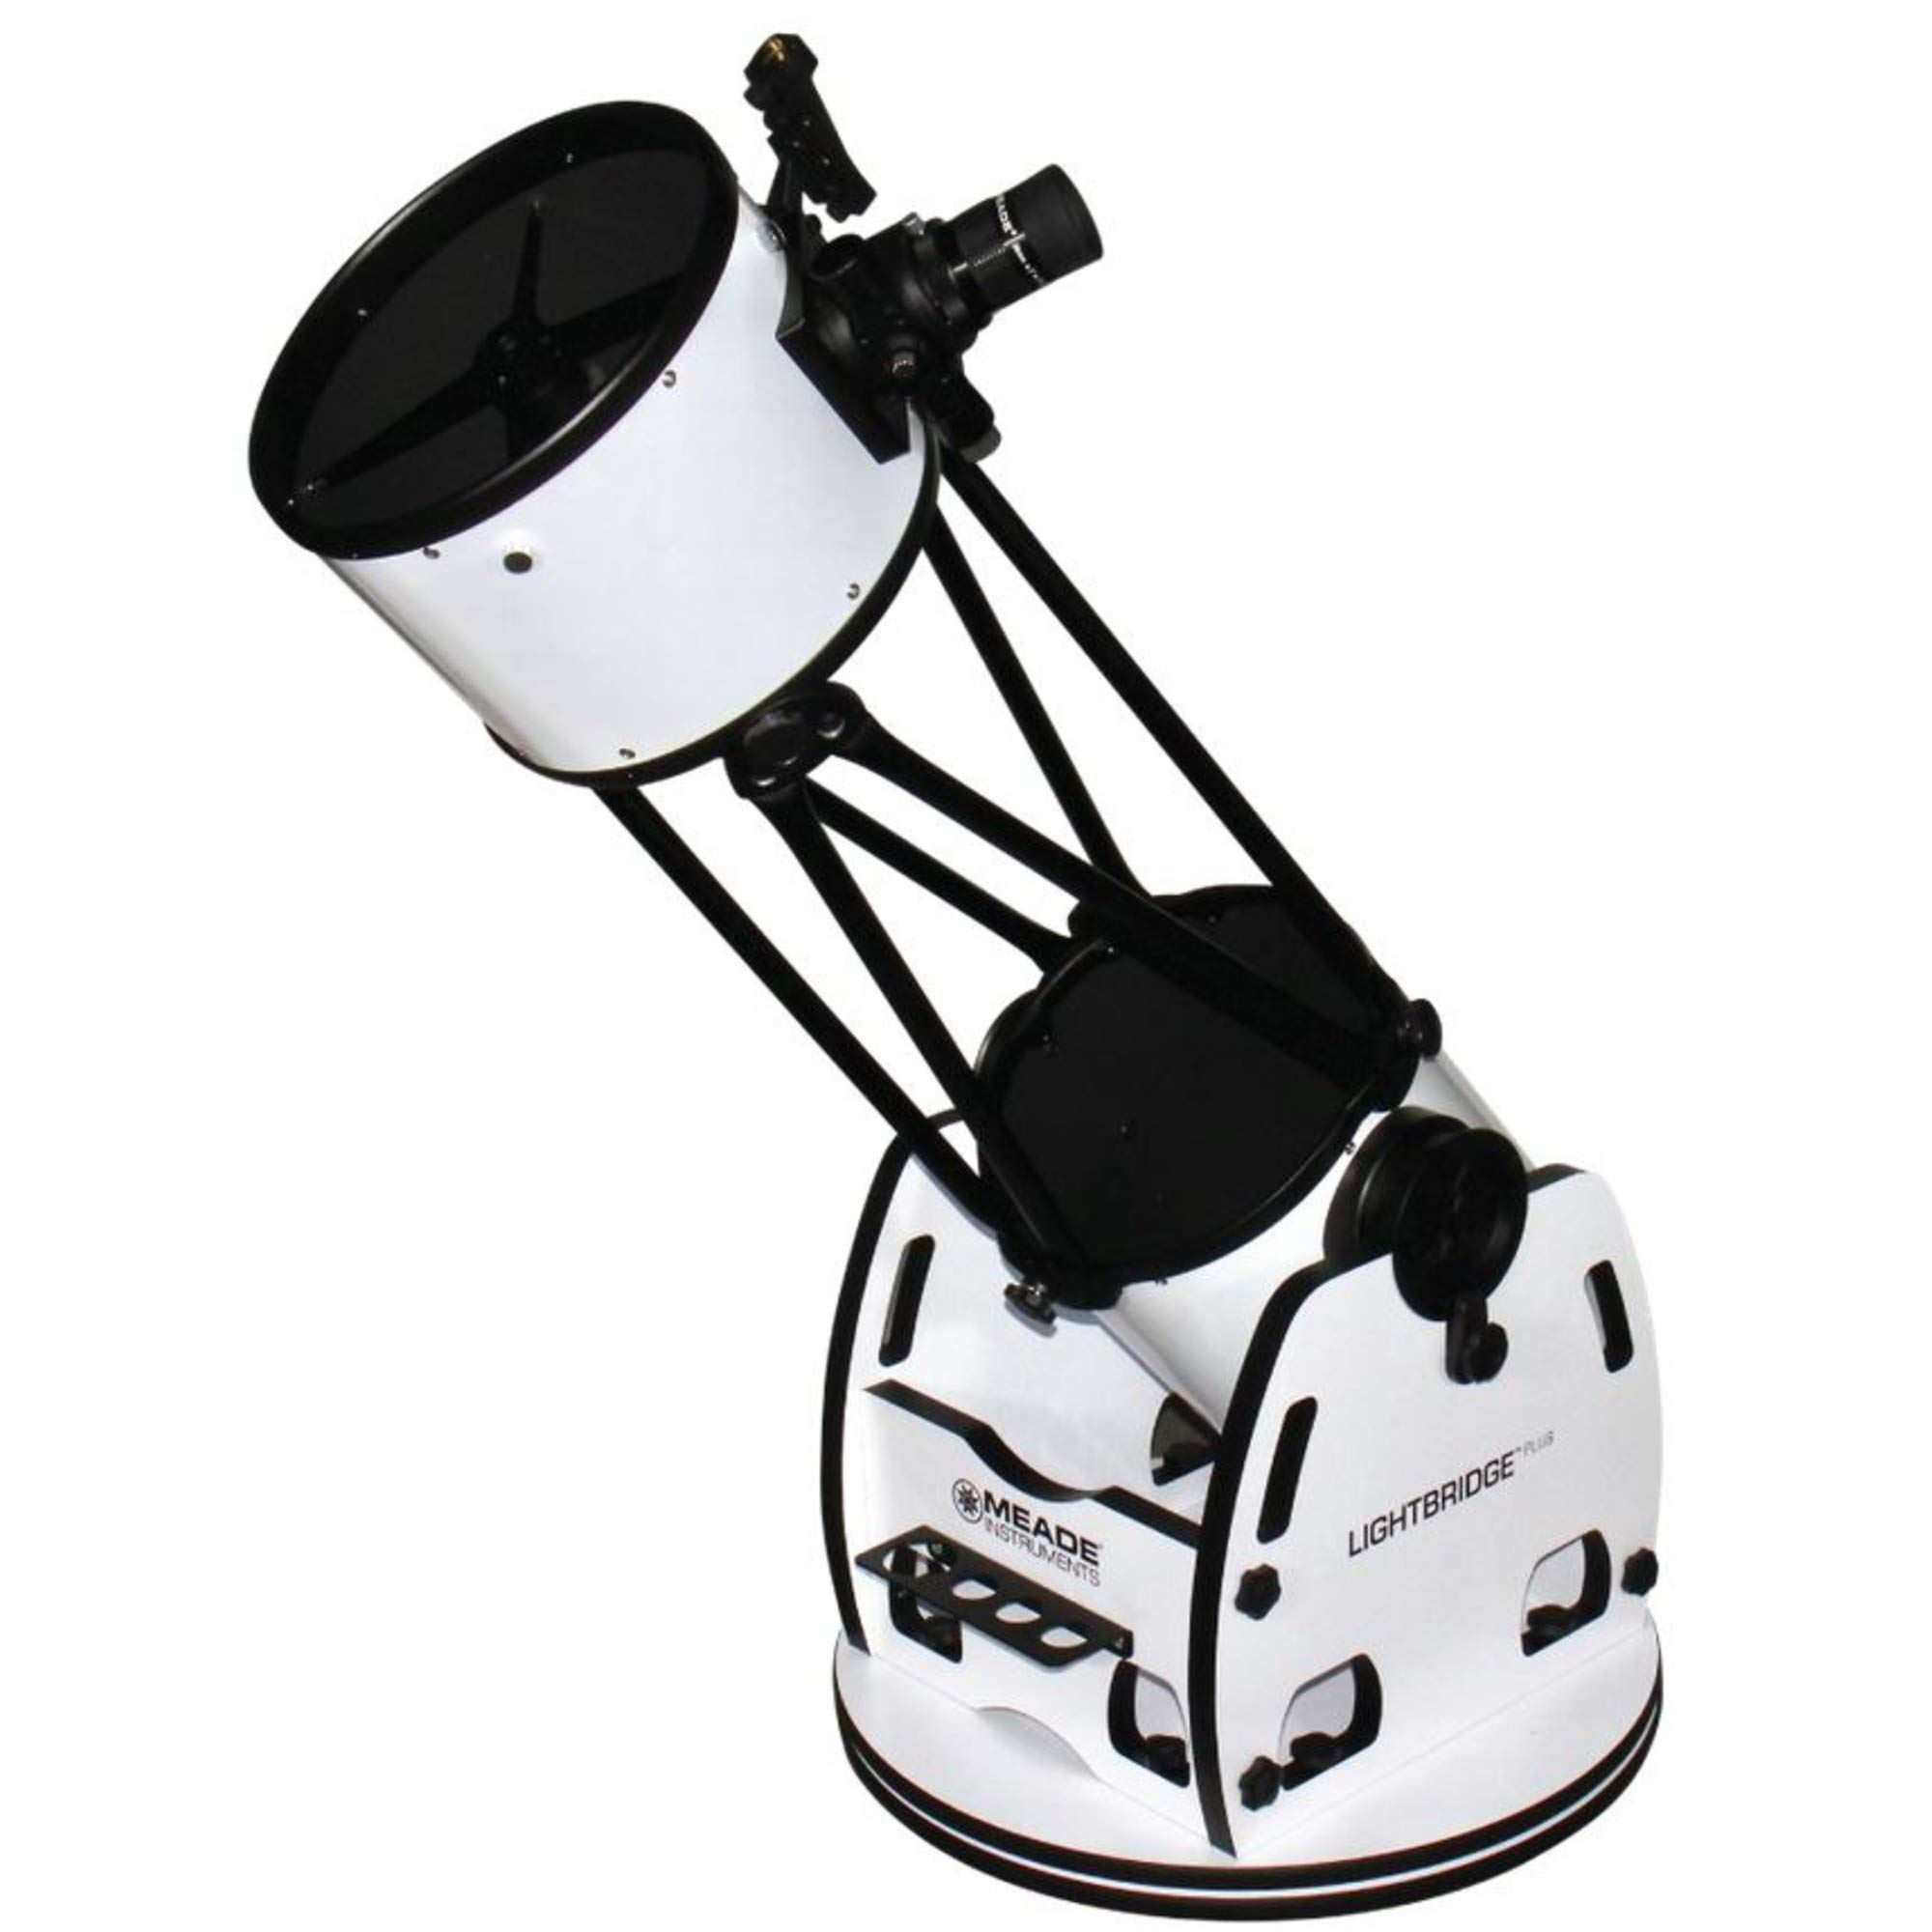
- Meade 10 Lightbridge Truss-Tube Dobsonian Reflector: This telescope will serve as the platform for capturing celestial images with your DSLR camera.
- DSLR Camera: Choose a compatible DSLR camera with the capability to attach to the telescope’s mounting bracket.
- Camera Mounting Bracket: A sturdy and adjustable bracket designed to securely attach the DSLR camera to the telescope.
- T-Ring and T-Adapter: These accessories allow for a secure connection between the DSLR camera and the telescope, enabling efficient light capture during astrophotography sessions.
- Remote Shutter Release: To minimize vibrations during image capture, a remote shutter release or intervalometer is essential for triggering the camera without physical contact.
- Telescope Eyepiece: A high-quality eyepiece compatible with your telescope, allowing for precise focusing and composition of celestial subjects.
- Mounting Hardware and Tools: Depending on the specific requirements of your camera and telescope setup, ensure you have the necessary screws, bolts, and tools for secure attachment and adjustments.
By gathering these essential components, you’ll be well-prepared to proceed with the process of mounting your DSLR camera to the Meade 10 Lightbridge Truss-Tube Dobsonian Reflector, setting the stage for captivating astrophotography sessions that showcase the wonders of the cosmos.
Step 2: Attaching the Camera Mounting Bracket to the Telescope
Attaching the camera mounting bracket to the Meade 10 Lightbridge Truss-Tube Dobsonian Reflector is a crucial step in preparing your telescope for astrophotography with a DSLR camera. Follow these detailed instructions to ensure a secure and stable connection:
- Positioning the Telescope: Set up your Meade 10 Lightbridge Truss-Tube Dobsonian Reflector in a suitable location, ensuring a stable and level base for the mounting process.
- Locate the Mounting Point: Identify the specific location on the telescope tube where the camera mounting bracket will be attached. This area should provide a clear line of sight for the camera and allow for smooth adjustments.
- Secure the Bracket: Using the provided mounting hardware and tools, carefully attach the camera mounting bracket to the designated location on the telescope tube. Ensure that the bracket is firmly secured, minimizing any potential movement or instability during use.
- Adjustment and Alignment: Once the bracket is attached, verify that it is aligned parallel to the telescope’s optical axis. This alignment is crucial for achieving accurate tracking and capturing precise celestial images with your DSLR camera.
- Test Stability: Gently test the stability of the attached bracket by applying slight pressure to ensure that it remains firmly in place. Any unexpected movement or loosening should be addressed before proceeding to the next steps.
By meticulously following these steps, you’ll establish a solid foundation for mounting your DSLR camera to the Meade 10 Lightbridge Truss-Tube Dobsonian Reflector, laying the groundwork for immersive astrophotography experiences that showcase the majesty of the night sky.
Step 3: Mounting the DSLR Camera to the Bracket
With the camera mounting bracket securely attached to the Meade 10 Lightbridge Truss-Tube Dobsonian Reflector, the next step involves mounting your DSLR camera to the bracket in preparation for capturing stunning celestial images. Follow these detailed instructions to ensure a stable and precise attachment:
- Prepare the DSLR Camera: Prior to mounting the camera, ensure that it is powered off and any attached accessories, such as lens filters, are removed to facilitate a smooth and secure connection.
- Attach the T-Ring and T-Adapter: Securely affix the T-ring to the camera’s lens mount, followed by the T-adapter, ensuring a snug fit to eliminate any potential movement during astrophotography sessions.
- Align the Camera: Position the DSLR camera with the T-ring and T-adapter assembly in a manner that allows the camera’s lens to align with the telescope’s optical axis when attached to the mounting bracket.
- Secure the Camera: Carefully mount the DSLR camera to the bracket, ensuring that it is firmly and evenly secured to prevent any tilting or shifting during use. Use the appropriate mounting hardware to achieve a robust connection.
- Test the Attachment: Once the camera is mounted, gently test its stability and alignment by applying light pressure to verify that it remains securely fixed to the bracket without any unexpected movement.
By following these steps with precision and attention to detail, you’ll successfully mount your DSLR camera to the bracket, setting the stage for captivating astrophotography sessions that showcase the celestial wonders through the lens of your Meade 10 Lightbridge Truss-Tube Dobsonian Reflector.
Step 4: Adjusting the Camera Position
After mounting your DSLR camera to the bracket, the next critical step involves adjusting the camera’s position to achieve optimal alignment with the Meade 10 Lightbridge Truss-Tube Dobsonian Reflector. Precise positioning is essential for capturing clear and detailed images of celestial objects. Follow these steps to ensure accurate camera alignment:
- Align with the Optical Axis: Verify that the DSLR camera, when mounted to the bracket, is aligned with the telescope’s optical axis. This alignment is crucial for capturing precise images without distortion or vignetting.
- Focusing and Composition: Utilize the telescope’s eyepiece to fine-tune the focus and composition of the celestial subject before attaching the camera. Once the desired framing is achieved, proceed to adjust the camera’s position accordingly.
- Secure Adjustment Mechanisms: If the camera mounting bracket features adjustable elements, such as tilt or rotation mechanisms, carefully make incremental adjustments to align the camera with the telescope’s optical axis while maintaining stability.
- Test Alignment: After making adjustments, conduct a visual inspection to ensure that the camera is precisely aligned with the telescope. This step is crucial for minimizing any potential misalignment that could impact the quality of captured images.
- Verify Stability: Once the camera position is adjusted, confirm that the mounting bracket and the attached DSLR camera remain stable and secure, with no unexpected movement or shifts that could affect the imaging process.
By meticulously adjusting the camera’s position with attention to detail and precision, you’ll optimize the alignment between your DSLR camera and the Meade 10 Lightbridge Truss-Tube Dobsonian Reflector, setting the stage for capturing breathtaking images of celestial objects with remarkable clarity and detail.
Step 5: Testing the Setup
With the DSLR camera securely mounted to the Meade 10 Lightbridge Truss-Tube Dobsonian Reflector, it’s essential to conduct thorough testing to ensure that the setup is primed for capturing stunning celestial images. Follow these steps to verify the functionality and alignment of the camera and telescope system:
- Power and Connectivity: Ensure that the DSLR camera is powered on and properly connected to the telescope’s mounting bracket, with all cables and accessories securely in place.
- Remote Shutter Release: If utilizing a remote shutter release or intervalometer, test its functionality to ensure that it effectively triggers the camera without causing vibrations that could impact image quality.
- Camera Settings: Verify that the DSLR camera settings, including exposure, ISO, and focus mode, are configured to suit the specific requirements of astrophotography, allowing for optimal light capture and image clarity.
- Test Image Capture: Capture test images of celestial subjects, such as stars or distant terrestrial objects, to evaluate the quality and alignment of the images produced by the camera-telescope setup.
- Review Image Results: Inspect the test images to assess their sharpness, clarity, and overall quality, ensuring that the camera and telescope system are effectively capturing the desired subjects with precision and detail.
By conducting comprehensive testing of the setup, you’ll gain confidence in the functionality and alignment of your DSLR camera and the Meade 10 Lightbridge Truss-Tube Dobsonian Reflector, setting the stage for immersive astrophotography sessions that yield captivating images of celestial wonders.
Conclusion
Embarking on the journey of mounting your DSLR camera to the Meade 10 Lightbridge Truss-Tube Dobsonian Reflector opens a gateway to the awe-inspiring realm of astrophotography. By following the detailed steps outlined in this guide, you have equipped yourself to capture the mesmerizing beauty of celestial objects with remarkable clarity and precision.
Through careful preparation and the gathering of essential equipment, you’ve set the stage for immersive astrophotography experiences that will allow you to explore and capture the wonders of the night sky. The process of attaching the camera mounting bracket to the telescope and securing your DSLR camera to the bracket has laid a solid foundation for stable and precise imaging.
By meticulously adjusting the camera’s position and conducting thorough testing of the setup, you’ve ensured that your camera and telescope system are primed for capturing breathtaking images of celestial objects. The alignment and stability achieved through these steps will contribute to the production of high-quality astrophotography that showcases the splendor of the cosmos.
As you venture into the realm of astrophotography with your newly mounted DSLR camera and the Meade 10 Lightbridge Truss-Tube Dobsonian Reflector, you are poised to capture the timeless beauty of the moon, planets, star clusters, and distant galaxies. Each image you capture will serve as a testament to the remarkable synergy between technology and the boundless wonders of the universe.
With the knowledge and expertise gained from this guide, you are well-prepared to embark on an inspiring photographic journey, capturing the celestial marvels that have captivated humanity for generations. The fusion of art and science in astrophotography awaits you, inviting you to unveil the mysteries and enchantment of the cosmos through the lens of your DSLR camera and the Meade 10 Lightbridge Truss-Tube Dobsonian Reflector.