Introduction
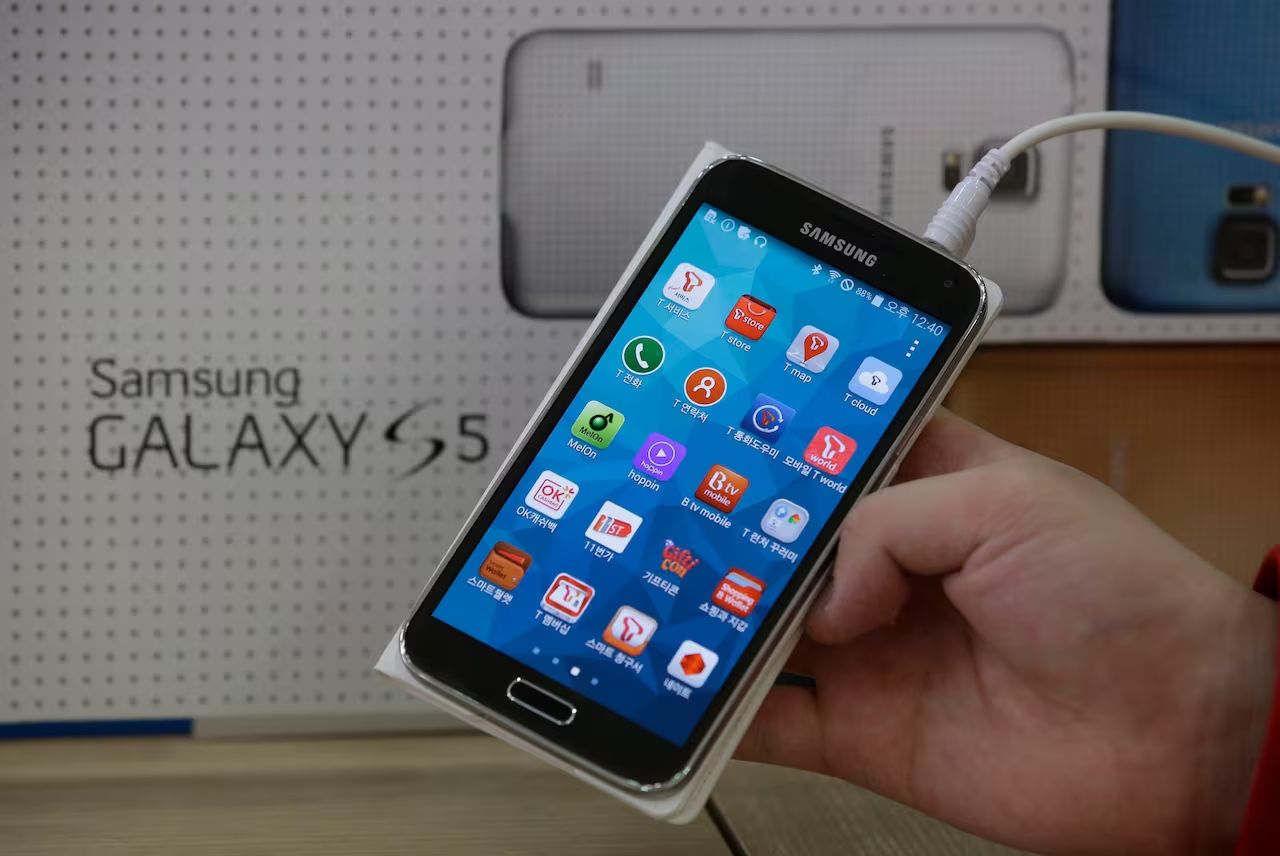
Welcome to the world of technology, where capturing precious moments on your Samsung Galaxy 5 has become a breeze. However, if you want to transfer those cherished photos to your computer for safekeeping or sharing, you might be wondering how to go about it. Luckily, you’ve come to the right place.
In this guide, we’ll explore various methods to download pictures from your Samsung Galaxy 5 to your computer. Whether you prefer using a USB cable, wirelessly connecting your devices, or utilizing Samsung Smart Switch or a microSD card, we’ve got you covered.
By following the steps outlined in this article, you’ll soon be able to effortlessly transfer your photos from your Samsung Galaxy 5 to your computer, ensuring that your memories are safely stored and easily accessible whenever you need them.
So, without further ado, let’s dive into the different methods and see which one suits your needs best.
Connecting Your Samsung Galaxy 5 to Your Computer
Before you can transfer pictures from your Samsung Galaxy 5 to your computer, you need to establish a connection between the two devices. There are a few different ways to achieve this, so let’s explore them:
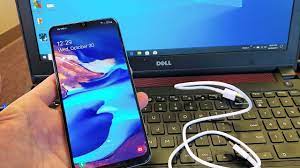
- USB Cable: The most common and straightforward method is to connect your Samsung Galaxy 5 to your computer using a USB cable. Simply plug one end of the cable into your phone’s charging port and the other end into a USB port on your computer. Make sure to use a compatible and functioning cable.
- Wireless Connection: If you prefer a wireless option, you can connect your Samsung Galaxy 5 to your computer using Wi-Fi or Bluetooth. Both devices need to be on the same network or paired through Bluetooth for this method to work. Refer to your device’s user manual or settings for instructions on how to establish a wireless connection.
- Samsung Smart Switch: Another convenient method is to use Samsung Smart Switch, a software provided by Samsung for data transfer. Install the Smart Switch app on your Samsung Galaxy 5 and the corresponding software on your computer. Follow the on-screen instructions to establish a connection between the two devices.
Once you’ve successfully connected your Samsung Galaxy 5 to your computer using one of these methods, you’re ready to proceed with transferring your pictures. In the following sections, we’ll discuss different ways to transfer your pictures based on your preferred connection method.
Transferring Pictures Using USB Cable
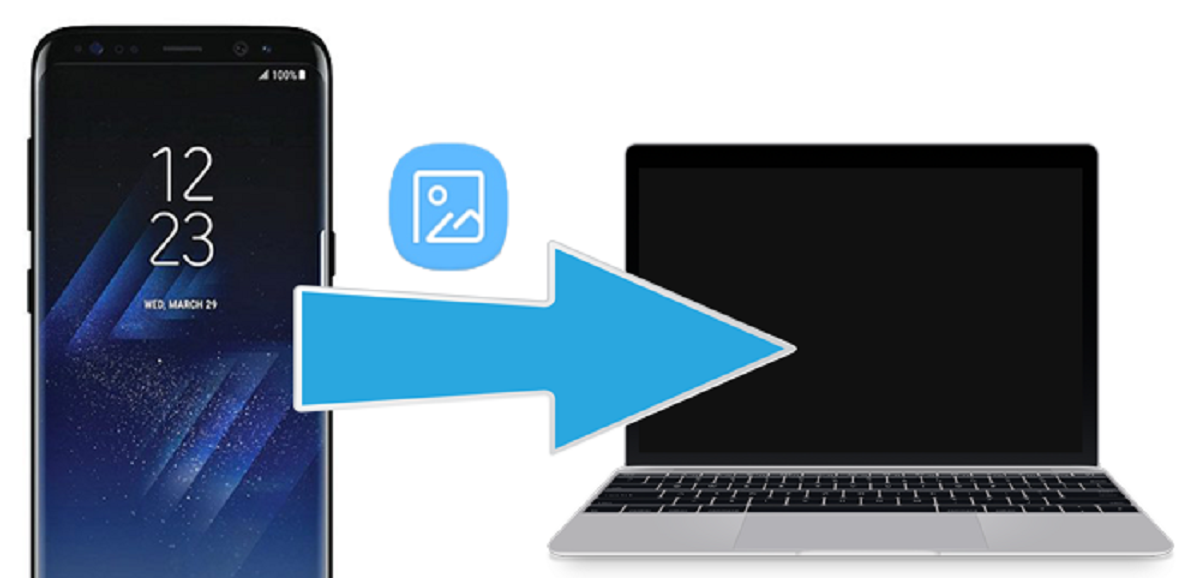
One of the most common and reliable methods to transfer pictures from your Samsung Galaxy 5 to your computer is by using a USB cable. This method allows for a direct and secure connection between the two devices. Here’s how you can do it:
- Connect one end of the USB cable to your Samsung Galaxy 5’s charging port.
- Connect the other end of the USB cable to an available USB port on your computer.
- Your computer should recognize the connected device and install the necessary drivers if required. If prompted, follow the on-screen instructions to complete the driver installation.
- On your Samsung Galaxy 5, you might see a notification asking for your permission to allow the computer to access your device. Tap on “Allow” or “OK” to grant permission.
- Once the connection is established, your computer will treat your Samsung Galaxy 5 as an external storage device.
- On your computer, navigate to the file explorer or the designated program for accessing your connected devices.
- You should see your Samsung Galaxy 5 listed as a connected device. Click on it to open the device’s storage.
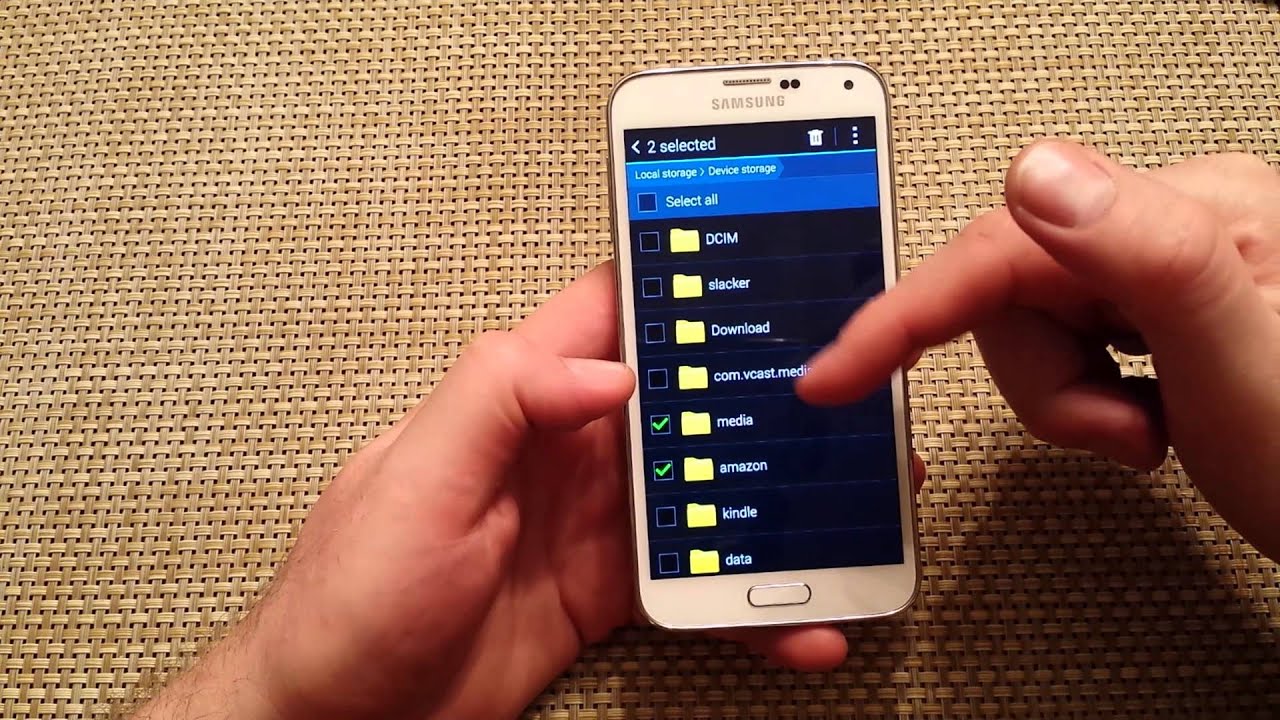
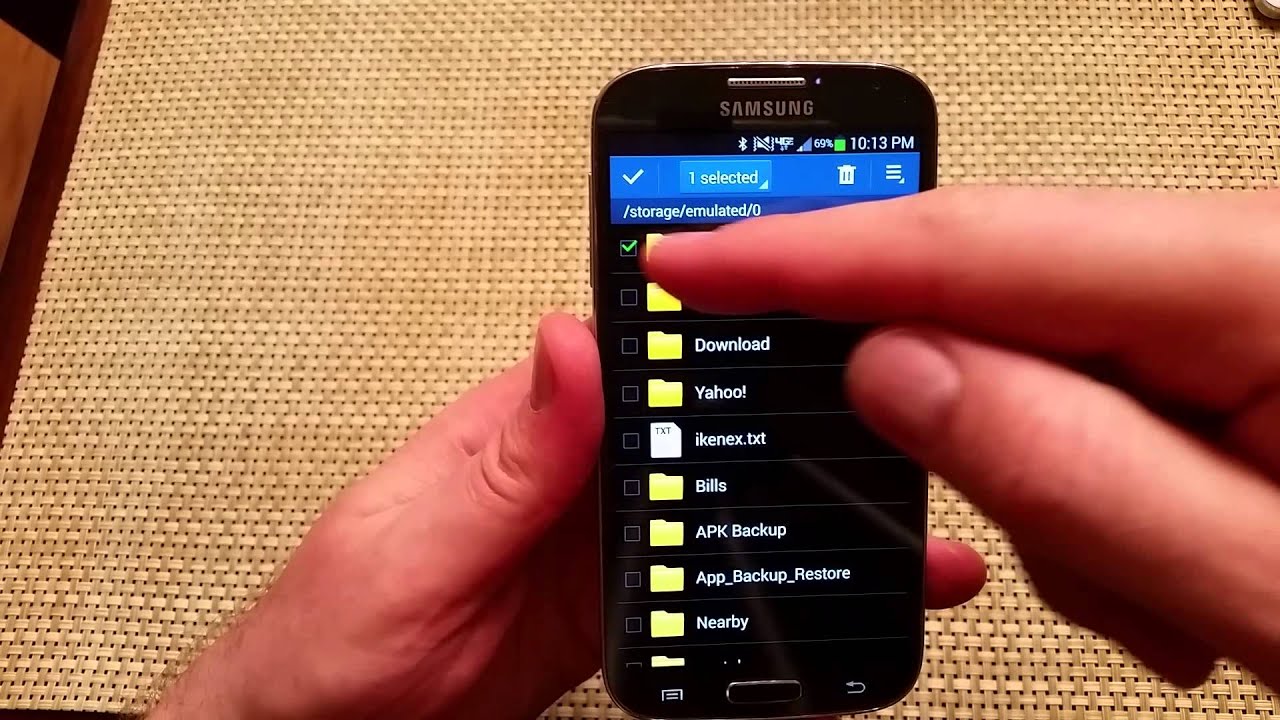
- Locate the folder or directory where your pictures are stored on your Samsung Galaxy 5, such as the “DCIM” folder.
- Now, you can simply select the pictures you wish to transfer or copy and paste them to the desired location on your computer.
- Once the transfer is complete, safely disconnect your Samsung Galaxy 5 from your computer by clicking on the eject icon or using the safely remove hardware option.
By following these steps, you can easily transfer pictures from your Samsung Galaxy 5 to your computer using a USB cable. Remember to always handle your device and cable with care to avoid any damage.
Transferring Pictures Wirelessly
If you prefer a wireless option for transferring pictures from your Samsung Galaxy 5 to your computer, there are a few methods you can explore. These methods allow for convenient and cable-free transfers. Let’s take a look at them:
1. Wi-Fi Direct: Wi-Fi Direct is a feature available on many Samsung devices, including the Galaxy 5. With this method, you can establish a direct wireless connection between your phone and computer. To use Wi-Fi Direct:
- On your Samsung Galaxy 5, open the Settings app and go to the Wi-Fi settings.
- Turn on Wi-Fi and scroll down to find and tap on “Wi-Fi Direct”.
- Your phone will start scanning for available devices.
- On your computer, make sure Wi-Fi is enabled and search for available Wi-Fi networks.
- You should see your Samsung Galaxy 5 listed as a available device or network. Select it to connect.
- Once connected, your computer will treat your Samsung Galaxy 5 as a networked device.
- Open the file explorer or designated program for accessing network drives on your computer.
- Locate your Samsung Galaxy 5 from the list of network devices and open it.
- Navigate to the folder or directory where your pictures are stored.
- Select the pictures you want to transfer and copy/paste them to the desired location on your computer.
2. Bluetooth: If your computer supports Bluetooth connectivity, you can use it to transfer pictures wirelessly. Here’s how:
- Enable Bluetooth on both your Samsung Galaxy 5 and your computer.
- On your Samsung Galaxy 5, open the Settings app and go to the Bluetooth settings.
- Make sure Bluetooth is turned on and set your device to be discoverable.
- On your computer, search for Bluetooth devices.
- Select your Samsung Galaxy 5 from the list of available devices.
- Pair your devices by following the on-screen instructions.
- Once paired, you can browse your Samsung Galaxy 5’s files from your computer.
- Locate the folder or directory containing your pictures.
- Select the pictures you want to transfer and click on the option to transfer or copy them to your computer.
These wireless methods offer flexibility and convenience when it comes to transferring pictures from your Samsung Galaxy 5 to your computer. Choose the option that suits your preferences, and enjoy a cable-free transfer experience.
Transferring Pictures Using Samsung Smart Switch
If you prefer a more streamlined and automated approach to transferring pictures from your Samsung Galaxy 5 to your computer, Samsung Smart Switch is an excellent option. Smart Switch is a software provided by Samsung that allows you to transfer data, including pictures, between your phone and computer. Here’s how you can use it:
- Start by installing Samsung Smart Switch on both your Samsung Galaxy 5 and your computer. You can download the software from Samsung’s official website.
- Once installed, launch Samsung Smart Switch on your Samsung Galaxy 5 and your computer.
- On your Samsung Galaxy 5, tap on the option to connect to a computer. You may need to grant permissions for the devices to communicate with each other.
- On your computer, select the option to connect to a phone or mobile device using Samsung Smart Switch.
- The software will detect your Samsung Galaxy 5 and establish a connection between the two devices.
- In the Smart Switch interface on your computer, you’ll see various options for transferring data. Select the option to transfer pictures or media files.
- Choose the specific pictures you want to transfer or select the option to transfer all pictures.
- Specify the destination folder on your computer where you want to save the transferred pictures.
- Click on the “Transfer” or “Start” button to initiate the transfer process.
- Samsung Smart Switch will start transferring the selected pictures from your Samsung Galaxy 5 to your computer. The progress will be displayed on both your phone and computer screens.
- Once the transfer is complete, you can close Samsung Smart Switch on both devices.
Using Samsung Smart Switch simplifies the process of transferring pictures from your Samsung Galaxy 5 to your computer. It offers a user-friendly interface and takes care of all the technical details for you. Whether you’re transferring a single photo or your entire picture library, Samsung Smart Switch ensures a smooth and efficient transfer experience.
Transferring Pictures Using a MicroSD Card
If your Samsung Galaxy 5 has a microSD card slot, transferring pictures using a microSD card can be a convenient and efficient method. Here’s how you can do it:
- Insert a compatible microSD card into the microSD card slot of your Samsung Galaxy 5. Ensure that the microSD card is properly inserted and securely seated.
- On your phone, open the camera app or the gallery app to access your pictures.
- Select the pictures you want to transfer to your computer. You can do this by long-pressing on a picture to initiate the selection mode or by tapping on the pictures individually.
- Once you’ve selected the pictures, tap on the options menu or the share icon.
- Choose the option to move or copy the selected pictures to the microSD card. This option might be called “Move to SD card” or “Copy to SD card.”
- Wait for the transfer to complete. The speed of the transfer will depend on the number and size of the selected pictures.
- Once the transfer is done, remove the microSD card from your Samsung Galaxy 5.
- Insert the microSD card into a card reader or adapter.
- Connect the card reader or adapter to your computer’s USB port.
- Your computer will recognize the inserted microSD card as a removable storage device.
- Open the file explorer or designated program for accessing external storage devices on your computer.
- Locate the microSD card from the list of connected devices.
- Open the microSD card and navigate to the folder or directory where your pictures are stored.
- Select the pictures you want to transfer and copy/paste them to the desired location on your computer.
- Once the transfer is complete, safely remove the microSD card from your computer and reinsert it back into your Samsung Galaxy 5.
Using a microSD card to transfer pictures provides a portable and versatile method, allowing you to easily move pictures between your Samsung Galaxy 5 and your computer. However, ensure that you handle the microSD card with care and follow proper procedures when inserting or removing it.
Troubleshooting Tips for Picture Transfers
While transferring pictures from your Samsung Galaxy 5 to your computer is generally a straightforward process, you may encounter some common issues. Here are a few troubleshooting tips to help you overcome any obstacles:
- Ensure a Stable Connection: Make sure that the connection between your Samsung Galaxy 5 and your computer is stable. Check that the USB cable is securely plugged in or that the wireless connection is strong.
- Update Drivers and Software: If your computer is unable to recognize your Samsung Galaxy 5, ensure that you have the latest drivers installed. You can usually find them on the manufacturer’s website. Also, keep your phone’s software up to date to avoid compatibility issues.
- Restart Devices: Sometimes, a simple restart of both your Samsung Galaxy 5 and your computer can resolve any connection or recognition issues.
- Enable USB Debugging: If you’re having trouble with USB connectivity, enabling USB debugging on your Samsung Galaxy 5 might help. To do this, go to the Developer Options in your phone’s settings and check the box for USB debugging.
- Check Storage Space: Ensure that you have enough free space on your Samsung Galaxy 5 and your computer to accommodate the pictures you want to transfer. If either device is running low on storage, delete unnecessary files or transfer existing files to a backup location.
- Use Different USB Ports: If you’re experiencing issues with a particular USB port on your computer, try connecting the USB cable to a different port to rule out any port-related problems.
- Scan for Malware or Viruses: Run a security scan on both your Samsung Galaxy 5 and your computer to check for any malware or viruses that might be affecting the transfer process. Malware can sometimes interfere with data transfers.
- Use Alternative Software: If you’re using a specific software for transferring pictures and encountering problems, try using an alternative software or method. There are various file transfer programs available that might provide better compatibility with your devices.
- Consult Manufacturer Support: If you’ve tried these troubleshooting tips and are still experiencing difficulties, reach out to the manufacturer’s support team for further assistance. They can provide specific guidance based on your device and operating system.
Remember, troubleshooting can vary based on specific device models, operating systems, and software versions. Be patient and persistent, and don’t hesitate to seek help if needed.
Conclusion
Transferring pictures from your Samsung Galaxy 5 to your computer is a simple and essential task to ensure the safety and accessibility of your precious memories. Whether you choose to use a USB cable, establish a wireless connection, utilize Samsung Smart Switch, or make use of a microSD card, there are various methods available to suit your preferences and needs.
By following the step-by-step instructions outlined in this guide, you can successfully transfer your pictures with ease. Remember to ensure a stable connection, keep your devices updated, and troubleshoot any issues that may arise along the way.
Whether you’re archiving your pictures, sharing them with loved ones, or editing them on your computer, the ability to easily transfer pictures from your Samsung Galaxy 5 is invaluable. Choose the method that works best for you and enjoy the convenience and flexibility of managing your photos on a larger screen.
Now that you have the knowledge and tools to transfer pictures from your Samsung Galaxy 5 to your computer, go ahead and start preserving and showcasing your memories in the way that best suits you.


