How to Port Forward a Minecraft Server for Seamless Gaming Experience
Welcome to our GAMING blog! Today, we will be delving into the realm of Minecraft and exploring the intricacies of port forwarding. If you’re an avid Minecraft player looking to set up your own server, you’ve come to the right place!
Port forwarding is a crucial step in the process of hosting a Minecraft server. It allows incoming traffic to access your server through a specific port, ensuring a seamless gaming experience for you and your friends. So, without further ado, let’s dive into the world of port forwarding!
Key Takeaways:
- Port forwarding is essential for hosting a Minecraft server.
- It allows incoming traffic to access your server through a specific port.
What is Port Forwarding?
Before we begin, let’s quickly understand what port forwarding actually means. Ports act as gateways through which data enters and exits your network. Port forwarding simply redirects incoming data packets to a specific device within your network.
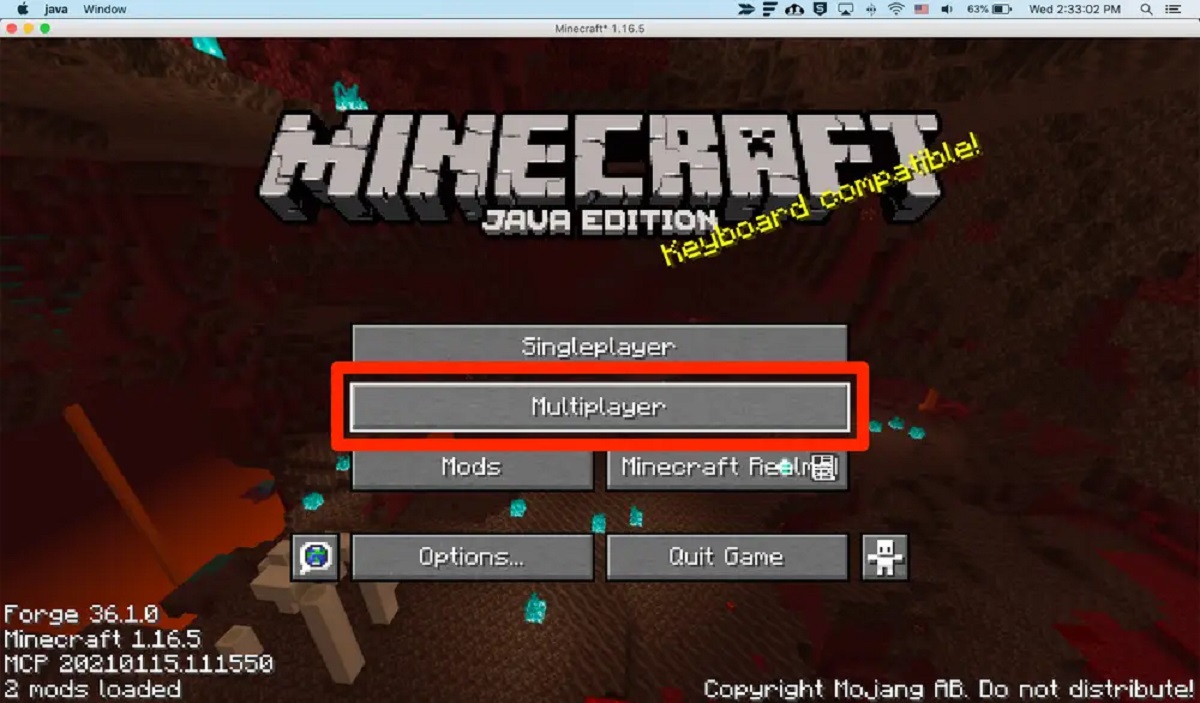
Why Do You Need to Port Forward for Minecraft?
Minecraft servers require port forwarding because they need to listen for incoming connections from other players. By default, Minecraft servers use port 25565, but you can choose a different port if you prefer. Port forwarding allows these incoming connections to reach your server, enabling multiplayer gameplay with your friends.
Step-by-Step Guide on Port Forwarding for Minecraft Servers:
- Access your router’s settings: Open your preferred web browser and type in your router’s IP address. This information can usually be found on the back of your router or in the user manual.
- Log in to your router: Enter your router’s username and password to access the settings. If you haven’t changed these default credentials, you can find them in your router’s manual or by searching online with your router’s make and model.
- Locate the port forwarding settings: The exact location of these settings can vary depending on your router’s manufacturer and model. Look for options such as “Port Forwarding,” “Virtual Servers,” or “Applications & Gaming.”
- Add a new port forward: Create a new port forward rule by specifying the Minecraft server port (usually 25565 or your chosen port) and the IP address of the computer running the Minecraft server. Ensure you select the correct protocol (TCP or UDP) for Minecraft.
- Save your settings: Once you have entered the necessary details, save the changes and restart your router for the changes to take effect.
- Verify the port forwarding: You can test if the port forwarding is working correctly by using an online port checker tool. This will confirm whether your Minecraft server port is open and accessible to others.
Voila! You have successfully set up port forwarding for your Minecraft server. Now, you can invite your friends to join you in epic adventures or explore multiplayer gameplay with the wider Minecraft community.
Conclusion
Port forwarding is an essential step in establishing a Minecraft server. By following our step-by-step guide, you can ensure that your server is accessible to other players, enhancing your gaming experience. Remember to select the correct port and restart your router to make the changes take effect.
So, what are you waiting for? Grab your pickaxe, embark on exciting Minecraft adventures, and conquer the virtual world with your friends!