How to Set Up a Minecraft Server: A Comprehensive Guide
Welcome to our GAMING category where we dive into the fascinating world of Minecraft! If you’ve ever wondered how to set up your very own Minecraft server, you’ve come to the right place. In this blog post, we’ll provide you with a step-by-step guide on setting up a Minecraft server, whether you want to host a server for you and your friends or create an online gaming community.
Key Takeaways:
- Setting up a Minecraft server allows you to create your own virtual world, invite friends to play, and customize the gameplay.
- Choose the right hosting provider, install Minecraft server software, configure server settings, and manage plugins/mods for an enhanced gaming experience.
Now, let’s get started on the exciting process of setting up your very own Minecraft server. Follow these simple steps:
Step 1: Choose a Hosting Provider
The first step in setting up a Minecraft server is choosing a reliable hosting provider. Look for one that offers high-performance servers, excellent customer support, and has a good track record. Compare different hosting providers and select the one that best suits your needs and budget.
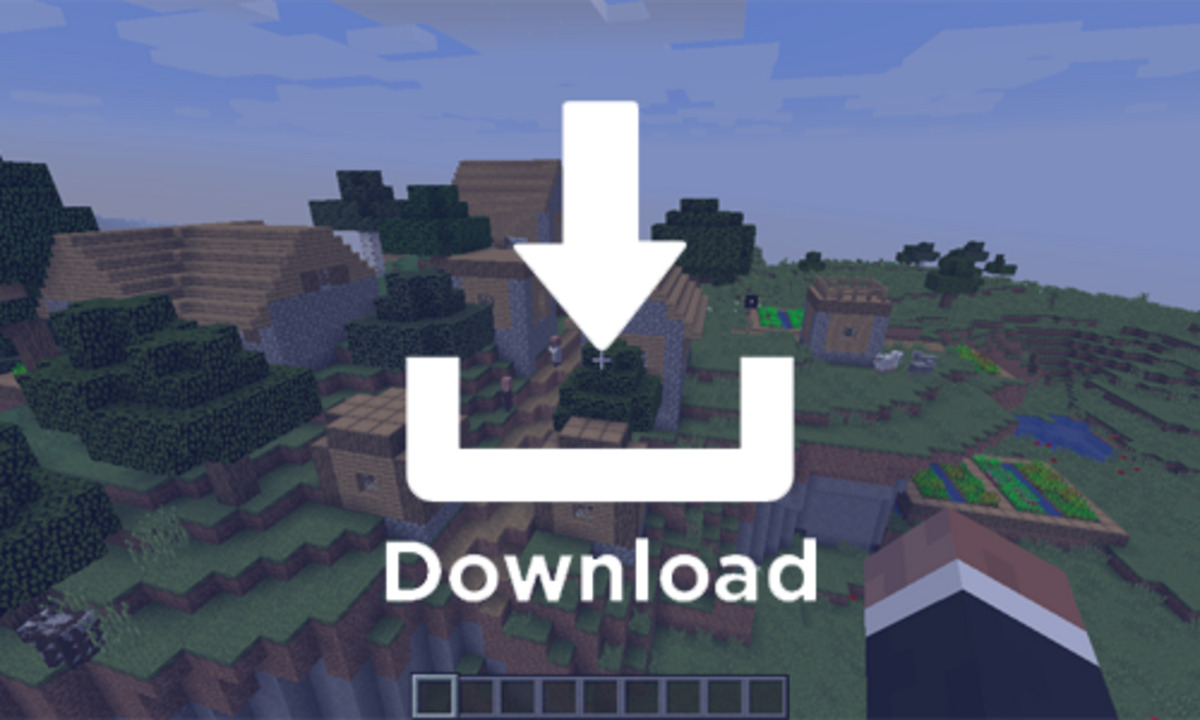
Step 2: Install Minecraft Server Software
Once you have a hosting provider, you need to install the Minecraft server software. This software allows you to run the server on your chosen hosting provider’s server equipment. Most hosting providers offer one-click installations, making the process quick and easy.
Step 3: Configure Server Settings
After the server software installation is complete, you’ll need to configure the server settings. This includes setting the server name, game mode, difficulty level, and other preferences. Take your time to customize the settings according to your desired gameplay experience.
Step 4: Manage Plugins and Mods
One of the great aspects of Minecraft is its ability to be customized through plugins and mods. These additions can enhance gameplay, introduce new features, and create unique experiences. Spend some time researching and installing plugins and mods that align with your vision for the server.
Step 5: Invite Friends and Create Community
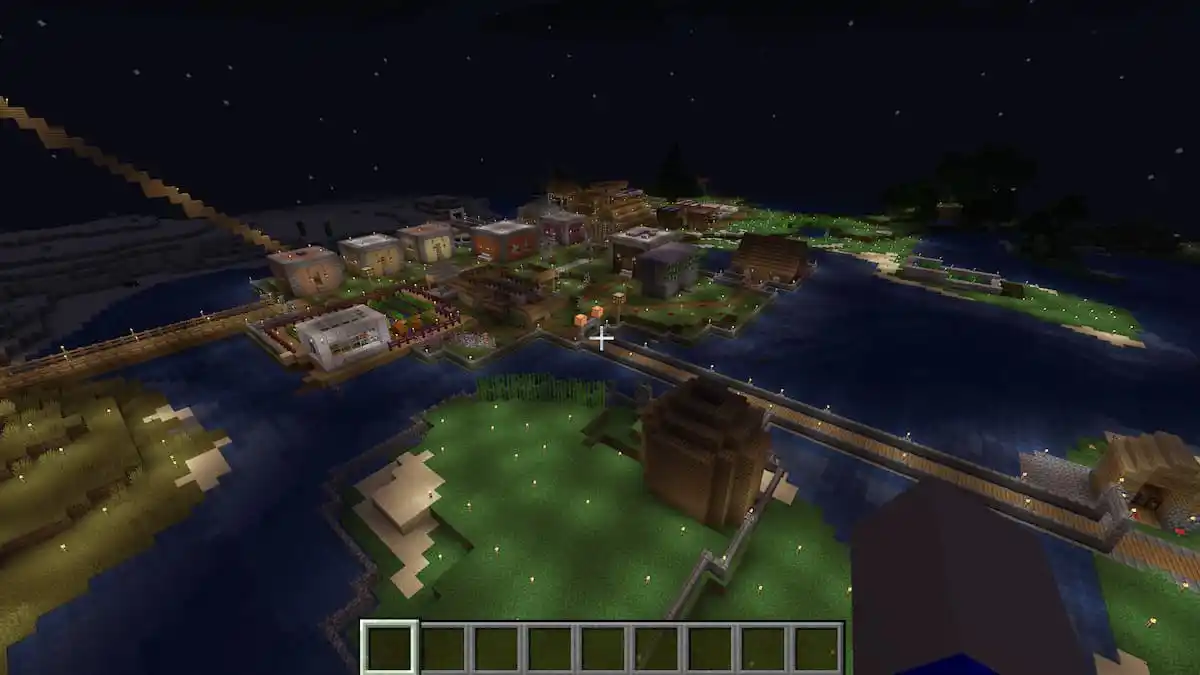
Now that your Minecraft server is up and running, it’s time to invite your friends to join in on the fun. Share the server IP address and any necessary login information with them, and start playing! You can create a gaming community by promoting your server to attract new players or even consider hosting special events to keep things exciting.
Setting up a Minecraft server may initially seem daunting, but by following these steps, you’ll be well on your way to creating an incredible virtual world for yourself and your friends.
Key Takeaways:
- Setting up a Minecraft server allows you to create your own virtual world, invite friends to play, and customize the gameplay.
- Choose the right hosting provider, install Minecraft server software, configure server settings, and manage plugins/mods for an enhanced gaming experience.
So, what are you waiting for? Dive into the world of Minecraft server administration and let the creativity flow! Have fun exploring, building, and connecting with other players as you embark on the exciting journey of running your own Minecraft server.