How to Connect to a Minecraft Server: A Comprehensive Guide
Welcome to our Gaming category, where we bring you all the latest tips, tricks, and tutorials to enhance your gaming experience. Today, we are diving into the world of Minecraft and exploring how to connect to a Minecraft server. Whether you are a beginner or a seasoned player, this comprehensive guide will help you connect and join the Minecraft community in no time!
Key Takeaways:
- Connecting to a Minecraft server allows you to play with friends or other players in an online multiplayer environment.
- Before connecting, make sure you have the correct server address and version of Minecraft compatible with the server.
Step 1: Finding the Server Address
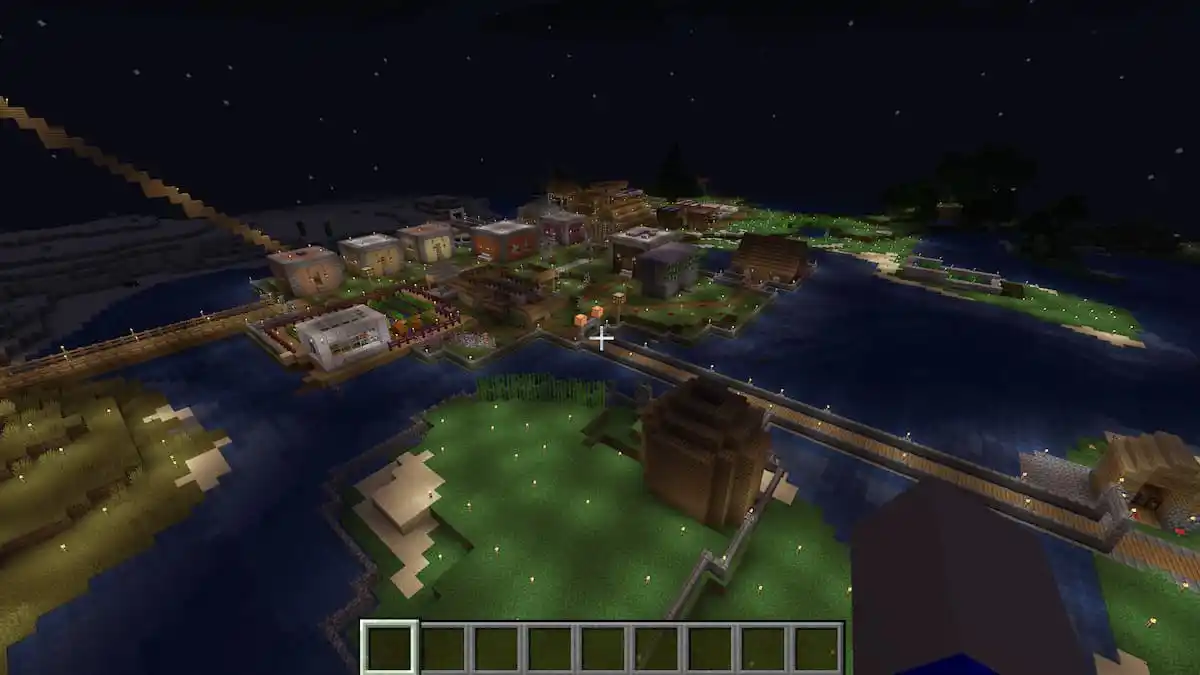
The first step in connecting to a Minecraft server is finding the server address. The server address is a combination of numbers and/or letters that represent the location of the server in the Minecraft universe.
There are several ways to find a server address:
- Server Lists: Use popular server listing websites to find servers based on specific categories, such as game mode or theme. These websites provide server addresses that you can use to connect.
- Friends and Communities: Ask your friends who are already playing Minecraft or join Minecraft communities to get server addresses. They can recommend reliable servers for you to join.
- Creating Your Own: If you want to play with your friends exclusively, you can set up your own Minecraft server. This way, you have full control over who can join and how the server is managed.
Step 2: Upgrading Minecraft (If Required)
Before connecting to a Minecraft server, it’s crucial to ensure that you have the correct version of Minecraft installed. Minecraft servers often run on specific versions, so make sure you upgrade your Minecraft client accordingly.
Follow these steps to upgrade your Minecraft:
- Launch the Minecraft Launcher on your device.
- Select the “Installations” tab in the launcher.
- Click on the “New” button to create a new installation.
- Select the correct Minecraft version from the dropdown menu.
- Click “Create” and wait for the installation process to finish.
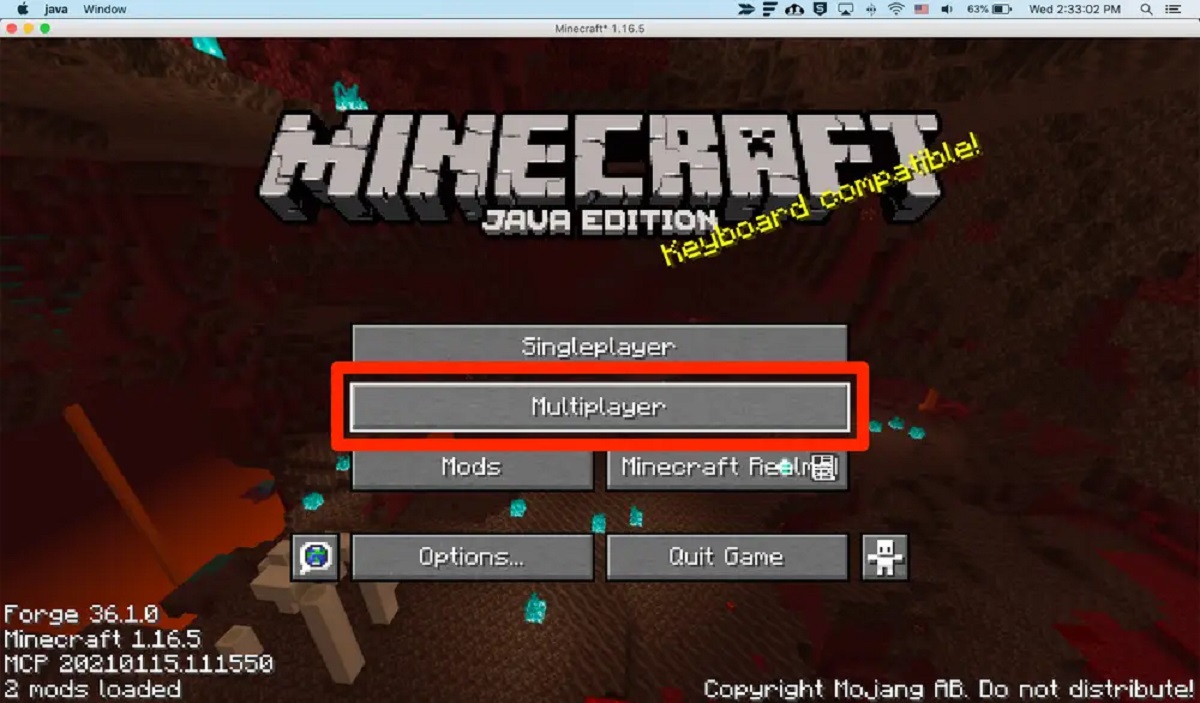
Step 3: Connecting to the Minecraft Server
Once you have the server address and the correct version of Minecraft installed, it’s time to connect to the server and start playing. Here’s how:
- Launch Minecraft and click on the “Multiplayer” button on the main menu.
- Click on the “Add Server” button to add a new server to your server list.
- Enter a name for the server in the “Server Name” field.
- Paste the server address in the “Server Address” field.
- Click “Done” to add the server to your list.
- Select the server from your server list and click “Join Server” to connect.
Congratulations! You have successfully connected to a Minecraft server. Now you can enjoy playing with your friends or other players in the Minecraft world.
Remember, Minecraft servers can have different rules and game modes, so be sure to read the server descriptions and guidelines before playing. And don’t forget to have fun and let your creativity soar!
That wraps up our comprehensive guide on how to connect to a Minecraft server. We hope this article has been helpful to you. Stay tuned for more gaming tips and tutorials in our Gaming category!