Introduction
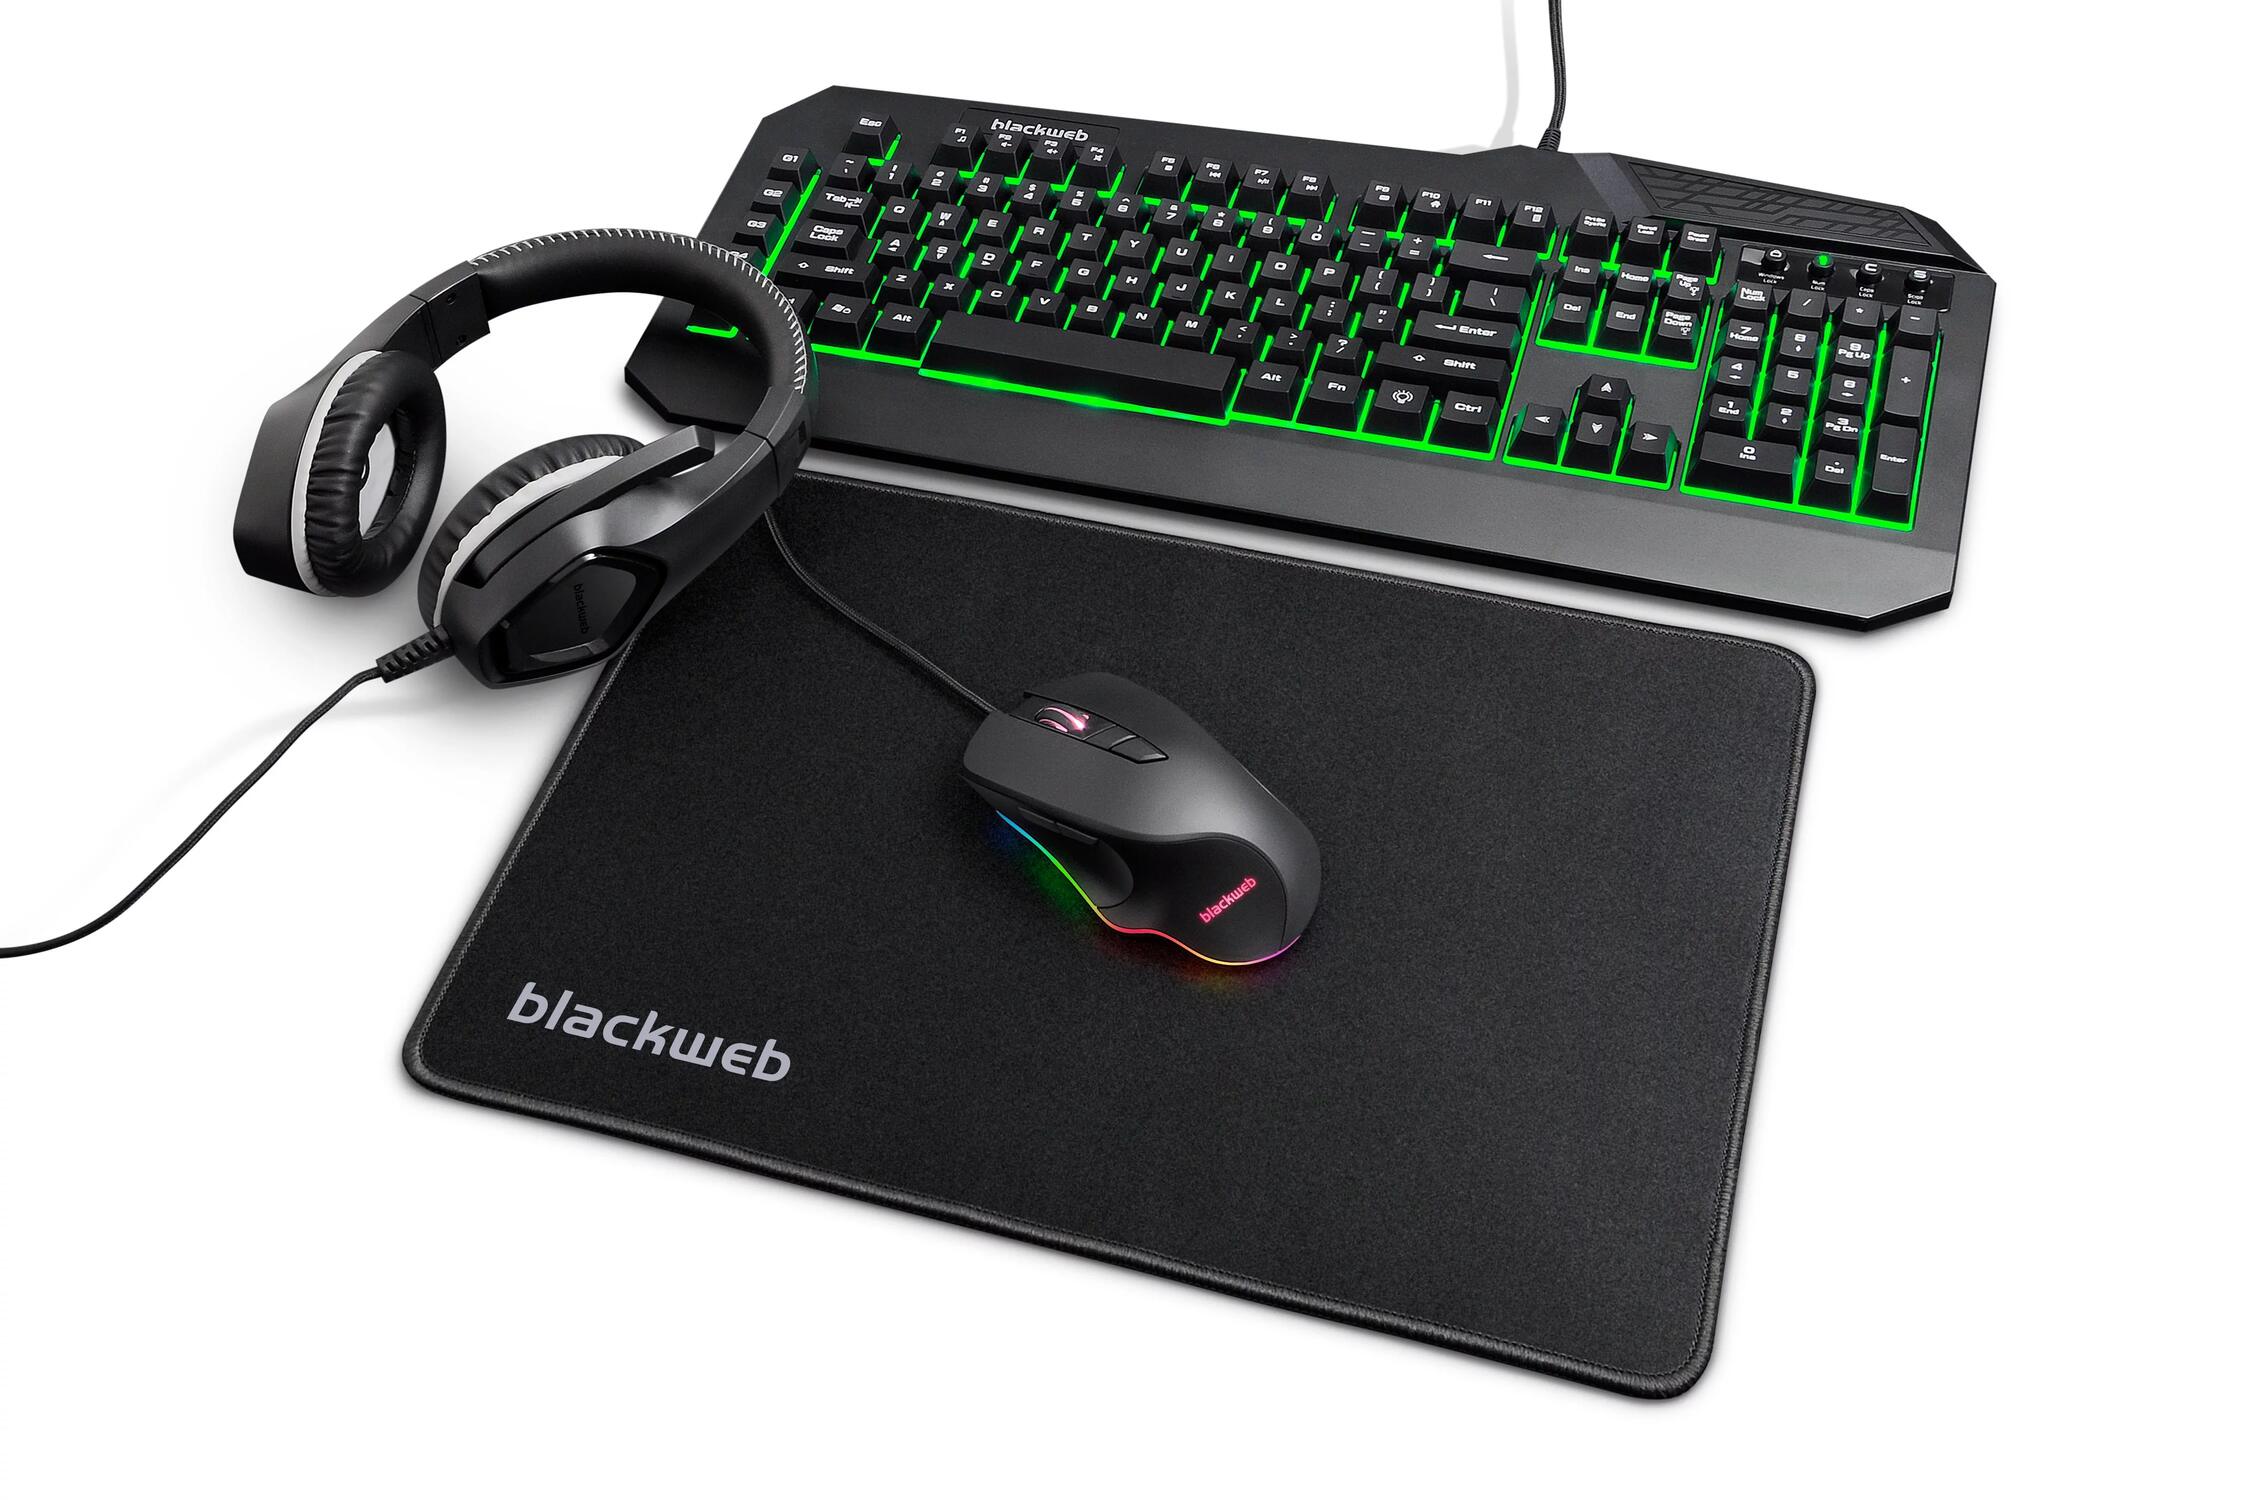
Are you ready to delve into the inner workings of your Blackweb Grim Gaming Mouse? Whether you're looking to troubleshoot an issue, customize the mouse, or simply explore its internal components out of curiosity, disassembling the mouse can be an intriguing and educational endeavor. By following the steps outlined in this guide, you'll gain valuable insights into the construction of this gaming peripheral.
Delving into the inner mechanisms of the Blackweb Grim Gaming Mouse allows you to understand the intricate engineering that powers its performance. While disassembling electronic devices can be daunting, this step-by-step guide will simplify the process, ensuring that you can navigate the internal components with confidence.
As you embark on this disassembly journey, it's important to approach the task with patience and precision. By carefully following the instructions and using the recommended tools, you'll be able to safely explore the inner workings of the Blackweb Grim Gaming Mouse. So, gather your tools and get ready to uncover the secrets that lie within this powerful gaming peripheral.
Tools Required
Before embarking on the disassembly of your Blackweb Grim Gaming Mouse, it’s essential to gather the necessary tools to ensure a smooth and successful process. Here are the tools you’ll need:
- Phillips Head Screwdriver: This tool is crucial for removing the screws that secure the outer casing of the mouse. Ensure that the screwdriver matches the size of the screws to prevent slippage and potential damage to the screw heads.
- Plastic Opening Tools: Utilize plastic opening tools to carefully pry open the mouse casing without causing any damage. These tools are designed to safely separate the components without scratching or denting the surface.
- Tweezers: Precision tweezers can aid in handling small components within the mouse, allowing for delicate maneuvers during the disassembly and reassembly processes.
- Clean Workspace: Prepare a clean and well-lit workspace to carry out the disassembly. A clutter-free environment will help prevent the loss of small components and ensure that you can easily organize the disassembled parts.
By having these tools at your disposal, you’ll be equipped to tackle the disassembly of the Blackweb Grim Gaming Mouse with confidence and precision. With the right tools in hand, you can proceed to the next steps of removing the mouse’s outer casing and exploring its internal components.
Removing the Screws
To begin the disassembly process, you’ll need to remove the screws that secure the outer casing of the Blackweb Grim Gaming Mouse. Follow these steps to effectively access the internal components:
- Prepare the Workspace: Find a flat and well-lit surface to work on. Ensure that the area is clean and free from any obstructions that could hinder the disassembly process.
- Identify the Screws: Examine the exterior of the mouse to locate the screws holding the casing together. These screws are typically situated on the underside of the mouse and may be hidden beneath the mouse feet or stickers.
- Use the Phillips Head Screwdriver: Select the appropriate Phillips head screwdriver that fits the size of the screws. Insert the screwdriver into each screw head and carefully rotate it in a counterclockwise direction to loosen and remove the screws.
- Keep Track of the Screws: As you remove the screws, place them in a secure container or designated area to prevent misplacement. It’s important to keep the screws organized to facilitate the reassembly process later on.
- Check for Hidden Screws: Some mice may have additional hidden screws beneath the mouse feet or stickers. Carefully lift these components to reveal any concealed screws that need to be removed before proceeding.
By diligently following these steps, you’ll successfully remove the screws and gain access to the internal components of the Blackweb Grim Gaming Mouse. With the outer casing now detached, you’re ready to proceed to the next phase of opening the mouse to uncover its inner workings.
Opening the Mouse
With the screws removed, it’s time to carefully open the Blackweb Grim Gaming Mouse to reveal its internal components. Follow these steps to proceed with the mouse’s disassembly:
- Utilize Plastic Opening Tools: Gently insert the plastic opening tools into the seam between the top and bottom halves of the mouse casing. Apply even pressure to gradually pry the casing apart, taking care not to force or bend the components.
- Work Methodically: Start at one edge of the mouse and carefully progress along the seam, gradually separating the top and bottom halves. Ensure that you maintain a steady and controlled approach to prevent any damage to the casing or internal components.
- Check for Latches or Clips: As you open the mouse, be mindful of any latches or clips that may be securing the casing. Use the plastic opening tools to release these latches if necessary, ensuring that you don’t apply excessive force that could lead to breakage.
- Inspect the Interior: Once the casing is partially opened, take a moment to observe the internal layout of the mouse. Familiarize yourself with the arrangement of the components and the connections between the various parts.
- Handle with Care: Throughout the process of opening the mouse, handle the components with care and avoid placing undue stress on any delicate structures. By exercising caution, you can prevent accidental damage and ensure a smooth disassembly process.
By following these steps, you’ll successfully open the Blackweb Grim Gaming Mouse, gaining access to its internal mechanisms and circuitry. With the mouse now exposed, you can proceed to the next phase of carefully removing the internal components for further exploration and potential customization.
Removing the Internal Components
As the Blackweb Grim Gaming Mouse is now open, the next step involves delicately removing its internal components for closer examination or potential customization. Follow these steps to navigate this phase of the disassembly process:
- Identify the Internal Components: Take a moment to survey the internal layout of the mouse and identify the various components, such as the circuit board, switches, buttons, and scroll wheel assembly.
- Unplug Ribbon Cables: If the mouse features ribbon cables connecting the components to the circuit board, carefully unplug these cables by gently releasing the latches or connectors. Exercise caution to avoid damaging the delicate cables or connectors.
- Remove the Circuit Board: Unscrew the circuit board from the casing, if necessary, and gently lift it out, taking care not to stress or damage any attached cables or components. Place the circuit board in a secure location to prevent accidental damage.
- Handle Small Components with Care: When removing smaller components, such as switches or the scroll wheel assembly, use precision tweezers to carefully detach them from the casing. Ensure that these components are placed in a designated container to prevent misplacement.
- Inspect and Clean Components: As you remove each component, take the opportunity to inspect them for any signs of wear, dust, or debris. This is an ideal time to clean the components if necessary, ensuring that they remain in optimal condition.
By meticulously following these steps, you’ll successfully remove the internal components of the Blackweb Grim Gaming Mouse, allowing for a detailed examination of its intricate parts. Whether you’re seeking to troubleshoot specific issues or explore customization options, this phase sets the stage for a deeper understanding of the mouse’s internal architecture.
Reassembling the Mouse
After exploring the internal components of the Blackweb Grim Gaming Mouse, it’s time to carefully reassemble the mouse, ensuring that each part is securely and precisely reinstated. Follow these steps to methodically reconstruct the mouse:
- Organize the Components: Lay out the internal components in an organized manner, ensuring that each part is easily accessible for reassembly. Take care to arrange the components in a manner that aligns with their original placement within the mouse.
- Reinstall Small Components: Begin by reattaching any small components, such as switches or the scroll wheel assembly, to their respective locations within the mouse casing. Use precision tweezers to delicately maneuver these components into place.
- Secure the Circuit Board: If the circuit board was removed, carefully position it back into place within the casing, ensuring that any ribbon cables or connectors are correctly reattached. Secure the circuit board with the appropriate screws, taking care not to overtighten them.
- Reconnect Ribbon Cables: If the mouse features ribbon cables, reconnect them to the circuit board, ensuring that they are firmly and securely attached. Exercise caution to avoid damaging the delicate cables or connectors during this process.
- Carefully Close the Casing: Align the top and bottom halves of the mouse casing, ensuring that any latches or clips are engaged. Apply gentle pressure to the edges of the casing to secure the components together, taking care not to force or misalign the parts.
- Reinsert Screws: Utilize the Phillips head screwdriver to reinstall the screws, securing the mouse’s casing. Ensure that the screws are tightened evenly to prevent any gaps or misalignment in the casing.
By meticulously following these steps, you’ll effectively reassemble the Blackweb Grim Gaming Mouse, restoring it to its fully functional state. With the internal components securely reinstated, you can proceed to test the mouse’s functionality and enjoy the satisfaction of successfully navigating the disassembly and reassembly process.


