Introduction
Building your own mechanical keyboard can be an incredibly rewarding experience, allowing you to customize every aspect of your typing experience. One crucial element of creating a unique and functional keyboard is designing and constructing the keyboard case. The case not only serves as the protective housing for the keyboard's internal components but also contributes significantly to the overall aesthetics and feel of the keyboard.
In this comprehensive guide, we will walk through the process of crafting a mechanical keyboard case from scratch. Whether you are a seasoned DIY enthusiast or a newcomer to the world of custom keyboards, this step-by-step tutorial will equip you with the knowledge and skills needed to create a personalized and durable case for your mechanical keyboard.
Throughout this guide, we will cover everything from selecting the right materials to assembling the finished case. By the end, you will have the expertise to design and construct a custom keyboard case that perfectly complements your unique style and enhances your typing experience. So, roll up your sleeves and get ready to embark on an exciting journey of creativity and craftsmanship as we delve into the art of making a mechanical keyboard case.
Choosing the Right Materials
When embarking on the creation of a mechanical keyboard case, selecting the appropriate materials is a critical first step. The choice of materials will not only influence the aesthetics of the final product but also determine its durability and feel. Here are some key considerations to keep in mind when choosing the materials for your custom keyboard case:
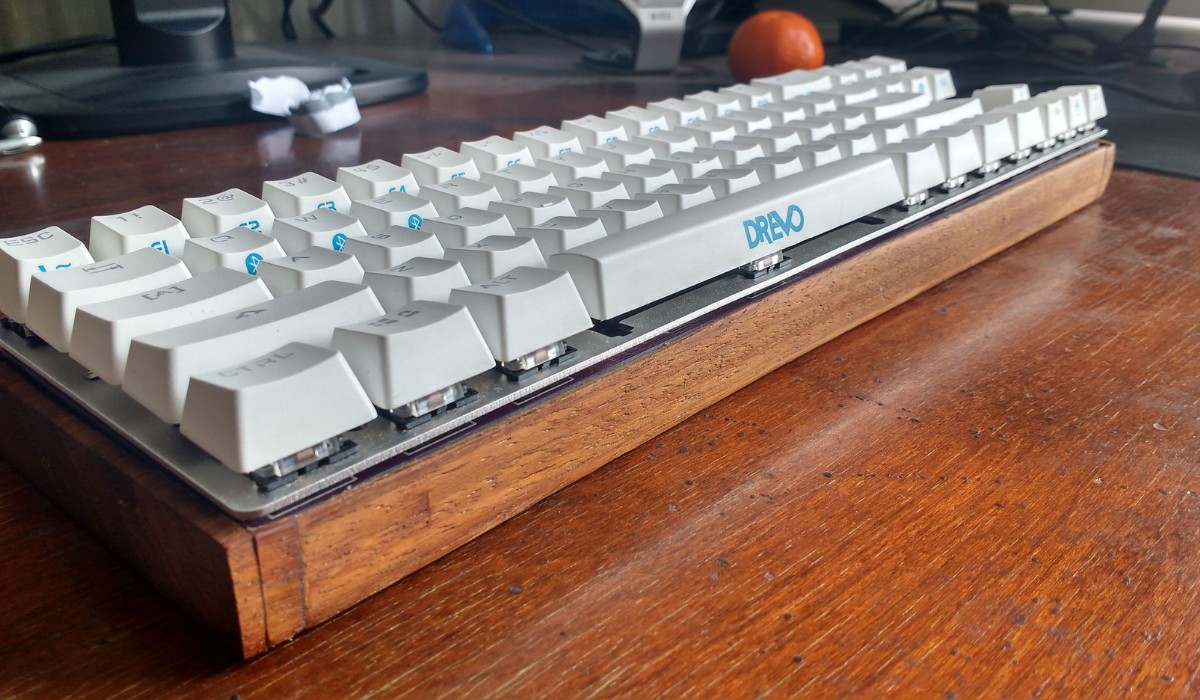
- Wood: Wood is a popular choice for keyboard cases due to its natural warmth and versatility. Hardwoods such as walnut, oak, or maple can be crafted into elegant and sturdy cases, adding a touch of sophistication to your keyboard.
- Aluminum: Aluminum is favored for its sleek, modern look and robustness. It can be machined to precise specifications, offering a professional and durable housing for your keyboard components.
- Acrylic: For those seeking a more transparent and contemporary aesthetic, acrylic is an excellent option. Its translucency allows for creative lighting effects, making it a popular choice among enthusiasts who enjoy customizing the visual appeal of their keyboards.
- Plastic: High-quality plastics such as polycarbonate or ABS can provide a lightweight yet resilient casing for your keyboard. They offer a wide range of color options and can be molded into various shapes, catering to diverse design preferences.
Consider the tactile and visual experience you want to achieve with your keyboard, as well as the level of craftsmanship and tools required for working with different materials. Additionally, factor in the ease of customization and the compatibility of the chosen materials with your design vision. By carefully evaluating these aspects, you can make an informed decision that aligns with your preferences and design goals.
Designing the Case
Before diving into the physical construction of your mechanical keyboard case, it is essential to lay the groundwork through meticulous design. The case design not only dictates the overall look and feel of the keyboard but also influences its ergonomics and functionality. Here are the key steps to consider when designing your custom keyboard case:
- Layout Planning: Determine the layout of your keyboard, including the arrangement of keys, the placement of the spacebar, and the positioning of additional function keys. Consider ergonomic principles and user preferences to create a layout that enhances typing comfort and efficiency.
- Dimensional Considerations: Take precise measurements of the internal components of the keyboard, including the PCB (printed circuit board), switches, and stabilizers. Ensure that the case design accommodates these components accurately, leaving adequate space for keycap clearance and switch movement.
- Aesthetic Elements: Explore various design elements such as bezel size, case angles, and overall silhouette. Pay attention to details such as chamfers, curves, and surface finishes to imbue the case with a distinctive visual appeal that resonates with your personal style.
- Material Compatibility: Consider the material properties and fabrication techniques of your chosen materials when finalizing the case design. Certain materials may require specific design considerations, such as additional support structures for acrylic or precise machining allowances for metal cases.
Utilize design software or mock-up prototypes to visualize and refine your case design before proceeding to the manufacturing stage. Iterating on the design allows you to fine-tune the aesthetics and functionality, ensuring that the final case reflects your vision accurately.
By investing time and attention into the design phase, you can create a tailored case that not only houses the keyboard components securely but also embodies your unique design sensibilities. The design process sets the stage for a successful and satisfying build, laying the foundation for a one-of-a-kind mechanical keyboard case.
Cutting and Shaping the Material
Once you have finalized the design for your custom mechanical keyboard case, the next step involves bringing that design to life through precise cutting and shaping of the chosen materials. This phase of the process requires careful attention to detail and the use of appropriate tools to achieve the desired form and functionality. Here’s a detailed look at the essential steps involved in cutting and shaping the material for your keyboard case:
- Material Preparation: Begin by preparing the selected material for cutting. Depending on the material, this may involve milling sheets of aluminum, precision-cutting wood panels, or shaping acrylic using laser cutting techniques. Each material presents unique challenges and considerations, so it’s crucial to follow best practices for handling and preparing the chosen material.
- Precision Cutting: Use specialized tools such as CNC machines, laser cutters, or traditional woodworking tools to cut the material according to the precise dimensions outlined in your design. Pay meticulous attention to the cutting process to ensure clean edges and accurate dimensions, as these factors directly impact the fit and finish of the final case.
- Shaping and Finishing: After the initial cutting, proceed to shape the material as per the design specifications. This may involve creating beveled edges, drilling mounting holes, or adding decorative accents. Additionally, consider surface finishing techniques such as sanding, polishing, or applying protective coatings to enhance the appearance and durability of the case.
- Test Fitting: Throughout the cutting and shaping process, perform test fittings to verify the compatibility of the case components with the material. This iterative approach allows you to identify any discrepancies early on and make necessary adjustments before final assembly.
Whether you are working with wood, metal, acrylic, or other materials, precision and patience are paramount during the cutting and shaping phase. By adhering to the design specifications and employing meticulous craftsmanship, you can transform raw materials into the foundational elements of a bespoke mechanical keyboard case.
Assembling the Case
With the individual components of your custom mechanical keyboard case meticulously crafted, it’s time to embark on the exciting phase of assembling the case. This process involves integrating the cut and shaped materials, along with the keyboard’s internal components, to create a cohesive and functional unit. Here’s a detailed breakdown of the key steps involved in assembling your custom keyboard case:
- Component Alignment: Begin by aligning the cut and shaped case components according to the design specifications. Ensure that the mounting holes, screw recesses, and structural elements are positioned accurately to facilitate seamless assembly.
- Fastening and Securing: Utilize appropriate fastening methods such as screws, standoffs, or adhesives to secure the case components together. Pay attention to the recommended torque values for fasteners to prevent over-tightening or under-tightening, which can affect the structural integrity of the case.
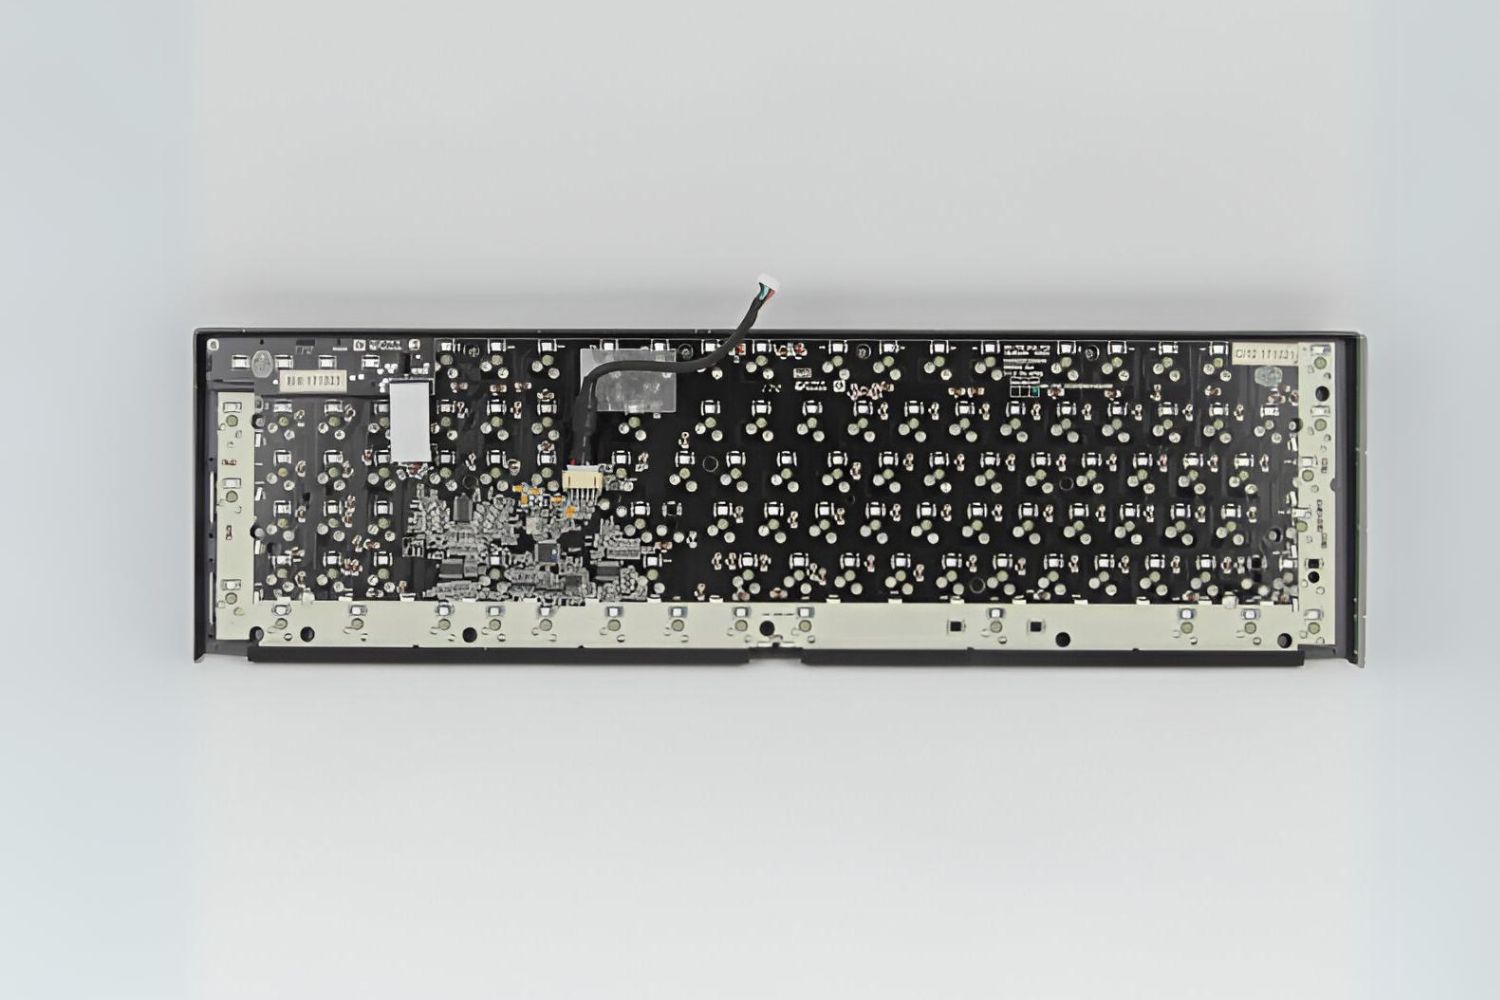
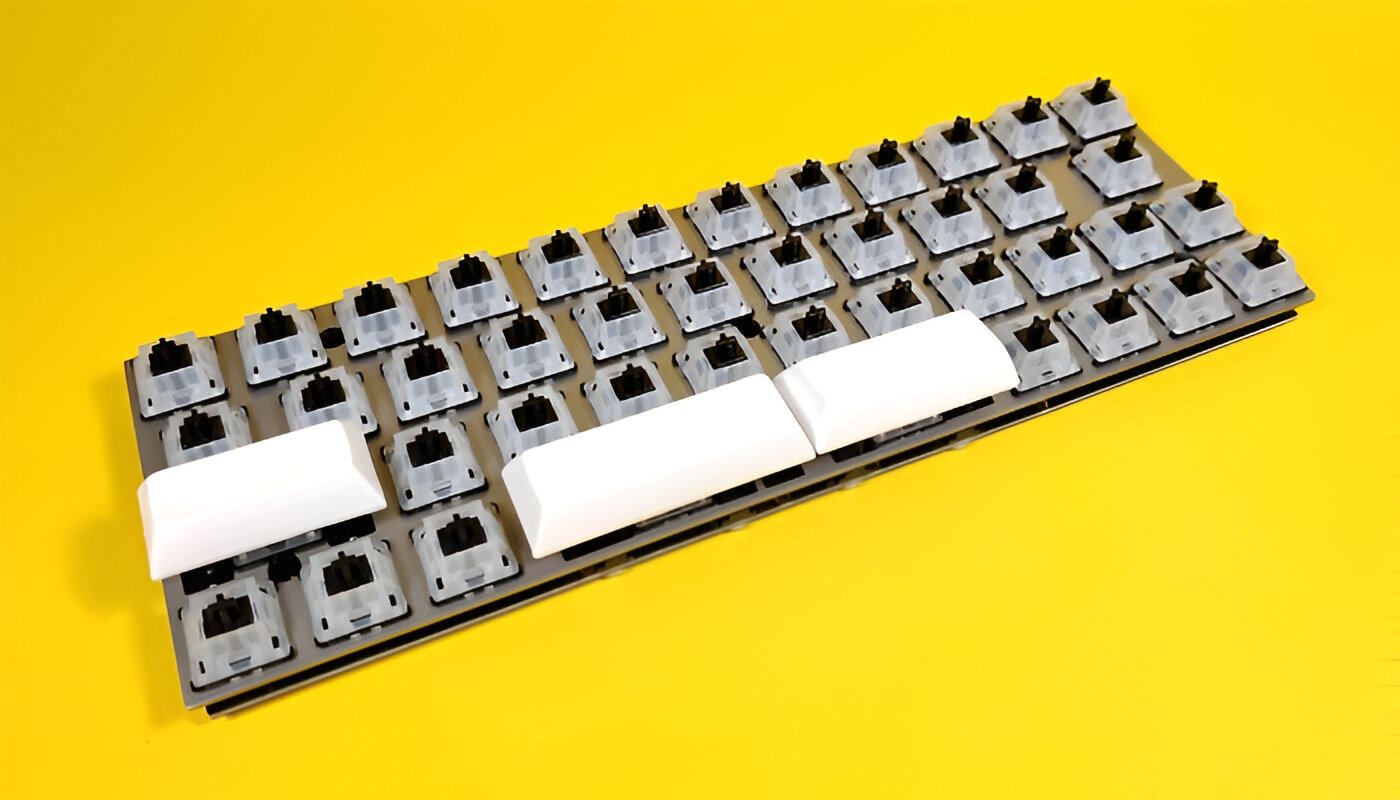
- Internal Component Installation: Carefully install the keyboard’s internal components, including the PCB, switches, stabilizers, and any additional features such as LED lighting or programmable controllers. Follow the manufacturer’s guidelines and assembly instructions to ensure proper alignment and electrical connectivity.
- Cable Management: Organize and route the cables within the case to minimize clutter and optimize the internal space. Proper cable management not only enhances the aesthetics of the keyboard but also contributes to efficient maintenance and troubleshooting in the future.
- Functional Testing: Once the case components and internal hardware are assembled, conduct thorough functional testing to ensure that all keys register correctly, the lighting functions as intended (if applicable), and the overall typing experience meets your expectations.
Assembling the keyboard case is a culmination of precision, craftsmanship, and attention to detail. By following the design specifications and assembly guidelines meticulously, you can bring together the individual elements into a cohesive and visually striking mechanical keyboard case that reflects your creative vision and technical prowess.
Conclusion
Congratulations on completing the journey of crafting your own mechanical keyboard case from scratch. Throughout this guide, we have explored the intricate process of selecting materials, designing the case, cutting and shaping the material, and finally assembling the components into a functional and personalized keyboard case. As you reflect on this enriching experience, it’s important to recognize the significance of this achievement and the skills you have acquired along the way.
By carefully choosing the materials, you have not only tailored the aesthetics of your keyboard but also imbued it with durability and character. The design phase allowed you to exercise creativity and precision, shaping the visual and ergonomic aspects of the case to align with your unique preferences. The meticulous cutting and shaping of the material required patience and attention to detail, resulting in the transformation of raw materials into refined components of the case. Finally, the assembly process brought together the culmination of your efforts, culminating in a fully functional and visually captivating mechanical keyboard case.
As you admire the finished product, take pride in the craftsmanship and dedication that have gone into creating a keyboard case that is truly your own. Whether it’s the natural warmth of wood, the modern allure of aluminum, or the contemporary transparency of acrylic, your choice of materials has contributed to a keyboard case that not only serves as a protective enclosure but also stands as a testament to your creativity and technical skill.
Remember that this journey is not just about the destination, but also the knowledge and experience gained along the way. The skills acquired in crafting a mechanical keyboard case extend beyond this project, empowering you to explore further customizations and delve into the world of DIY electronics and design. Embrace the satisfaction of bringing your vision to life and cherish the unique keyboard case that now graces your workspace.
As you continue to explore the realm of custom keyboards and DIY projects, may this experience serve as a testament to your ingenuity and passion for creating personalized and functional works of art.


