Introduction
Welcome to the world of mechanical keyboards! If you're tired of the mushy feel of membrane keyboards or the limited customization options of pre-built mechanical keyboards, then building your own mechanical keyboard might be the perfect solution for you. Building a mechanical keyboard from scratch allows you to select each component to match your preferences, from the type of switches to the keycaps and even the case design. It's a rewarding and personalized experience that can elevate your typing and gaming experiences to new heights.
Building a mechanical keyboard is not just about assembling the parts; it's a journey of self-expression and creativity. With a wide array of switch options, keycap designs, and customizable layouts, you have the freedom to create a keyboard that truly reflects your personality and enhances your productivity or gaming performance. In this guide, we'll walk you through the process of building your own mechanical keyboard, from choosing the right components to programming and customizing the final product. Whether you're a keyboard enthusiast, a programmer, a writer, or a gamer, this guide will equip you with the knowledge and inspiration to embark on this exciting DIY project.
Stay tuned as we delve into the intricate world of mechanical keyboards, where each keystroke becomes a reflection of your unique style and preference. Let's explore the art of crafting a keyboard that goes beyond mere functionality, transforming it into a personalized masterpiece that you'll cherish with every tap of the keys.
Choosing the Right Components
When embarking on the journey of building your own mechanical keyboard, the first and most crucial step is selecting the right components. Each component contributes to the overall feel, sound, and aesthetics of your keyboard, so it’s essential to make informed decisions based on your preferences and typing style. Here are the key components to consider:
- Switches: The switches determine the typing experience, with options ranging from clicky and tactile to linear. Cherry MX, Gateron, and Kailh are popular switch brands, each offering distinct characteristics. Consider factors such as actuation force, tactile feedback, and noise level when choosing the switches that best suit your typing or gaming needs.
- Keycaps: Keycaps come in various materials, profiles, and designs. Whether you prefer the classic look of PBT keycaps or the vibrant colors of double-shot ABS keycaps, the keycap material and profile can significantly impact the overall aesthetics and feel of your keyboard.
- PCB (Printed Circuit Board): The PCB serves as the backbone of your keyboard, connecting the switches to the controller. Opt for a PCB that supports your desired layout and features, such as hot-swappable sockets for easy switch replacement or RGB lighting for a visually stunning effect.
- Stabilizers: Stabilizers ensure that larger keys like the spacebar and shift keys press down evenly. Choose genuine Cherry or GMK stabilizers for smooth and consistent keypresses, minimizing wobbling and enhancing the overall typing experience.
- Case: The case not only houses all the components but also contributes to the keyboard’s aesthetics and sound profile. Aluminum, polycarbonate, and wood are popular case materials, each offering unique characteristics in terms of durability and resonance.
- Controller: The controller manages the keyboard’s input and functionality. Consider a programmable controller that allows for custom key mappings and macros, empowering you to tailor the keyboard to your specific workflow or gaming requirements.
By carefully selecting these components based on your preferences, you can create a keyboard that not only looks stunning but also delivers a typing or gaming experience tailored to your exact specifications. The next step is to assemble these components into a cohesive and functional keyboard, which we’ll explore in the following section.
Assembling the Keyboard
Once you’ve gathered all the essential components for your custom mechanical keyboard, the next exhilarating phase is assembling them into a cohesive and functional unit. This process allows you to witness your personalized keyboard taking shape and coming to life. Here’s a step-by-step guide to assembling your mechanical keyboard:
- Prepare the Workspace: Find a well-lit and spacious area to work on your keyboard assembly. Ensure that you have all the necessary tools, such as a screwdriver, keycap puller, and tweezers, within reach.
- Mount the Switches: If your PCB does not have pre-soldered switches, carefully insert each switch into the designated slots on the PCB. Ensure that the switches are aligned properly and snap securely into place.
- Install the Stabilizers: If your keyboard requires stabilizers, insert and secure them onto the PCB. Ensure that the stabilizers are properly lubricated to minimize friction and provide smooth keypresses.
- Attach the PCB to the Case: Place the PCB into the case, ensuring that it fits snugly and aligns with the mounting points. Use the provided screws to secure the PCB in place, taking care not to overtighten them.
- Mount the Keycaps: Gently press each keycap onto the corresponding switch stem, ensuring that they are aligned and fully seated. Take your time to arrange the keycaps according to your preferred layout and aesthetic preferences.
- Connect the Controller: If your keyboard uses a separate controller, connect it to the PCB as per the manufacturer’s instructions. This step is crucial for enabling the keyboard’s programmability and custom features.
- Test the Keyboard: Before fully assembling the keyboard, perform a quick functionality test to ensure that all keys register correctly. Use a key testing tool or a computer to verify that each switch and modifier key functions as intended.
- Secure the Case: Once you’ve confirmed that the keyboard is functioning properly, secure the case by fastening any remaining screws or attaching the top and bottom halves, depending on the case design.
As you complete each step, take the time to appreciate the progress and attention to detail that goes into assembling a custom mechanical keyboard. The satisfaction of building a keyboard tailored to your preferences is unparalleled, and it sets the stage for the next exciting phase: programming and customizing your newly assembled keyboard, which we’ll explore in the following section.
Programming the Keyboard
Upon successfully assembling the physical components of your custom mechanical keyboard, the next empowering step is programming its functionality to align with your specific needs and preferences. Customizing the key mappings, creating macros, and fine-tuning the RGB lighting, if applicable, are all part of the programming process. Here’s a guide to programming your mechanical keyboard:
- Choose a Firmware: Select a firmware that suits your programming skill level and desired features. QMK and VIA are popular firmware options, offering extensive customization capabilities and user-friendly interfaces.
- Configure Key Mappings: Access the firmware’s configuration tool and define the layout and function of each key. Whether you prefer a standard QWERTY layout or a customized ergonomic layout, the firmware allows you to assign specific functions to each key according to your workflow or gaming requirements.
- Create Macros: Macros enable you to execute complex commands or strings of text with a single keypress. Whether it’s for coding, productivity tasks, or gaming, programming macros can significantly enhance your efficiency and streamline repetitive actions.
- Adjust RGB Lighting (If Applicable): If your keyboard features RGB lighting, use the firmware to customize the lighting effects, colors, and brightness to create a visually captivating keyboard that complements your setup or reflects your personal style.
- Compile and Flash the Firmware: Once you’ve configured the desired settings, compile the firmware and flash it onto the keyboard’s controller. This process ensures that your custom key mappings, macros, and lighting configurations are applied to the keyboard’s functionality.
- Test the Functionality: After flashing the firmware, thoroughly test the keyboard to ensure that the programmed key mappings, macros, and lighting effects work as intended. Verify that each key performs its assigned function and that the RGB lighting, if applicable, illuminates according to your custom configurations.
Programming your mechanical keyboard not only enhances its functionality but also reflects your unique usage patterns and preferences. The ability to tailor the keyboard’s behavior to align with your specific workflow or gaming style is a testament to the unparalleled customization potential of building your own keyboard. With the programming phase complete, the final touch lies in customizing the keyboard’s aesthetics, which we’ll explore next.
Customizing the Keyboard
With the physical assembly and programming of your custom mechanical keyboard accomplished, it’s time to delve into the realm of aesthetic customization. Elevating the visual appeal of your keyboard through personalized keycap sets, artisan keycaps, and custom cables allows you to imbue it with a touch of individuality and style. Here’s how you can customize the aesthetics of your mechanical keyboard:
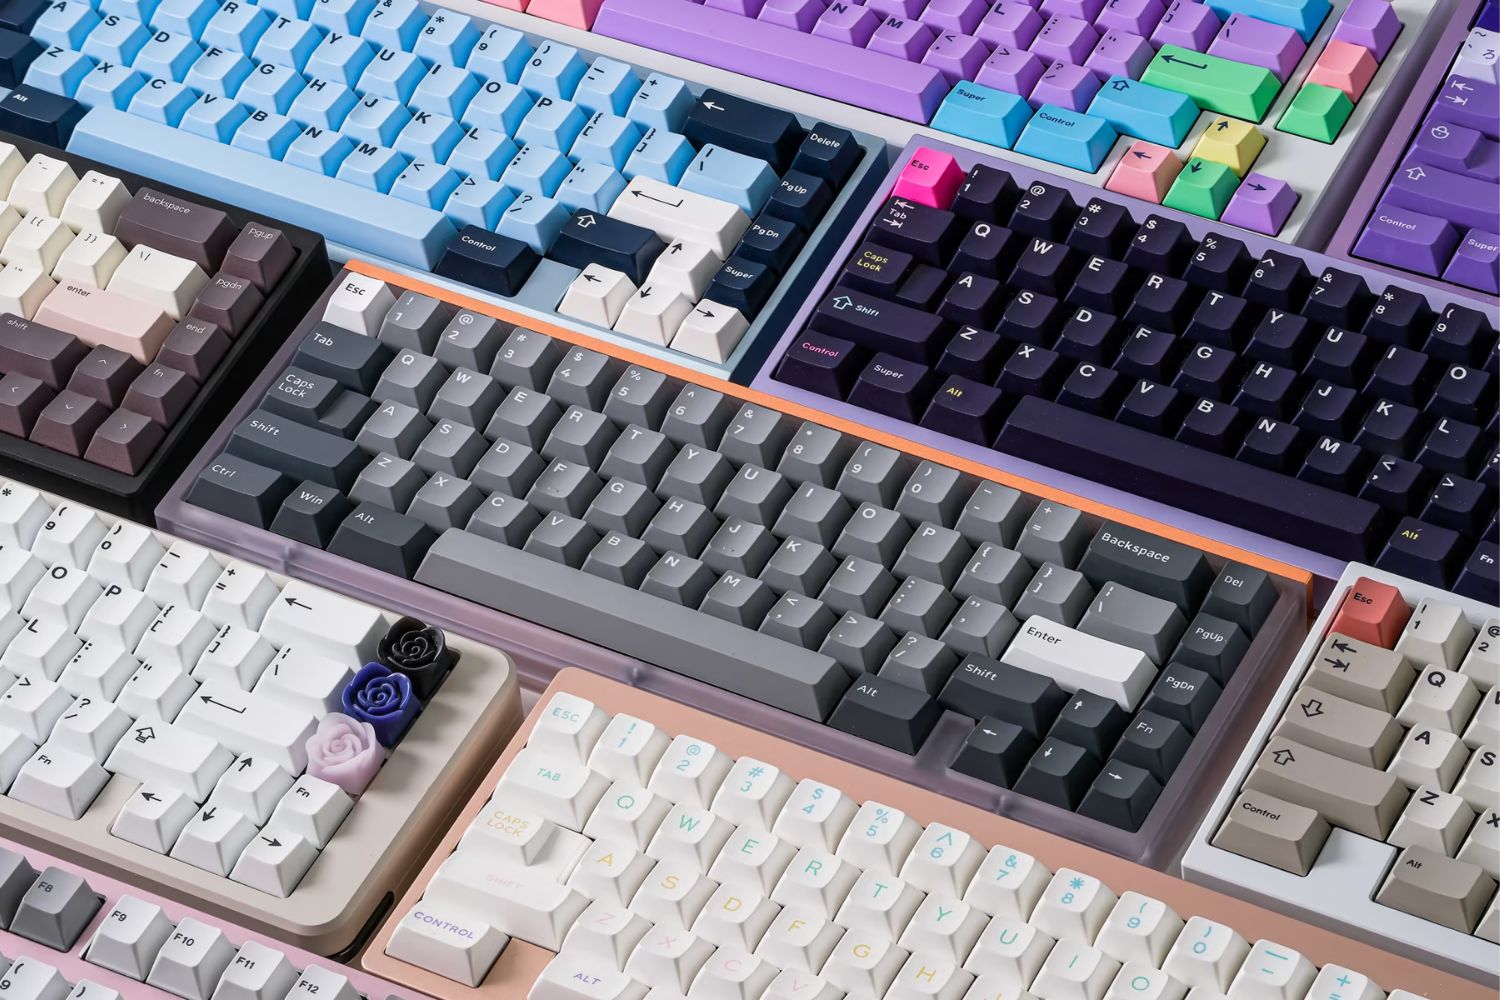
- Choose Keycap Sets: Explore a myriad of keycap sets available in various materials, colors, and profiles. Whether you prefer the understated elegance of blank PBT keycaps, the striking visuals of double-shot ABS keycaps, or the premium feel of dye-sublimated PBT keycaps, selecting the right keycap set can transform the look and feel of your keyboard.
- Artisan Keycaps: Artisan keycaps, often handcrafted by skilled artisans, add a touch of artistry and uniqueness to your keyboard. These intricately designed keycaps come in a wide range of themes and designs, allowing you to showcase your personality and interests through your keyboard’s visual presentation.
- Custom Cables: Custom-made cables with vibrant colors, patterns, and materials can complement the overall aesthetic of your keyboard setup. Whether it’s a coiled aviator cable or a sleek paracord cable, the right custom cable can add a striking visual element to your keyboard and desk space.
- Artwork and Desk Accessories: Consider incorporating desk accessories such as artisan wrist rests, desk mats with captivating artwork, or custom keyboard cases to further enhance the visual cohesion of your keyboard setup.
By carefully selecting keycap sets, artisan keycaps, custom cables, and complementary desk accessories, you can curate a keyboard setup that reflects your individuality and aesthetic preferences. The visual impact of a customized keyboard extends beyond mere functionality, creating an immersive and personalized typing or gaming experience that resonates with your unique style.
As you immerse yourself in the world of aesthetic customization, remember that the journey of building a custom mechanical keyboard is a continuous exploration of self-expression and creativity. Your keyboard becomes a canvas through which you can showcase your personality and passion, making each keystroke a reflection of your individuality.
Conclusion
Congratulations on embarking on the exhilarating journey of building your own mechanical keyboard! From meticulously selecting the components to assembling, programming, and customizing the keyboard, you’ve ventured into a realm of creativity and personalization that transcends the conventional typing or gaming experience.
Building a custom mechanical keyboard is more than just a DIY project; it’s a testament to your individuality and attention to detail. The tactile satisfaction of pressing each key, knowing that it was chosen, assembled, and programmed to your exact specifications, adds a profound sense of ownership and pride to your typing or gaming setup.
As you immerse yourself in the world of mechanical keyboards, you join a vibrant community of enthusiasts who share a passion for innovation, customization, and the pursuit of an exceptional typing or gaming experience. Your custom keyboard is a reflection of your unique style, preferences, and creativity, setting you apart in a sea of mass-produced peripherals.
Remember, the journey of building a custom mechanical keyboard is an ongoing exploration. As new switches, keycap designs, and customization options emerge, your keyboard can evolve alongside your preferences and tastes. Embrace the ever-expanding possibilities for personalization and continue to refine and enhance your keyboard setup to reflect the truest expression of your individuality.
Whether you’re a seasoned keyboard enthusiast or a newcomer to the world of custom mechanical keyboards, the experience of crafting your own keyboard is a rewarding and empowering endeavor. Every keystroke becomes a testament to your dedication and creativity, making your custom mechanical keyboard a cherished companion in your daily endeavors.
So, as you revel in the tactile symphony of your custom switches and admire the captivating visuals of your personalized keycap sets, remember that your keyboard is more than a tool—it’s a reflection of your unique identity and a testament to the boundless creativity that drives the mechanical keyboard community forward.