Introduction
Connecting a game controller to a smart TV can significantly enhance your gaming experience, allowing you to enjoy your favorite games on a larger screen with more immersive visuals. Whether you're a casual gamer or a dedicated enthusiast, the process of hooking up a game controller to your smart TV is relatively straightforward and can be accomplished in just a few simple steps.
In this guide, we'll walk you through the process of connecting a game controller to your smart TV, whether it's through a wired USB connection or a wireless Bluetooth pairing. With the increasing popularity of smart TVs and the growing library of games available for these platforms, being able to use a game controller provides a more comfortable and intuitive way to play.
By following the steps outlined in this guide, you'll be able to seamlessly connect your game controller to your smart TV and start enjoying your favorite games in no time. So, let's dive into the process and get your game controller set up for an enhanced gaming experience on your smart TV.
Step 1: Check Compatibility
Before you begin the process of connecting your game controller to your smart TV, it’s crucial to ensure that the controller is compatible with your specific TV model. Not all smart TVs support the same types of game controllers, so it’s essential to verify compatibility to avoid any potential issues.
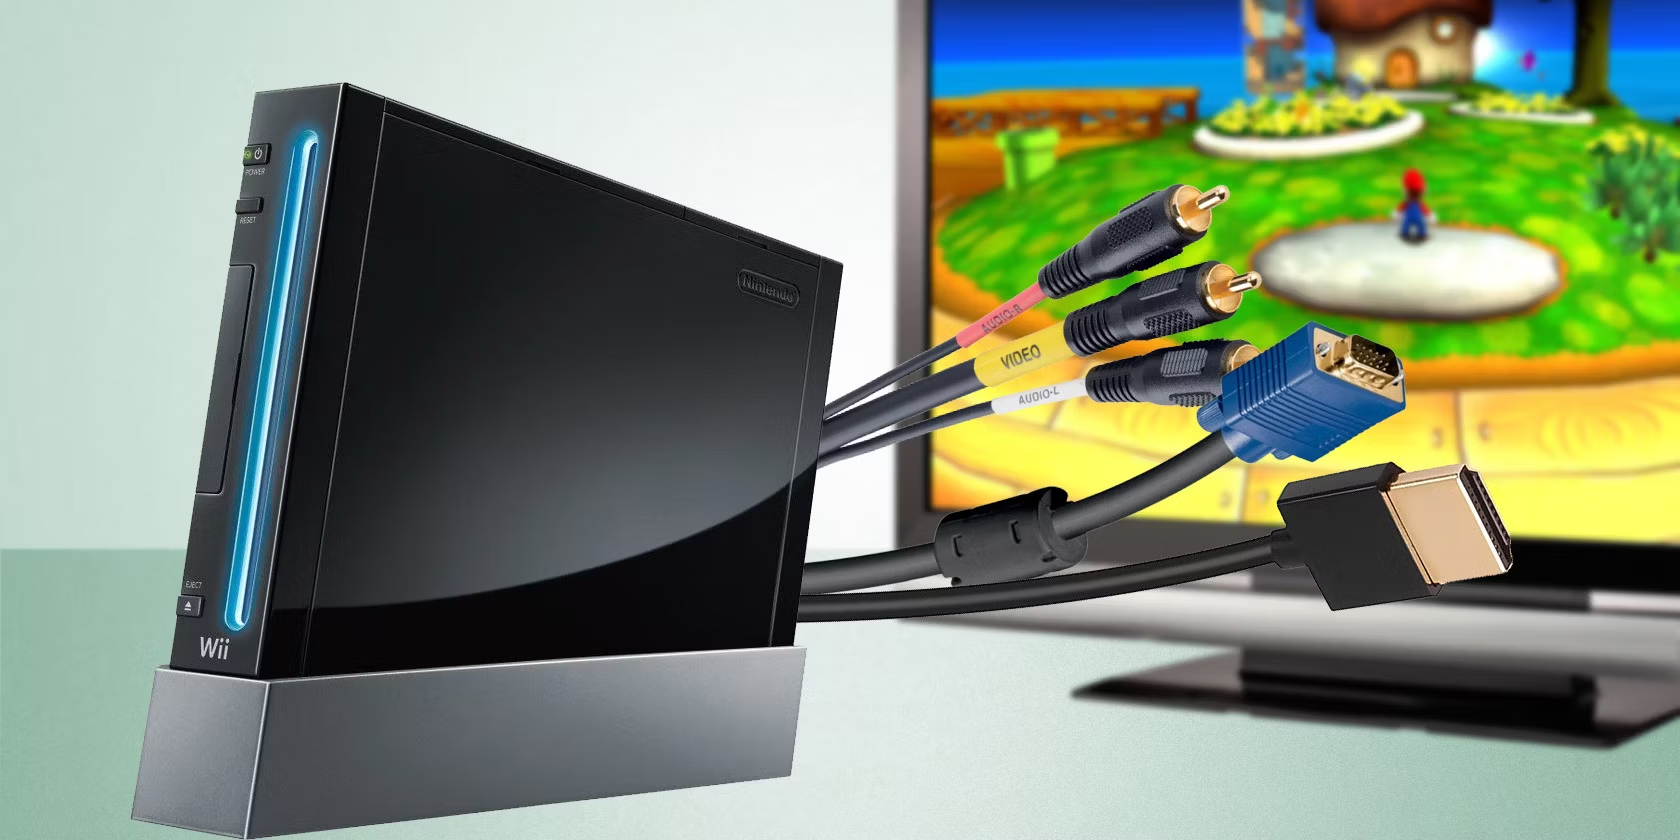
Start by consulting the user manual or the official website of your smart TV manufacturer to determine the types of game controllers that are supported. Some smart TVs are designed to work seamlessly with popular game controllers such as those from major gaming consoles like PlayStation and Xbox. Additionally, certain smart TVs may require specific adapters or accessories to enable game controller connectivity.
If you’re uncertain about compatibility, reach out to the customer support team of the smart TV manufacturer for clarification. They can provide valuable insights and guidance on which game controllers are compatible with your specific smart TV model.
Once you’ve confirmed compatibility, you can proceed with the process of connecting your game controller to your smart TV, knowing that the hardware is designed to work together effectively. By taking this initial step, you can avoid potential frustration and ensure a smooth setup process for your game controller and smart TV.
Step 2: Connect via USB
Connecting your game controller to your smart TV via USB is a convenient and reliable method that provides a direct, wired connection for seamless gameplay. Many modern smart TVs feature USB ports that can be used to connect peripherals, including game controllers. Follow these steps to connect your game controller to your smart TV using a USB cable:
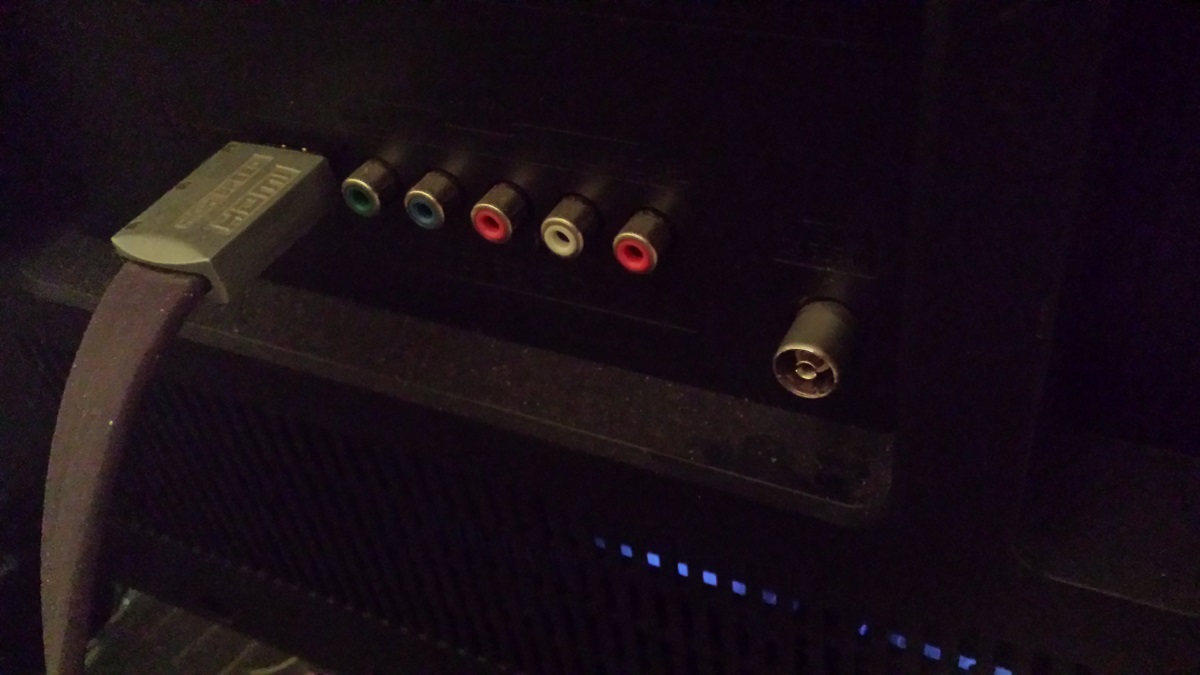
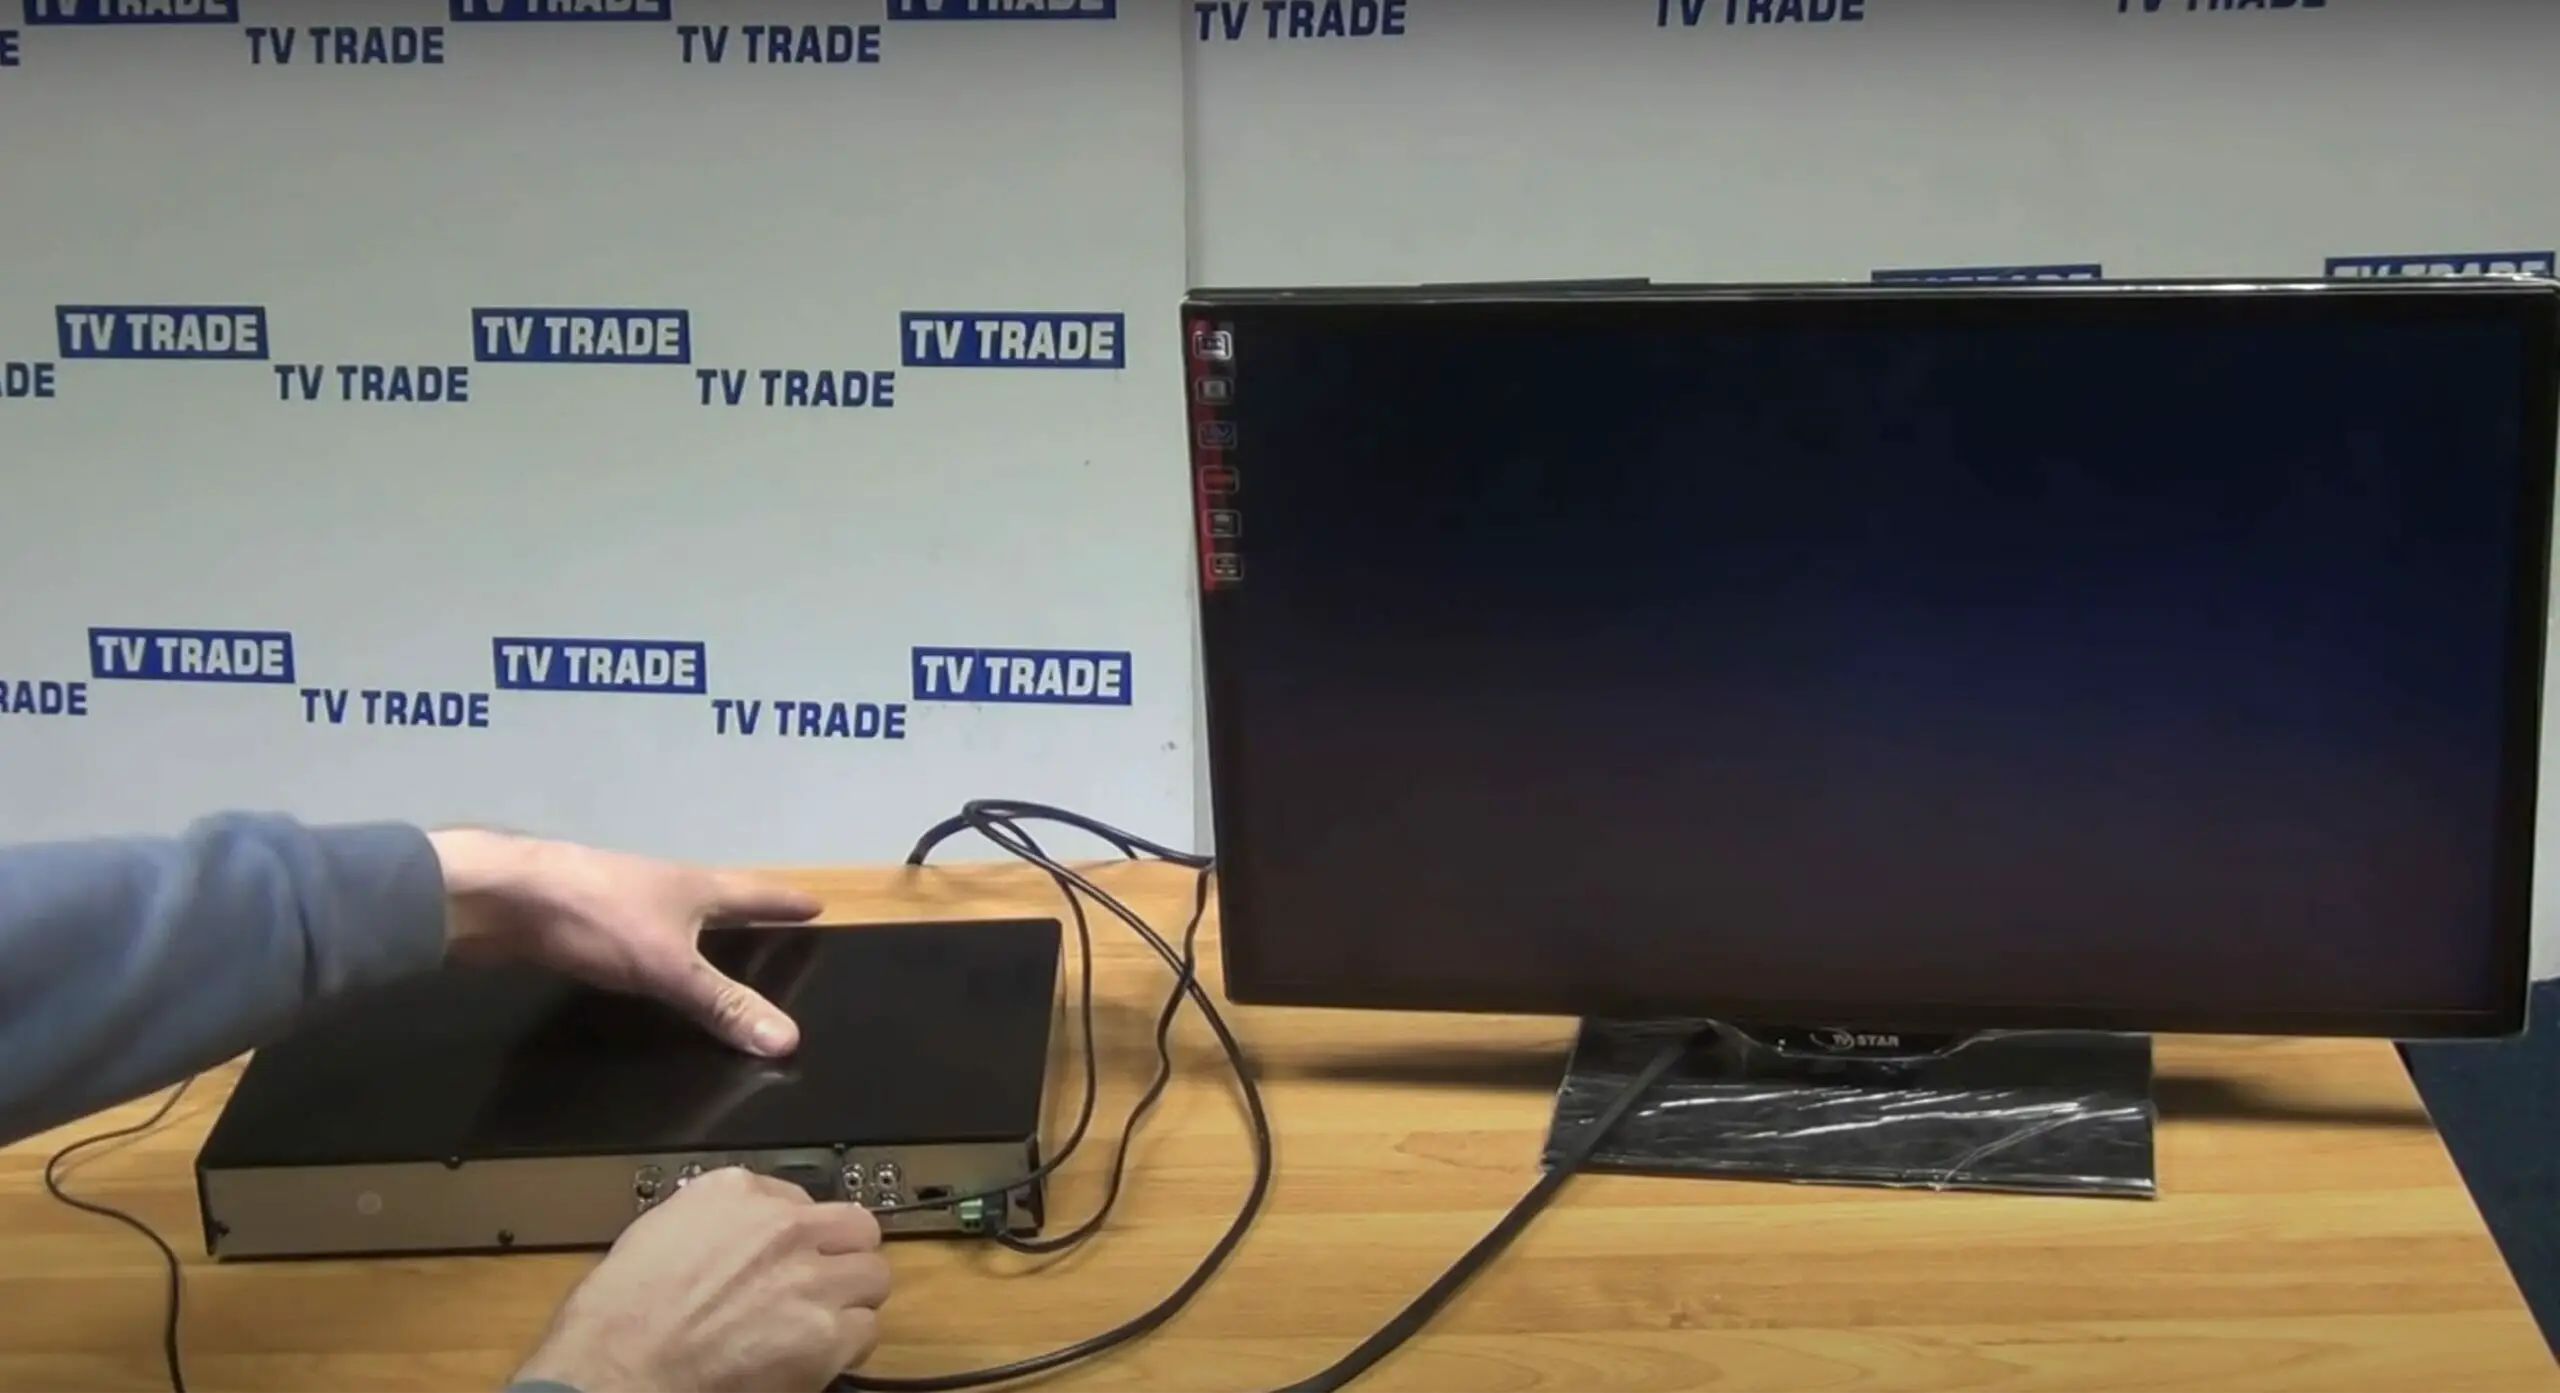
- Locate the USB Port: Begin by identifying the USB port on your smart TV. This port is typically located on the back or side of the TV and is used for connecting various devices, including game controllers, external storage, and other peripherals.
- Connect the USB Cable: Using a compatible USB cable, connect one end to the USB port on your smart TV and the other end to the game controller. Ensure that the connection is secure to establish a reliable link between the controller and the TV.
- Power On the Controller: Once the USB cable is connected, power on the game controller. Some controllers may require you to press a specific button to initiate the connection process, while others may automatically detect the USB connection.
- Check for Recognition: After connecting the controller, check your smart TV to verify that the game controller is recognized. Depending on the TV model, you may see a notification or prompt indicating that a new device has been connected.
- Configure Settings (if necessary): In some cases, you may need to access the TV’s settings menu to configure the game controller for optimal performance. This may involve adjusting input settings or assigning specific functions to the controller’s buttons.
By following these steps, you can successfully connect your game controller to your smart TV using a USB connection, providing a reliable and responsive gaming experience without the need for additional wireless setup.
Step 3: Connect via Bluetooth
Connecting your game controller to your smart TV via Bluetooth offers the convenience of a wireless connection, eliminating the need for a physical cable and providing greater flexibility during gameplay. Many modern game controllers are equipped with Bluetooth capabilities, allowing them to be paired with smart TVs that support this wireless technology. Follow these steps to connect your game controller to your smart TV via Bluetooth:
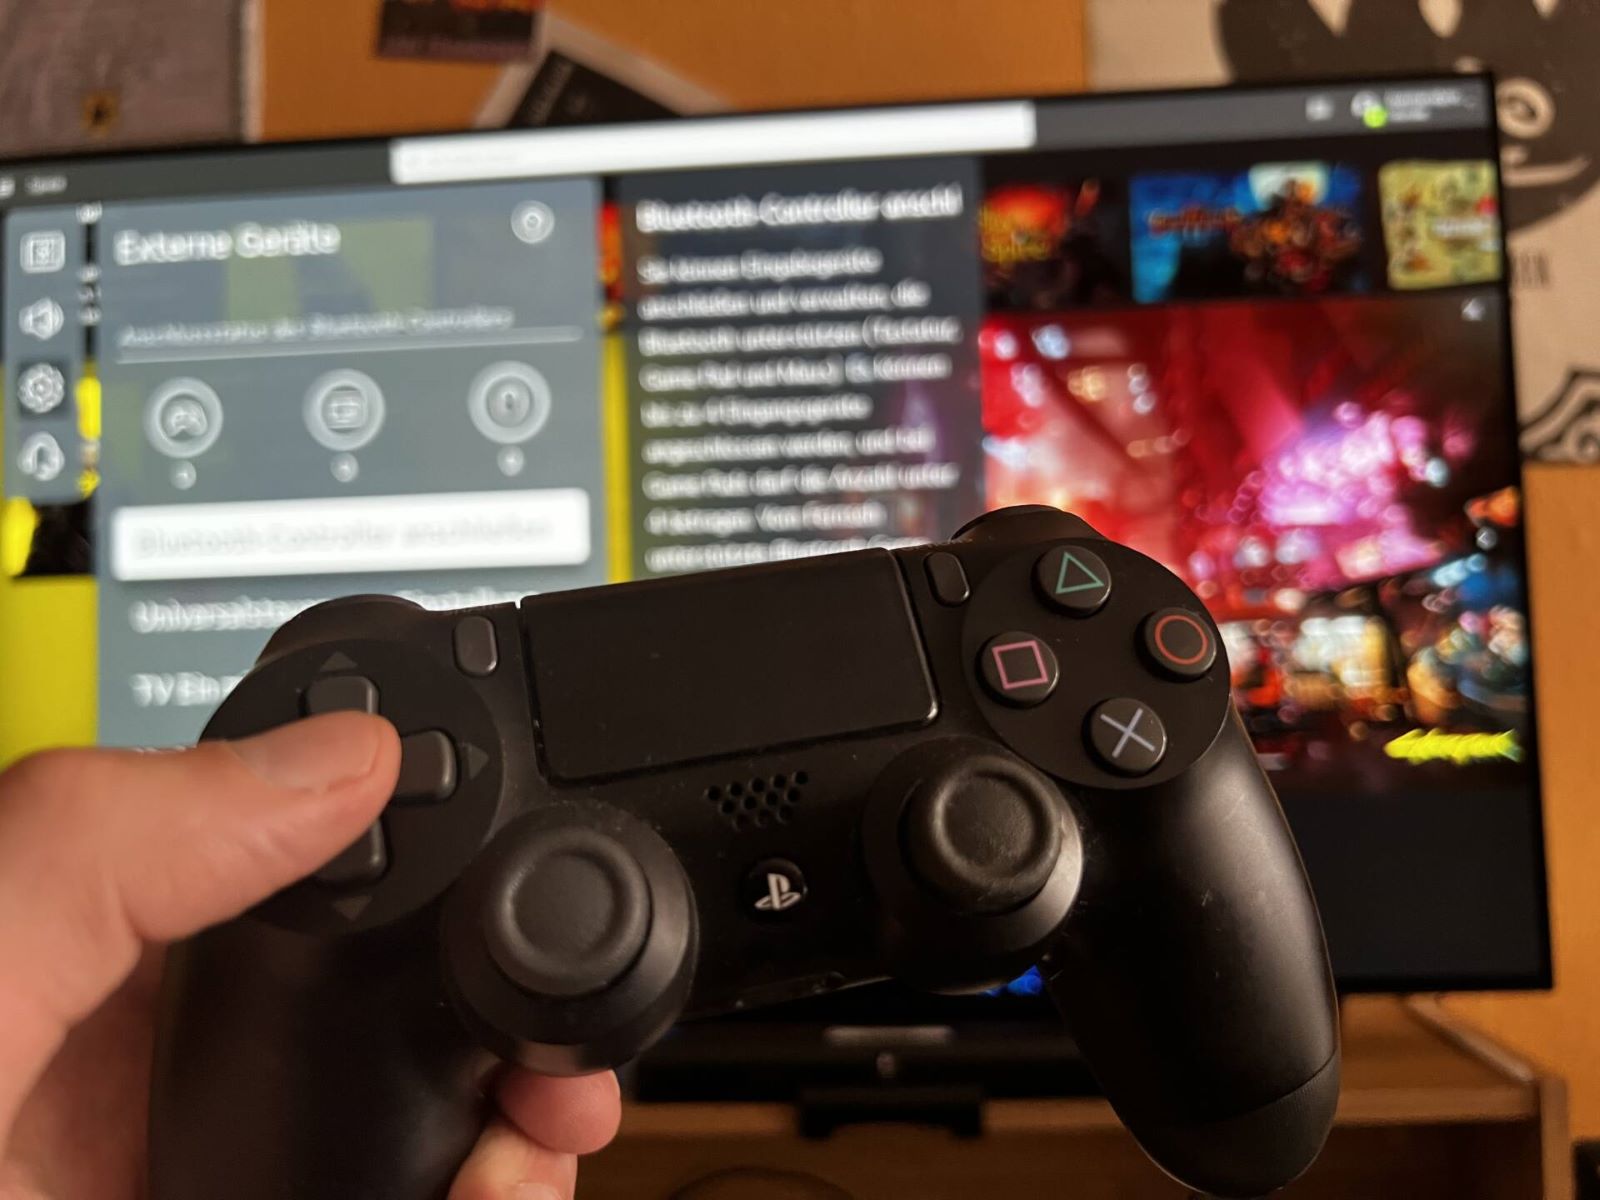
- Enable Bluetooth on the Smart TV: Start by accessing the settings menu on your smart TV and navigating to the Bluetooth or Wireless Connectivity section. Enable Bluetooth functionality to allow the TV to detect and pair with external devices.
- Put the Controller in Pairing Mode: Refer to the user manual or instructions provided with your game controller to initiate the pairing process. This typically involves pressing a specific combination of buttons to activate the controller’s Bluetooth pairing mode.
- Initiate Pairing on the Smart TV: Once the controller is in pairing mode, use the smart TV’s interface to search for available Bluetooth devices. Locate the game controller in the list of detected devices and select it to initiate the pairing process.
- Confirm Pairing: After selecting the game controller for pairing, follow any on-screen prompts to confirm the connection. Depending on the TV model, you may be prompted to enter a pairing code or simply confirm the pairing request.
- Verify Connection: Once the pairing process is complete, verify that the game controller is successfully connected to the smart TV. You may see a confirmation message or icon indicating that the controller is now paired and ready for use.
By following these steps, you can establish a wireless Bluetooth connection between your game controller and your smart TV, providing the freedom to enjoy gaming without the constraints of a physical cable.
Step 4: Configure Controller Settings
Once your game controller is successfully connected to your smart TV, it’s important to ensure that the controller settings are configured to optimize your gaming experience. Depending on the specific game you’re playing and your personal preferences, adjusting the controller settings can enhance responsiveness, button mapping, and overall gameplay comfort. Here are the key steps to configure your game controller settings:
- Access the Game Settings: If the game you’re playing offers customizable controller settings, navigate to the game’s options or settings menu to access the controller configuration options. This may include button mapping, sensitivity adjustments, and other controller-specific settings.
- Calibrate the Controller (if necessary): Some smart TVs allow you to calibrate the game controller for optimal performance. This may involve fine-tuning the analog sticks, adjusting trigger sensitivity, or ensuring that the controller’s input aligns accurately with on-screen actions.
- Customize Button Mapping: Depending on your preferred gaming style, you may want to customize the button mapping to suit your individual preferences. This can involve reassigning specific functions to different buttons or adjusting the layout for improved comfort and accessibility during gameplay.
- Test the Settings: After making any adjustments to the controller settings, take the time to test the changes within the game environment. This allows you to ensure that the controller behaves as expected and that the settings enhancements positively impact your gaming experience.
- Save the Configuration: Once you’re satisfied with the controller settings, be sure to save the configuration within the game’s settings menu. This ensures that your customized controller settings are retained for future gaming sessions.
By following these steps to configure your game controller settings, you can tailor the gaming experience to your preferences, ensuring that the controller responds precisely to your input and enhances your overall enjoyment of the game.
Conclusion
Connecting a game controller to your smart TV opens up a world of immersive gaming experiences, allowing you to enjoy your favorite games on a larger screen with enhanced comfort and control. Whether you opt for a wired USB connection or the convenience of a wireless Bluetooth pairing, the process of hooking up a game controller to your smart TV is straightforward and rewarding.
By checking for compatibility, exploring both USB and Bluetooth connectivity options, and configuring the controller settings to your liking, you can create a gaming environment that aligns perfectly with your preferences and gaming style. The ability to seamlessly connect a game controller to your smart TV enhances accessibility and provides a more engaging gaming experience for players of all levels.
As smart TVs continue to evolve and offer an ever-expanding selection of games and entertainment options, the integration of game controllers further enriches the overall entertainment experience. Whether you’re indulging in single-player adventures, competing in multiplayer battles, or simply relaxing with casual gaming sessions, the addition of a game controller to your smart TV setup offers a new dimension of enjoyment.
With the guidance provided in this comprehensive guide, you can confidently navigate the process of connecting and configuring a game controller for your smart TV, unlocking the full potential of your gaming endeavors. Embrace the seamless connectivity, personalized settings, and enhanced gameplay that a game controller brings to your smart TV, and elevate your gaming experiences to new heights.