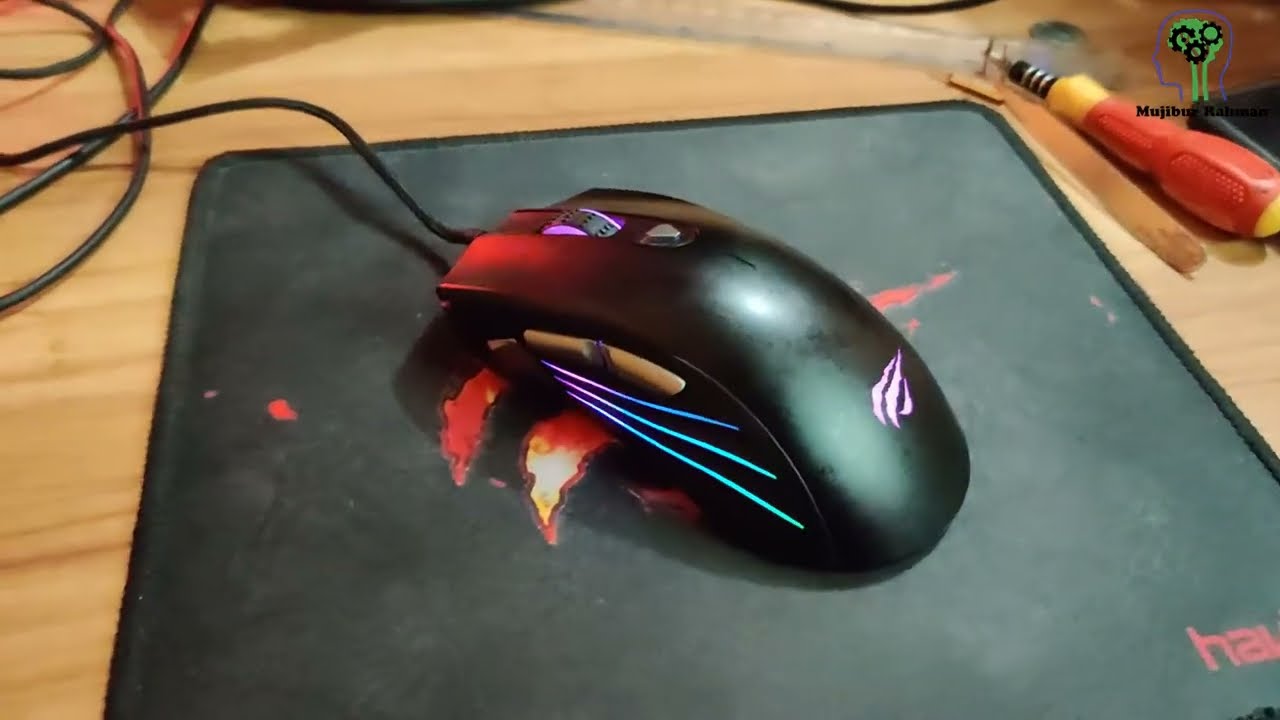
Introduction
Are you ready to take your gaming experience to the next level? The Utech Smart gaming mouse is a powerful tool that can enhance your gameplay with its precision and customizable features. However, like any electronic device, it requires regular maintenance to ensure optimal performance. In this guide, we will walk you through the process of disassembling and reassembling your Utech Smart gaming mouse for cleaning and maintenance.
Taking apart and cleaning your gaming mouse may seem like a daunting task, but with the right tools and a step-by-step approach, it can be a straightforward process. By following the instructions in this guide, you can keep your Utech Smart gaming mouse in top condition, free from dust, debris, and any potential performance-hindering issues.
Whether you are a seasoned gamer or new to the world of gaming peripherals, understanding how to disassemble and reassemble your Utech Smart gaming mouse can extend its lifespan and ensure that it continues to deliver the precision and responsiveness you rely on during intense gaming sessions. So, grab your tools and let's dive into the process of maintaining your Utech Smart gaming mouse for an optimal gaming experience.
Tools Required
Before embarking on the disassembly and reassembly of your Utech Smart gaming mouse, it’s essential to gather the necessary tools to ensure a smooth and efficient process. Here are the tools you will need:
- Phillips head screwdriver: This tool is essential for removing the screws that hold the mouse together. Ensure that the screwdriver fits the size of the screws to avoid damaging them during the removal process.
- Plastic prying tool or spudger: Using a plastic prying tool or spudger can help gently separate the components of the mouse without causing damage to the plastic casing or internal components.
- Cotton swabs: These are useful for cleaning hard-to-reach areas and removing dust and debris from intricate parts of the mouse.
- Cleaning solution: A mild cleaning solution or isopropyl alcohol can be used to clean the exterior and interior components of the mouse, ensuring a thorough and hygienic cleaning process.
- Microfiber cloth: To wipe down and dry the components after cleaning, a microfiber cloth is ideal for preventing lint and leaving a streak-free finish.
- Container for screws: It’s crucial to have a small container or magnetic tray to keep track of the screws and small components removed during the disassembly process, preventing loss or misplacement.
By having these tools at your disposal, you can proceed with confidence, knowing that you are well-equipped to disassemble, clean, and reassemble your Utech Smart gaming mouse with precision and care.
Disassembling the Utech Smart Gaming Mouse
Before beginning the disassembly process, ensure that the mouse is unplugged from your computer or gaming device. This step is crucial to prevent any electrical mishaps and to ensure your safety throughout the process.
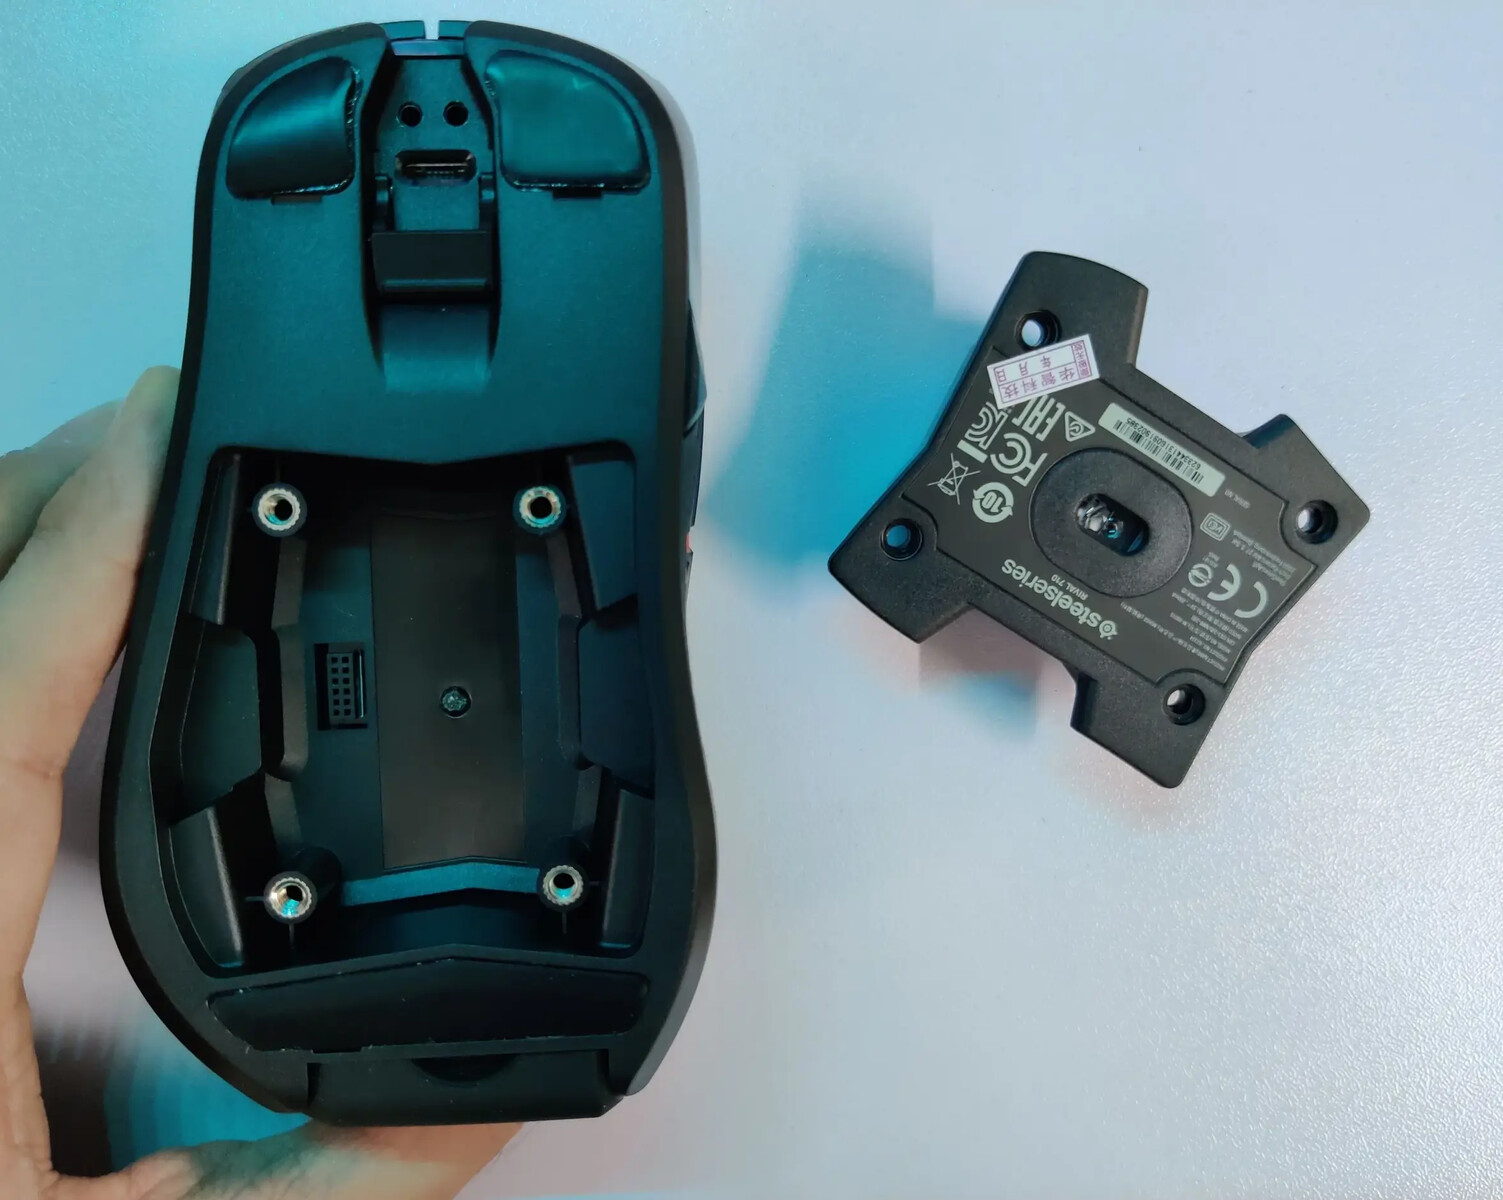
Start by flipping the mouse over to access the underside. You will typically find several screws securing the mouse’s casing. Using the appropriate Phillips head screwdriver, carefully remove these screws and place them in a designated container to prevent misplacement.
Once the screws have been removed, gently pry apart the top and bottom halves of the mouse using a plastic prying tool or spudger. Take care not to apply excessive force, as this can damage the plastic casing or the internal components of the mouse.
As you separate the halves, be mindful of any cables or ribbons that may be connected between the two sections. These cables are delicate and should be disconnected with caution to avoid damage. Take note of their placement and orientation to facilitate reassembly later on.
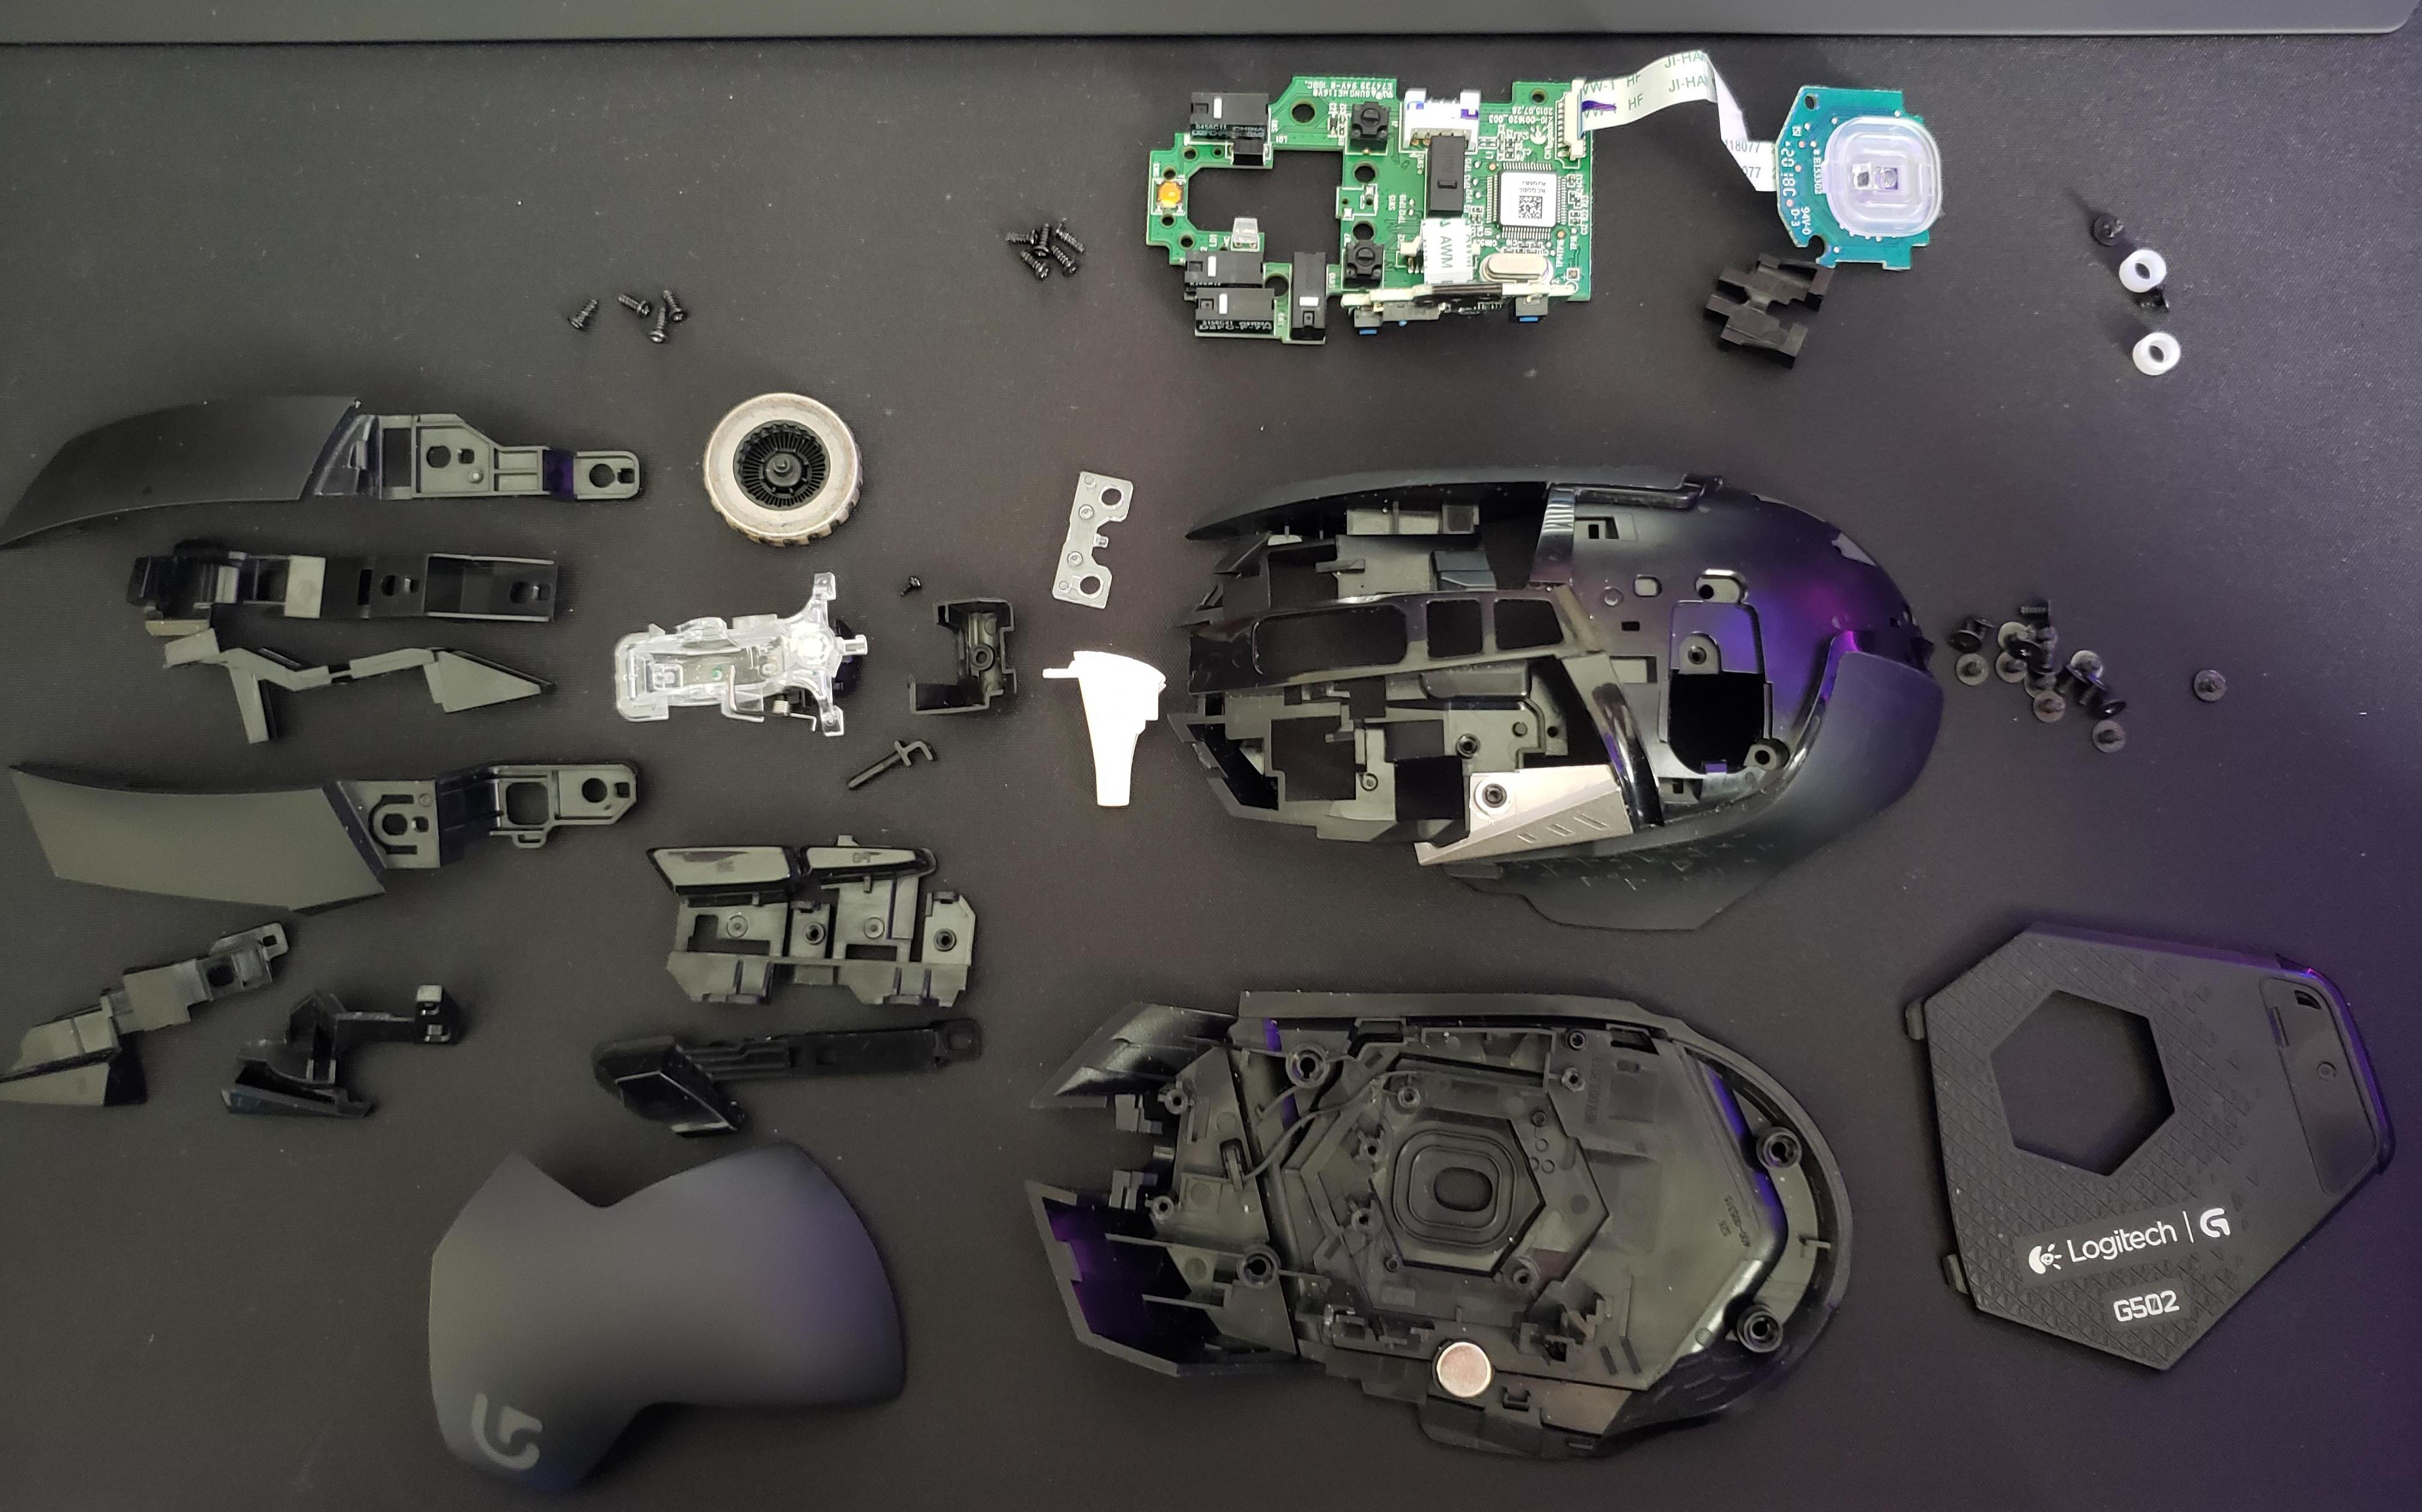
With the top and bottom halves separated, you will have access to the internal components of the mouse, including the circuit board, switches, and scroll wheel mechanism. Take your time to examine the components and identify areas that may require cleaning or maintenance.
Throughout the disassembly process, it’s essential to work in a clean and well-lit area to prevent the loss of small components and to facilitate a thorough inspection of the mouse’s interior. By proceeding methodically and attentively, you can effectively disassemble your Utech Smart gaming mouse in preparation for cleaning and maintenance.
Cleaning the Mouse Components
With the Utech Smart gaming mouse disassembled, it’s time to focus on cleaning the individual components to ensure optimal performance and longevity. Begin by inspecting the internal and external components for dust, debris, and any signs of wear or damage. Here’s how to clean the various parts of the mouse:
- Circuit Board: Using a can of compressed air, gently blow away any dust or particles that may have accumulated on the circuit board. Be careful not to tilt the can too much to avoid any moisture from being released. Inspect the solder joints and electronic components for any signs of corrosion or damage.
- Switches and Scroll Wheel: If the switches or scroll wheel exhibit signs of stickiness or unresponsiveness, carefully apply a small amount of electronic contact cleaner to the affected areas. Exercise caution to prevent the cleaner from coming into contact with other components.
- Exterior Casing: Wipe down the exterior casing of the mouse using a microfiber cloth lightly dampened with a mild cleaning solution or isopropyl alcohol. This will help remove any oils, dirt, or fingerprints that may have accumulated over time.
- Mouse Feet: If your Utech Smart gaming mouse features Teflon mouse feet, inspect them for wear and tear. If necessary, gently remove any debris from the feet and consider replacing them if they show significant signs of wear, as smooth mouse feet are crucial for optimal mouse movement.
During the cleaning process, it’s essential to handle the components with care and avoid using excessive force or harsh cleaning agents that could damage the delicate electronic parts of the mouse. Additionally, take note of any areas that may require more thorough attention and address them accordingly to ensure a comprehensive cleaning process.
By meticulously cleaning each component of your Utech Smart gaming mouse, you can maintain its functionality and appearance, prolonging its lifespan and ensuring a comfortable and responsive gaming experience.
Reassembling the Utech Smart Gaming Mouse
After completing the cleaning and maintenance of the individual components, it’s time to reassemble your Utech Smart gaming mouse. Careful attention to detail and a methodical approach are crucial to ensure that the mouse is reassembled correctly and functions optimally. Follow these steps to reassemble your gaming mouse:
- Reconnecting Cables: If you disconnected any cables or ribbons during the disassembly process, carefully reconnect them, ensuring that they are properly aligned and securely seated. Take note of any cable routing to avoid interference with other components.
- Aligning and Securing Halves: Place the top and bottom halves of the mouse together, ensuring that the internal components, such as the circuit board and switches, align correctly within the casing. Gently press the halves together until they fit snugly, taking care not to pinch any cables or components.
- Securing Screws: Using the Phillips head screwdriver, reinsert and tighten the screws to secure the top and bottom halves of the mouse. Ensure that the screws are fastened evenly to prevent any gaps or misalignment in the mouse’s casing.
- Testing Functionality: Once the mouse is reassembled, plug it back into your computer or gaming device and test its functionality. Verify that the buttons, scroll wheel, and tracking are responsive and that all features are working as expected.
Throughout the reassembly process, it’s essential to handle the components with care and attention to detail, ensuring that each step is carried out meticulously. Taking your time and double-checking the alignment of components can prevent potential issues and ensure that the mouse operates seamlessly after reassembly.
By following these steps, you can confidently reassemble your Utech Smart gaming mouse, knowing that it has been cleaned, maintained, and restored to optimal working condition for your next gaming session.
Testing the Mouse
After reassembling your Utech Smart gaming mouse, it’s crucial to conduct thorough testing to ensure that all components are functioning as intended. Testing the mouse will allow you to verify its responsiveness, tracking accuracy, and overall performance. Here are the steps to effectively test your Utech Smart gaming mouse:
- Tracking and Movement: Place the mouse on a suitable surface and observe its tracking as you move it in different directions. Verify that the cursor movement on your screen accurately corresponds to the mouse’s physical movement. Check for smooth and consistent tracking without any erratic behavior.
- Button Functionality: Test each button on the mouse, including the primary left and right buttons, side buttons, and scroll wheel button. Ensure that each button registers clicks and that the tactile feedback is consistent and responsive.
- Scroll Wheel: Verify that the scroll wheel operates smoothly and registers incremental scrolling without skipping or sticking. Test its responsiveness in various applications to ensure seamless scrolling functionality.
- DPI Settings: If your Utech Smart gaming mouse features adjustable DPI settings, test each DPI level to ensure that the sensitivity changes correspond to the selected settings. Verify that the cursor speed adjusts accordingly with each DPI setting change.
- Customizable Features: If your mouse includes customizable features such as programmable buttons or RGB lighting, test these functionalities to ensure that they operate as expected and can be configured according to your preferences.
Thoroughly testing the mouse after reassembly is essential to identify any potential issues or irregularities that may have arisen during the cleaning and reassembly process. By conducting a comprehensive test, you can have confidence in the functionality and reliability of your Utech Smart gaming mouse for future gaming endeavors.


