Introduction
Are you a music producer or enthusiast looking to add a personal touch to your compositions in FL Studio? Connecting a game controller to FL Studio can revolutionize your workflow, providing a tactile and intuitive way to interact with your music software. With the ability to map buttons and knobs to various functions within FL Studio, a game controller can offer a hands-on approach to music production, allowing for more expressive and dynamic performances.
In this guide, we will walk you through the process of connecting a game controller to FL Studio, providing step-by-step instructions to ensure a seamless integration. Whether you prefer the ergonomic design of a console controller or the versatility of a MIDI-based gamepad, this tutorial will empower you to harness the power of your controller within FL Studio.
By the end of this tutorial, you will have the knowledge and confidence to incorporate your game controller into your music production setup, opening up new creative possibilities and enhancing your overall experience with FL Studio. Let's dive in and explore the exciting world of game controller integration in FL Studio.
Step 1: Check Controller Compatibility
Before embarking on the process of connecting your game controller to FL Studio, it’s crucial to ensure that your controller is compatible with the software. FL Studio supports a wide range of MIDI controllers and gamepads, but it’s essential to verify compatibility to avoid potential issues during the setup process.
Start by consulting the official FL Studio documentation or the manufacturer’s specifications for your game controller. Look for information regarding MIDI compatibility or DirectInput/XInput support, as these are the primary protocols used for communication between controllers and music software like FL Studio.
If your controller is MIDI-compatible, it should be relatively straightforward to integrate with FL Studio, as MIDI is a widely supported standard for music hardware. However, if you’re using a gamepad that relies on DirectInput or XInput, it’s important to confirm that FL Studio can recognize and communicate with the controller effectively.
Additionally, check for any specific driver requirements or software updates for your controller. Manufacturers often release firmware updates or dedicated software utilities to enhance compatibility with music production software, so ensuring that your controller’s firmware and drivers are up to date can mitigate potential compatibility issues.
Keep in mind that while FL Studio offers extensive support for various controllers, certain niche or proprietary game controllers may require additional configuration or third-party software to function seamlessly with the software. Researching user forums and community discussions related to your specific controller model can provide valuable insights into the compatibility and integration process.
By confirming the compatibility of your game controller with FL Studio, you can proceed with confidence to the next steps of the setup process, knowing that your hardware is primed for seamless integration with the software.
Step 2: Connect the Controller to Your Computer
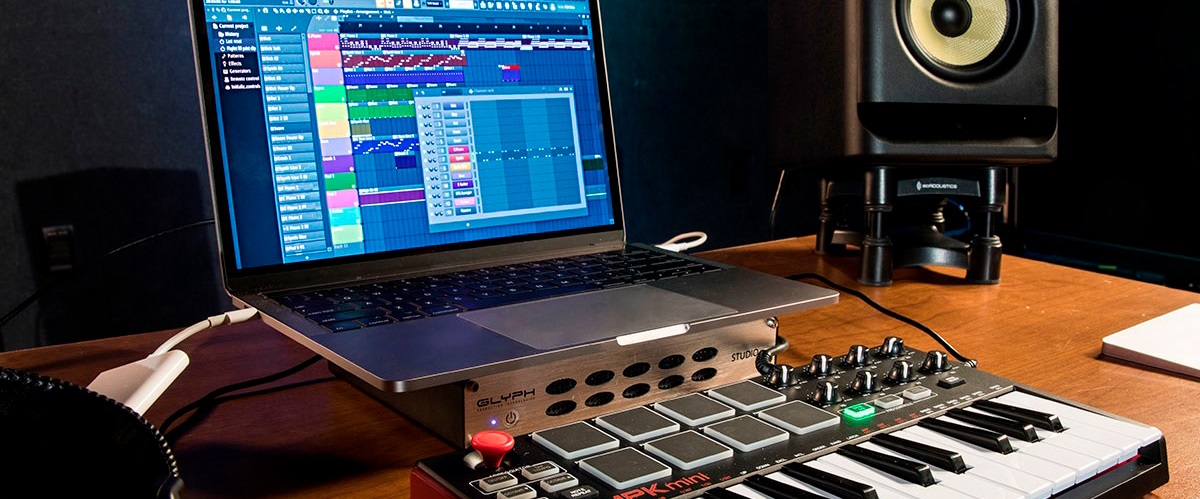
Once you’ve verified the compatibility of your game controller with FL Studio, the next step is to establish a physical connection between the controller and your computer. The method of connection may vary depending on the type of controller you’re using, so it’s essential to follow the appropriate steps for your specific hardware.
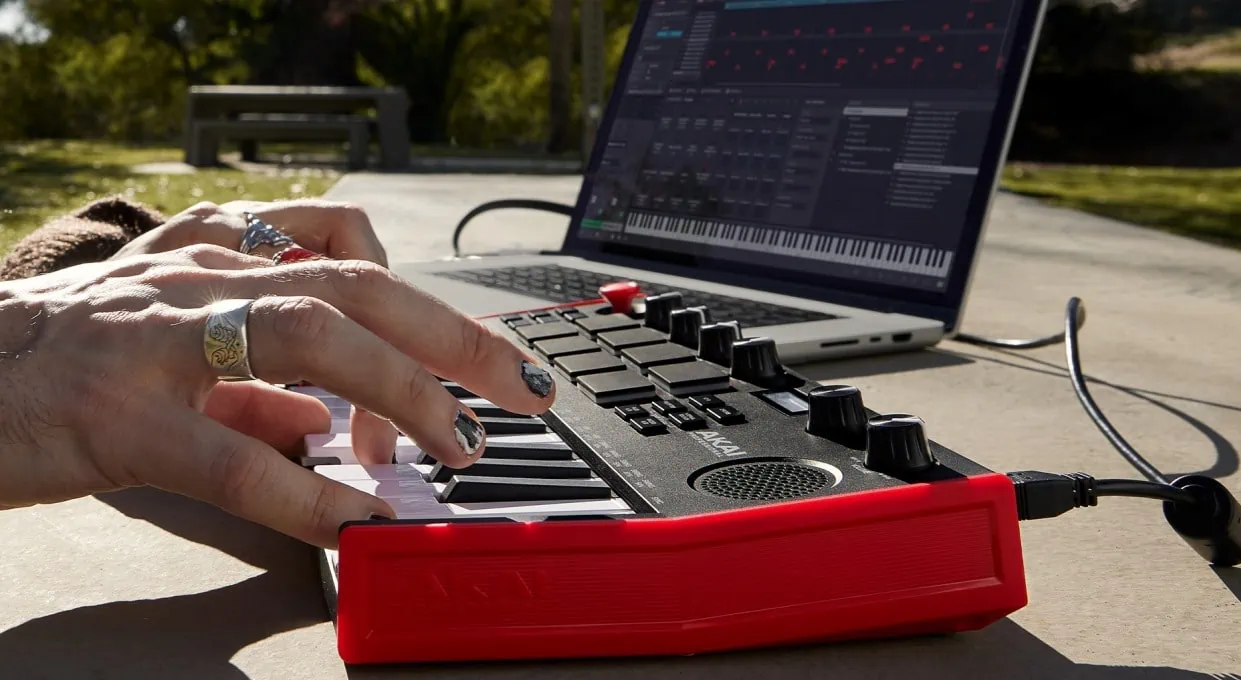
If you’re using a standard USB-based game controller or a MIDI controller with a USB interface, connecting it to your computer is typically as simple as plugging it into an available USB port. Many modern gamepads and MIDI controllers are “plug-and-play,” meaning that they are automatically recognized by the operating system without the need for additional drivers or software installation.
For wireless controllers that utilize Bluetooth connectivity, ensure that your computer’s Bluetooth functionality is enabled and that the controller is in pairing mode. Follow the manufacturer’s instructions for pairing the controller with your computer, and once successfully paired, your computer should recognize the controller as a connected input device.
If you’re using a legacy game controller with specialized connection requirements, such as a proprietary adapter or interface, refer to the controller’s documentation for specific guidance on establishing a connection with your computer. It’s important to adhere to the manufacturer’s recommended connection methods to ensure reliable communication between the controller and your computer.
Once the controller is physically connected to your computer and recognized as an input device, you’re ready to proceed to the next phase of the setup process, which involves configuring the controller within FL Studio to enable seamless interaction with the software’s features and functions.
By successfully establishing a connection between your game controller and your computer, you’ve laid the groundwork for integrating the controller into your music production environment, setting the stage for a more hands-on and immersive experience within FL Studio.
Step 3: Configure the Controller in FL Studio
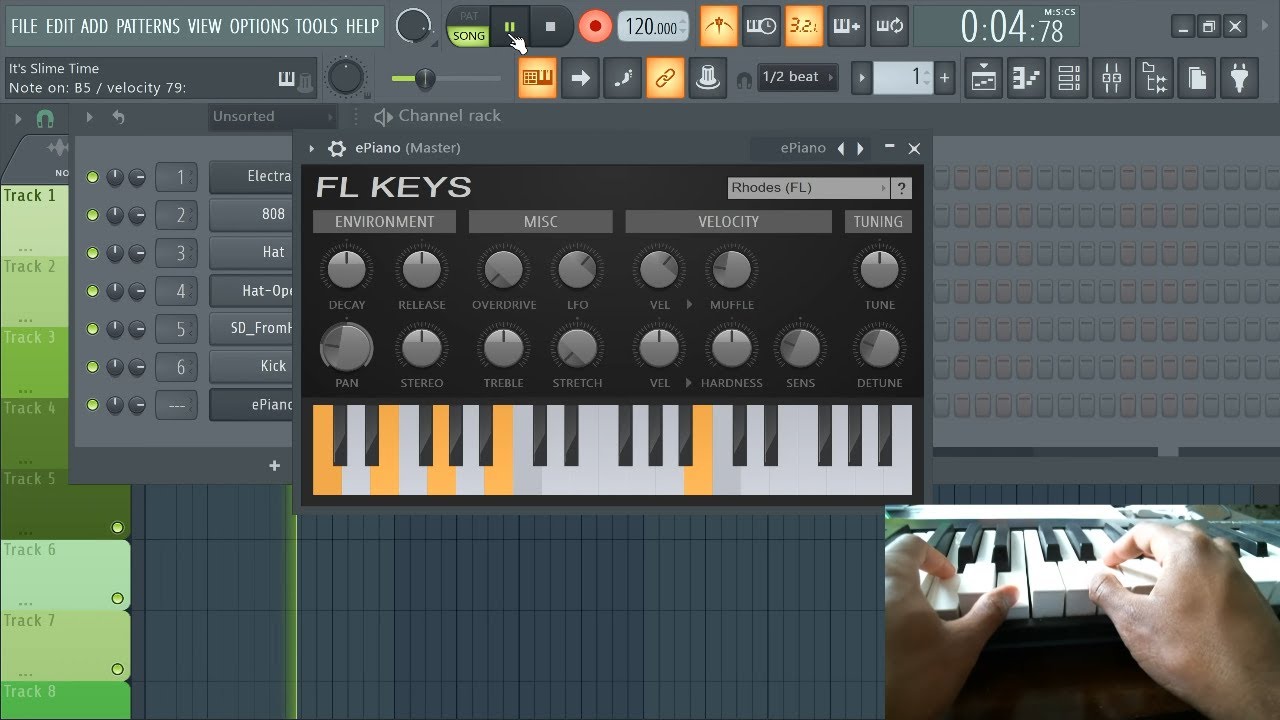
With your game controller physically connected to your computer, the next crucial step is to configure the controller within FL Studio, allowing you to map its buttons, pads, and knobs to various functions within the software. FL Studio offers robust customization options for integrating external controllers, empowering you to tailor the controller’s behavior to suit your specific workflow and creative preferences.
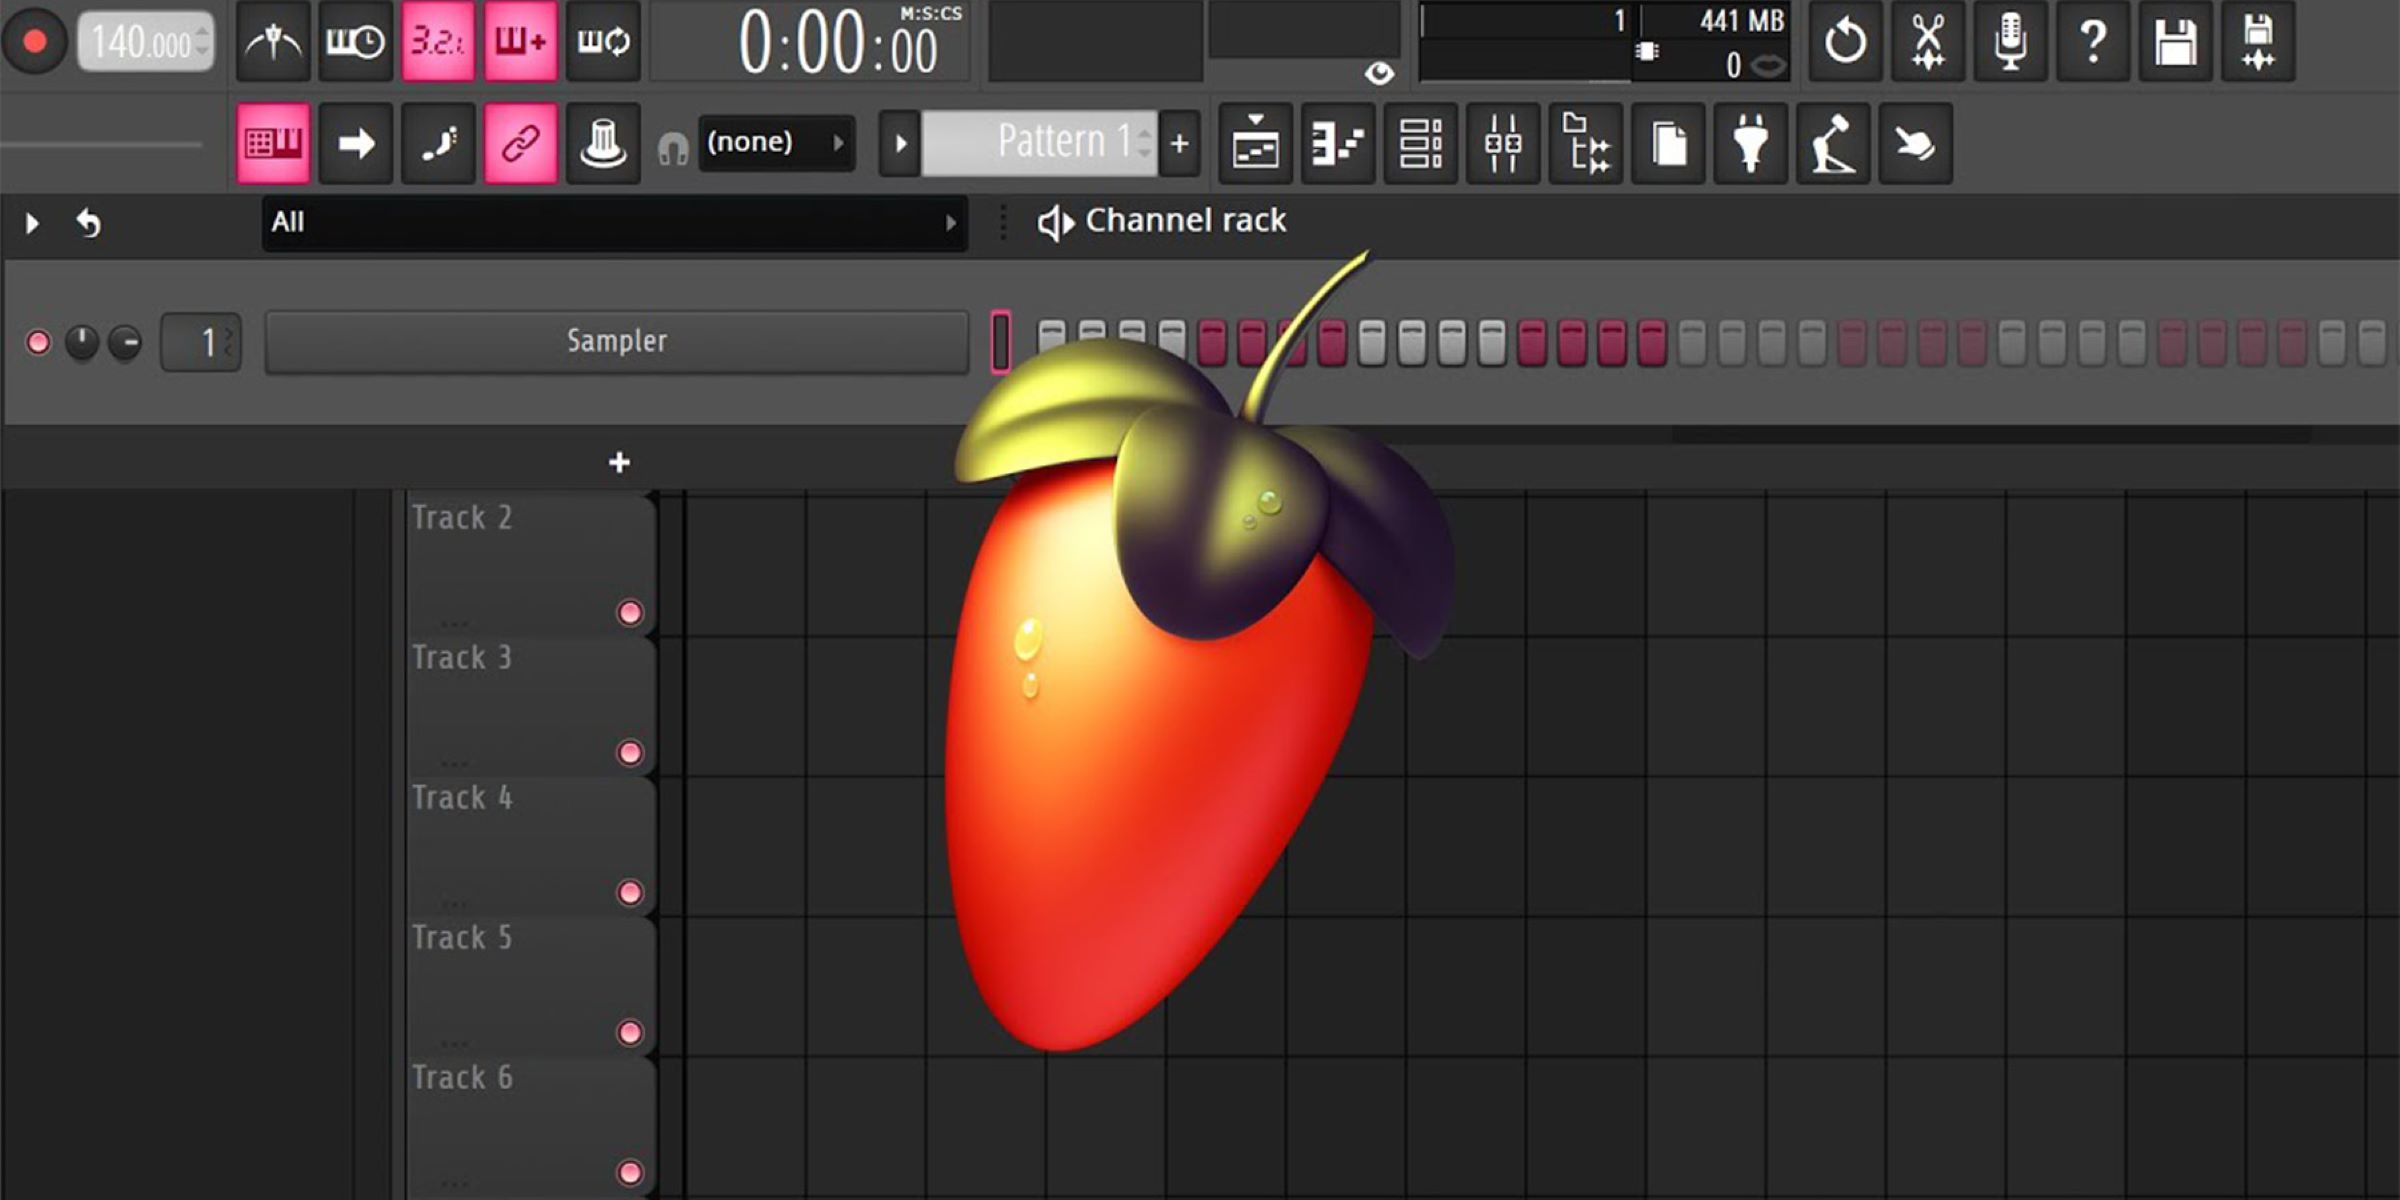
Begin by launching FL Studio and navigating to the “Options” menu. From the dropdown menu, select “MIDI Settings” to access the MIDI configuration panel. Here, you will be able to identify and assign your game controller to specific MIDI input and output ports within FL Studio.
Once your controller is recognized within the MIDI settings, you can proceed to map its controls to FL Studio’s functions using the software’s MIDI mapping interface. This interface allows you to assign various parameters, such as mixer controls, instrument parameters, and effect parameters, to the buttons, pads, and knobs of your game controller.
To map a control, simply select the desired parameter within FL Studio, then move or press the corresponding control on your game controller. FL Studio will detect the MIDI input and assign it to the selected parameter, creating a direct link between the controller and the software’s functionality.
For more advanced customization, FL Studio also offers the ability to create custom MIDI scripts using the “MIDI Scripting” feature. This feature enables you to define intricate control mappings and behavior for your game controller, allowing for highly personalized and nuanced interaction with FL Studio’s features.
As you configure the controller within FL Studio, take the time to experiment with different control mappings and setups to find a configuration that aligns with your musical workflow and performance style. Whether you’re using the controller to trigger samples, manipulate virtual instrument parameters, or control mixer settings, the flexibility of FL Studio’s MIDI configuration empowers you to tailor the controller’s functionality to your specific needs.
By configuring your game controller within FL Studio, you’re harnessing the full potential of the hardware, integrating it seamlessly into your music production environment and unlocking a new level of expressive control and creativity within the software.
Step 4: Test the Controller
After configuring your game controller within FL Studio, it’s essential to thoroughly test its functionality to ensure that the assigned controls and mappings operate as intended. Testing the controller allows you to validate the integration and make any necessary adjustments to optimize its performance within the software.
Start by launching a project or session in FL Studio and engaging with various aspects of the software’s interface and features using the game controller. Test the assigned controls to verify that they accurately manipulate the corresponding parameters within FL Studio. For example, if you’ve mapped a knob on the controller to adjust a virtual instrument’s filter cutoff, verify that turning the knob produces the expected parameter modulation.
Experiment with triggering samples, adjusting mixer settings, and controlling virtual instrument parameters using the game controller. Test the responsiveness and precision of the controller’s input, ensuring that it delivers a seamless and intuitive interaction with FL Studio’s functionality.
During the testing phase, pay close attention to any inconsistencies or unexpected behavior in the controller’s operation. If certain controls are not functioning as intended or if there are latency issues, revisit the MIDI settings in FL Studio to review the control mappings and ensure that the controller is communicating effectively with the software.
Additionally, consider testing the controller across different projects and scenarios within FL Studio to gauge its versatility and adaptability. By exploring a variety of musical contexts and production tasks, you can assess the controller’s suitability for diverse creative workflows and identify any specific areas where further customization or refinement may be beneficial.
Engage in a creative session using the game controller as your primary input device, immersing yourself in the music-making process to evaluate the controller’s impact on your productivity and artistic expression. Assess how the tactile interaction with the controller enhances your overall experience in FL Studio, providing a more dynamic and engaging approach to music production.
By thoroughly testing the controller within FL Studio, you can fine-tune its configuration and address any potential issues, ensuring that it seamlessly integrates into your music production environment and elevates your creative capabilities within the software.
Conclusion
Connecting a game controller to FL Studio opens up a world of creative possibilities, offering a tactile and intuitive interface for interacting with the software’s extensive features and functions. By following the steps outlined in this guide, you’ve embarked on a journey to seamlessly integrate your game controller into your music production workflow, enhancing your ability to express yourself and manipulate sound within FL Studio.
After confirming the compatibility of your game controller and establishing a physical connection with your computer, you delved into the crucial process of configuring the controller within FL Studio. Through meticulous customization and control mapping, you’ve tailored the behavior of the controller to align with your unique musical workflow, empowering yourself to interact with FL Studio in a more personalized and expressive manner.
Thoroughly testing the controller’s functionality within FL Studio allowed you to validate its performance and responsiveness, ensuring that it seamlessly integrates into your creative process. By immersing yourself in various musical contexts and production tasks, you gained valuable insights into the controller’s adaptability and impact on your overall experience with FL Studio.
As you continue to explore the creative potential of your game controller within FL Studio, remember that the integration process is dynamic and adaptable. You have the flexibility to refine and expand your controller setup, exploring new control mappings, experimenting with MIDI scripting, and embracing innovative ways to leverage the controller’s capabilities in your music production endeavors.
By incorporating a game controller into your FL Studio setup, you’ve embraced a hands-on approach to music production, infusing your creative process with a tangible and engaging interface. Whether you’re triggering samples, manipulating parameters, or controlling mixer settings, the game controller serves as a versatile tool for shaping your musical vision and bringing your compositions to life.
With the knowledge and skills acquired from this guide, you are well-equipped to harness the full potential of your game controller within FL Studio, unlocking a new realm of expressive control and creative exploration. Embrace the synergy between hardware and software, and let your game controller become an extension of your musical intuition, guiding you toward innovative sonic expressions within FL Studio.