Introduction
Introduction
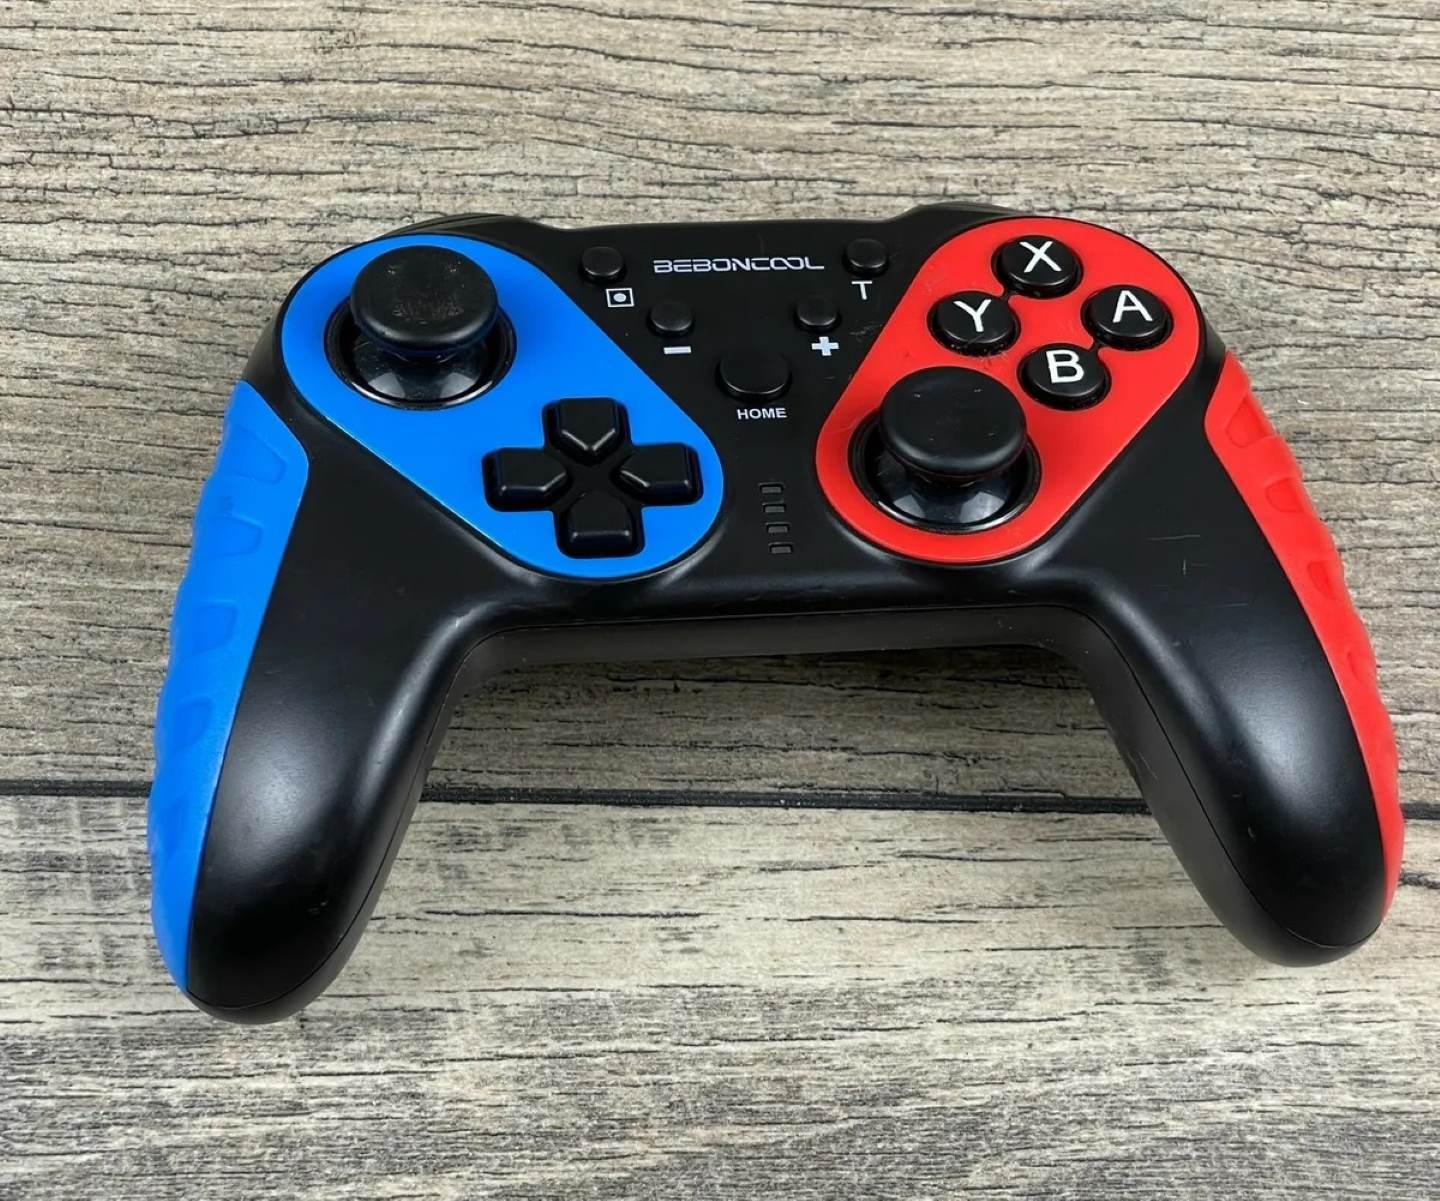
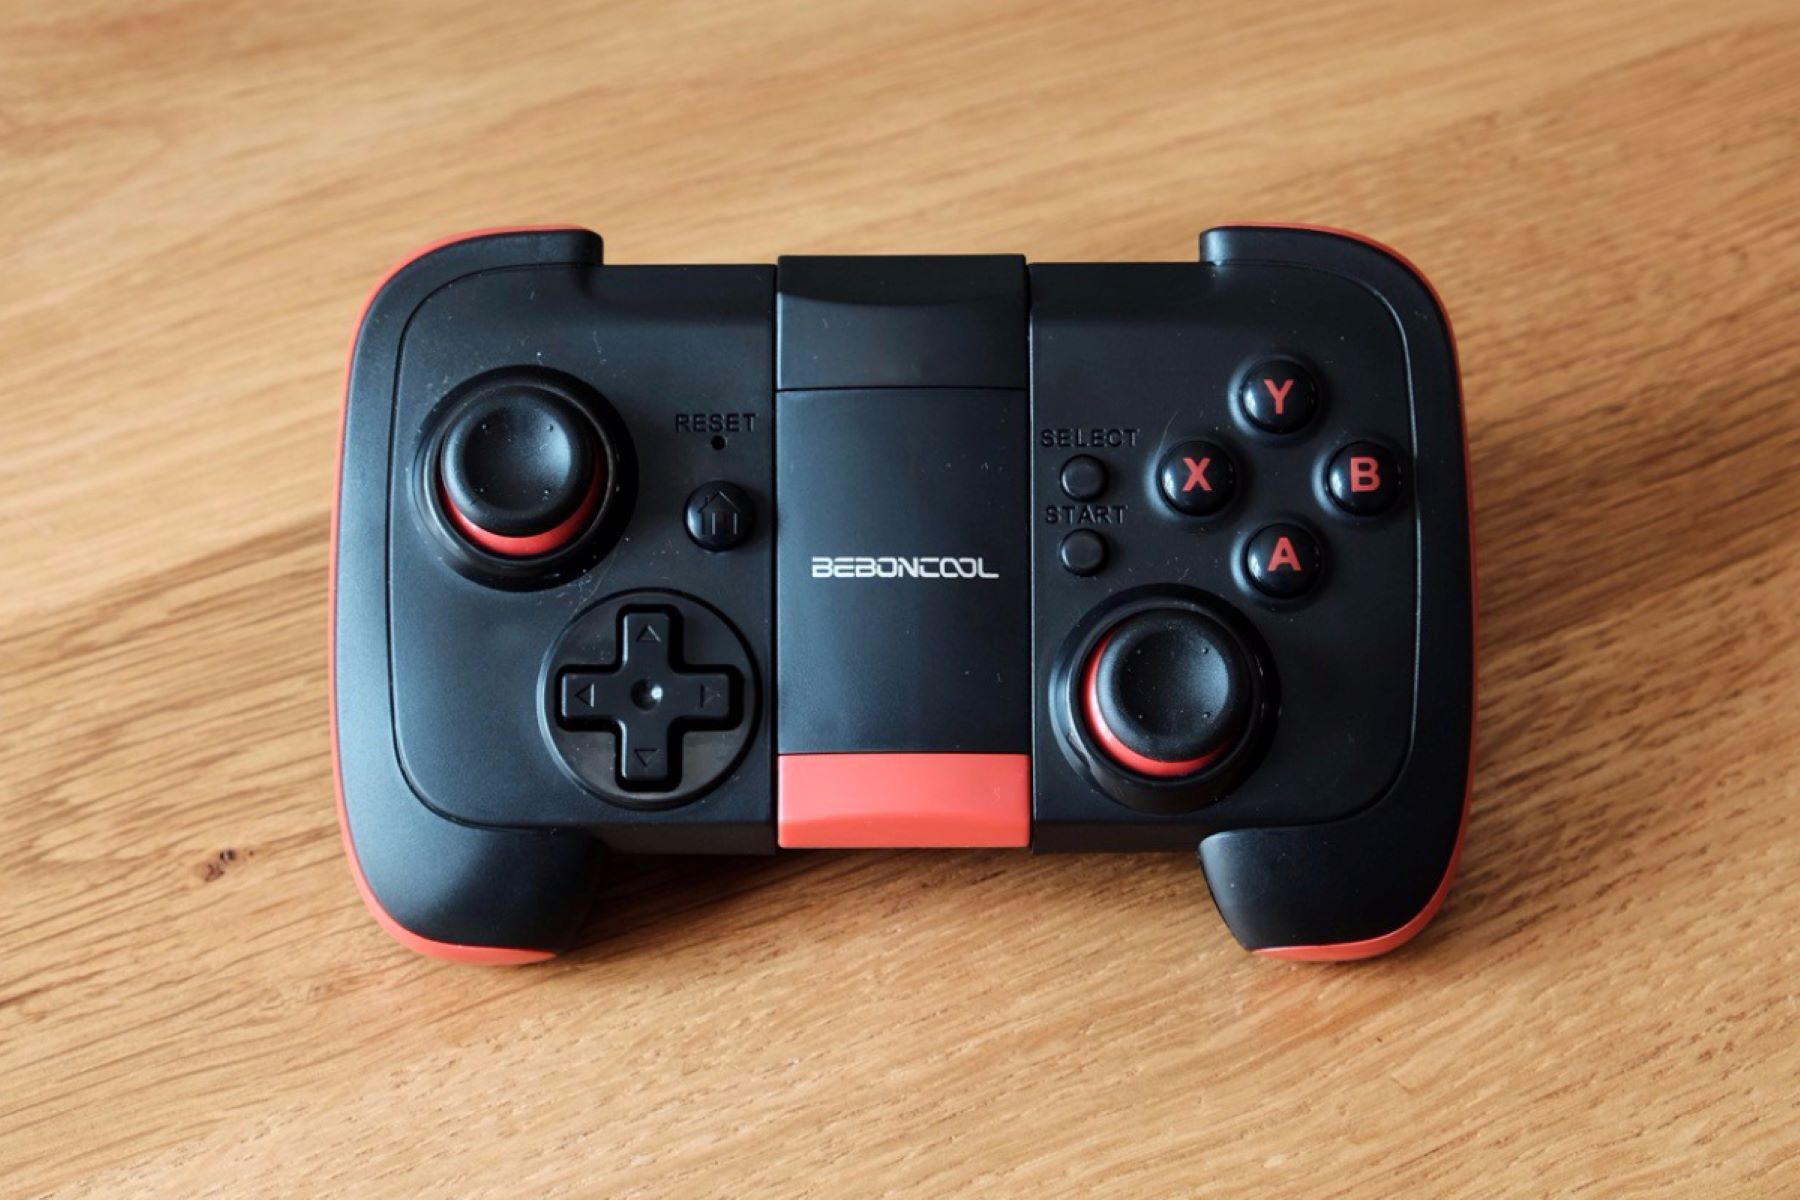
Are you a gaming enthusiast who prefers the tactile feedback of a game controller over a keyboard and mouse? Connecting a Beboncool game controller to your PC can elevate your gaming experience, offering a more immersive and enjoyable way to play your favorite titles. Whether you're a casual gamer or a dedicated enthusiast, the process of connecting your Beboncool game controller to your PC is straightforward and can be accomplished with just a few simple steps.
In this guide, we'll walk you through the process of setting up and connecting your Beboncool game controller to your PC, allowing you to seamlessly transition from keyboard and mouse controls to the familiarity of a gamepad. By following these steps, you'll be ready to dive into your favorite PC games with the enhanced control and comfort that a game controller provides.
This guide assumes that you already have a Beboncool game controller and a PC with Windows operating system. If you're ready to enhance your gaming experience by connecting your Beboncool game controller to your PC, let's get started!
Step 1: Install the Necessary Drivers
Before you can start using your Beboncool game controller with your PC, you’ll need to ensure that the necessary drivers are installed. The drivers allow your PC to recognize and communicate with the controller, enabling seamless functionality during gameplay. Follow these steps to install the required drivers:
- Check for Automatic Installation: In many cases, Windows will automatically install the essential drivers for your Beboncool game controller when you connect it to your PC. Start by plugging the controller into an available USB port on your computer. If Windows is able to automatically detect and install the drivers, you may see a notification indicating that the device is ready to use. You can proceed to the next step to confirm that the controller is functioning correctly.
- Manual Driver Installation: If Windows does not automatically install the drivers for your Beboncool game controller, you can manually install them using the Device Manager. To access the Device Manager, right-click on the Start button and select “Device Manager” from the menu. Look for any unrecognized or “Unknown Device” entries, which may indicate that the controller’s drivers are not installed. Right-click on the unrecognized device, choose “Update Driver,” and then select “Search automatically for updated driver software.” Windows will search for and install the appropriate drivers for your controller.
- Verify Driver Installation: Once the drivers are installed, you can verify their status by checking the Device Manager for any remaining unrecognized devices. If the Beboncool game controller is listed under the “Game controllers” category without any warning symbols, the drivers have been successfully installed, and your controller is ready to be connected and configured for gaming.
By ensuring that the necessary drivers are installed, you can establish seamless communication between your Beboncool game controller and your PC, setting the stage for an immersive gaming experience with your favorite titles.
Step 2: Connect the Beboncool Game Controller to Your PC
Once the necessary drivers are installed, you can proceed to connect your Beboncool game controller to your PC. This step involves physically linking the controller to your computer and ensuring that it is recognized as an input device. Follow these straightforward steps to establish the connection:
- Locate an Available USB Port: Begin by identifying an available USB port on your PC where you can connect the Beboncool game controller. The controller typically utilizes a standard USB connection, allowing for easy compatibility with most PCs.
- Connect the Controller: With the USB port identified, insert the USB connector of the Beboncool game controller into the port on your PC. Ensure that the connection is secure to avoid any interruptions during gameplay.
- Confirmation of Connection: Upon connecting the controller, your PC should recognize the device and initiate the necessary setup procedures. Depending on the specific model of the Beboncool game controller, you may notice a brief indication of the device being connected, such as a light or sound notification. This confirms that the controller is successfully linked to your PC.
Once the Beboncool game controller is connected to your PC, it is ready to be configured for use in your favorite PC games. This seamless connection process sets the stage for an enhanced gaming experience, allowing you to enjoy the comfort and precision of a game controller while playing your preferred titles on your PC.
Step 3: Configure the Controller in Your Game Settings
With your Beboncool game controller successfully connected to your PC, the final step involves configuring the controller within the settings of your PC games. This crucial step ensures that the controller’s inputs are recognized and mapped correctly within each game, allowing for seamless and intuitive gameplay. Follow these steps to configure the controller in your game settings:
- Launch Your Game: Start by launching the PC game that you intend to play using the Beboncool game controller. Once the game is running, navigate to the settings or options menu within the game interface.
- Locate the Controller Settings: Within the game settings, look for an option related to “Input,” “Controls,” or “Controller Settings.” This is where you can customize and configure the controller inputs to align with your preferences.
- Configure Controller Inputs: Access the controller settings menu and follow the on-screen prompts to map the various buttons and analog sticks on your Beboncool game controller to specific in-game actions. This typically involves a straightforward process of assigning functions to each button, ensuring that the controller’s inputs correspond to the actions you wish to perform in the game.
- Save Your Settings: Once you have configured the controller inputs to your satisfaction, be sure to save the settings within the game. This ensures that your preferences are retained for future gaming sessions, allowing you to seamlessly use the Beboncool game controller without the need for repeated configuration.
By configuring the Beboncool game controller within the settings of your PC games, you can tailor the controller’s inputs to suit your gaming style, providing a personalized and immersive experience with each title. This final step completes the process of connecting and setting up your Beboncool game controller for optimal gaming enjoyment on your PC.
Conclusion
Connecting your Beboncool game controller to your PC opens up a world of gaming possibilities, offering a more tactile and immersive way to experience your favorite titles. By following the simple steps outlined in this guide, you can seamlessly integrate the Beboncool game controller into your gaming setup, enhancing your control and comfort during gameplay.
From installing the necessary drivers to configuring the controller within your game settings, each step plays a crucial role in ensuring a smooth and enjoyable gaming experience with your PC. With the controller successfully connected and tailored to your preferences, you can dive into your preferred PC games with the confidence that comes from using a familiar and responsive gamepad.
As you embark on your gaming adventures with the Beboncool game controller, remember that the process of connecting and configuring the controller is designed to be straightforward and accessible to gamers of all levels. Whether you’re exploring vast virtual worlds, engaging in intense multiplayer battles, or embarking on thrilling adventures, the Beboncool game controller empowers you to immerse yourself fully in the gaming experience.
By incorporating the Beboncool game controller into your PC gaming setup, you can enjoy the precision, comfort, and familiarity of a gamepad, elevating your gaming sessions to new heights. Embrace the enhanced control and responsiveness that the Beboncool game controller brings to your PC games, and get ready to embark on captivating gaming journeys with a seamless and intuitive input device at your fingertips.


