Introduction
Introduction
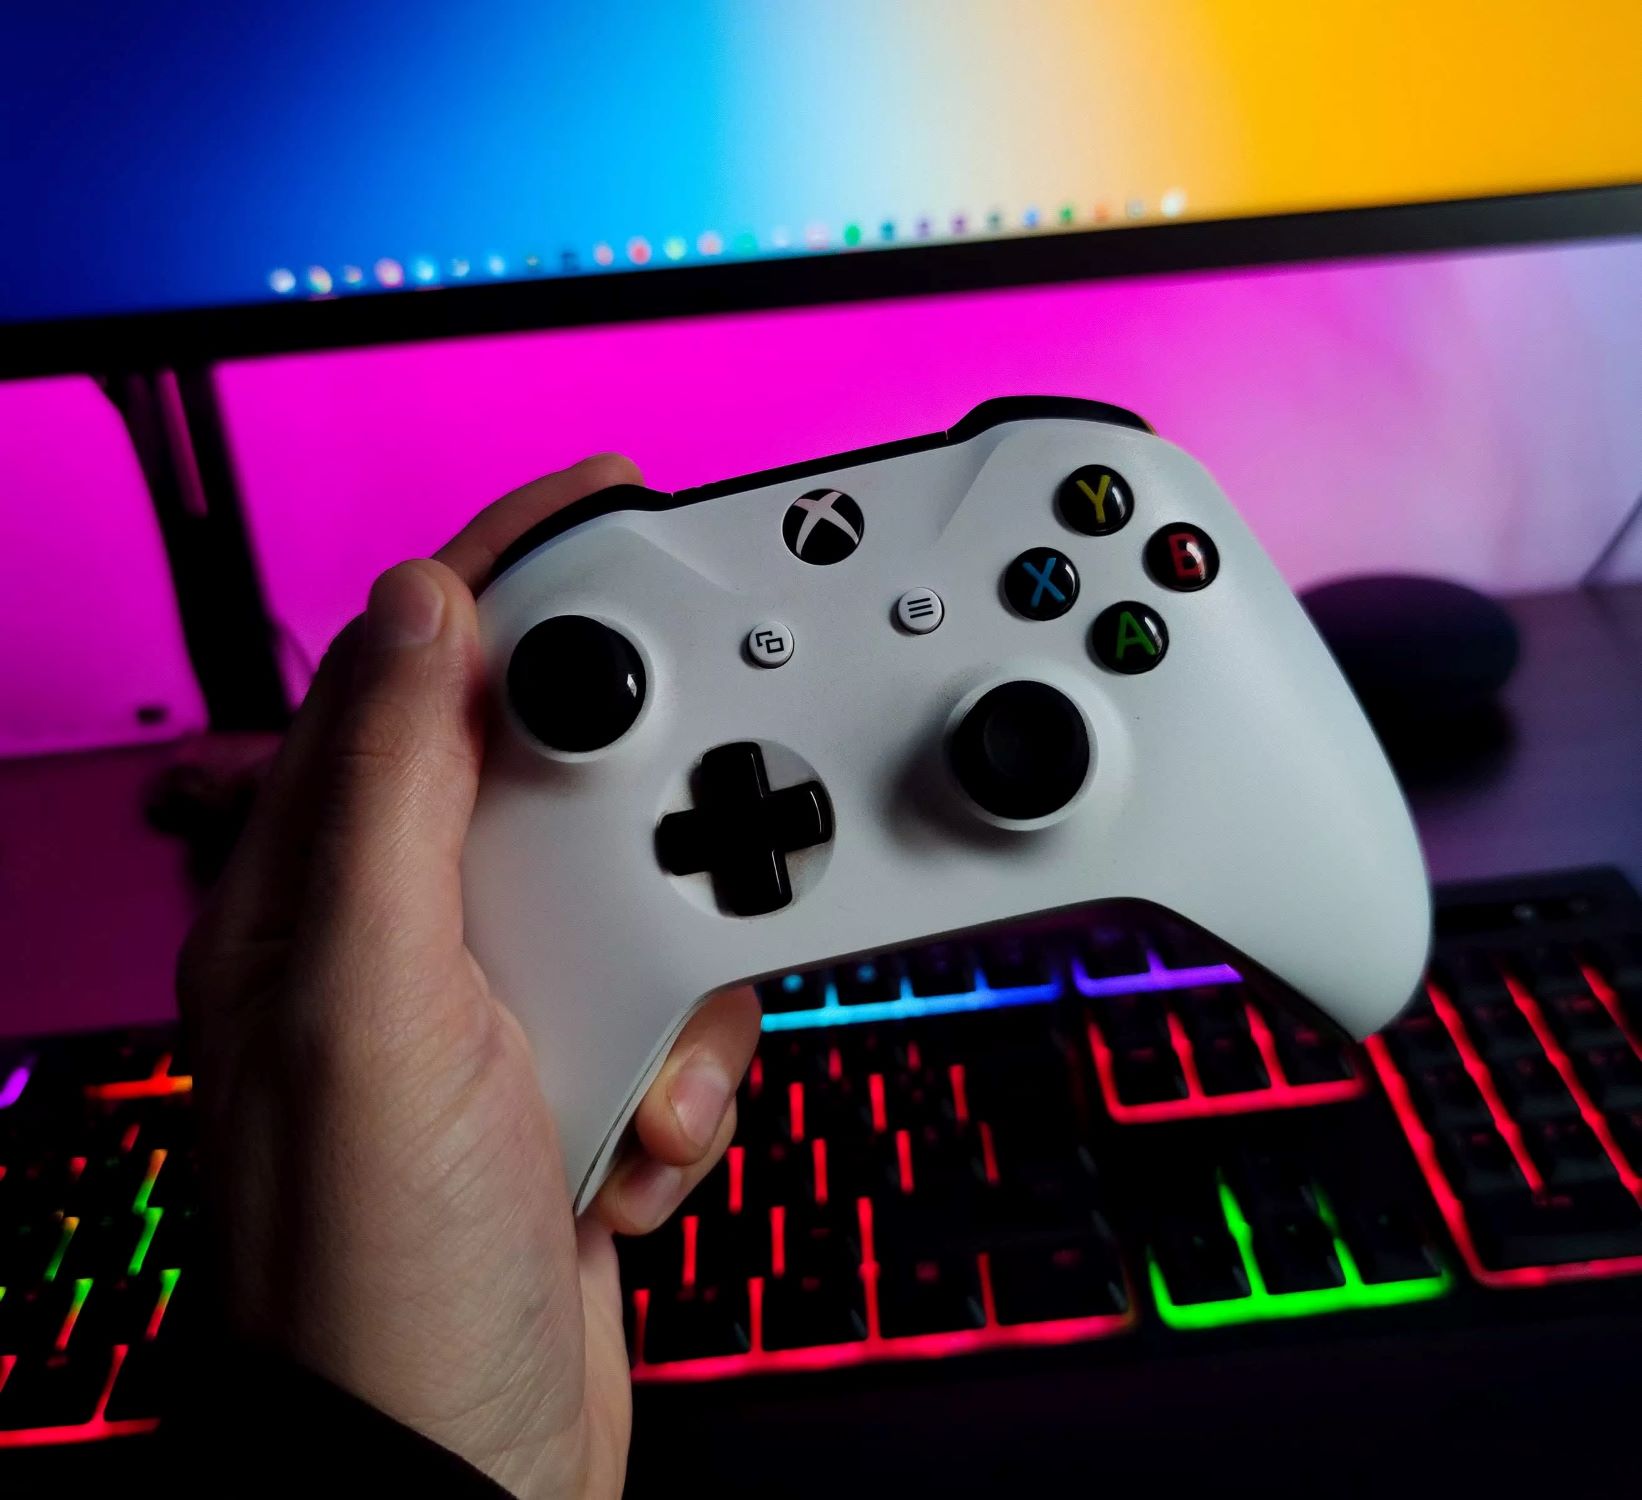
Connecting a Bluetooth game controller to your Windows 10 PC can elevate your gaming experience to a whole new level. Whether you're a casual gamer or a dedicated enthusiast, the ability to seamlessly integrate a game controller with your PC can make gameplay more immersive and enjoyable. With the convenience of wireless connectivity, you can say goodbye to tangled cords and revel in the freedom of movement while gaming.
In this comprehensive guide, you'll learn the step-by-step process of connecting a Bluetooth game controller to your Windows 10 PC. By following these instructions, you can unleash the full potential of your favorite games and enjoy a more intuitive and responsive gaming experience.
So, if you're ready to take your gaming setup to the next level, let's dive into the process of connecting your Bluetooth game controller to your Windows 10 PC. Whether you're a seasoned gamer or new to the world of PC gaming, this guide will walk you through the process with clear and concise instructions, ensuring that you can start gaming with your preferred controller in no time.
From checking compatibility to testing the connection, each step is designed to simplify the setup process and provide you with the knowledge and confidence to seamlessly integrate your game controller with your PC. Let's get started and elevate your gaming experience to new heights.
Step 1: Check Compatibility
Prior to connecting your Bluetooth game controller to your Windows 10 PC, it’s essential to ensure that the controller is compatible with your operating system. While Windows 10 offers broad support for various game controllers, compatibility can vary based on the specific model and manufacturer.
Begin by consulting the documentation that accompanied your game controller. Look for information regarding compatibility with Windows 10 or, more specifically, with Bluetooth connectivity. If the documentation is not readily available, you can visit the manufacturer’s website or contact their customer support for detailed compatibility information.
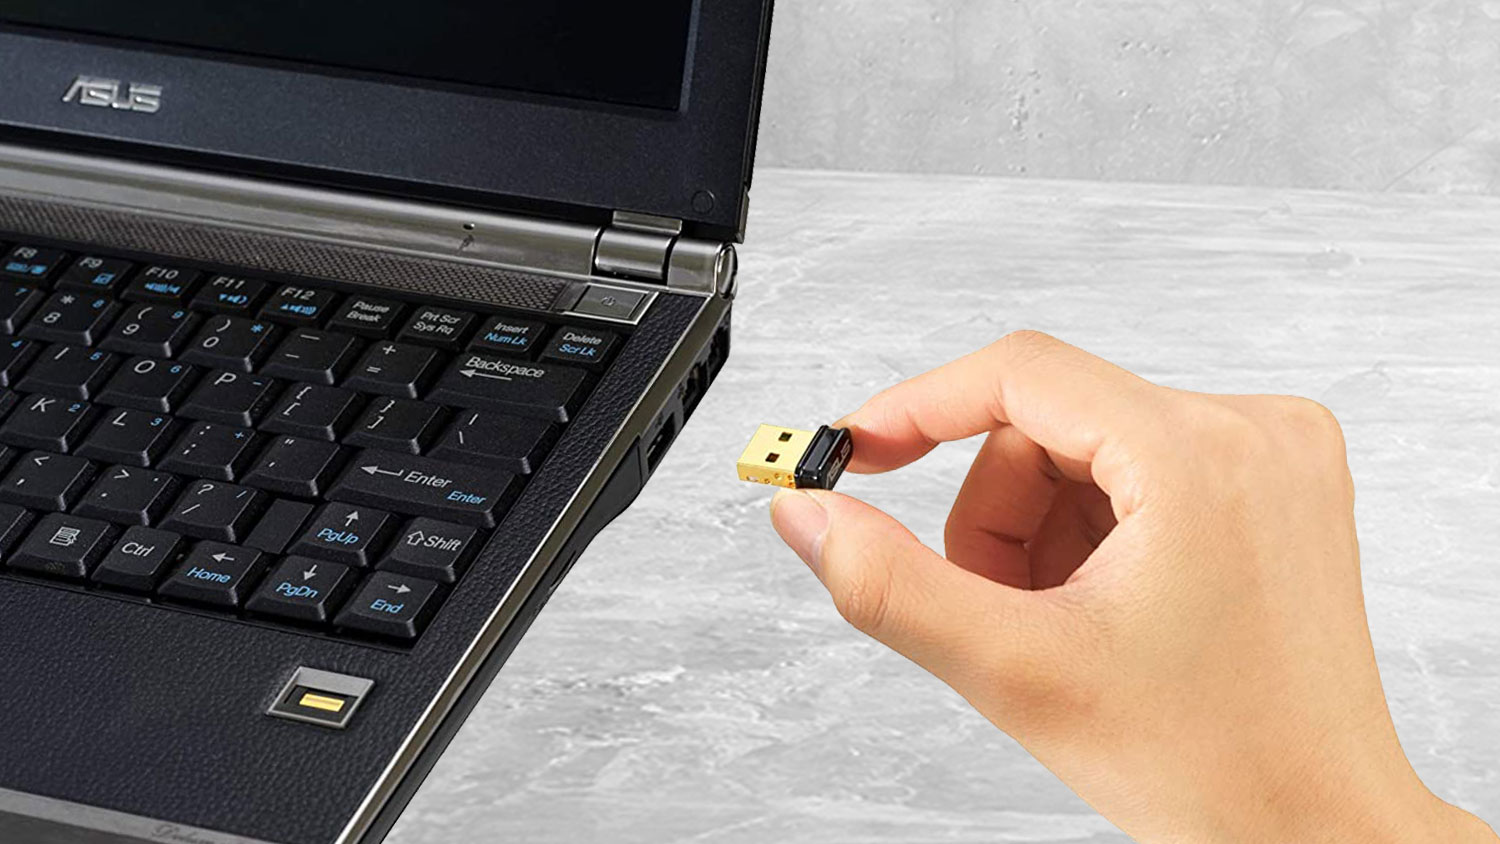
Another crucial aspect of compatibility is the Bluetooth version supported by your game controller. Windows 10 typically supports a wide range of Bluetooth versions, but it’s important to verify that your controller’s Bluetooth specification aligns with the capabilities of your PC’s Bluetooth hardware. This can prevent connectivity issues and ensure a seamless pairing process.
Furthermore, some game controllers may require specific drivers or software to function optimally with Windows 10. Check if the manufacturer provides dedicated drivers or software updates for your controller model. These updates can enhance compatibility, improve performance, and unlock additional features that enrich your gaming experience.
By verifying compatibility and ensuring that your game controller is equipped to work harmoniously with Windows 10, you can lay the foundation for a smooth and successful connection process. Once you’ve confirmed compatibility, you’re ready to proceed to the next step and prepare your PC for Bluetooth connectivity.
Step 2: Turn on Bluetooth on Your PC
Before initiating the pairing process for your Bluetooth game controller, it’s crucial to ensure that the Bluetooth functionality on your Windows 10 PC is activated. By enabling Bluetooth, you create the essential pathway for establishing a wireless connection between your PC and the game controller.
To begin, navigate to the taskbar on your Windows 10 desktop. Look for the notification area and locate the “Action Center” icon, typically represented by a speech bubble or message box. Click on this icon to open the Action Center.
Within the Action Center, you’ll find the “Bluetooth” tile. If the Bluetooth tile is grayed out or not visible, it indicates that Bluetooth is currently disabled on your PC. Click on the Bluetooth tile to activate Bluetooth functionality. Once enabled, the tile should display as highlighted or “on,” indicating that Bluetooth is now active and ready for pairing.
If the Bluetooth tile is not present in the Action Center, you can enable Bluetooth through the Settings app. Open the Start menu and select “Settings” (the gear-shaped icon). In the Settings app, navigate to “Devices” and then click on “Bluetooth & other devices.” Here, you can toggle the Bluetooth switch to the “On” position, activating Bluetooth on your PC.
Once Bluetooth is turned on, your PC is prepared to establish a connection with your game controller. This crucial step sets the stage for seamless pairing and allows your PC to detect and connect to Bluetooth-enabled devices, including your game controller.
With Bluetooth activated on your Windows 10 PC, you’re now ready to proceed to the next step and prepare your game controller for the pairing process.
Step 3: Put the Game Controller in Pairing Mode
Putting your game controller in pairing mode is a pivotal step that enables your Windows 10 PC to detect and establish a connection with the controller via Bluetooth. Pairing mode allows the controller to broadcast its availability for connection, initiating the process of linking it with your PC.
The method for activating pairing mode varies depending on the specific game controller model. However, the general approach involves pressing a combination of buttons or accessing a dedicated pairing button to trigger the controller’s Bluetooth visibility.
Consult the documentation provided with your game controller to identify the precise steps for entering pairing mode. If the documentation is unavailable, you can typically put most game controllers into pairing mode by following these general steps:
- Power On the Controller: Ensure the game controller is powered on and ready for pairing. This may involve pressing the power button or activating the controller through its designated method.
- Access Pairing Mode: Depending on the controller, you may need to press and hold a specific button combination to activate pairing mode. Look for buttons labeled “Pair,” “Sync,” or “Connect” on the controller, and follow the instructions provided in the documentation or online resources.
- Observe the Controller’s Status: When the controller enters pairing mode, it may emit a visual indicator, such as a blinking LED light or a specific color pattern, to signify its readiness for pairing. Pay attention to these visual cues as they indicate that the controller is actively seeking a Bluetooth connection.
Once your game controller is in pairing mode, it’s broadcasting its presence and awaiting detection by your Windows 10 PC. With the controller prepared for connection, you’re now poised to move on to the next step and initiate the pairing process on your PC.
Step 4: Connect the Game Controller to Your PC
With your game controller in pairing mode and your PC’s Bluetooth functionality enabled, you can now proceed to establish the connection between the two devices. Windows 10 provides a streamlined interface for discovering and pairing Bluetooth devices, including game controllers, ensuring a straightforward setup process.
Begin by accessing the Bluetooth settings on your Windows 10 PC. You can do this by opening the Start menu and selecting “Settings” (the gear-shaped icon). Within the Settings app, navigate to “Devices” and click on “Bluetooth & other devices.”
Under the “Bluetooth & other devices” section, click on the “Add Bluetooth or other device” option. This action prompts your PC to search for available Bluetooth devices, including your game controller in pairing mode.
Once your PC detects the game controller, it should appear in the list of available devices. Select the game controller from the list to initiate the pairing process. Windows 10 will then proceed to establish a secure Bluetooth connection with the controller.
During the pairing process, your PC may prompt you to confirm the pairing request or enter a pairing code. Follow the on-screen instructions to complete the pairing procedure. In most cases, the pairing code is generated automatically, ensuring a seamless and secure connection between your PC and the game controller.
As the pairing process concludes, your game controller is successfully connected to your Windows 10 PC via Bluetooth. Windows 10 will recognize the controller as a valid input device, allowing you to use it for gaming and other compatible applications.
Upon successful pairing, your game controller is ready to deliver an immersive gaming experience on your Windows 10 PC. With the connection established, you can now proceed to the final step and verify the functionality of the game controller on your PC.
Step 5: Test the Connection
After successfully connecting your game controller to your Windows 10 PC via Bluetooth, it’s essential to verify that the connection is functioning as intended. Testing the connection ensures that the game controller’s input is recognized and responsive, allowing you to seamlessly integrate it into your gaming experience.
To begin testing the connection, launch a game or application that supports game controllers on your Windows 10 PC. Navigate to the game’s settings or options menu to configure the input settings. Look for an option to select the input device or game controller, and ensure that your connected controller is recognized and selected.
Once the game controller is selected as the input device, proceed to test its functionality within the game or application. Verify that the controller’s buttons, triggers, joysticks, and other input elements are responsive and accurately translate your commands within the game environment.
Engage in gameplay or interact with the application using the game controller to assess its performance. Pay attention to the controller’s responsiveness, button mapping, and overall usability. Confirm that the controller’s input actions align with your commands and enhance your gaming experience.
During the testing phase, take note of any issues or abnormalities in the controller’s behavior. If you encounter input lag, unresponsive buttons, or other performance issues, consider troubleshooting steps such as updating the controller’s firmware or checking for driver updates on your PC.
Additionally, explore the controller’s compatibility with various games and applications to ensure its versatility across different software titles. Testing the connection in a variety of scenarios allows you to gauge the controller’s adaptability and performance across different gaming experiences.
By thoroughly testing the connection and functionality of your game controller on your Windows 10 PC, you can confirm that the pairing process was successful and that the controller seamlessly integrates with your gaming setup. With a responsive and reliable connection, you can now enjoy an enhanced gaming experience powered by your preferred game controller.
Conclusion
Connecting a Bluetooth game controller to your Windows 10 PC opens up a world of immersive gaming experiences, offering the freedom of wireless gameplay and intuitive input control. By following the step-by-step process outlined in this guide, you’ve gained the knowledge and confidence to seamlessly integrate your game controller with your PC, enhancing your gaming setup with greater flexibility and responsiveness.
From checking compatibility to testing the connection, each step in the process was designed to simplify the setup and ensure a successful pairing between your game controller and your Windows 10 PC. By verifying compatibility, enabling Bluetooth, activating pairing mode, and establishing the connection, you’ve harnessed the potential of your game controller and unlocked a more engaging gaming experience.
With the successful connection of your game controller, you can now enjoy the convenience of wireless gameplay and the precision of tactile controls, adding a new dimension to your gaming endeavors. Whether you’re navigating virtual worlds, engaging in intense battles, or exploring creative landscapes, your game controller serves as a reliable and versatile input device, enhancing your gaming immersion.
As you venture into the realm of PC gaming with your newly connected Bluetooth game controller, remember to explore the vast array of games and applications that support controller input. Embrace the seamless integration of your controller with compatible titles, and discover the enhanced gameplay experiences that await you.
By leveraging the power of Bluetooth connectivity and the seamless pairing process, you’ve elevated your gaming setup to new heights, bringing the joy of console-style gaming to your Windows 10 PC. Embrace the freedom of wireless control and the precision of tactile input as you embark on countless gaming adventures, all enhanced by the seamless connection of your game controller.
With your game controller seamlessly integrated with your Windows 10 PC, the possibilities for immersive and captivating gaming experiences are endless. Embrace the freedom of wireless control and the precision of tactile input as you embark on countless gaming adventures, all enhanced by the seamless connection of your game controller.