When splitting travel expenses with friends, it’s always wise to have some kind of system so that you don’t overlook anything. It’s funny that even with the convenience of money-sharing apps, you may still find yourself transferring the same $6 back and forth to each other during an entire trip. That is until one of you gives up or decides that you should compute your full expenses first and split later. Well, thanks to a bill splitting app called Splitwise, you don’t have to go through this anymore.
Splitwise allows you to take into account every trip expense you’ve made as a group and split it in a way that is convenient for everybody involved. Learn everything about it in this guide.
What Is Splitwise?


Splitwise is an app that lets you keep track of shared expenses and settle your corresponding balances in a convenient and personalized way. You can use it to split the rent, household bills, or travel expenses whether it’s with one person or ten.
You can use the app on your mobile device or on your web browser. The app is directly linked to money-sharing services like Venmo and PayPal, but there are other ways to settle up balances as well. It’s free and it takes away a lot of hassle when going on a group trip! You will find out more details of its features below.
How to Use Splitwise for Group Trips
You may be planning a big vacation with your family or just a weekend trip with a few friends. If you’ve already done this before, you’re likely aware of how this can cause conflict on top of the stress of deciding where to eat, sleep, or what to visit first. Splitwise can at least take away the financial aspect of these travel-related stressors.
Here’s how to use Splitwise for group trips.
Download Splitwise and Sign Up
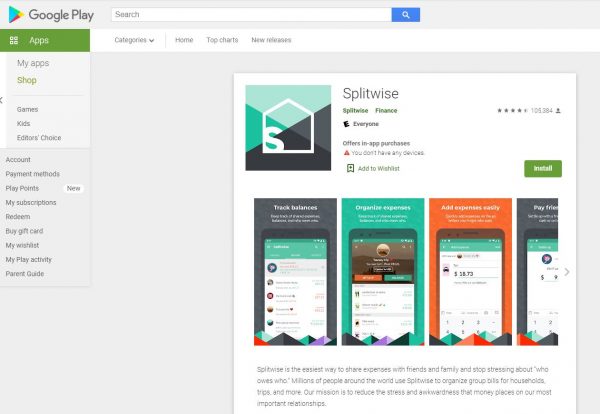

First, each of you must sign up and have the app so you can add each other and create your group. The app is available for Apple and Android devices, and as mentioned, you can also use it on your laptop. Download the app and sign up. You would need to provide your name, your email address, and create a password.
Download Splitwise for Android
Use Splitwise on your web browser
Create a Trip
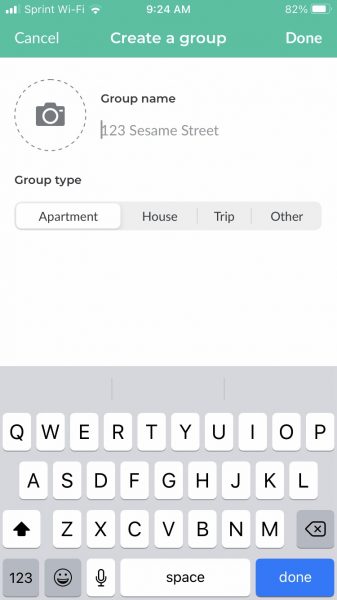

Once you’ve all signed up and have the app on your device, you can now create a trip and manage your group expenses for that trip. Only one person needs to create a trip. On the app’s Home page, you will see the Add friends option on the upper right corner of the screen. When you tap on that, Splitwise will ask to access your contacts and it will show you all your friends who have signed up. Look for each person in your group and add them as friends.
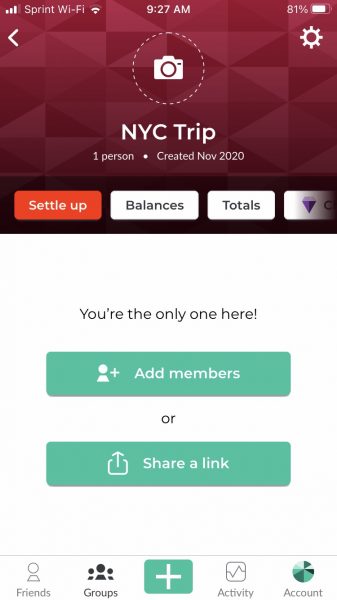

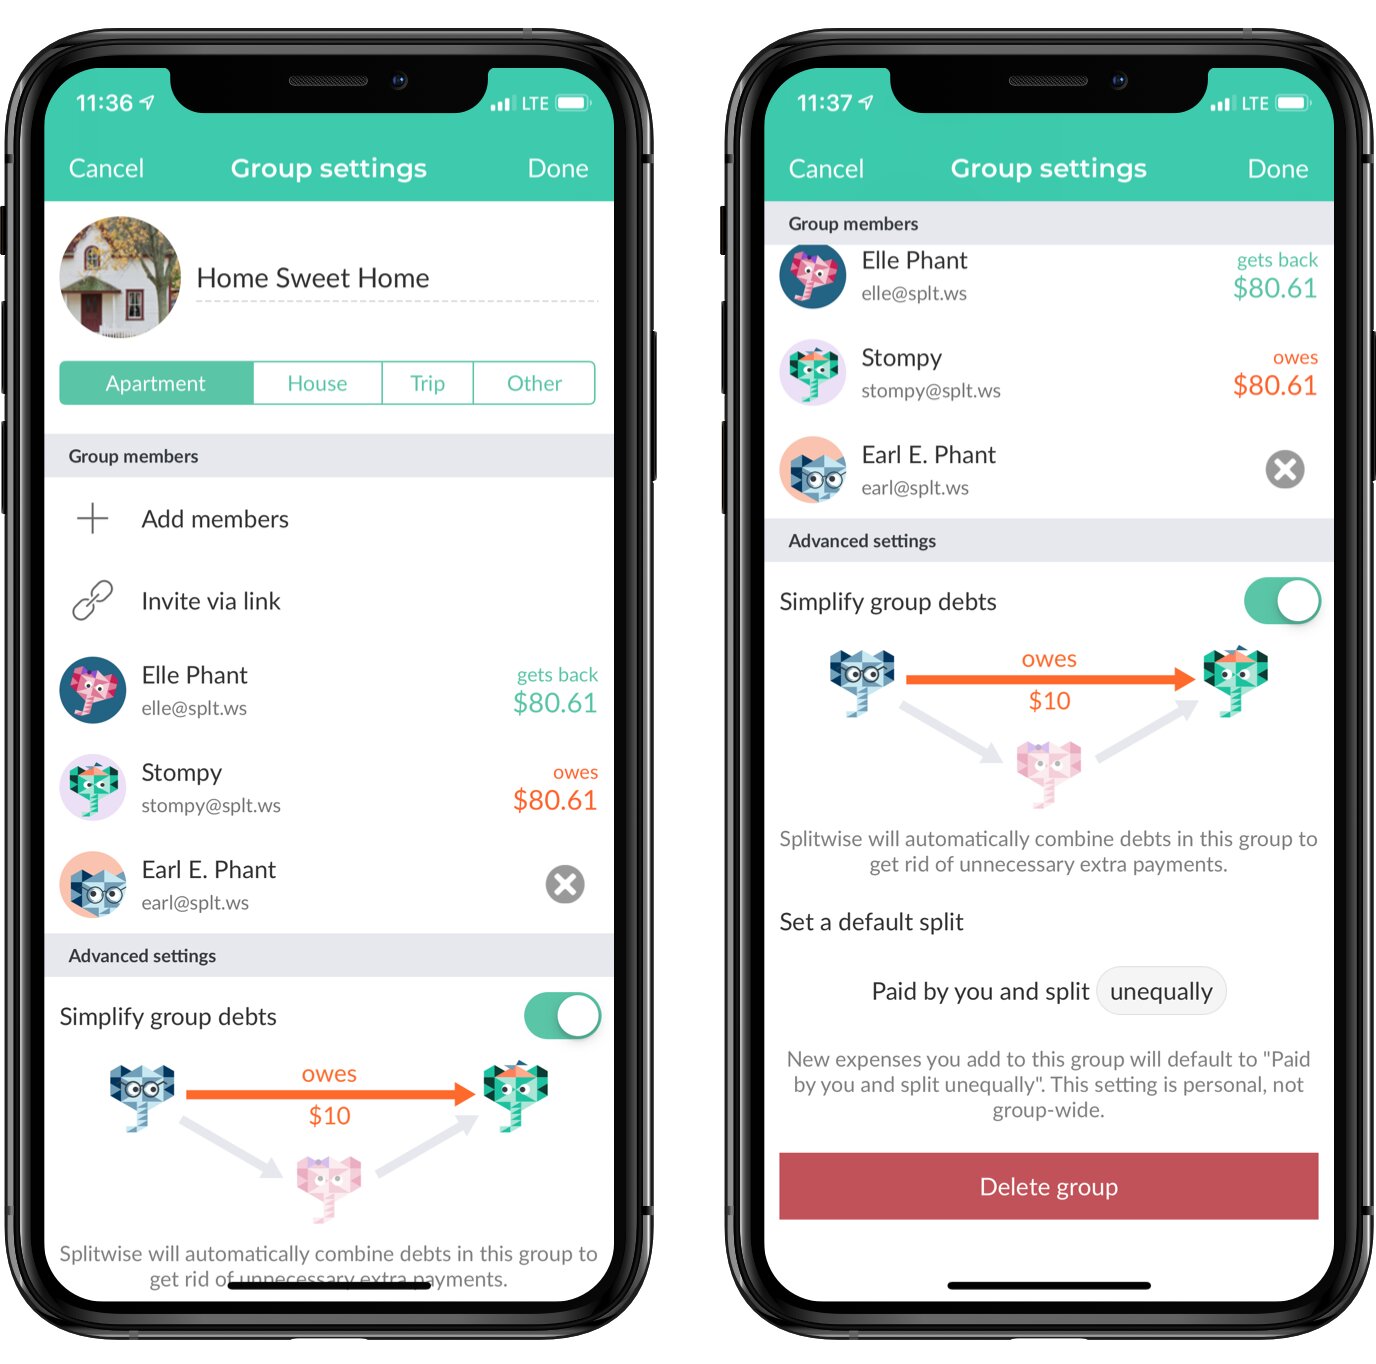
After adding your friends, tap on the “Groups” option on the lower portion of the screen and choose “Start a group” on the upper right. You will see four options under Group Type: Apartment, House, Trip, and Other. Select Trip and type in a name for that group trip. As you can see in the photo, the example says NYC Trip.
Once done, you will now see several options to manage your travel expenses for that trip. Tap on Add members then select your friends or you can share a link to them which you can send via SMS, email, or other messaging apps. When they click on that link, they will accept your invitation and will then be added to the group. You can even add a photo to your group trip!
Add Expenses
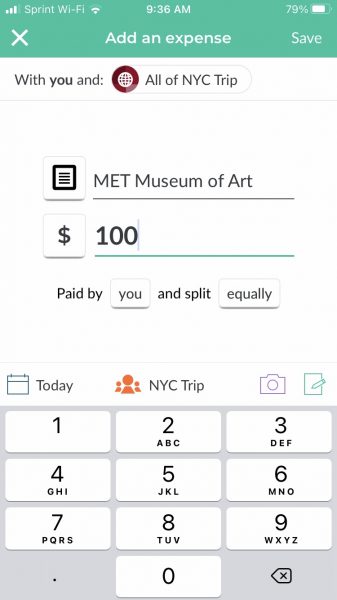

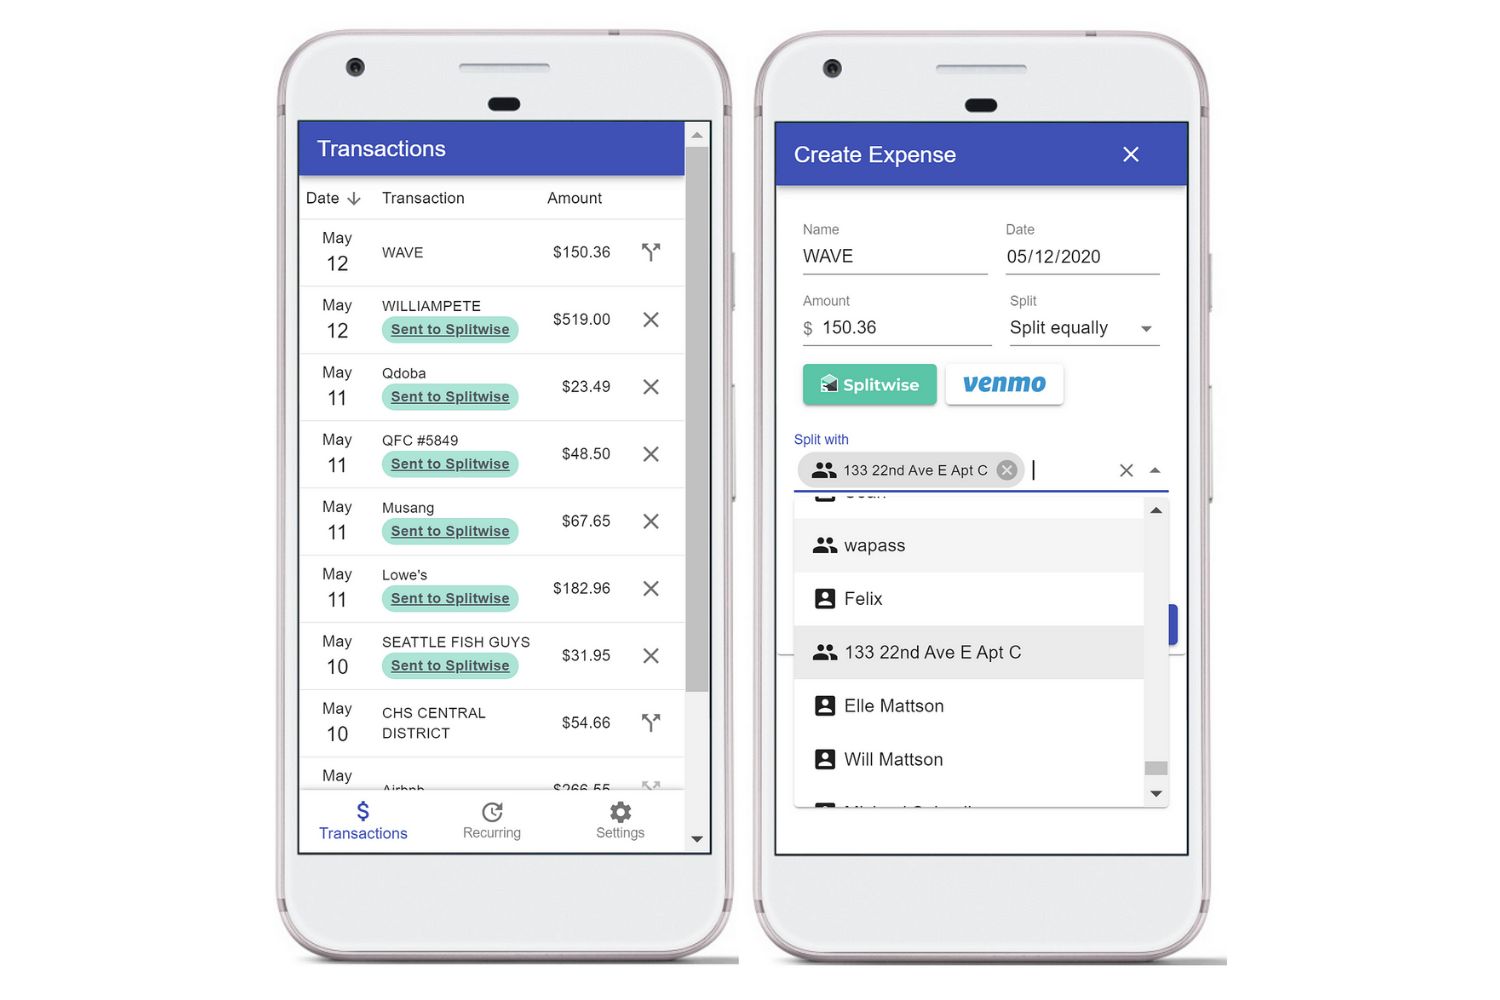
You can now add your expenses. To simplify this process, it is recommended that you log each expense right after; for example, after each meal or after booking a flight. While you are on your group’s screen, tap on the plus (+) button to add an expense. Enter a description and the amount for that particular expense. Below that, you can choose who paid for the expense first and how you want to split it.
If you choose to split equally, Splitwise will automatically compute how much each member of your group owes. Alternatively, you can tap on the “equally” button and then enter each person’s bill. You can even use the percentage option if you want someone to pay for 60% of the bill, for example. The app will then calculate the exact amount that each person needs to settle for later.
Add People to Each Expense Item
If not everybody is involved in a particular expense, you can select certain people under the same menu. Simply tick the check box on their names or tap on the “add-subtract” (+/-) icon.
View Balances
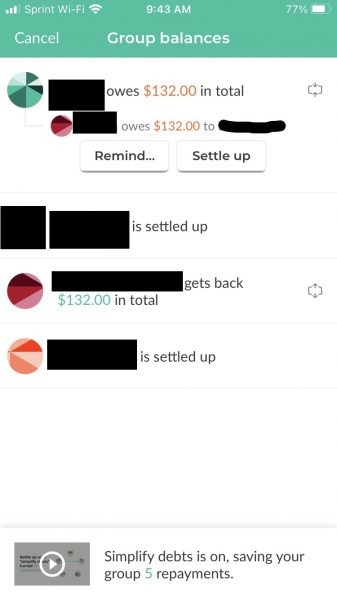

To view your balances, navigate to your group’s page again on Splitwise, and tap on Balances, located beside the “Settle Up” button on the top of the screen. In the example photo, you can see that one person owes $132 in total and the others are all settled up. If other people have not settled up, every person in your group will also be able to see how much each of them owes. If someone still owes a certain amount, anyone can tap on the Remind button to send a reminder for them to settle up.
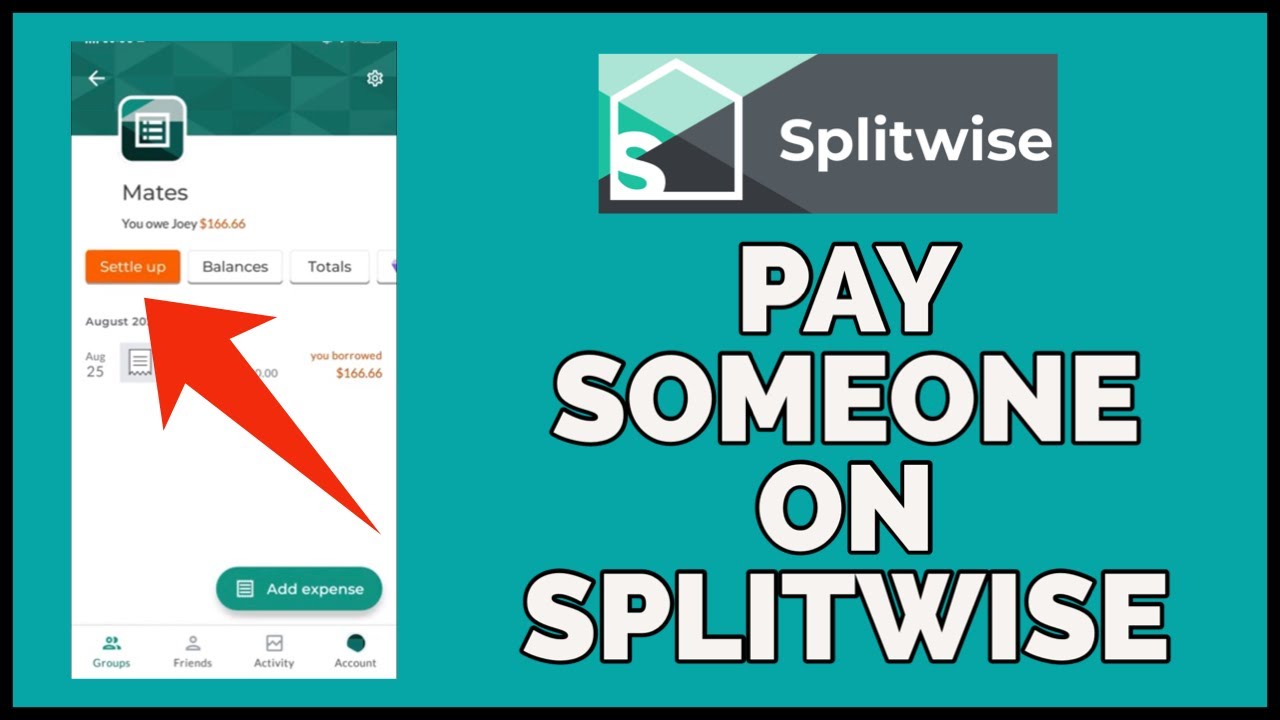
On the other hand, if you are the one who owes the money, you can tap on Settle Up and choose from the payment options to take care of your balance. You can see an in-depth guide on settling balances below.
View Your Remaining Balance
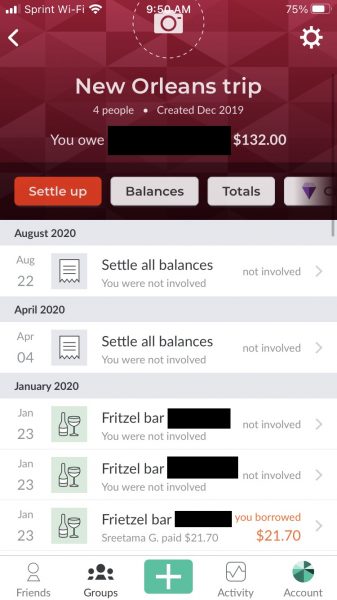

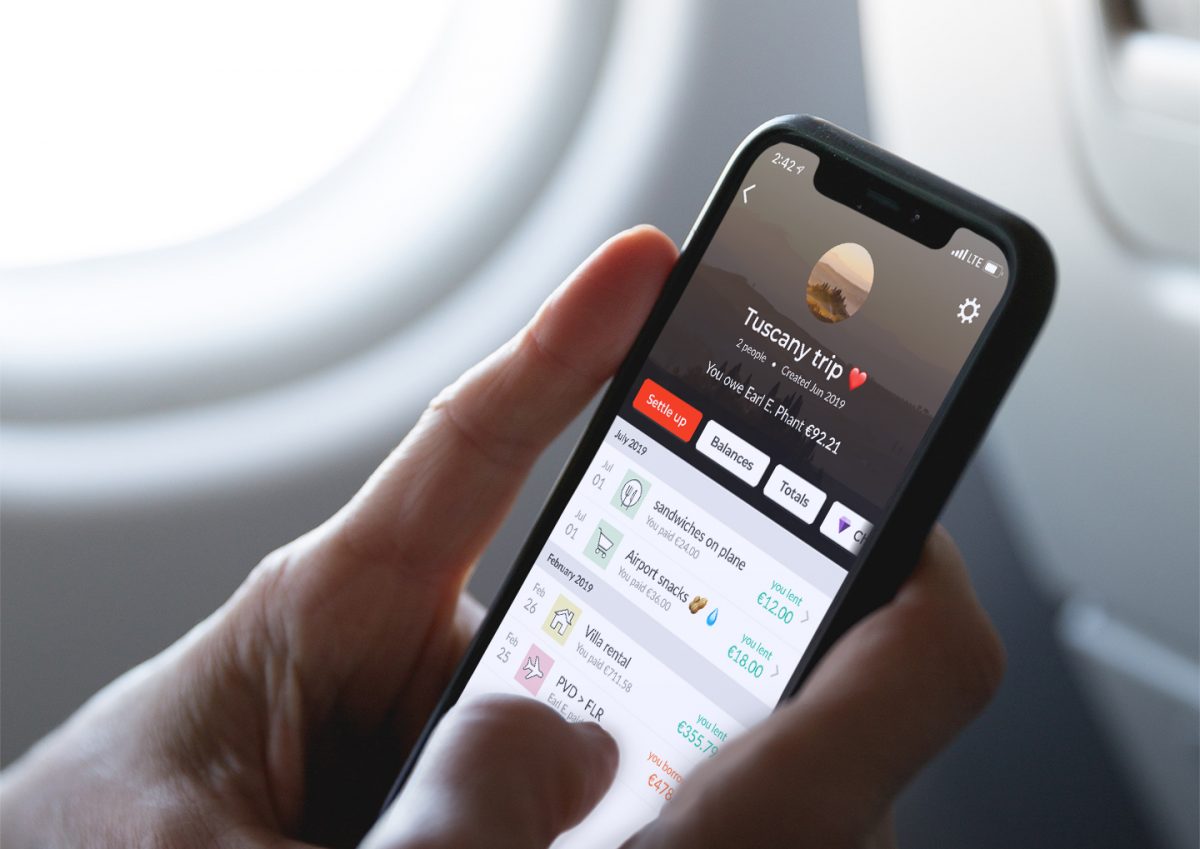
During, before, or after your trip, you will have full access to your balances as well as everyone else’s by navigating to your group’s trip page on Splitwise. You will see each expense, the date when that expense was made, and who was involved in that expense. If you don’t owe something from that particular expense, you will see “not involved” beside it like in the example above of a New Orleans group trip. If you are involved, you will see “you borrowed” and the amount that you owe written in orange. You will also see the name of the person from whom you owe that amount.
How to Settle Up Your Balance
As mentioned, you can settle up balances as you go or settle them all up after the trip. The process is the same.
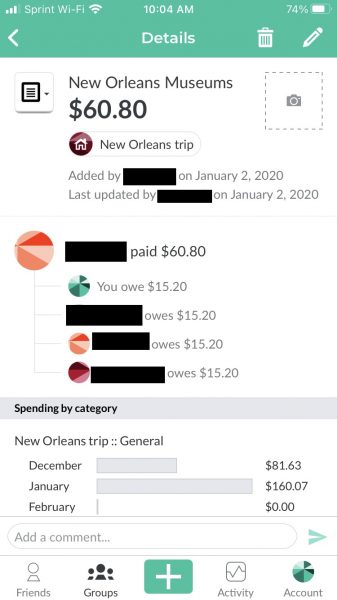

Settle Each Balance or All Balances
Under Groups, you will see your trips and the total balance you owe. When you tap on a trip, you will see an option to “Settle all balances.” While there is no option to settle your balance for each expense, you can use the same Settle Up option to pay a portion of what you owe. Once you click on Settle Up, Splitwise will let you choose how you want to pay for that balance.
Use Third-Party Apps
You can also use other third-party apps that are not directly linked to Splitwise to settle your balance. This can be anything from any bank’s money transferring services or other mobile payment apps. If you and your friend both have Wells Fargo as your bank, for example, you can simply use Wells Fargo’s Zelle service.
The only difference is you will have to go out of the Splitwise app and use Wells Fargo’s app to send the money. The process is the same if you want to use other apps such as Apple Pay, Samsung Pay, Xoom, and so on. However, Splitwise will not record that payment automatically. You will have to manually record it as a “cash payment,” which is discussed below.
Record a Cash Payment
Whether you have settled up all or some balances in cash or used another third-party up, you can still record that payment on Splitwise. The app will then calculate your remaining balance. Under the same Settle Up screen, select Record a cash payment then enter the amount that you have paid to your friend. Click on save and Splitwise will now acknowledge that you have settled your balance.
Payment Methods
You can use any of the payment methods below or even use a non-affiliated third-party app.
PayPal

If you choose PayPal as your payment method on Splitwise, it will ask you to log in with your PayPal credentials. It may ask you to verify your identity if you have enabled two-factor authentication (2fa). After logging in, you will see the same interface as the PayPal app. Then, confirm which credit or debit card or bank account linked to your PayPal that you want to use.
Venmo
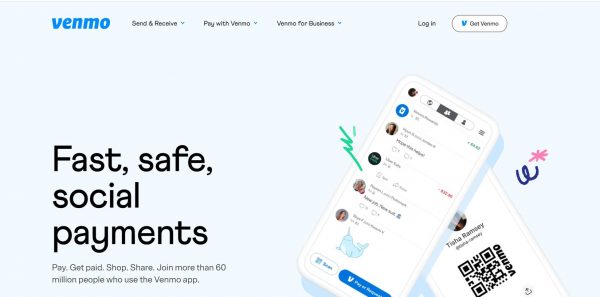

To use Venmo as your payment method, you must have signed up for the service and have had the Venmo app installed on your device. If you are using a browser, all you would need are your Venmo credentials.
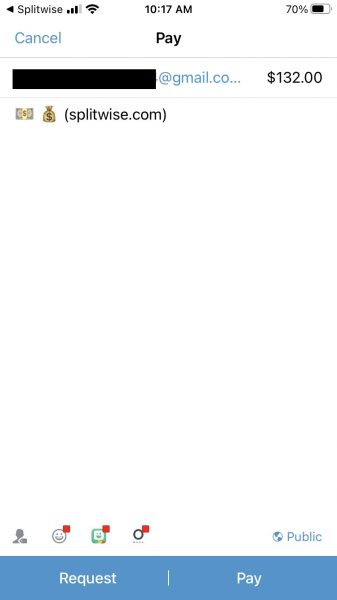
Select Settle Up and choose Venmo. Splitwise will then ask you to open up the Venmo app. In the photo below it, you can see the amount owed and that the payment is for Splitwise. Tap on Pay on the lower right of the screen then select which linked credit or debit card or bank account you want to use for that payment. Confirm it and the money will be transferred to your friend’s bank account.

You can also go directly to your Venmo app and use certain features like Venmo Groups or group Venmo to settle your balance. This is especially useful if you would like to make payments to other people in your group as well.
Why Use Splitwise for Group Travel
Unlike other bill splitter apps, Splitwise is so convenient because of the way you can organize your travel expenses. As you can see from the features above, everything is so detailed, and settling up balances is very convenient. There are many payment options that you can use even though it is only directly linked to PayPal and Venmo.
The ability to record cash payments is a huge plus. This way, one person can look at the receipt after each meal, each museum visit, or flight booking, and record how much money each person owes. It makes traveling with a group smoother and helps you avoid conflicts with each other.
Splitwise is also a great tool for those who share rent. It’s a fantastic rent split calculator whether you are sharing a room or an apartment with one person or several people. As you can see from the photos above, there is an option called “Others” so you can use it for whichever purpose you want that requires splitting bills. It is so easy to use as well. All you would need is your Splitwise login and your linked mobile payment apps. You do not need to link your bank accounts directly to Splitwise.
Other App Features
Here are some other features of the Splitwise app that can be handy not just for group trips but also for other purposes that require bill splitting.
Equal or Unequal Splits
We’ve mentioned above that you have the option to split payments unequally. For example, one person can pay 60% of the balance, another person can pay 20%, and so on. Or you can also enter the exact amount for each person’s share.
Recurring Expenses
You can also use Splitwise to split bills for recurring expenses such as power bills, water bills, or entertainment services like streaming services. Use the “Others” option on your Group page to organize these expenses just like you would for a trip.
Offline Mode
You don’t always need to have your data on or a WiFi connection to record expenses or payments on Splitwise. You can work offline and once you are connected to the internet, Splitwise will automatically sync all changes you’ve made offline. This goes for each member of your group as well.
Exporting Reports
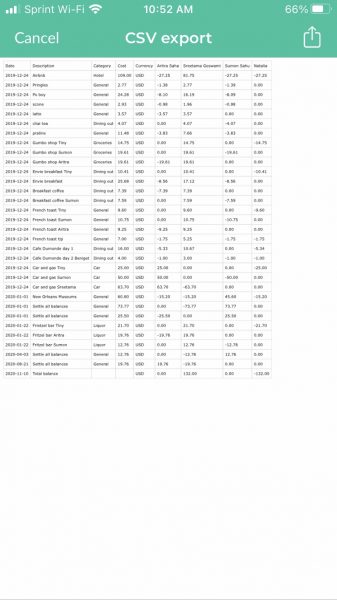

Under your Group’s page where you can see the options Settle Up and Balances, you swipe left and tap on the very last option which is Export. It will show you a detailed report of all the expenses and your shares for those expenses. Tap on the upper-right icon and you can either save it to your device or send it through email or other messaging services.
Several Languages and Currencies
If you are traveling abroad, you may want to record your expenses and payments under a different currency. Splitwise also allows you to choose from over 100 currencies, which makes it even more convenient! If you have friends who speak different languages other than English, they can change their language settings on their apps without affecting yours. You can do the same for yourself.
These are just some of the other features of Splitwise aside from it being a great tool to use for group trips.
Splitwise Pro Subscription
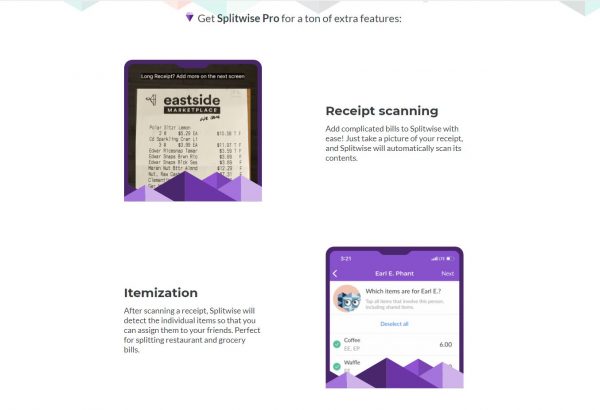

The app has an optional Pro version, which gives you some more perks that are not offered in the free version. Splitwise Pro is available for roughly $2 a month if you choose a monthly subscription. You can also sign up for a discounted yearly plan, which costs around $29 annually.
To sign up, go to your Account page by tapping on the lower right corner of the screen and select Splitwise Pro. The payment will be made via your linked Google or Apple account on your mobile device. If you are using the app directly from your browser, you would have to sign in to one of those accounts and use the same payment method you use for the Play Store or App Store.
Ad-Free
Although the ads for the basic Splitwise app are not exactly too annoying, some people may want a completely ad-free app. If you want to remove these ads, you can sign up for the pro version and never see them again.
Receipt Scans
Instead of manually typing each bill, you can use the app to scan your receipts and it will automatically record that as an expense. All you have to do is enter a description or a name for it.
Charts and Graphs
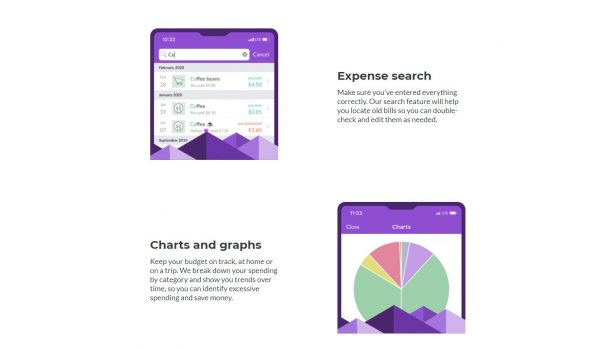

The free version allows you to export reports but if you plan to use Splitwise regularly, you may want to see more detailed information about your expenses. The Pro version offers this option, complete with charts and graphs.
Saving Splits
This is a great tool for recurring expenses. Instead of manually entering your expenses each month, for example, you can save them as “recurring splits,” and all you have to do is settle up at the date that your payments are due.
Search Function for Expenses
Unlike in the free version, Splitwise Pro lets you search for specific expenses and not just the Group names. Enter the name of the expense or any term from that particular expense and the app will search your entire records for it. It helps you keep track and manage your bills more easily.
Splitwise App Advantages and Disadvantages
Adore
- Extremely detailed and organized
- Highly personalized
- Adding friends from contacts to form a group
- Customizing how you want to split bills whether equally or unequally
- Sorting expenses and categorizing them
Dislike
- Only directly linked to Venmo and PayPal
- Need to get the Pro version for more features
Splitwise is truly a convenient app to split bills not just for group trips but also for everyday expenses. Try it now for free and make your next group travel as hassle-free as possible!


