Introduction
Welcome to our guide on how to scan an NFC tag on Android! NFC (Near Field Communication) is a technology that allows devices to communicate with each other by bringing them close together. This technology has gained popularity due to its convenience and wide range of applications. If you have an Android device, you can take advantage of NFC’s capabilities to perform various actions, such as making contactless payments, sharing files, or automating tasks.
In this article, we will walk you through the process of scanning an NFC tag on your Android device. We’ll explain what NFC is, how to check if your device supports NFC, and how to enable NFC on your Android device. We’ll also guide you on downloading an NFC tag scanning app and show you where to find NFC tags. Finally, we’ll provide step-by-step instructions on how to scan an NFC tag and how to read the information stored on it or perform an action associated with it.
Whether you are new to NFC or just looking to expand your knowledge, this guide will help you understand the basics and get you started with scanning NFC tags on your Android device. So, let’s dive in and explore the world of NFC!
What is NFC?
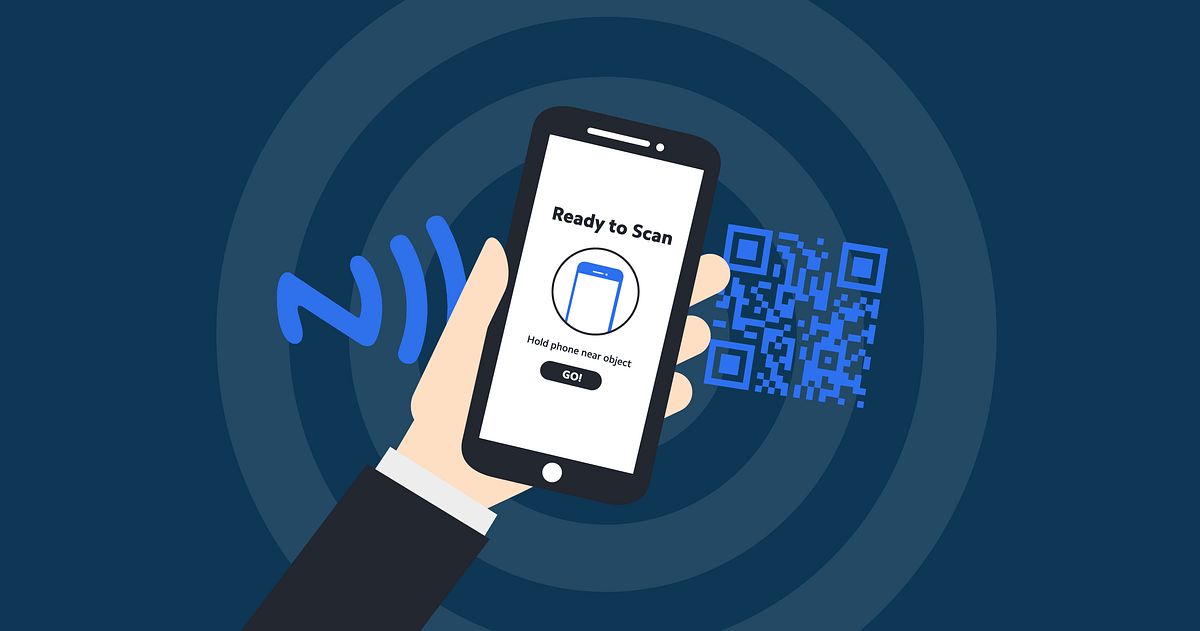
NFC, which stands for Near Field Communication, is a short-range wireless communication technology that allows devices to exchange information when they are brought into close proximity. It is an extension of Radio Frequency Identification (RFID) technology and operates on the principles of electromagnetic induction, enabling devices to communicate by simply tapping them together or bringing them close to each other.
NFC is supported by various devices, including smartphones, tablets, and wearable devices. It has become increasingly popular due to its ease of use and its ability to provide seamless and secure transactions. While NFC has a range of only a few centimeters, its range is sufficient for most applications and ensures that communication remains private.
One of the key features of NFC is its ability to facilitate contactless payments, allowing users to make transactions by simply tapping their smartphones or NFC-enabled cards against compatible payment terminals. This feature has made NFC a popular choice for mobile payment services such as Google Pay and Apple Pay.
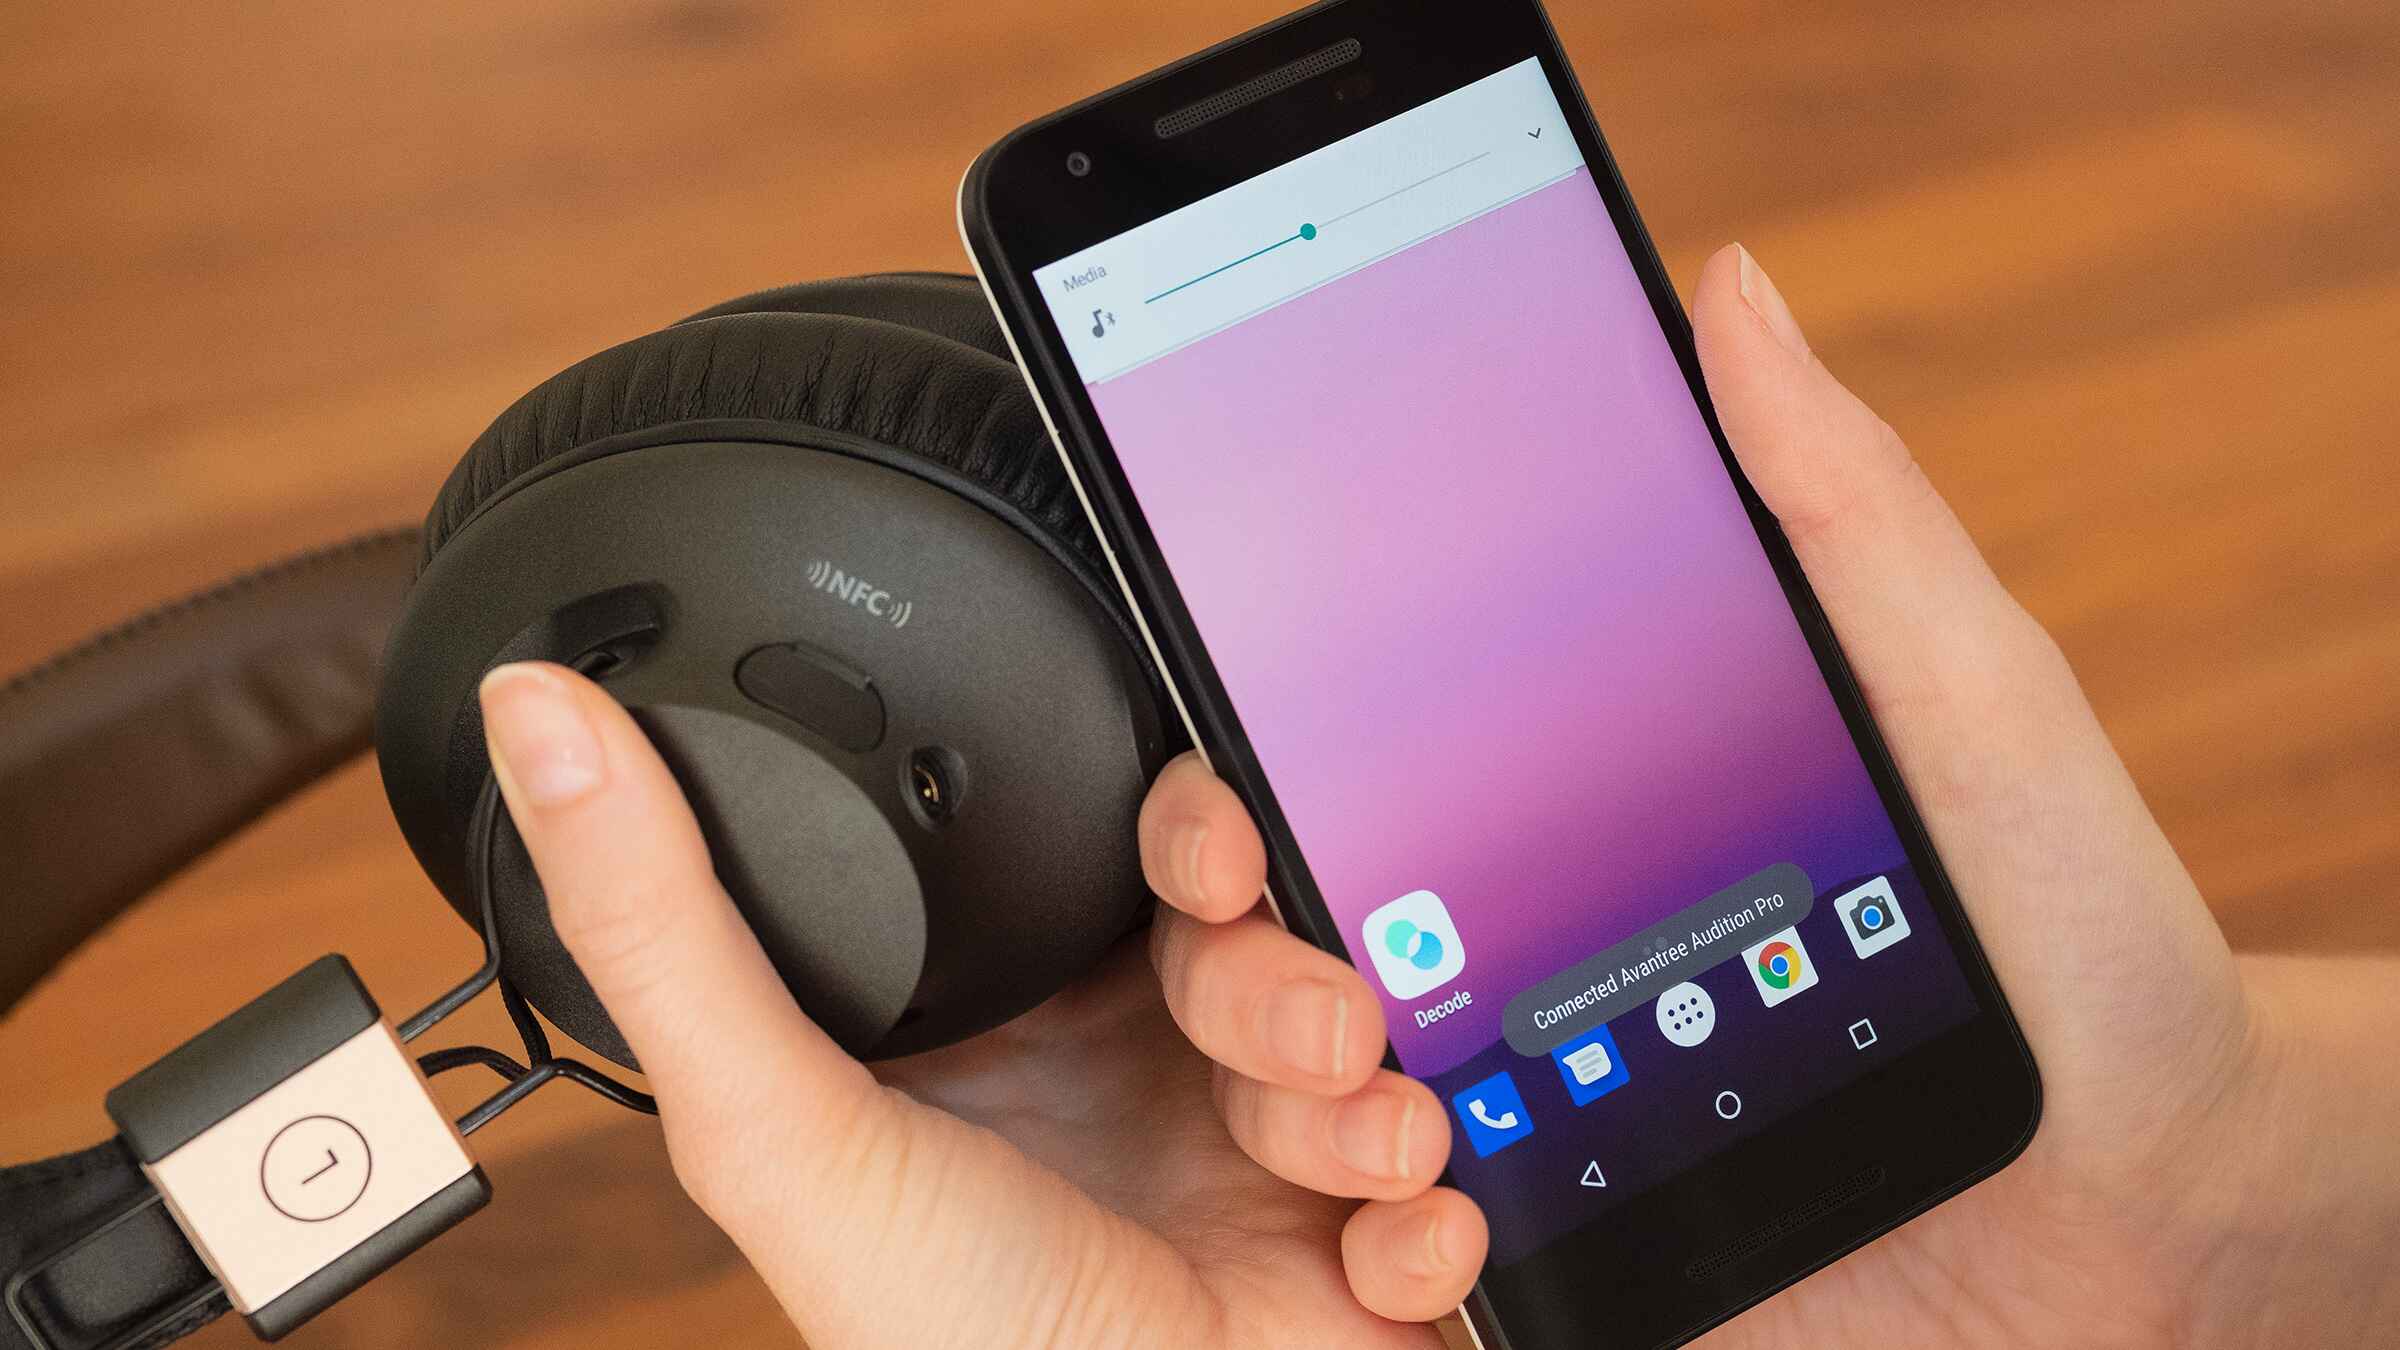
In addition to contactless payments, NFC can also be used for various other purposes, such as sharing files, connecting devices, and automating tasks. For example, NFC tags, small stickers or tokens embedded with an NFC chip, can be programmed to perform predefined actions when tapped with an NFC-enabled device. These actions could include opening a webpage, launching an application, or adjusting device settings.
NFC has gained widespread adoption and is supported by many Android devices. It provides a convenient and secure way to perform a range of tasks, making it a valuable technology for everyday use.
How to Check if Your Android Device Supports NFC
Before you can start scanning NFC tags on your Android device, it’s essential to confirm whether your device supports NFC. Fortunately, checking for NFC compatibility is a quick and straightforward process. Here are the steps to follow:
1. Go to the Settings menu on your Android device. You can typically access it by swiping down from the top of the screen and tapping the gear-shaped icon.
2. Scroll down and look for the “Wireless & Networks” or “Connections” option. Tap on it to open the submenu.
3. Within the submenu, locate the “NFC” or “NFC and payment” option. The wording may vary slightly depending on your device.
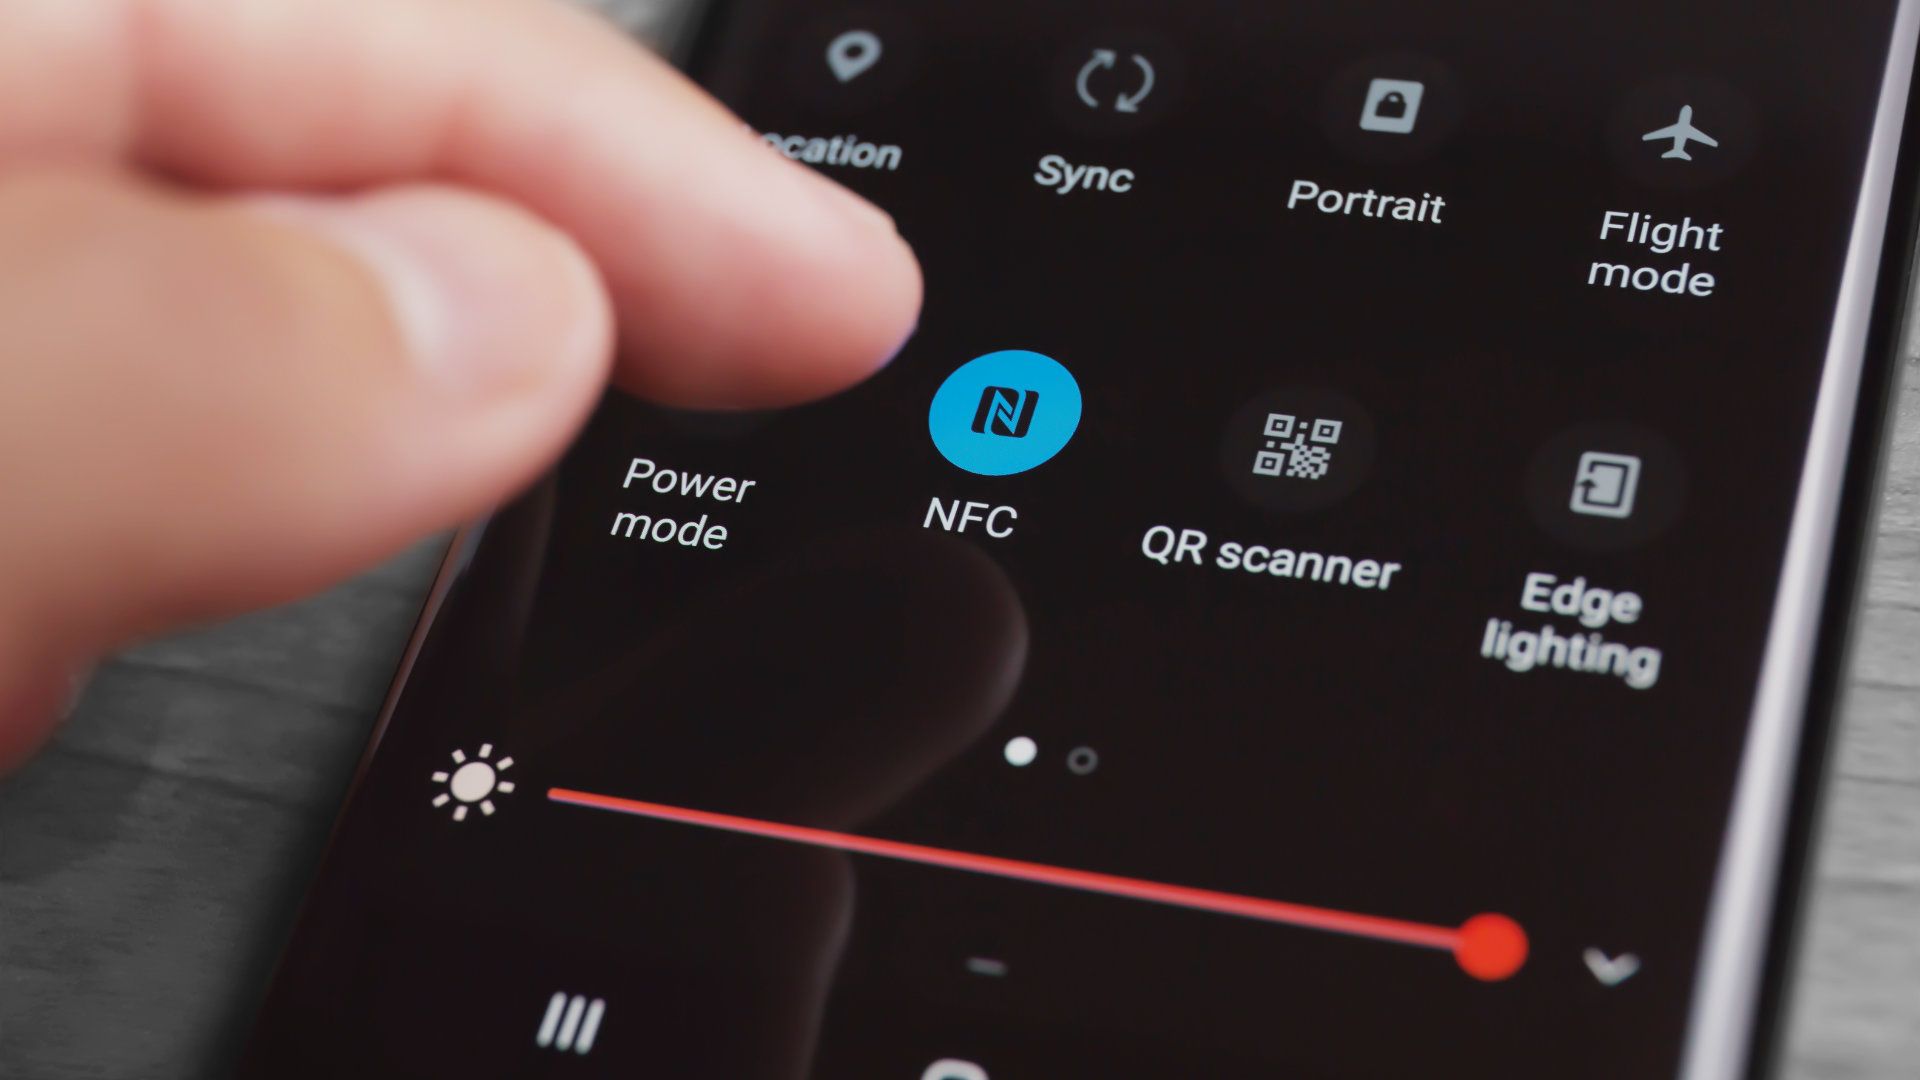
4. If you see the NFC option, it means that your device supports NFC technology. You can enable or disable NFC from this settings page by toggling the switch.
If you don’t find the NFC option in your device’s settings, it means that your device does not have NFC capabilities. Keep in mind that older or budget-friendly Android devices may not come equipped with NFC. However, the majority of recent and mid-to-high-end Android devices include NFC support.
In case you’re uncertain about whether your device supports NFC, you can also consult the user manual or visit the manufacturer’s website for more information. Additionally, a quick online search using your device’s model name and “NFC support” can often provide the necessary details.
Once you have confirmed that your Android device is NFC-enabled, you can proceed to the next steps, which involve enabling NFC and downloading an NFC tag scanning app if necessary.
How to Enable NFC on Your Android Device
If your Android device supports NFC, you’ll need to enable it before you can start scanning NFC tags. Enabling NFC is a straightforward process, and here’s how you can do it:
1. Open the Settings menu on your Android device by swiping down from the top of the screen and tapping the gear-shaped icon.
2. Scroll down and find the “Wireless & Networks” or “Connections” option. Tap on it to access the submenu.
3. Look for the “NFC” or “NFC and payment” option within the submenu and tap on it.
4. On the NFC settings page, you will see a toggle switch. Slide it to the ON position to enable NFC on your device. The switch may be located at the top or bottom of the page, depending on your device’s manufacturer and Android version.
5. Some devices may have additional options or settings related to NFC, such as Android Beam, which allows you to share content between NFC-enabled devices by touching them together. If desired, you can explore these options and customize them according to your preferences.
Once NFC is enabled on your Android device, you’re ready to start scanning NFC tags. However, if you haven’t already done so, you may need to download an NFC tag scanning app from the Google Play Store. Not all Android devices come pre-installed with a dedicated NFC scanning app, so downloading one will ensure you have the necessary tools to scan and interact with NFC tags.
In the next section, we’ll guide you through the process of downloading an NFC tag scanning app on your Android device, which will allow you to fully utilize the capabilities of NFC.
Downloading an NFC Tag Scanning App
To fully utilize the capabilities of NFC on your Android device, you may need to download a dedicated NFC tag scanning app from the Google Play Store. While some Android devices come pre-installed with a default app for scanning NFC tags, others may require you to download one. Here’s how you can easily find and download an NFC tag scanning app:
1. Open the Google Play Store app on your Android device. It’s usually represented by a multi-colored triangle icon.
2. Tap on the search bar at the top of the screen and type in “NFC tag scanner” or a similar keyword related to NFC tag scanning.
3. The Google Play Store will display a list of NFC scanning apps that are compatible with your device. Browse through the options and read the descriptions, user reviews, and ratings to find an app that suits your needs.
4. Once you’ve selected an NFC tag scanning app, tap on the “Install” button to download and install the app on your device. The app will then be added to your app library and appear on your home screen or in the app drawer.
5. After the app is installed, you can open it by tapping on its icon. Follow any on-screen instructions or prompts to set up the app, if required.
Now that you have a dedicated NFC tag scanning app on your Android device, you’re equipped to scan NFC tags and explore the features and functionalities they offer. In the next sections, we’ll explain where you can find NFC tags and guide you through the process of scanning them on your Android device.
Where to Find NFC Tags
Once you have an NFC tag scanning app installed on your Android device, you’ll need NFC tags to scan and interact with. NFC tags are small stickers or tokens that contain an embedded NFC chip. These tags can be purchased from various sources, and here are some common places where you can find NFC tags:
1. Online Marketplaces: Online marketplaces, such as Amazon, eBay, and AliExpress, offer a wide range of NFC tags in different shapes, sizes, and quantities. You can easily browse through the options, read user reviews, and choose the ones that suit your needs and budget.
2. Electronics Stores: Some specialized electronics or gadget stores may carry NFC tags in their inventory. They might have a dedicated section for NFC accessories or RFID products. Visit these stores in your local area or check their online websites to see if they offer NFC tags.
3. Office Supply Stores: Some office supply stores carry NFC tags, especially those that cater to businesses or technology enthusiasts. These stores often have a tech or gadget section where you can find NFC tags among other related products like USB drives and computer accessories.
4. Mobile Device Retailers: For a more convenient option, consider visiting the retail stores of mobile device manufacturers or mobile network providers. They may sell NFC tags alongside smartphone accessories or have partnerships with third-party vendors who offer NFC tags for sale.
5. Specialty NFC Shops: There are also online shops dedicated specifically to selling NFC tags and related products. These specialized shops may have a wider selection of NFC tags and provide detailed information about their specifications and recommended uses.
When purchasing NFC tags, consider the desired functionality and storage capacity of the tags, as well as any additional features they may offer. Some NFC tags can be rewritable, allowing you to change the information or action associated with the tag. Others may have a specific purpose, such as NFC payment tags or NFC tags for home automation.
With a variety of options available, you can find NFC tags that best suit your needs and intended use. Once you have obtained NFC tags, you’re ready to start scanning them on your Android device, which we will explain in the next section.
How to Scan an NFC Tag on Android
Scanning an NFC tag on your Android device is a simple and straightforward process. With your NFC tag scanning app installed and an NFC tag in hand, follow these steps to scan the tag:
1. Ensure that NFC is enabled on your Android device. You can do this by going to the Settings menu, locating the “NFC” or “NFC and payment” option, and toggling it on if it’s not already enabled.
2. Open the NFC tag scanning app on your Android device. If you have multiple apps that can scan NFC tags, you may be prompted to choose the one you want to use. Select your preferred app.
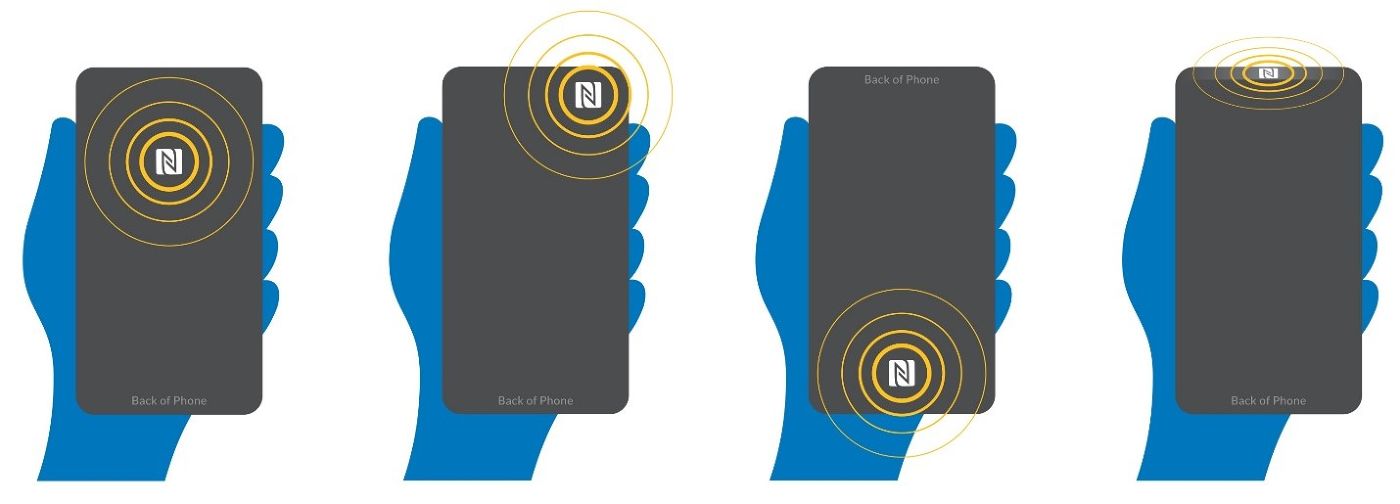
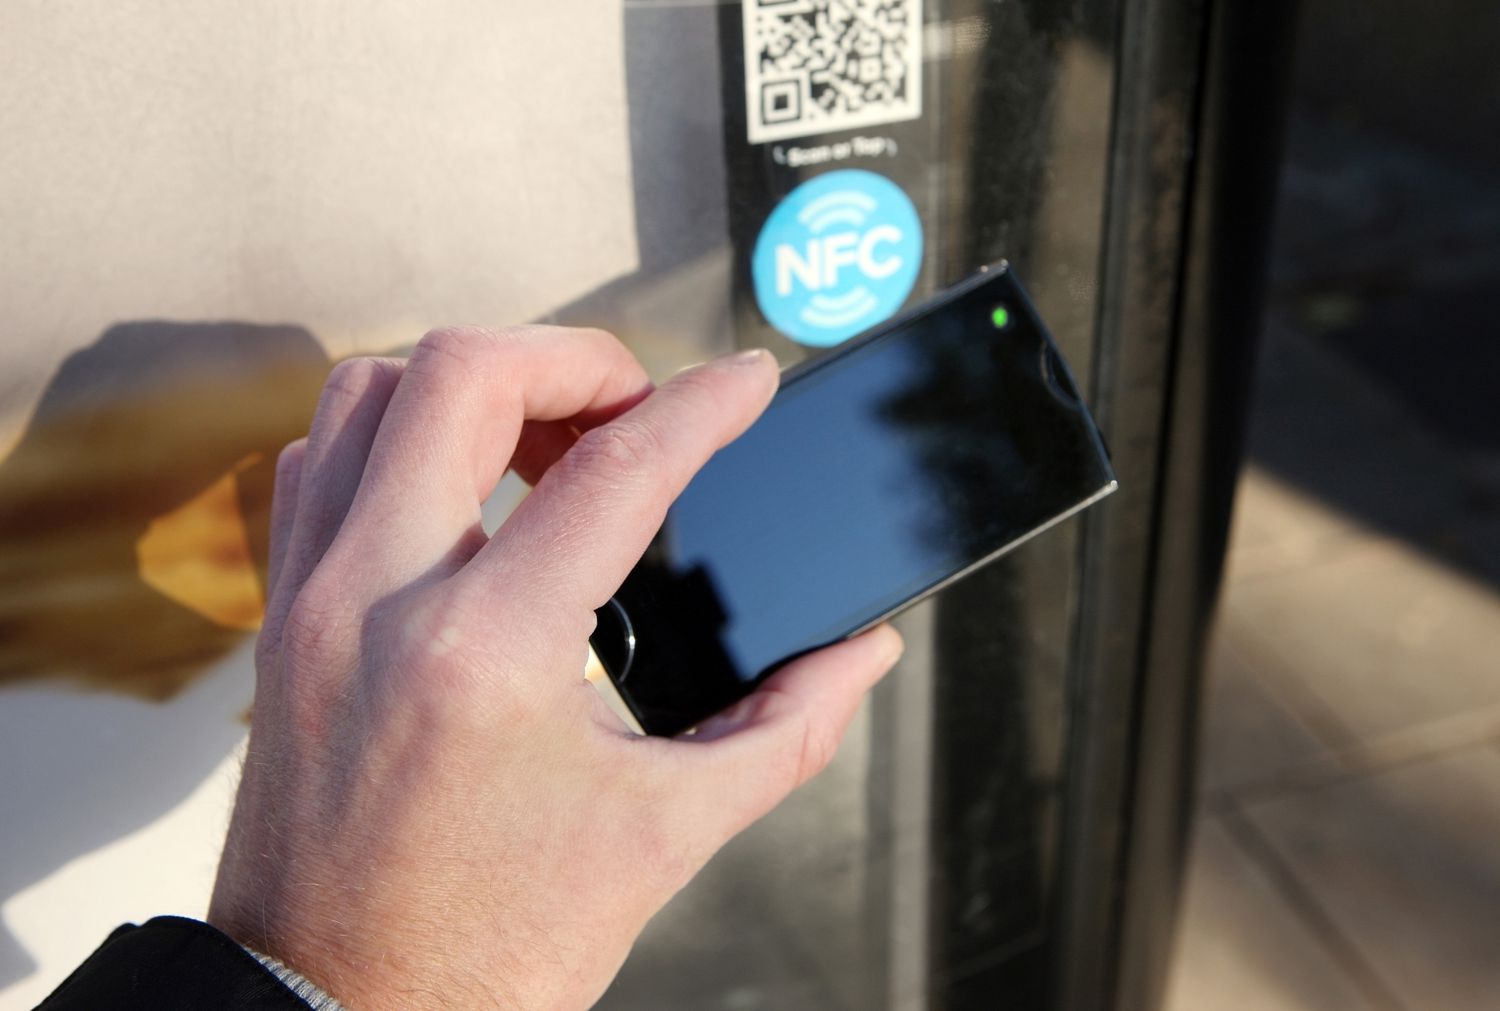
3. Hold the NFC tag near the back of your device, in the vicinity of the NFC antenna. The location of the NFC antenna may vary depending on your device model. In most smartphones, it is typically located towards the top or center-back portion of the device.
4. The NFC tag scanning app will automatically detect the presence of the NFC tag and initiate the scanning process. You may also hear a sound or feel a vibration to indicate a successful scan.
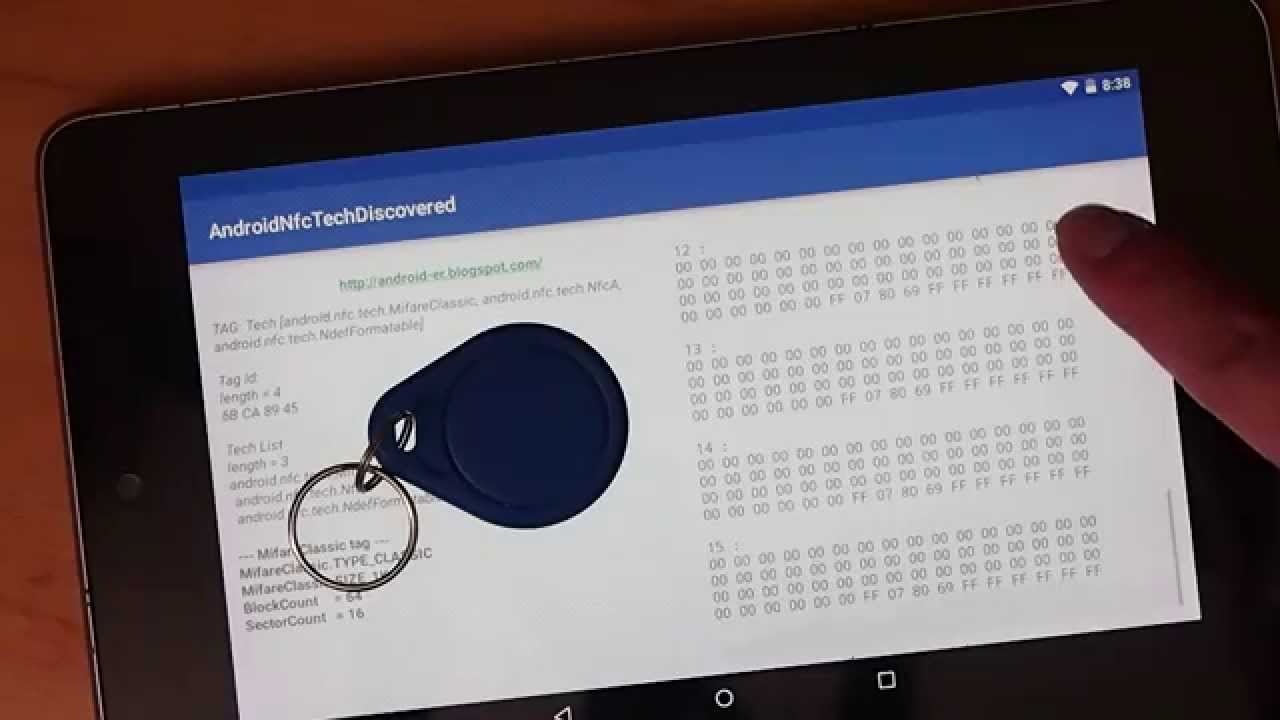
5. Once the NFC tag is successfully scanned, the app will display the information stored on the tag. This can include text, links, contact details, or any other data that was programmed into the NFC tag. You can read and interact with the information as desired.
6. Depending on the content and programming of the NFC tag, you may have various options available. For example, you might be able to open a website, launch an app, make a payment, or perform an action associated with the tag.
7. To scan another NFC tag, simply repeat the process by bringing the tag near the NFC antenna of your device and allow the app to detect and interact with it.
It’s worth noting that the steps mentioned above may vary slightly depending on the NFC tag scanning app you are using. Some apps may have additional features or require specific settings to be enabled. However, the basic process of scanning NFC tags remains the same across different apps.
Now that you know how to scan an NFC tag on your Android device, you can start exploring the possibilities and benefits that NFC technology has to offer. In the next section, we’ll delve into how you can read the information stored on an NFC tag and perform actions associated with it.
Reading the Information from an NFC Tag
Once you have scanned an NFC tag on your Android device, the NFC tag scanning app will display the information stored on the tag. The content of the NFC tag can vary based on how it was programmed, but it commonly includes text, web links, contact details, and more. Here’s how you can read and interact with the information from an NFC tag:
1. After scanning the NFC tag, open the NFC tag scanning app on your Android device if it’s not already open. The app will typically display the information from the tag on your screen.
2. If the information on the tag is text-based, you can read it directly from the app’s interface. Simply scroll through the displayed text to access the desired information. The text may include instructions, descriptions, promotional messages, or any other relevant details.
3. If the NFC tag contains a web link, the app might provide an option to open the link directly within the app’s built-in browser or using your default web browser. Tapping on the link will take you to the associated webpage, allowing you to access additional content, make a purchase, or gather more information related to the tag.
4. In the case of NFC tags with contact information, the scanning app may allow you to save the contact details directly to your device’s contacts or offer options to call, message, or email the contact. This can be particularly helpful when interacting with business cards or promotional materials encoded as NFC tags.
5. Some NFC tags may trigger specific actions or tasks, depending on how they were programmed. For example, a tag placed near your bedside table might be programmed to activate the “Do Not Disturb” mode on your phone when tapped in the evening. The app will execute the associated action once the tag is scanned, enhancing convenience and automation in your daily routines.
6. If you come across an NFC tag that you don’t fully understand or aren’t certain about its contents, exercise caution. It’s recommended to only interact with NFC tags from trusted sources to ensure your device’s security and protect your personal information.
Remember, the information on an NFC tag is determined by its programming, which can be updated or changed. As a result, the content on an NFC tag may differ from one tag to another, offering unique experiences and functionality.
By reading and interacting with the information stored on NFC tags, you can access additional content, save time, automate tasks, and make the most of the capabilities offered by NFC technology.
Performing an Action with an NFC Tag
One of the key advantages of NFC technology is its ability to trigger specific actions or tasks when an NFC tag is scanned. These actions can range from opening a website or launching an application to making a payment or adjusting device settings. Here’s how you can perform actions associated with an NFC tag on your Android device:
1. After scanning an NFC tag with your Android device, the NFC tag scanning app will typically provide options for performing actions associated with the tag. These options may be displayed as buttons, prompts, or contextual menus within the app’s interface.
2. If the NFC tag is programmed to open a website, tapping the corresponding button or link on the app’s interface will launch your web browser and navigate to the designated webpage. This can be useful for accessing additional content, making a purchase, or interacting with an online service.
3. Some NFC tags are programmed to launch specific applications when scanned. For example, a tag in your car could automatically launch your preferred music app or navigation app when tapped with your device. The NFC tag scanning app will detect the programmed action and initiate the associated app accordingly.
4. NFC tags can also be utilized for making contactless payments. If the NFC tag is linked to a payment service like Google Pay or Samsung Pay, the app will offer a payment option when the tag is scanned. You can proceed with the payment by following the instructions provided, usually by confirming the transaction with a fingerprint or PIN.
5. In some cases, an NFC tag may be programmed to adjust specific settings on your Android device. For example, a tag placed on your work desk could be programmed to activate Wi-Fi and mute your device when tapped. The NFC tag scanning app will execute the necessary actions upon scanning the tag, allowing you to conveniently customize your device’s settings based on specific scenarios.
6. The actions associated with an NFC tag are determined by how the tag is programmed. This means that the capabilities of NFC tags can be versatile and customized to suit various needs. The NFC tag scanning app will decipher the instructions contained within the tag and execute the appropriate action based on the programming.
By interacting with NFC tags and performing the associated actions, you can streamline tasks, enhance efficiency, and enjoy seamless experiences on your Android device. Experiment and explore the possibilities that NFC technology offers, as it can provide valuable shortcuts and automation in your daily life.
Tips and Troubleshooting
While scanning NFC tags on your Android device is usually a smooth process, there are a few tips and troubleshooting steps you can keep in mind to ensure a successful experience. Here are some helpful tips and solutions to common issues:
1. Ensure Proper Alignment: When scanning an NFC tag, make sure that it is in close proximity to the NFC antenna on your device. Align the tag with the back of your phone or the designated NFC scanning area to ensure a reliable connection.
2. Remove Interference: Keep in mind that metal objects or cases may interfere with the NFC signal. If you experience difficulties scanning NFC tags, try removing any metal objects or taking your device out of its case before scanning.
3. Update NFC Tag Scanning App: Always keep your NFC tag scanning app up to date to ensure compatibility with the latest Android software and to access any new features or improvements introduced by the app developer.
4. Check App Permissions: Some NFC tag scanning apps may require certain permissions to function correctly. Make sure that the required permissions, such as accessing the device’s NFC and internet connection, are enabled in your device’s settings for the app.
5. Keep NFC Enabled: It’s essential to keep NFC enabled on your device while using NFC tags. Disabling NFC may prevent successful scanning and hinder the ability to interact with NFC tags.
6. Experiment with Tag Placement: Depending on your device model and NFC antenna location, you may need to experiment with where you place the NFC tag for optimal scanning. Try different positions and orientations to find the sweet spot for reliable and quick scans.
7. Test Different NFC Tags: If you’re experiencing issues with a particular NFC tag, it’s worth trying different tags to see if the problem persists. Some NFC tags may have compatibility issues or may be in a read-only state, preventing interactions beyond reading the stored information.
8. Ensure Sufficient Power: Low battery levels on your Android device can affect NFC performance. Ensure that your device has sufficient battery power to establish a strong NFC connection and prevent interruptions during the scanning process.
By following these tips and troubleshooting steps, you can enhance your NFC scanning experience and overcome common challenges that may arise. NFC technology offers a wide range of possibilities, and with a bit of troubleshooting when needed, you can fully leverage its capabilities on your Android device.
Conclusion
Scanning NFC tags on your Android device opens up a world of convenience and possibilities. NFC technology allows you to wirelessly exchange information, perform actions, and automate tasks simply by tapping your device against an NFC tag. Throughout this guide, we have covered the essentials of NFC, including checking if your device supports NFC, enabling NFC, downloading an NFC tag scanning app, finding NFC tags, scanning tags, reading their information, and performing associated actions.
With NFC, you can make contactless payments, share files, connect devices, and customize your device’s settings effortlessly. NFC tags provide a convenient way to trigger specific actions based on your needs and preferences. Whether it’s accessing a website, launching an app, or making a payment, NFC offers seamless interactions and enhances efficiency in your everyday life.
Remember to enable NFC on your Android device, download a compatible NFC tag scanning app, and position the NFC tag close to your device’s NFC antenna for reliable scanning. Additionally, keep your NFC scanning app updated and take precautions to remove interference or align the NFC tag properly to ensure successful scans.
Now that you have a solid understanding of NFC and how to scan NFC tags on your Android device, you can confidently explore the myriad of possibilities that NFC technology provides. From simplifying mobile payments to accessing information quickly, NFC empowers you to take advantage of a fast and secure wireless communication method.
So go ahead, start scanning NFC tags, and enjoy the convenience and efficiency that NFC brings to your Android device!


