Introduction
Live streaming has become increasingly popular in recent years, allowing individuals and businesses to share their experiences in real-time with audiences all over the world. With the advancement of technology, live streaming has even made its way into the realm of augmented reality, bringing a whole new level of interactivity and engagement. One such example is live streaming the Vuforia app on the HoloLens.
Combining the power of Vuforia, an industry-leading AR development platform, with the immersive capabilities of the HoloLens, live streaming the Vuforia app on this innovative device opens up a world of possibilities. Whether you’re a developer looking to showcase your AR creations or an organization wanting to provide live demonstrations and training sessions, live streaming on the HoloLens can take your AR experiences to the next level.
Throughout this article, we will guide you through the process of setting up and live streaming the Vuforia app on the HoloLens. We will cover everything from equipment and software requirements to configuring the HoloLens for live streaming. We’ll also provide tips and tricks to ensure a successful live stream. So, let’s dive in and explore the exciting world of live streaming Vuforia on the HoloLens!
What is live streaming on HoloLens?
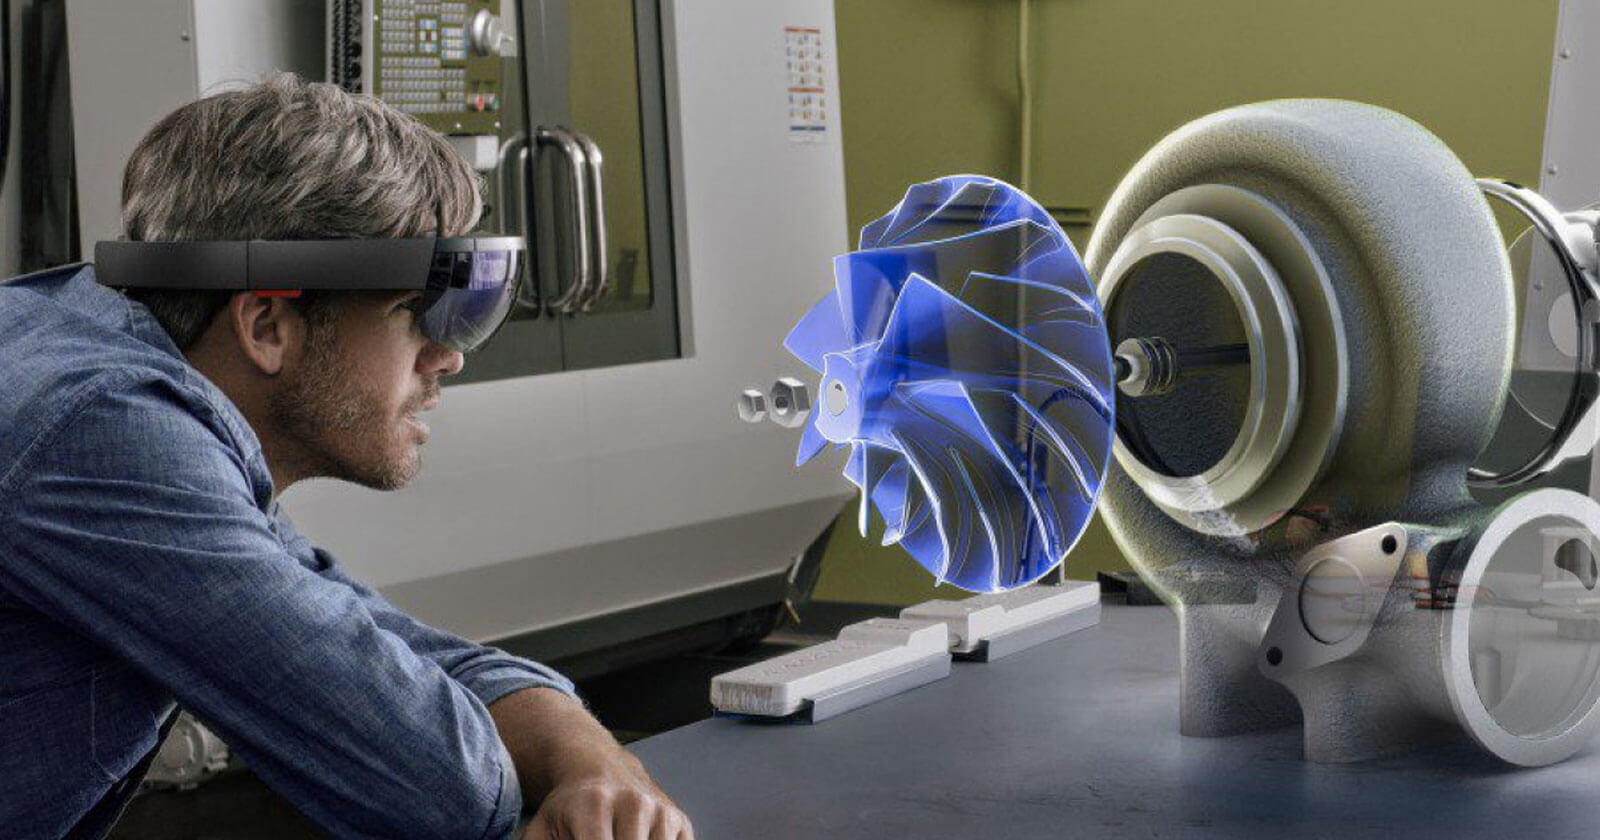
Live streaming on the HoloLens refers to the process of broadcasting real-time augmented reality experiences from the HoloLens device to viewers around the world. It allows individuals and businesses to share their interactive holographic content, created using platforms like Vuforia, with a live audience, providing them with a unique and immersive experience.
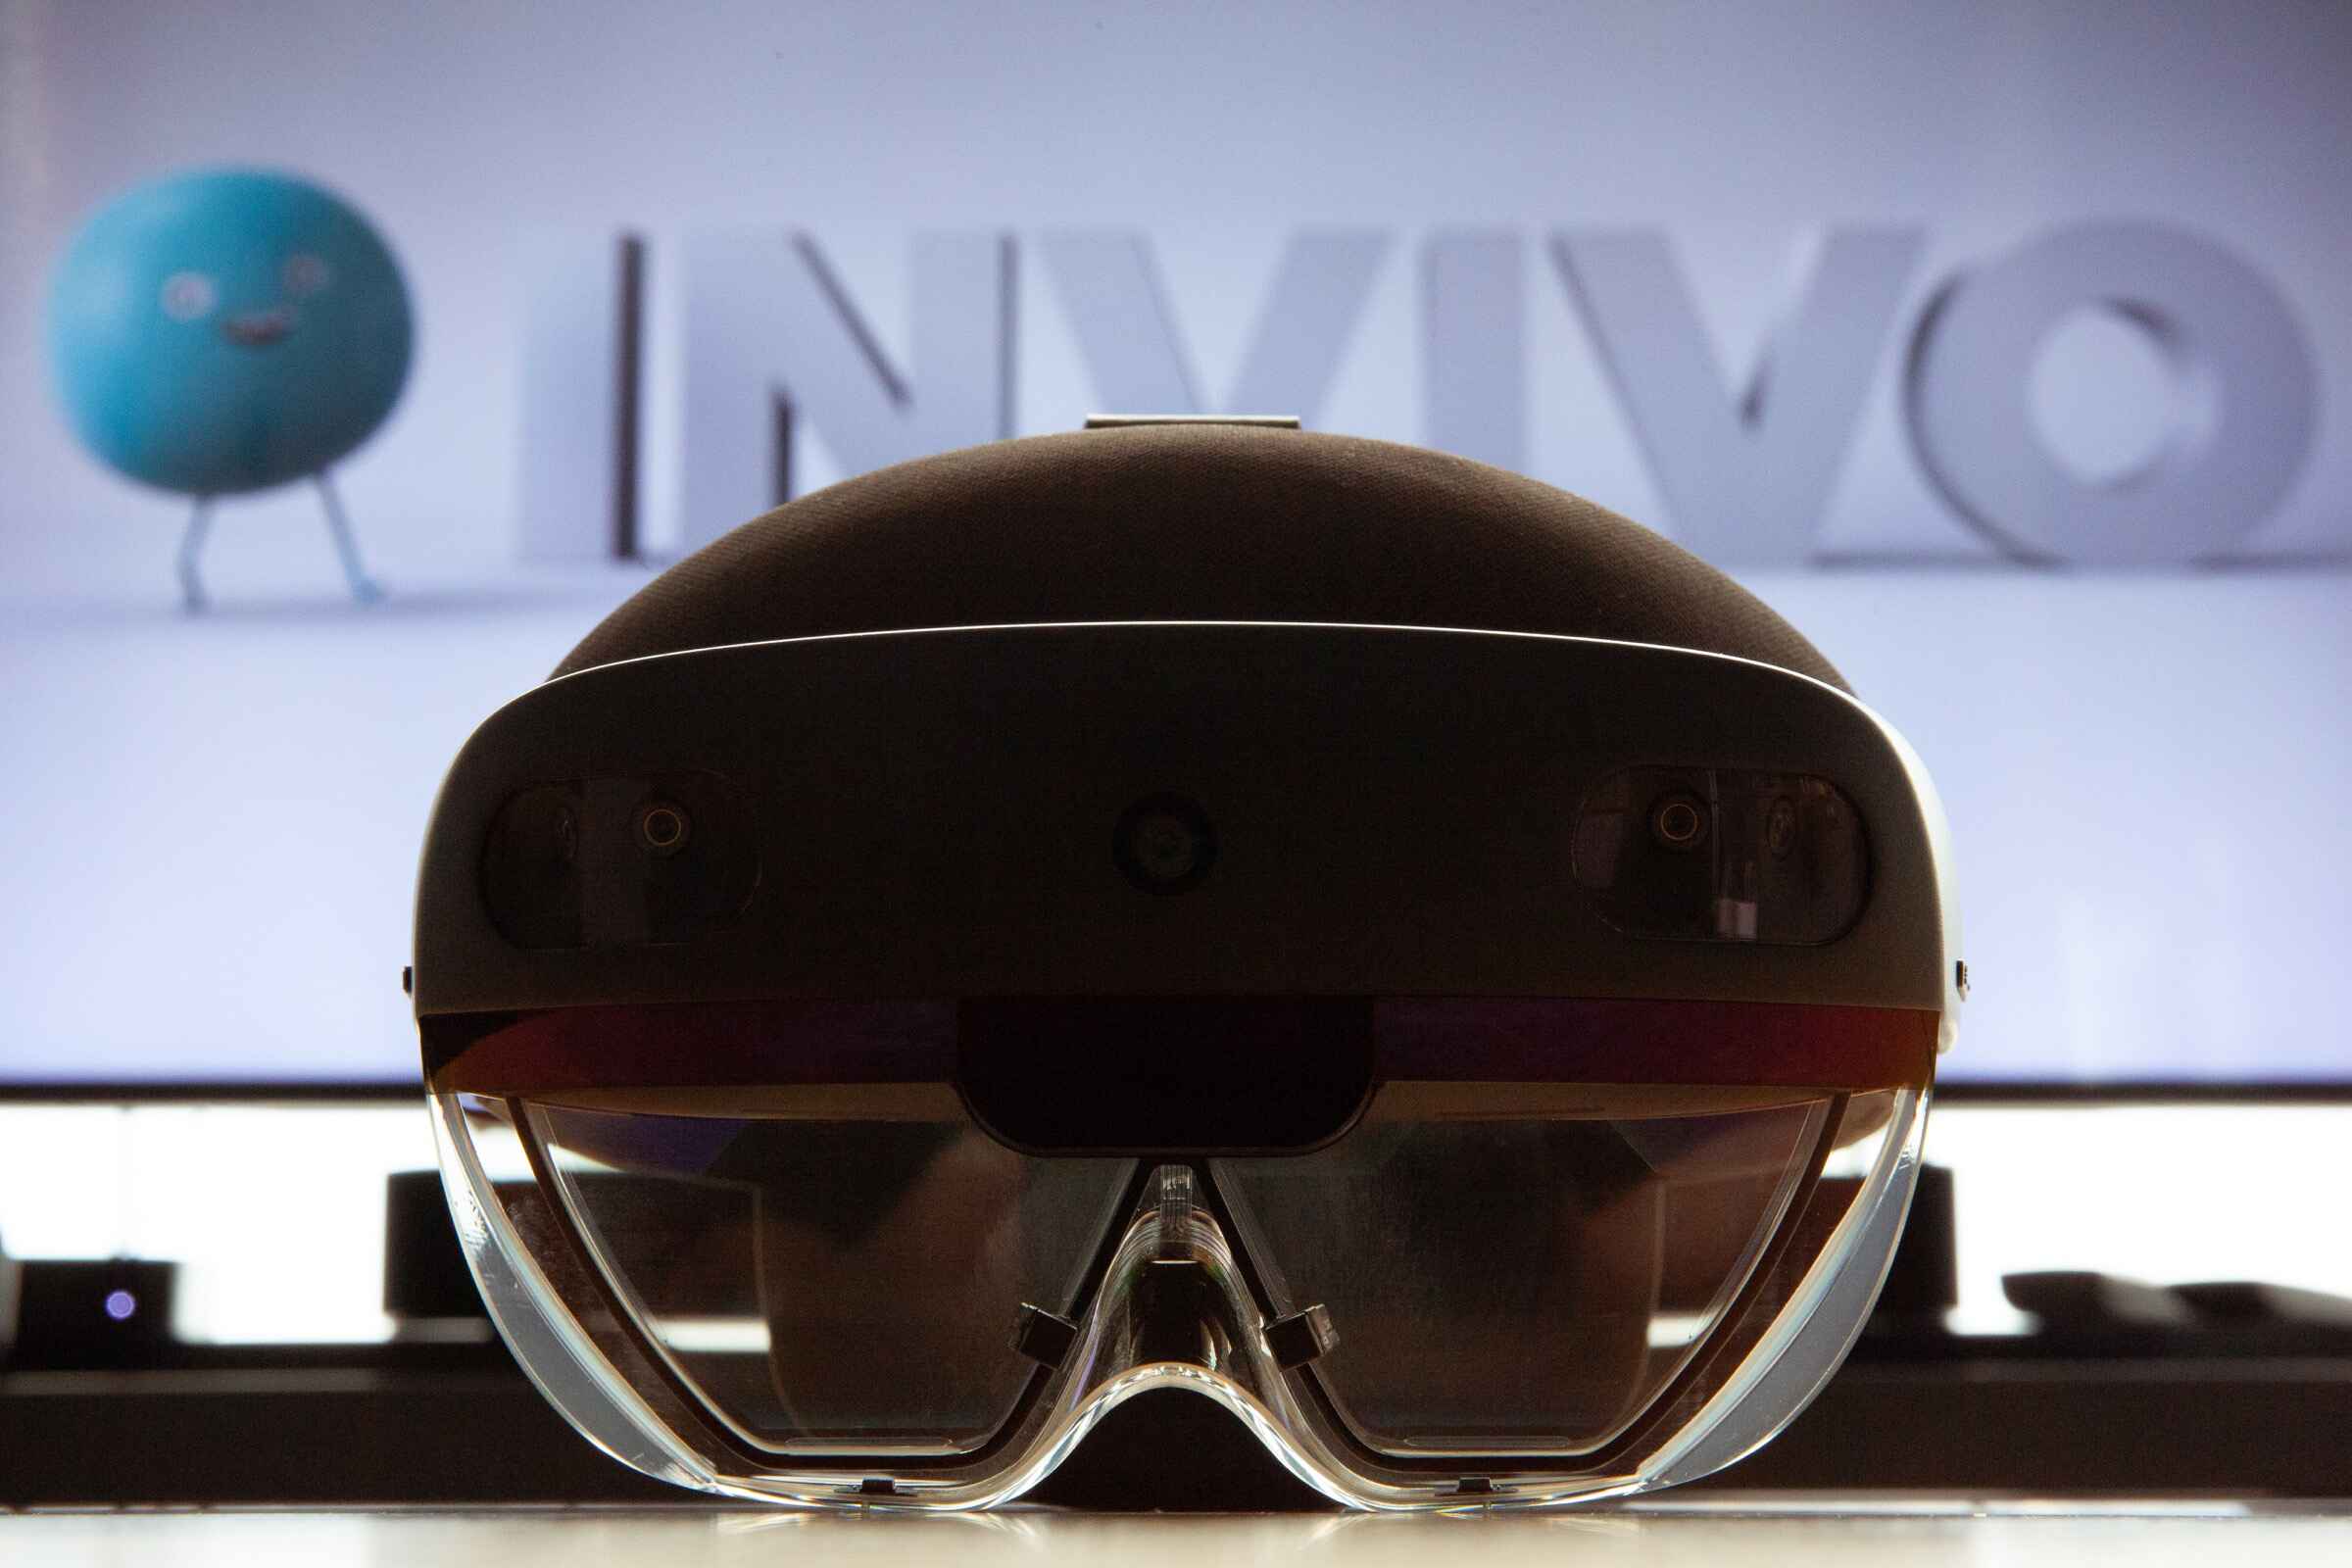
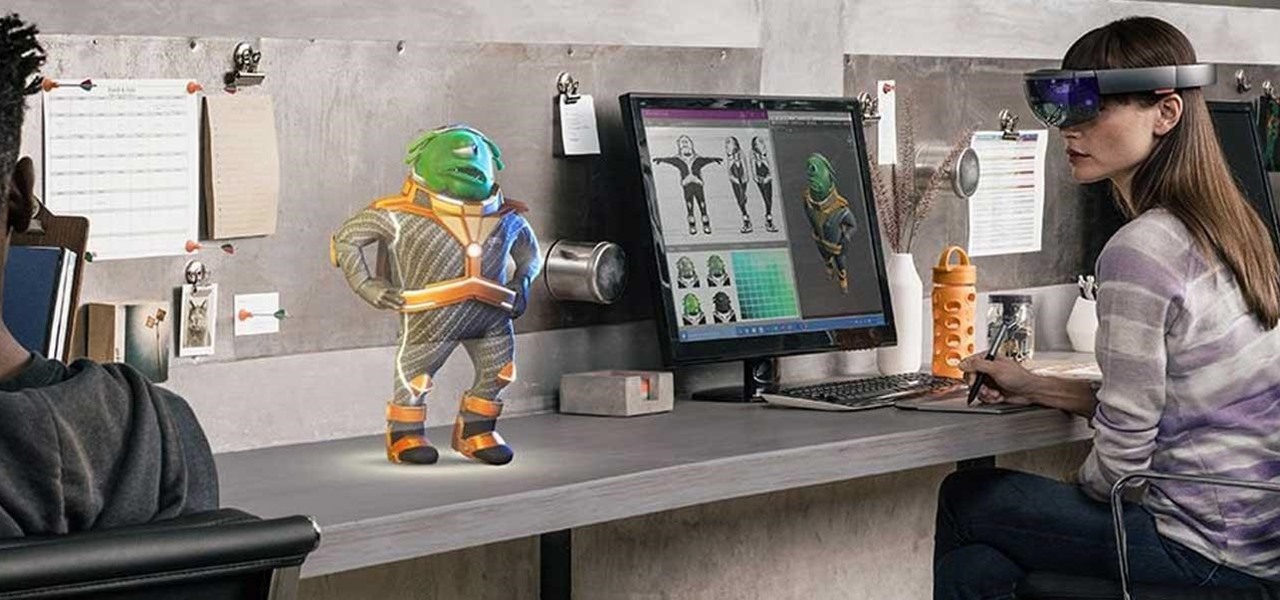
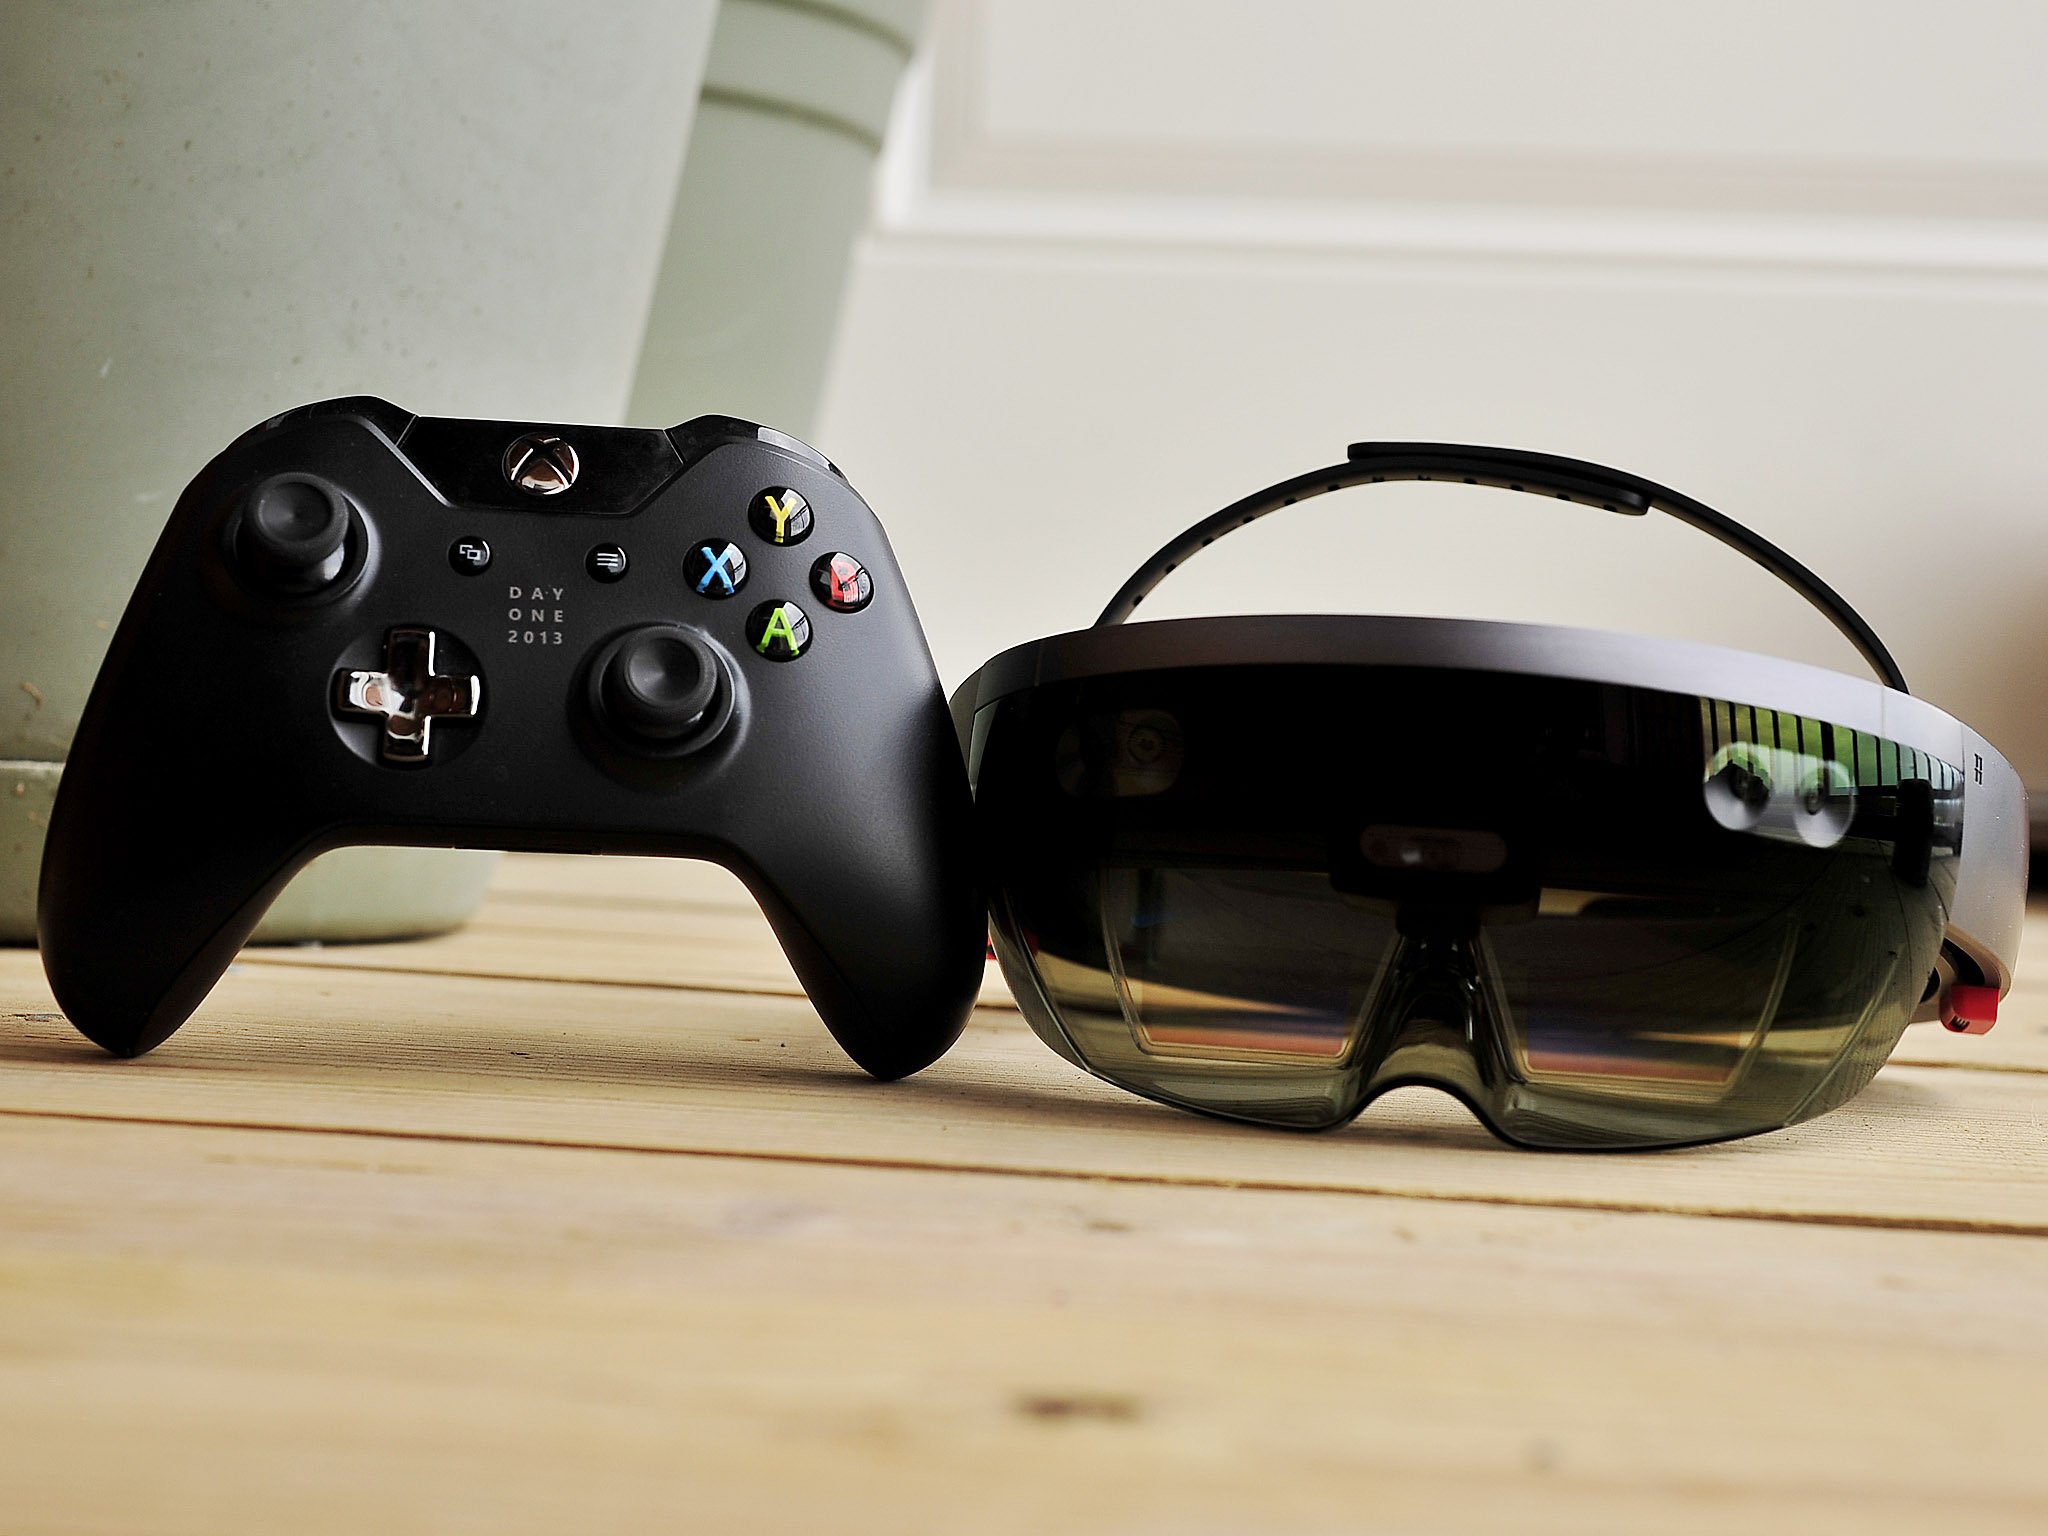
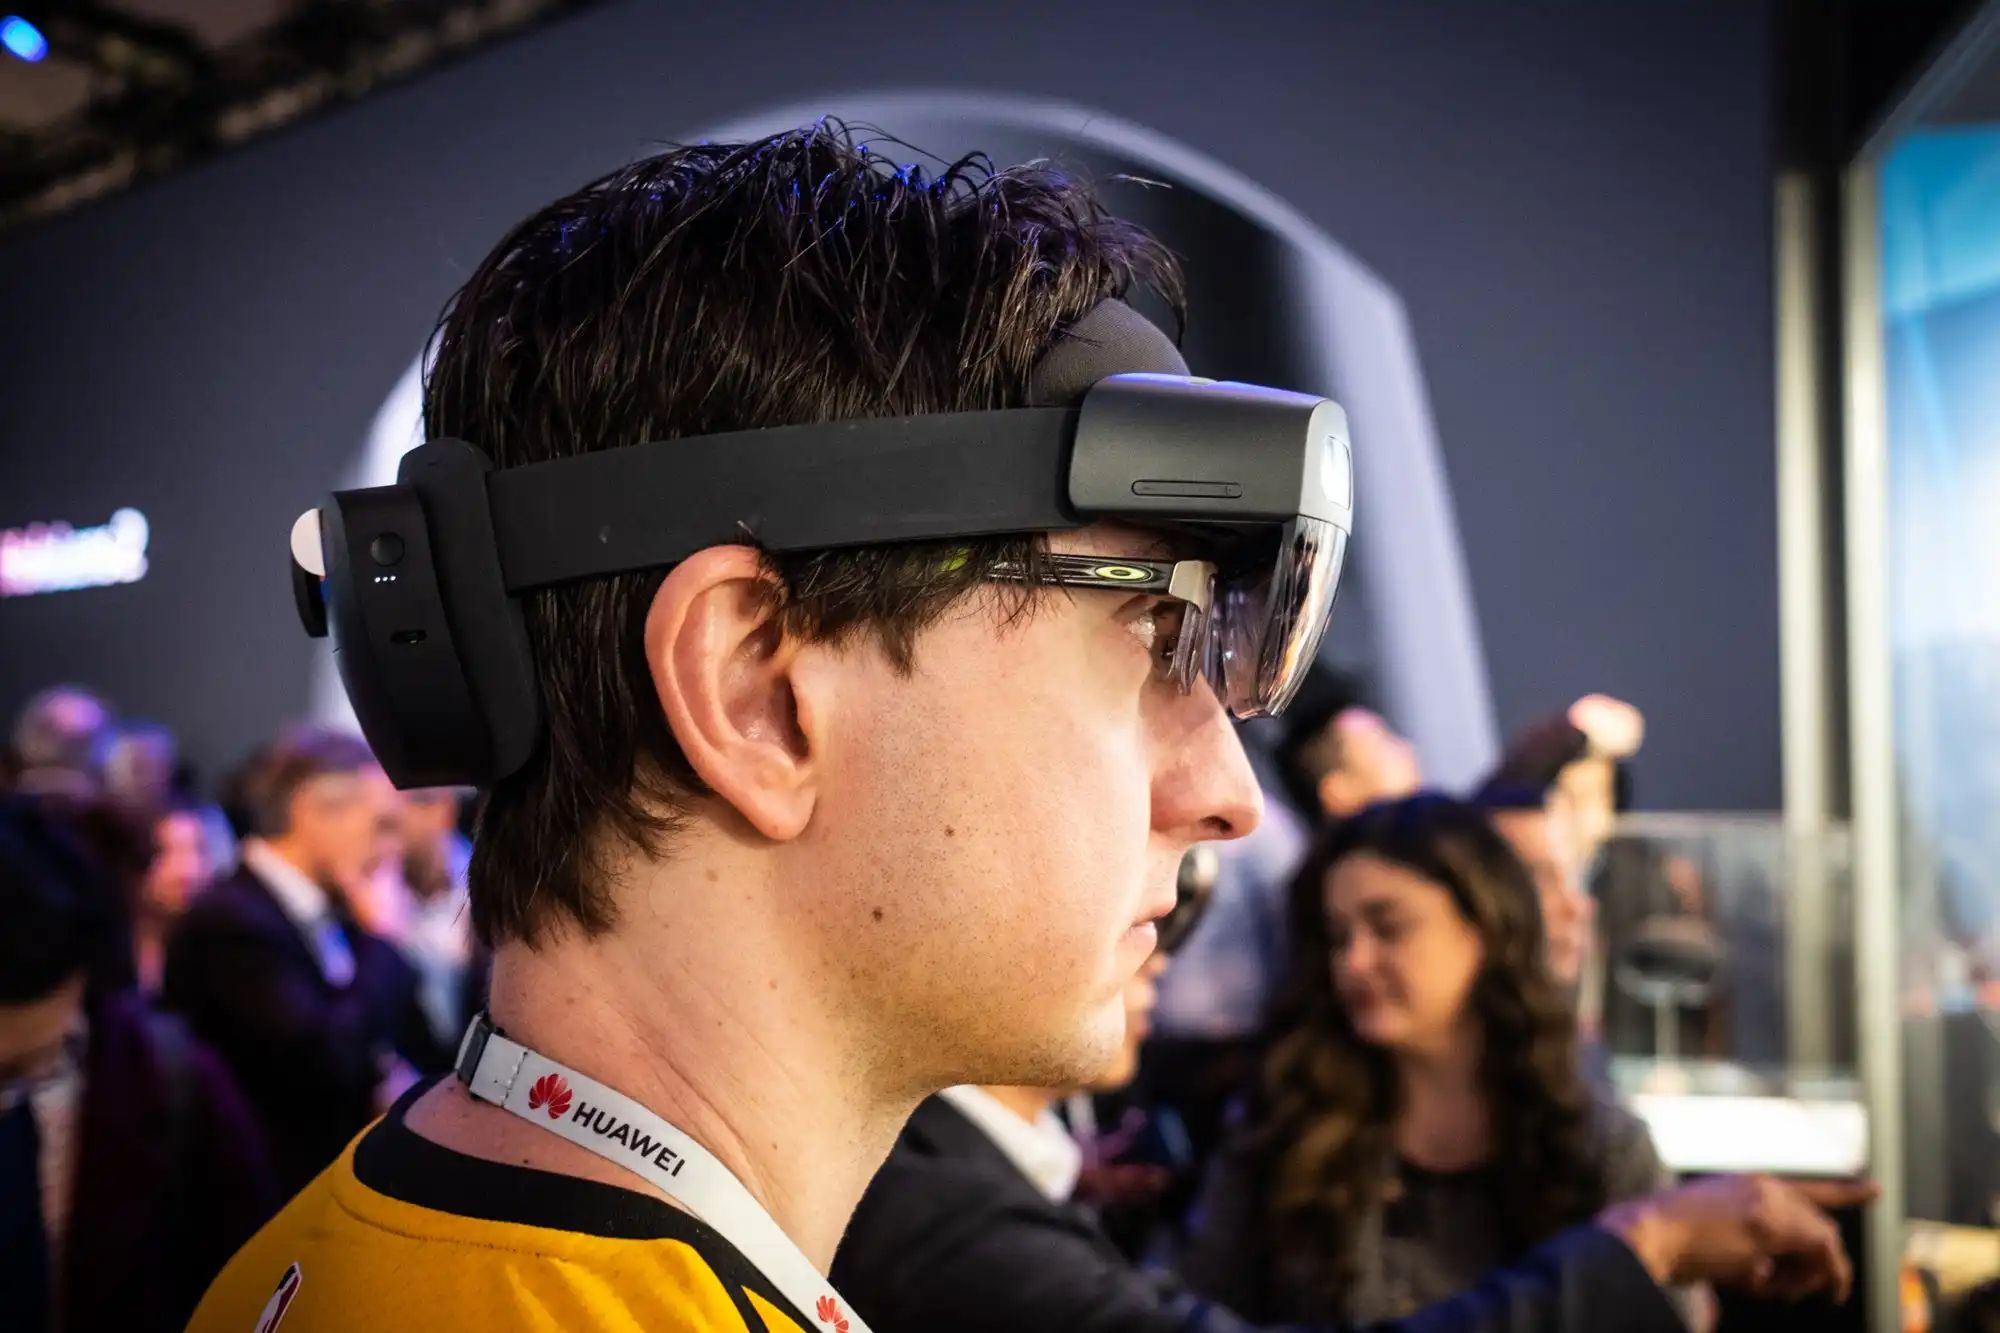
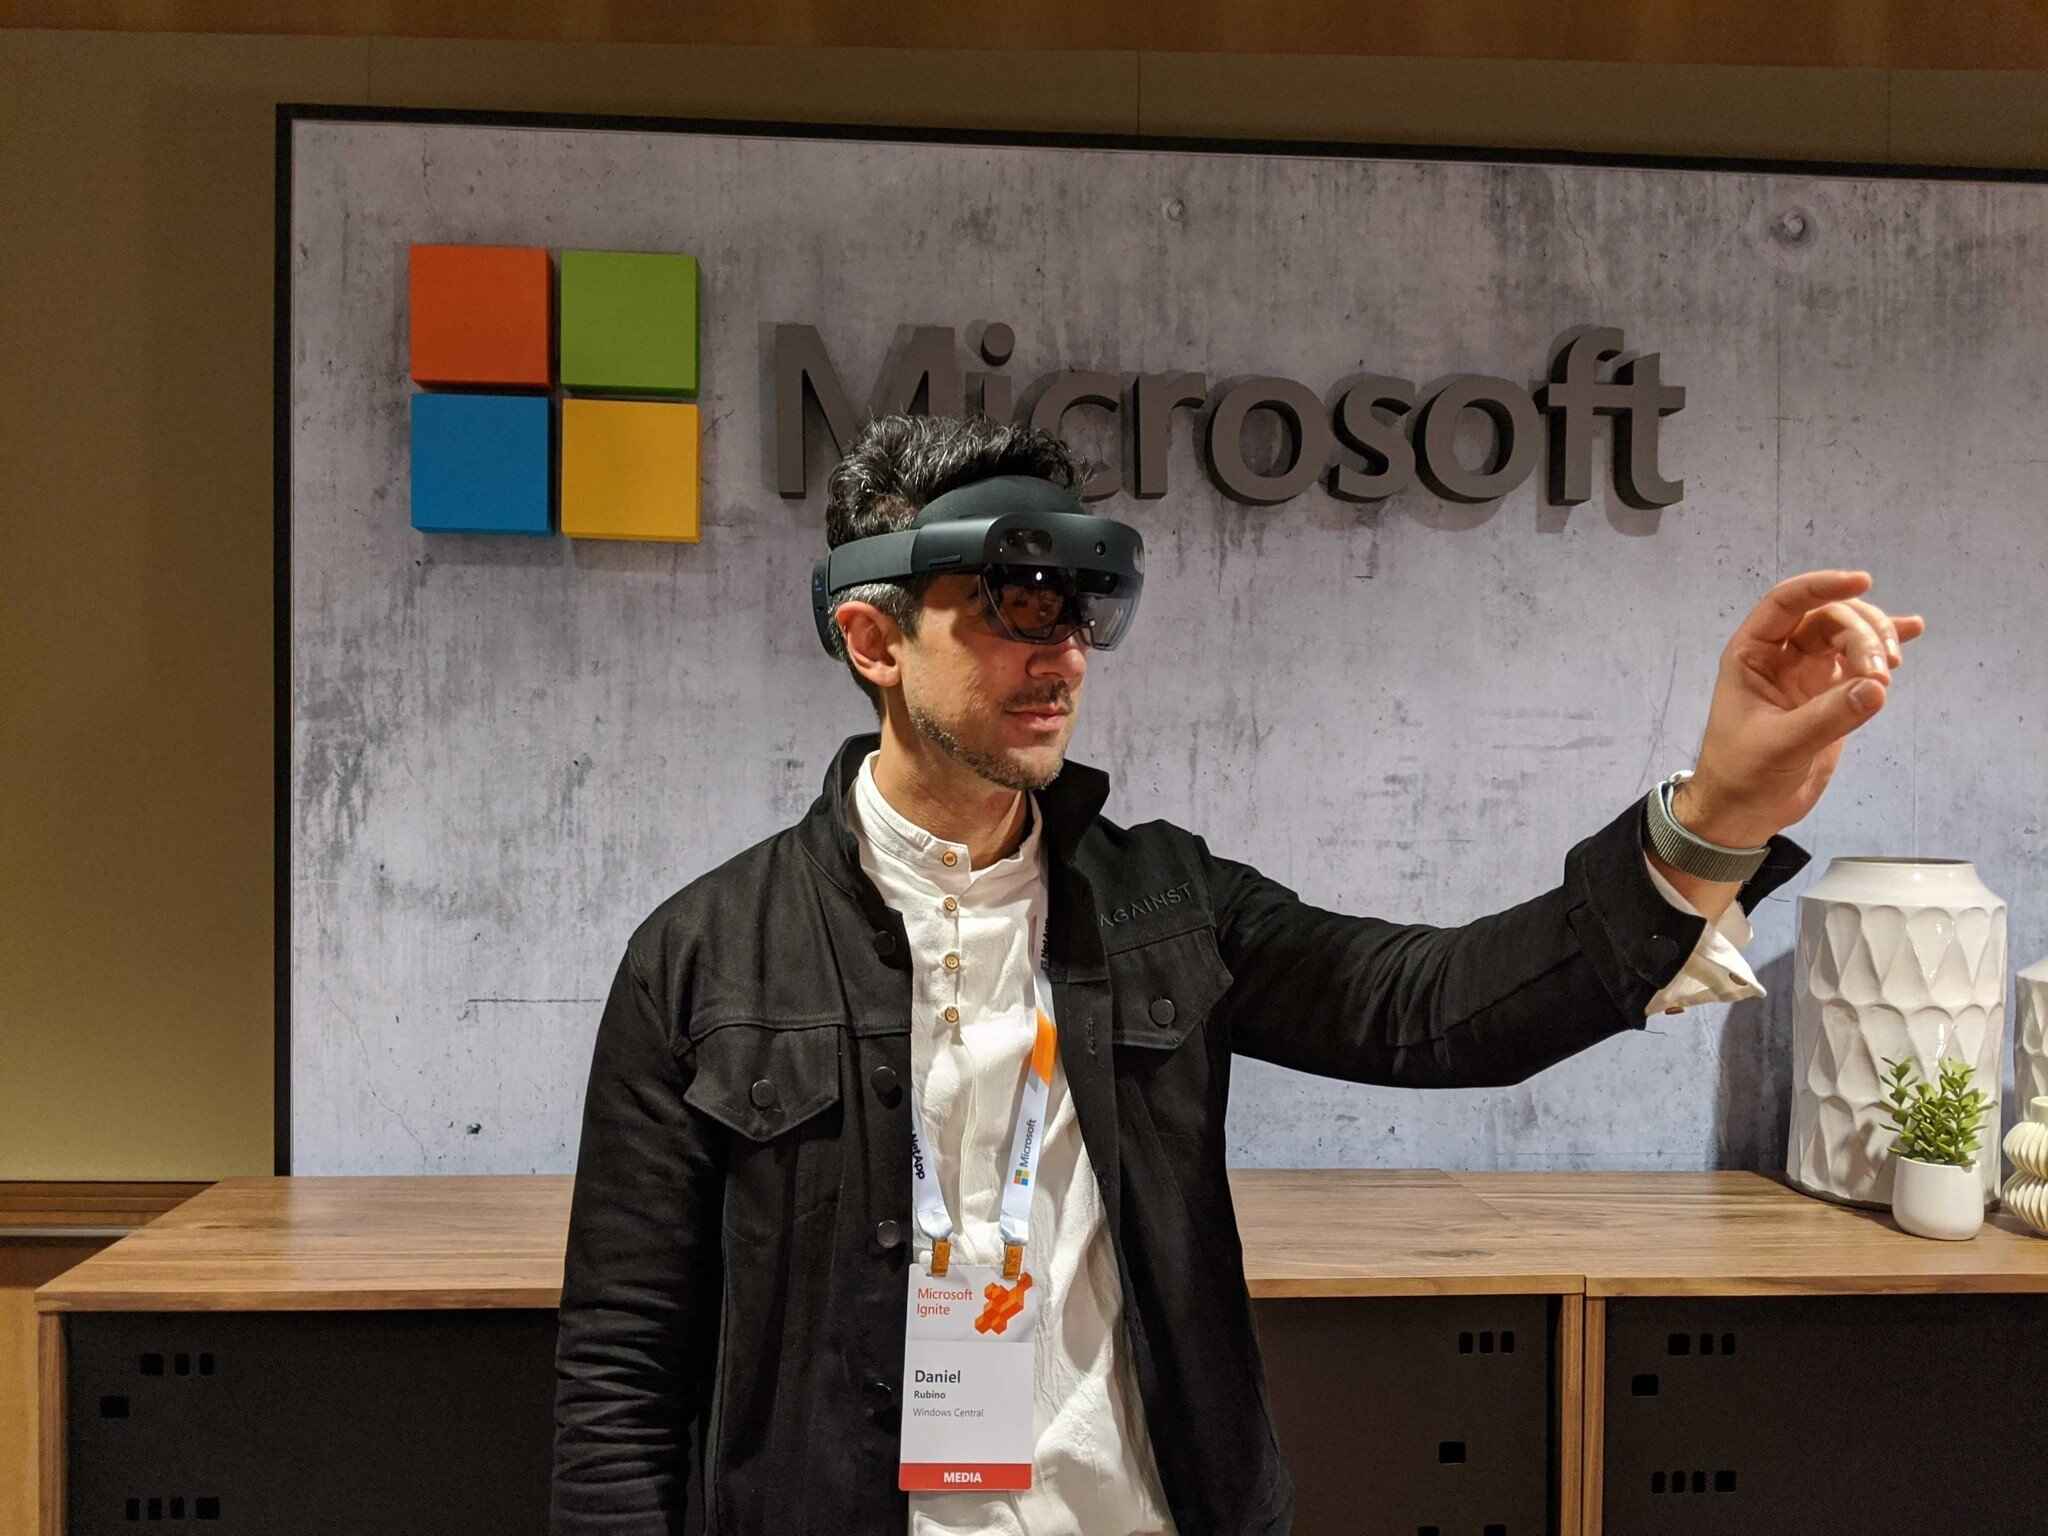
The HoloLens, developed by Microsoft, is a cutting-edge mixed reality headset that overlays digital holograms onto the user’s real-world environment. With live streaming capabilities, users can share their holographic content, such as 3D models, applications, and interactive experiences, with anyone connected to the live stream.
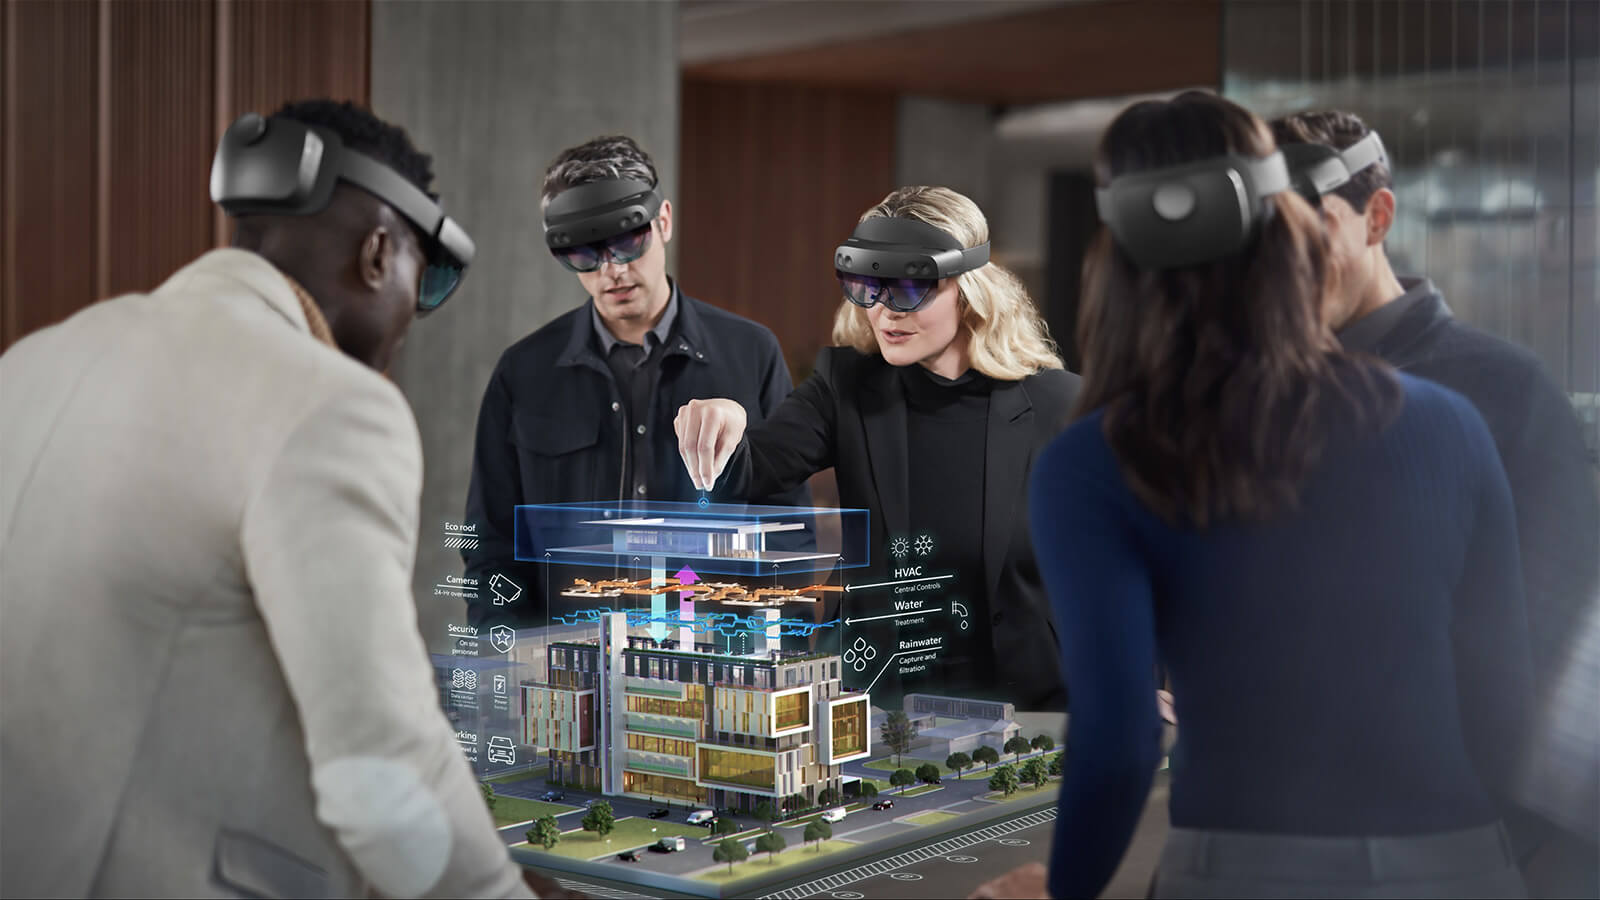
Live streaming on the HoloLens offers numerous advantages. Firstly, it allows developers to showcase their AR applications and demonstrate the capabilities of the HoloLens device to a wide audience. They can provide virtual tours, interactive presentations, or even host live workshops, enabling viewers to engage and interact with the holograms in real-time.
Furthermore, live streaming on the HoloLens can be utilized by businesses for training purposes. For instance, organizations can conduct virtual training sessions, where employees from different locations can join through the live stream and receive guidance and instructions from an expert. This approach eliminates the need for physical presence and offers a cost-effective and scalable solution.
Moreover, live streaming on the HoloLens can be used for entertainment purposes. Imagine watching a live concert or sporting event through the HoloLens, where virtual elements are seamlessly integrated into the real-world environment. This immersive experience allows viewers to feel as if they are part of the event, adding a new dimension to entertainment.
Overall, live streaming on the HoloLens revolutionizes the way we interact with augmented reality. By sharing holographic content in real-time, it enables developers, businesses, and even entertainment industries to transport viewers into a world where imagination blends with reality. The following sections will delve into the steps required to set up and successfully live stream the Vuforia app on the HoloLens.
Advantages of live streaming Vuforia app on HoloLens
Live streaming the Vuforia app on the HoloLens brings a plethora of advantages and opportunities for developers, businesses, and viewers alike. Let’s explore some of the key benefits of this unique combination:
1. Real-time interactivity: Live streaming Vuforia app on the HoloLens allows viewers to interact with augmented reality content in real-time. They can explore 3D models, manipulate virtual objects, and experience immersive AR experiences alongside the live streamer. This level of interactivity adds a sense of engagement and participation that traditional media cannot provide.
2. Global reach: Thanks to the internet and live streaming capabilities, the Vuforia app on the HoloLens has the potential to reach a global audience. Whether you’re a developer showcasing your AR creations or a business offering virtual training sessions, live streaming allows you to connect with viewers from all over the world, expanding your reach and impact.
3. Cost-effective solution: Live streaming on the HoloLens eliminates geographical constraints and the need for physical presence. This not only saves travel costs but also allows businesses to provide training or demonstrations to a large number of participants simultaneously. It offers a scalable solution that can cater to global audiences without the need for additional resources.
4. Seamless integration with Vuforia: Vuforia, as an industry-leading AR development platform, seamlessly integrates with the HoloLens device. This integration ensures that the Vuforia app’s features and functionalities can be effectively presented and shared through the live stream. Developers can leverage the power of Vuforia’s tracking and recognition capabilities to create engaging and interactive AR experiences for viewers.
5. Enhanced user experience: Live streaming the Vuforia app on the HoloLens enhances the user experience by providing a direct view into the holographic content. Viewers can observe the holograms in the context of the real world, allowing for a more immersive and impactful experience. This level of immersion enhances understanding, engagement, and retention of the presented information.
6. Showcasing innovation: Live streaming the Vuforia app on the HoloLens demonstrates technological advancements and innovation. By sharing live AR experiences, developers and businesses can showcase their capabilities, attract attention, and establish themselves as leaders in the augmented reality space. It serves as a powerful tool for marketing, branding, and staying at the forefront of AR technology.
These are just a few of the many advantages of live streaming the Vuforia app on the HoloLens. The following sections will walk you through the steps necessary to set up your equipment and software for a successful live stream.
Step 1: Setting up the necessary equipment and software
Before you can start live streaming the Vuforia app on the HoloLens, you need to ensure that you have the required equipment and software in place. Here is a step-by-step guide to help you set everything up:
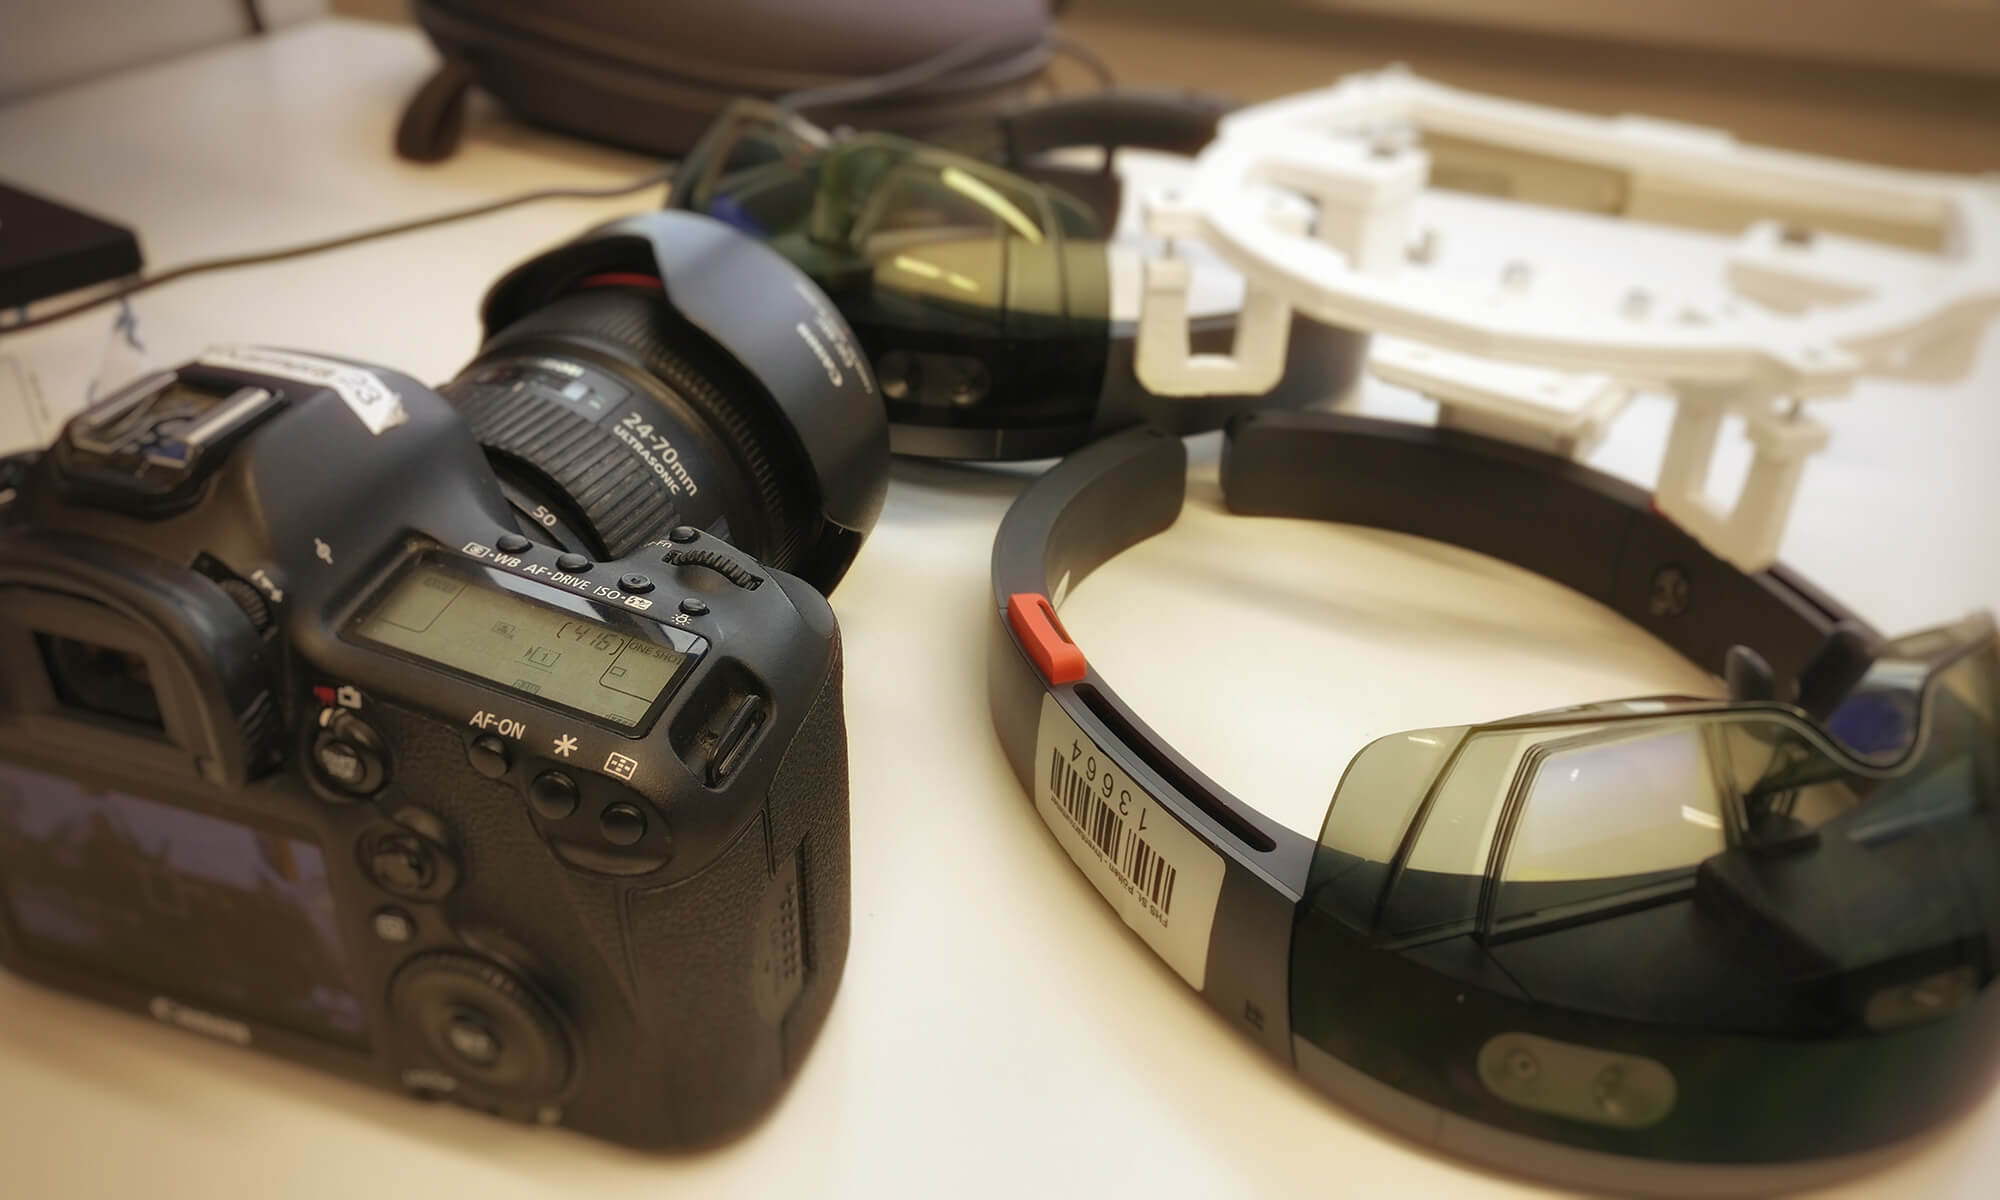
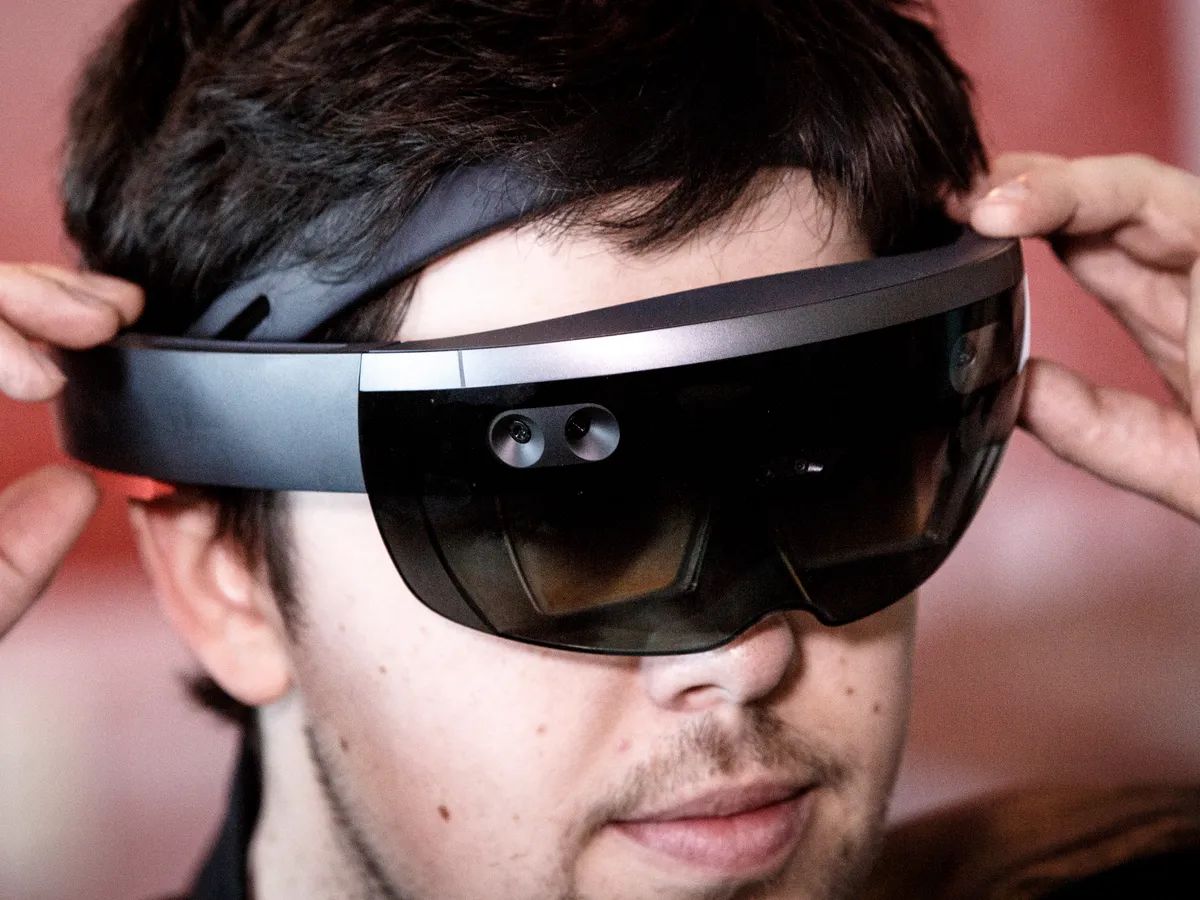
1. HoloLens device: The first and most crucial piece of equipment you’ll need is the HoloLens device itself. Ensure that it is charged and ready for use. Familiarize yourself with the device’s controls and functionalities to make the live streaming process seamless.
2. Stable internet connection: A stable and reliable internet connection is essential for smooth live streaming. Connect your HoloLens device to a high-speed Wi-Fi network or use an Ethernet connection if available. This will ensure a consistent and uninterrupted streaming experience.
3. Live streaming software: You will need specialized live streaming software to capture and broadcast the augmented reality content from your HoloLens. There are various options available in the market, such as OBS Studio (Open Broadcaster Software), Wirecast, or XSplit Broadcaster. Choose a software that suits your needs and install it on your computer.
4. Recording equipment (optional): Depending on your requirements, you may also want to consider recording your live stream for future reference or archival purposes. To do this, you’ll need a video capture card or a compatible camera that can capture the HoloLens screen as you stream. Connect the recording equipment to your computer using the necessary cables.
5. External audio source (optional): If you want to enhance the audio quality of your live stream, consider using an external microphone or audio interface. This can help provide better sound clarity, especially if you’re conducting live presentations or virtual training sessions.
6. Test setup: Once you have all the required equipment and software set up, it’s crucial to conduct a test run to ensure everything is working correctly. Connect your HoloLens to the live streaming software, check the audio and video quality, and ensure that the stream is being broadcasted successfully.
7. Power backup: Lastly, keep in mind that live streaming can be a resource-intensive process and may drain the battery of your HoloLens quickly. Consider having a reliable power backup option, such as a power bank or a charging cable, to keep your device powered throughout the streaming session.
By following these steps and ensuring that your equipment and software are properly set up, you’ll be ready to move on to the next step – configuring the HoloLens device for live streaming. Stay tuned for step 2!
Step 2: Configuring the HoloLens device for live streaming
Once you have all the necessary equipment and software set up, the next step is to configure your HoloLens device for live streaming. Follow these steps to ensure that your device is ready to capture and share the augmented reality content:
1. Enable Developer mode: To access the necessary settings on your HoloLens for live streaming, you need to enable Developer mode. Go to the Settings app on your device, select Update & Security, and then select For developers. From there, enable Developer mode to unlock the developer-specific features and settings.
2. Allow app installation from unknown sources: By default, the HoloLens only allows installation of apps from the Microsoft Store. To install the live streaming app or any other app not available on the store, you need to enable sideloading. Under the Developer mode settings, enable the option to allow app installation from unknown sources.
3. Install the live streaming app: Assuming you have already chosen a live streaming software in the previous step, now it’s time to install the corresponding app on your HoloLens. Connect your device to your computer and use the necessary installation files provided by the software developer to install the app on your HoloLens.
4. Configure the live streaming app: Once the app is installed on your HoloLens, open it and configure the necessary settings. This may include selecting the audio and video input sources, setting the desired streaming bitrate and resolution, and specifying any additional preferences or requirements based on the streaming software you’ve chosen.
5. Calibrate your HoloLens: For optimal tracking and display of holograms during the live stream, it’s crucial to calibrate your HoloLens. Follow the on-screen instructions provided by the device to properly calibrate the device according to your environment. This will ensure accurate tracking and placement of virtual objects during the live stream.
6. Test the live streaming setup: Before going live, it’s essential to test your setup to ensure that everything is functioning as expected. Connect your HoloLens to your computer and open the live streaming software. Verify that the live stream is successfully capturing and displaying the augmented reality content from your HoloLens. Check audio and video quality, and make any necessary adjustments or configurations.
7. Practice and familiarize yourself: Take some time to practice using the live streaming app and familiarize yourself with the live streaming process on the HoloLens. Explore the various features and functionalities of the software to optimize your streaming experience. This will help you feel more confident and prepared when it’s time to go live and share your augmented reality content.
By following these steps, you can successfully configure your HoloLens device for live streaming the Vuforia app. The next step will guide you through installing and configuring the live streaming software on your computer. Stay tuned!
Step 3: Installing and configuring the live streaming software
With your HoloLens device configured for live streaming, the next crucial step is to install and configure the live streaming software on your computer. Follow these steps to ensure a seamless integration and setup:
1. Choose the live streaming software: There are various live streaming software options available, such as OBS Studio, Wirecast, or XSplit Broadcaster. Choose a software that suits your requirements and download it from the official website of the software developer.
2. Install the software: Once the software is downloaded, run the installer and follow the on-screen instructions to complete the installation process. Make sure to select the necessary components and options during the installation, such as additional plugins or drivers required for capturing the HoloLens screen.
3. Configure the software: After installation, open the live streaming software and proceed to configure the necessary settings. This may include selecting the HoloLens device as the video source, choosing the appropriate audio input and output sources, and adjusting the bitrate, resolution, and other streaming settings based on your preferences.
4. Set up scene layout: The live streaming software allows you to customize your stream layout. You can add various scene elements, such as overlays, logos, and text, to enhance the visual representation of your live stream. Arrange and position these elements as desired to create an engaging and professional-looking stream.
5. Configure stream settings: Within the live streaming software, you’ll find settings related to streaming platforms, such as Twitch, YouTube, or custom RTMP servers. Enter the necessary stream key or server URL, select the desired streaming platform, and provide any additional authentication details, if required.
6. Test the software setup: Before going live, it’s important to test your live streaming software to ensure that it’s capturing the HoloLens screen, audio, and other scene elements correctly. Start a test stream and verify that everything appears as expected in the preview window. Make adjustments as necessary to achieve the desired output.
7. Save and export settings: Once you’ve completed the setup and configuration of the live streaming software, make sure to save your settings. This will allow you to load the configuration easily in future streaming sessions without having to repeat the setup process every time.
By following these steps, you can successfully install and configure the live streaming software on your computer. The next step will guide you through testing the live streaming setup to ensure everything is working smoothly. Stay tuned!
Step 4: Testing the live streaming setup
After setting up your HoloLens device and live streaming software, it is crucial to test the live streaming setup to ensure everything is functioning properly. Testing allows you to identify and rectify any issues or shortcomings before going live. Here are the steps to follow for testing your live streaming setup:
1. Connect your HoloLens device: Ensure that your HoloLens device is connected to your computer, either via USB or wirelessly, depending on the requirements of your chosen live streaming software.
2. Open the live streaming software: Launch the live streaming software on your computer. Confirm that it is detecting the HoloLens device as the video source and that the audio is being captured correctly.
3. Set up your streaming scene: Arrange the scene elements within the live streaming software, such as overlays, logos, or text, to ensure a visually appealing and informative stream for your viewers. Make any necessary adjustments to the layout or appearance of these elements.
4. Check audio and video quality: Start a test stream and closely observe the audio and video quality. Ensure that the audio levels are optimal, with clear and distortion-free sound. Check the video feed to confirm that it accurately captures the holographic content from your HoloLens device.
5. Review stream latency and buffering: Test the stream latency and buffering by monitoring the delay between the actions on your HoloLens device and their appearance on the live stream. Ideally, the latency should be minimal to provide a real-time experience for your viewers.
6. Evaluate network stability: Monitor the network stability during the test stream to ensure a consistent and uninterrupted streaming experience. Slow or unstable internet connections may lead to dropped frames or buffering issues, impacting the overall quality of the live stream.
7. Verify stream metadata and information: Check that the stream metadata, such as title, description, and tags, are accurately displayed on the streaming platform. Ensure that the streaming software is correctly sending this information to provide context and attract viewers.
8. Interact with your stream: Engage with the live stream by interacting with the holographic content on your HoloLens device. Verify that the viewers can see the interactions in real-time and that the stream accurately captures the interactivity of your AR experience.
9. Test viewer interaction: If your live stream allows viewer interactions, invite a few friends or colleagues to join the stream and provide feedback. Encourage them to engage with the stream through chat or other interactive features offered by the streaming platform.
10. Make adjustments if necessary: If any issues are identified during the test stream, take note of them and make the necessary adjustments. This may involve configuring the streaming software, adjusting network settings, or resolving any technical problems with your HoloLens device.
By thoroughly testing your live streaming setup, you can ensure that your viewers will have a seamless and enjoyable experience when you go live. Once you are confident that everything is working as expected, you are ready to move on to the final step – sharing tips and tricks for a successful live stream. Stay tuned!
Step 5: Tips and tricks for a successful live stream
Now that you have your live streaming setup tested and ready, it’s time to learn some tips and tricks to ensure a successful and engaging live stream on the HoloLens. These recommendations will help you deliver a high-quality experience and captivate your audience. Here are some tips to consider:
1. Plan and rehearse: Before going live, plan your content and rehearse your presentation. A well-structured and organized stream will keep your viewers engaged. Practice using the HoloLens and the streaming software to ensure smooth transitions and interactions during the stream.
2. Engage with your audience: Interaction is key to keeping your viewers hooked. Encourage your audience to ask questions, provide feedback, and participate in the stream. Respond to comments and engage in real-time conversations to create a sense of connection and community.
3. Showcasing the best perspective: Consider the perspective from which you are displaying the holographic content. Ensure that the HoloLens captures the most engaging and visually appealing angle. Experiment with camera placements and angles to provide the best viewing experience for your viewers.
4. Utilize additional cameras: To provide different perspectives or showcase real-world reactions, consider using additional cameras alongside the HoloLens. For example, you can have a camera pointed at yourself or your surroundings to add depth and variety to your stream.
5. Optimize audio quality: Remember that audio quality is crucial for an immersive experience. Use a microphone or audio interface to ensure clear and crisp audio throughout your stream. Be mindful of any background noise or distractions that may disrupt the audio quality.
6. Collaborate with others: Consider collaborating with others to bring diversity and expertise to your live stream. Guest speakers or co-streamers can add valuable insights, create engaging discussions, and attract a wider audience.
7. Promote your stream: Don’t forget to promote your live stream before the broadcast. Utilize social media platforms, newsletters, and other marketing channels to inform your followers and audience about the upcoming stream. Encourage them to save the date and set reminders to join your live stream.
8. Be interactive and spontaneous: Engage your viewers through spontaneous interactions and unexpected surprises. Conduct live Q&A sessions, polls, or quizzes related to your content. Show enthusiasm and let your personality shine through during the stream.
9. Monitor and respond to chat: Keep a close eye on the chat or comments section of your live stream. Promptly address questions, respond to viewer comments, and create a sense of community by acknowledging your viewers. This interaction will make your audience feel valued and engaged.
10. Analyze and improve: After each live stream, take time to analyze the performance and viewer feedback. Review the stream analytics, pay attention to viewer engagement, and note areas for improvement. Adjust your approach for future streams based on these insights.
By implementing these tips and tricks, you can elevate the quality of your live stream, engage your audience, and create an immersive AR experience on the HoloLens. Now, armed with all these valuable insights, you are ready to embark on your live streaming journey!
Conclusion
Live streaming the Vuforia app on the HoloLens opens up a world of possibilities for developers, businesses, and content creators. By harnessing the power of augmented reality and the immersive capabilities of the HoloLens, you can captivate and engage your audience in a whole new way.
Throughout this guide, we explored the step-by-step process of setting up and live streaming the Vuforia app on the HoloLens. From configuring your HoloLens device and installing the necessary software to testing your setup and implementing tips for a successful live stream, we have covered all the essentials.
Remember to invest time in planning and rehearsing your stream, engaging with your audience, and showcasing the best perspective of your holographic content. Utilize additional cameras and optimize the audio quality to enhance the overall viewer experience.
Collaborate with others, promote your stream, and be interactive and spontaneous to create a sense of community and keep your audience actively involved. Don’t forget to monitor the chat and respond to viewer comments, fostering a connection with your viewers.
After each live stream, take the time to analyze the performance and viewer feedback to continuously improve and refine your live streaming techniques.
By following these steps and implementing these tips and tricks, you can create engaging, immersive, and successful live streams of the Vuforia app on the HoloLens. Get ready to showcase your augmented reality creations, deliver captivating presentations, and provide interactive training sessions to viewers around the world.
Now it’s time to go out and embark on your live streaming journey with the HoloLens, creating unforgettable AR experiences and leaving your audience awestruck.