Introduction
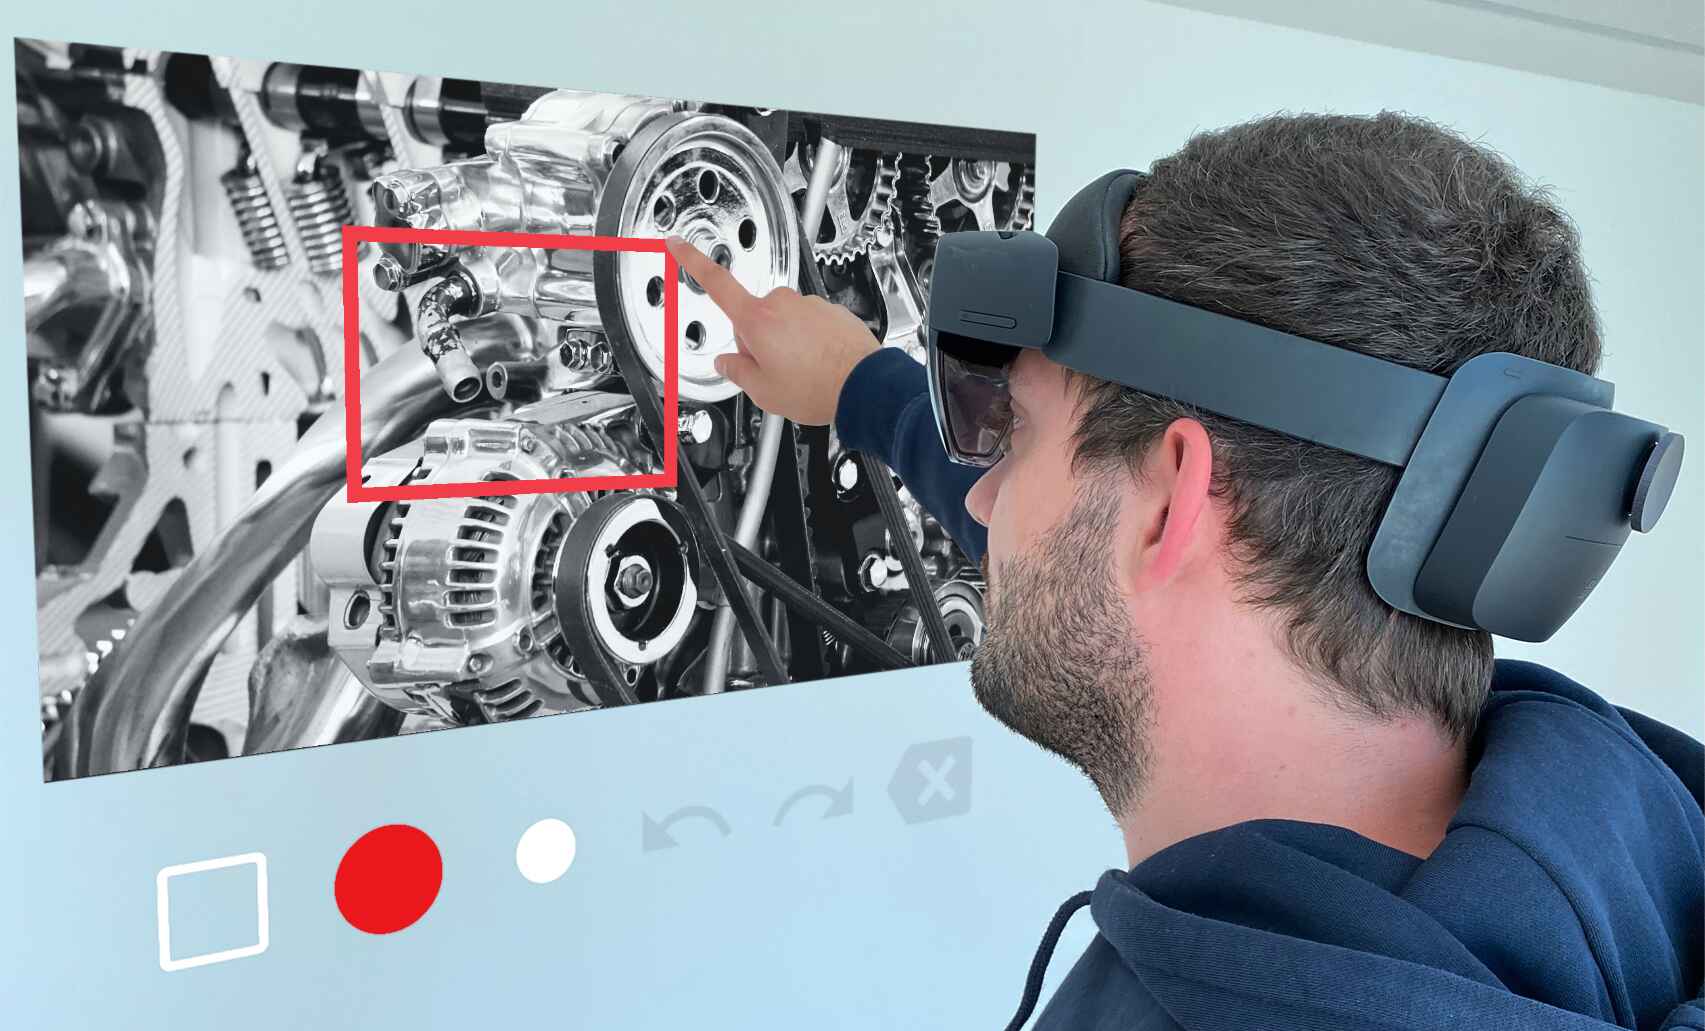
Welcome to the world of HoloLens, a revolutionary mixed reality device that combines virtual elements with the real world. As an owner of HoloLens, you are likely eager to explore its capabilities and share your experiences with others. One way to capture and share your adventures is by taking screenshots on HoloLens.
Whether you’re looking to immortalize an incredible holographic scene, document an issue for troubleshooting purposes, or simply want to show off your HoloLens experience to friends and colleagues, taking a screenshot is a quick and efficient way to achieve it. In this guide, we will walk you through the various methods of taking a screenshot on HoloLens.
With the ability to capture both images and videos, HoloLens empowers you to create a visual record of your augmented reality adventures. By taking advantage of its intuitive interface and powerful features, you can easily snap and share screenshots without interrupting your immersive experience.
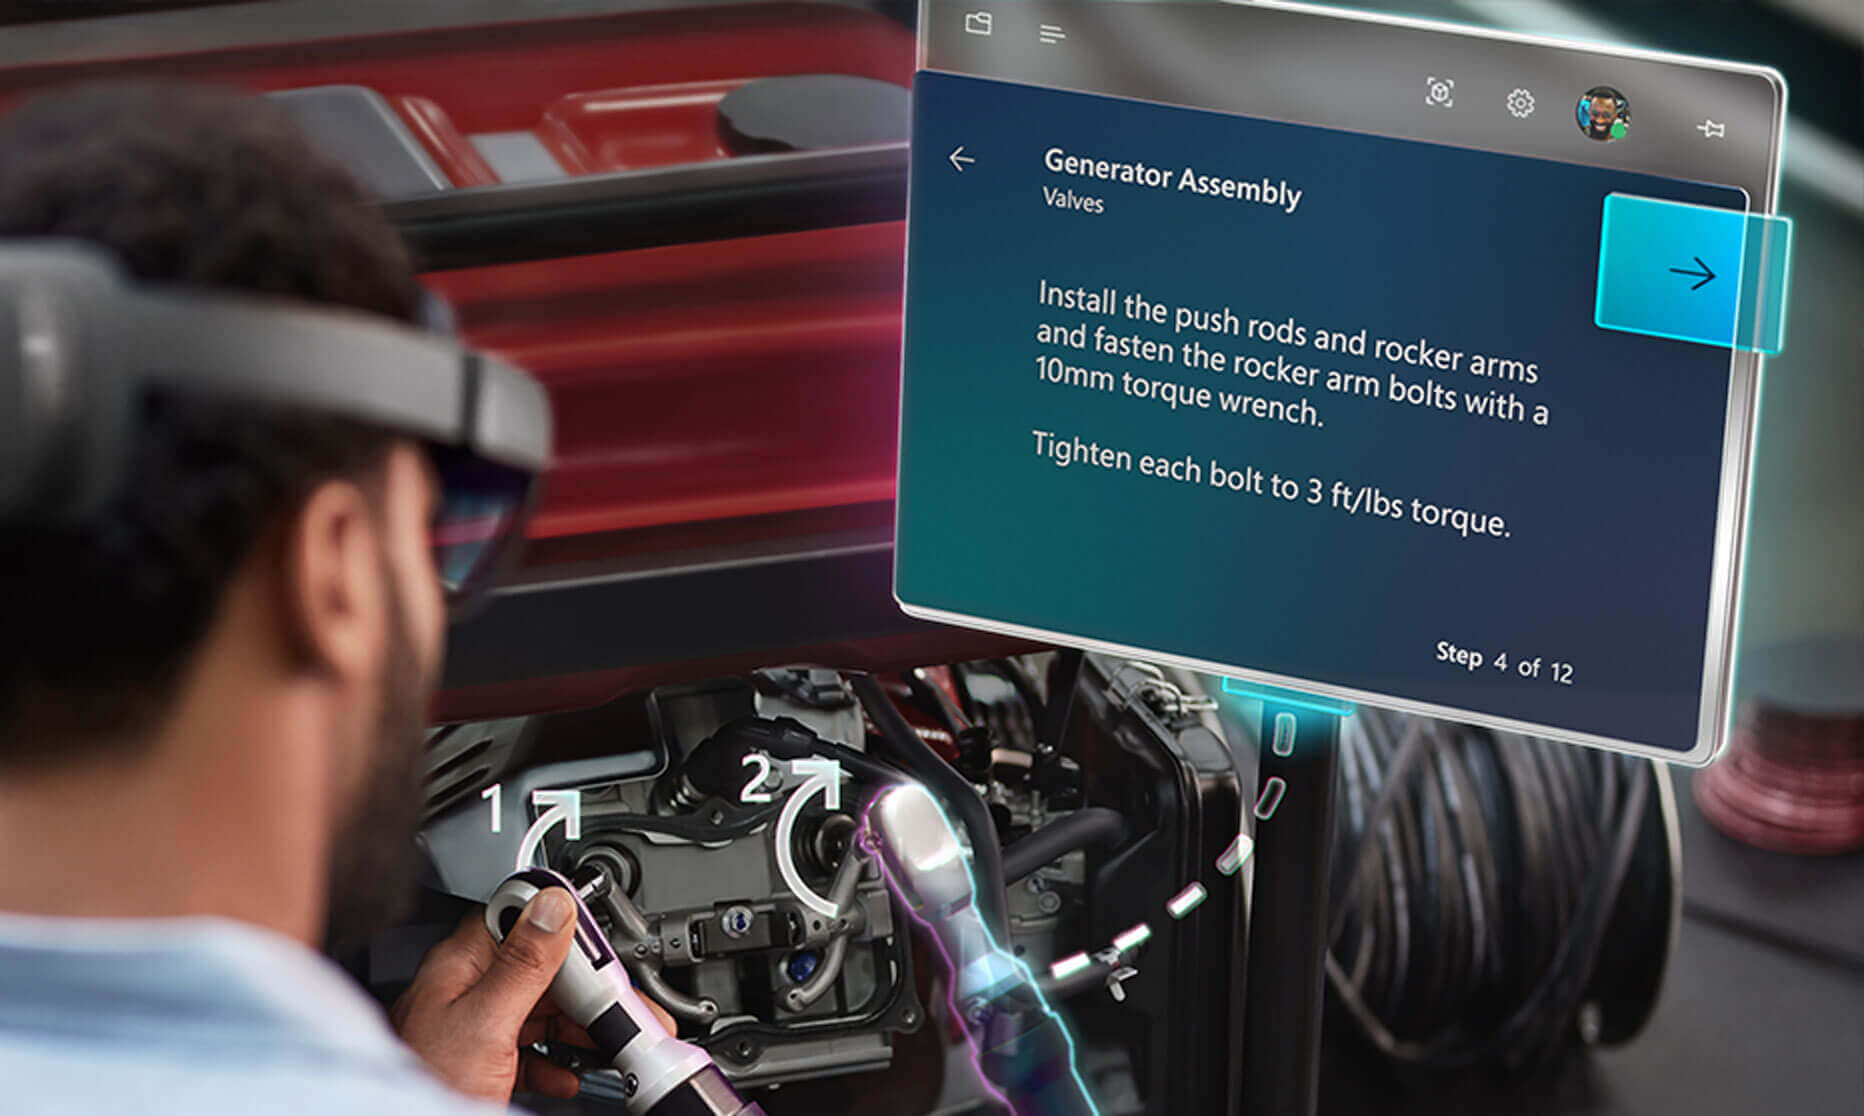
Not only are screenshots useful for personal documentation and enjoyment, but they can also be beneficial for training purposes, demonstrations, and presentations. By capturing important moments or instructive steps in holographic applications, you can create valuable resources for others in your industry or community.
Now, let’s dive into the various methods you can use to take a screenshot on your HoloLens. Whether you prefer using voice commands or physical buttons, we’ve got you covered. Explore the following sections to learn more about each method and discover the one that works best for you.
How to Take a Screenshot on HoloLens
There are two primary methods you can use to capture screenshots on your HoloLens: voice commands and physical buttons. Let’s explore each method in detail.
Using Voice Commands to Take a Screenshot:
HoloLens offers a convenient way to take screenshots using voice commands. Simply follow these steps:
- Activate the voice command feature by saying “Hey Cortana” or pressing the voice command button on the HoloLens.
- Once Cortana is activated, say “Take a screenshot.”
- A confirmation message will appear, indicating that the screenshot has been captured.
That’s it! Your screenshot is now saved and ready to be accessed. This method is especially useful when you don’t want to interrupt your experience by using physical buttons.
Using the Physical Buttons on HoloLens to Take a Screenshot:
If you prefer a more hands-on approach, you can use the physical buttons on the HoloLens to capture a screenshot. Here’s how:
- Locate the power button and volume up button on the HoloLens device.
- Simultaneously press and hold both buttons for a moment.
- You will hear a camera shutter sound, indicating that the screenshot has been taken.
Just like with the voice command method, your screenshot is now captured and ready for use.
Both of these methods provide a quick and efficient way to capture screenshots on HoloLens. Whether you prefer using voice commands for a hands-free experience or utilizing the physical buttons for a tactile approach, you can easily capture and share your HoloLens moments with others.
Now that you know how to take a screenshot on HoloLens, let’s move on to the next section to learn how to access the screenshot files.
Using Voice Commands to Take a Screenshot
HoloLens offers a convenient way to take screenshots using voice commands. By simply speaking a command, you can capture and save screenshots of your holographic experiences. Here’s how:
- Activate the voice command feature by saying “Hey Cortana” or pressing the voice command button on the HoloLens.
- Once Cortana is activated, say “Take a screenshot” or “Capture screenshot”.
- A confirmation message will appear, indicating that the screenshot has been captured and saved.
The voice command method is a great option when you want to quickly capture a screenshot without manually pressing any buttons. It allows for a hands-free and seamless experience, as you can continue using the HoloLens without any interruptions.
It’s important to note that HoloLens recognizes various voice commands, so make sure to pronounce the command clearly and confidently. If Cortana isn’t activated, you can manually do so by pressing the voice command button located on the HoloLens device.
Using voice commands to take screenshots on HoloLens not only saves you time and effort, but it also provides a convenient way to capture your holographic adventures. Whether you want to share an amazing holographic scene or document an issue for troubleshooting purposes, the voice command feature simplifies the screenshot-taking process.
Now that you know how to use voice commands to take a screenshot on HoloLens, let’s explore the next section to discover how to take a screenshot using the physical buttons on the device.
Using the Physical Buttons on HoloLens to Take a Screenshot
If you prefer a more tactile approach, you can use the physical buttons on the HoloLens device to capture a screenshot. Here’s a step-by-step guide:
- Locate the power button and volume up button on the HoloLens device.
- Position your fingers so that you can easily press both buttons simultaneously.
- Press and hold both the power button and volume up button at the same time.
- You will hear a camera shutter sound, indicating that the screenshot has been taken.
The physical button method allows for a hands-on experience when capturing screenshots on HoloLens. It provides a familiar and intuitive approach, particularly for individuals who are accustomed to using physical buttons for various tasks.
By utilizing the power button and volume up button combination, you can quickly and easily capture screenshots without having to navigate through menus or voice commands.
Once the screenshot is taken, it is automatically saved to the HoloLens device. You can then access and manage your screenshots using various methods, which we will discuss in the next section.
Whether you find it more convenient or simply prefer the tactile feel of physical buttons, using the power button and volume up button to take screenshots on HoloLens offers a straightforward and seamless approach.
Now that you know how to use the physical buttons to capture screenshots, let’s move on to the next section to learn how to access and manage your screenshot files on HoloLens.
Accessing Screenshot Files on HoloLens
After capturing screenshots on your HoloLens, you may be wondering how to access and manage the files. Fortunately, HoloLens provides a straightforward method for accessing your screenshot files. Here’s how:
- From the HoloLens home screen, navigate to the Start menu by performing an air tap gesture or saying “Hey Cortana, go to Start.”
- In the Start menu, look for the “Photos” app and select it.
- Once the Photos app opens, you will find your screenshots in the “Screenshots” folder.
- Tap on the folder to view all your captured screenshots.
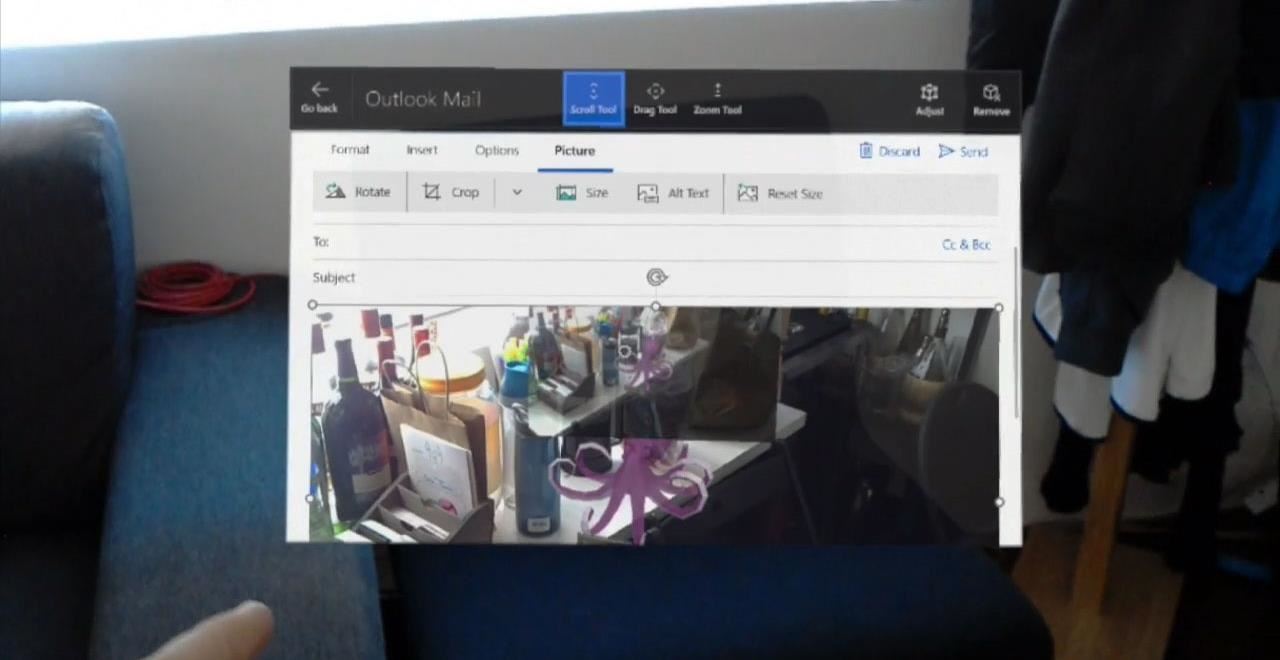
Within the “Screenshots” folder, you can browse through your screenshots and view them in full detail. The Photos app provides options to zoom in, rotate, and share your screenshots with others.
If you prefer to transfer your screenshots to another device for editing or sharing, you can easily do so using several methods. One option is to connect your HoloLens to a PC using a USB cable and transfer the files directly. Alternatively, you can utilize cloud storage services or email to send the screenshots to yourself or others.
By accessing and managing your screenshot files, you can organize your captures, share them with others, or use them for various purposes, such as presentations, documentation, or troubleshooting.
Now that you know how to access and manage your screenshot files on HoloLens, let’s wrap up this guide with a quick recap of what we’ve covered.
Conclusion
Capturing screenshots on HoloLens is a valuable and convenient way to document your mixed reality experiences. Whether you choose to use voice commands or the physical buttons on the device, HoloLens offers multiple methods to take screenshots effortlessly.
The voice command method allows for a hands-free experience, where you can simply instruct Cortana to capture a screenshot. On the other hand, using the physical buttons provides a tactile approach, giving you a familiar way to snap screenshots.
After capturing your screenshots, accessing and managing the files is a breeze with the Photos app on HoloLens. You can browse through your screenshots, view them in full detail, and even share them with others for presentations, documentation, or other purposes.
Remember, screenshots aren’t just for personal enjoyment; they can also serve as valuable resources for sharing your holographic adventures, troubleshooting issues, or even training purposes. Utilize the power of screenshots to enhance your HoloLens experience and engage with others.
Now that you know how to take screenshots, access the files, and make the most out of your HoloLens, it’s time to dive in and start capturing your own immersive moments. Discover the endless possibilities of mixed reality and share your unique experiences with the world.