Introduction
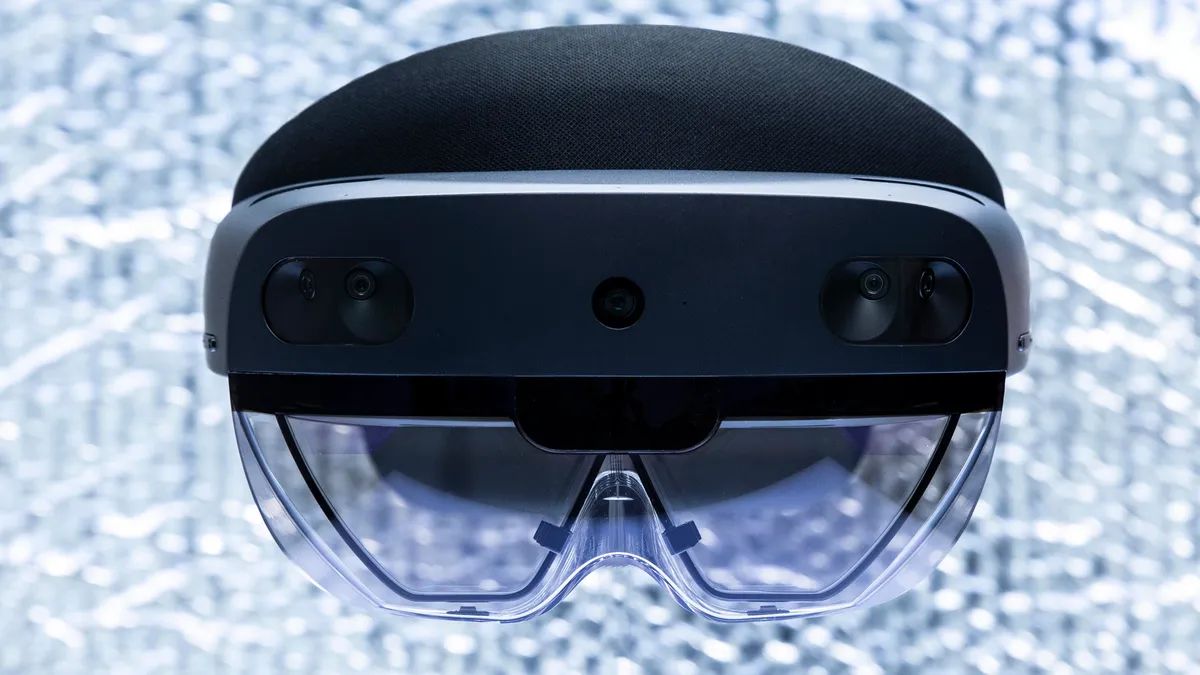
Welcome to the world of HoloLens, the cutting-edge augmented reality device developed by Microsoft. With HoloLens, you can experience a whole new level of interaction by seamlessly blending virtual holograms with the real world. Whether you’re an enthusiast, developer, or professional, understanding how to use HoloLens is essential to fully harness its potential.
In this article, we will guide you through the process of setting up your HoloLens device and walk you through the various features and functionalities it offers. From navigating the HoloLens interface to interacting with holograms, adjusting settings, and connecting to other devices, we will cover everything you need to know to make the most out of your HoloLens experience.
Before we dive into the details, it’s important to note that HoloLens is designed to provide an immersive and hands-free experience. By utilizing a unique combination of sensors, cameras, and advanced software, HoloLens creates a holographic environment that seamlessly integrates with your surroundings.
Whether you’re using HoloLens for gaming, communication, design, or education, the possibilities are virtually limitless. So, let’s get started and unlock the full potential of HoloLens!
Setting Up the HoloLens
Before you can dive into the world of holographic computing, you’ll need to set up your HoloLens device. Don’t worry, the process is straightforward and only takes a few minutes. Here’s a step-by-step guide to get you started:
- Start by connecting your HoloLens to a power source using the included charger. It’s important to fully charge your device before the initial setup.
- Press the power button located on the right side of the headset. You’ll see the Microsoft logo appear as your HoloLens powers on.
- Next, select the language and region preferences that suit your needs. Use the air tap gesture to make your selection.
- Connect your HoloLens to a Wi-Fi network. You’ll need an active internet connection for the setup process.
- After connecting to Wi-Fi, you’ll be prompted to sign in with your Microsoft account or create a new one. This account will be used to personalize your HoloLens experience and access Microsoft services and apps.
- Follow the on-screen instructions to complete the initial setup. This includes configuring device settings, signing in to your Microsoft account, and agreeing to the terms and conditions.
- Once the setup process is complete, you’ll be introduced to the HoloLens tutorial. Pay close attention and follow the instructions to familiarize yourself with the gestures and controls.
That’s it! You’ve successfully set up your HoloLens device and are ready to explore the holographic world. Now, let’s move on to how to navigate the HoloLens interface and get the most out of your device.
Navigating the HoloLens Interface
Once your HoloLens is set up, it’s time to dive into the immersive interface and start exploring the holographic world. Here’s a guide on how to navigate the HoloLens interface:
1. Gaze Cursor: The gaze cursor is your primary means of interaction with the HoloLens. Simply look at an object or hologram to select it. Move your head to adjust the position of the cursor and focus on different objects.
2. Air Tap Gesture: To select an object or hologram, use the air tap gesture. Extend your index finger and make a tapping motion in the air. This gesture is similar to clicking with a mouse and allows you to interact with holograms and menus.
3. Bloom Gesture: The bloom gesture activates the Start menu. To perform this gesture, simply open and close your hand like a flower blooming. This brings up the holographic Start menu from where you can access various apps and settings.
4. Voice Commands: HoloLens supports voice commands to perform actions and navigate through menus. To activate voice commands, say “Hey Cortana” followed by your command. You can launch apps, create reminders, search the web, and more using voice commands.
5. HoloLens Clicker: If you have the HoloLens Clicker accessory, you can use it as a physical input device. The Clicker allows you to perform the air tap gesture by pressing the button on the device, providing a more tactile way to interact with holograms.
6. Holographic Spaces: HoloLens allows you to create and switch between different holographic spaces. These spaces act as virtual desktops, enabling you to organize and switch between different apps and holograms. To create a new space, simply press the Windows button on your HoloLens and select “New Space.”
By familiarizing yourself with these navigation techniques, you’ll be able to seamlessly interact with the holographic interface, explore different apps and experiences, and navigate through the HoloLens ecosystem.
Choosing and Launching Apps
With HoloLens, you have access to a wide range of apps and experiences designed specifically for augmented reality. Whether you’re looking to play games, create 3D designs, or collaborate with others, here’s how you can choose and launch apps on your HoloLens:
1. HoloLens App Library: The HoloLens App Library is where you’ll find all the installed apps on your device. To access it, perform the bloom gesture by opening and closing your hand like a flower blooming. From the Start menu, you can scroll through the available apps and select the one you want to launch.
2. Voice Commands: As mentioned earlier, HoloLens supports voice commands. You can launch apps using voice commands by saying “Hey Cortana” followed by the app name. For example, saying “Hey Cortana, open Edge” will launch the Microsoft Edge browser.
3. Holograms and Anchors: HoloLens also allows you to launch apps by interacting with specific holograms or spatial anchors. Some apps, such as games or productivity tools, may have unique holograms that you can select or gaze at to launch the associated app or experience.
4. Remote Installation: If you have multiple HoloLens devices or want to install an app remotely, you can use the Microsoft Store app on a Windows 10 device to install apps on your HoloLens. Simply browse the available apps in the Microsoft Store, select the desired app, and choose the option to install it on your HoloLens.
5. Pinning Apps: To quickly access your most frequently used apps, you can pin them to your Start menu. This can be done by selecting an app from the App Library and choosing the “Pin to Start” option. Once pinned, the app will appear on your Start menu for easy and quick access.
By using these methods, you can easily choose and launch your desired apps on the HoloLens. Explore the diverse range of apps available and unlock the full potential of augmented reality.
Using Hand Gestures
One of the most intuitive ways to interact with the HoloLens is through hand gestures. By using simple hand movements, you can manipulate holograms, navigate menus, and perform various actions. Here are some key hand gestures you can use with your HoloLens:
1. Air Tap Gesture: The air tap gesture is fundamental to interacting with holograms and menus. To perform an air tap, extend your index finger and make a tapping motion in the air. This gesture is used to select, click, or activate an object or hologram.
2. Bloom Gesture: The bloom gesture is used to bring up the Start menu or exit the current app. To perform the bloom gesture, open and close your hand like a flower blooming. This gesture is useful for easily accessing the Start menu or quickly closing an app.
3. Scroll Gesture: When viewing menus or lists that require scrolling, you can use the scroll gesture to navigate through options. To scroll, place your index finger and thumb together, then swipe up or down in the air. This allows you to scroll through content without physical touch.
4. Pinch Gesture: The pinch gesture is used for resizing and scaling holograms. To resize a hologram, place your index finger and thumb on the hologram and move them closer or farther apart. This gesture enables you to adjust the size and depth of holograms within your view.
5. Drag Gesture: To move or reposition holograms, you can use the drag gesture. With your index finger extended, simply place it on the hologram you want to move and drag it to the desired location. This allows you to interact with holograms in a natural and intuitive way.
6. Rotate Gesture: If you want to rotate a hologram to view it from different angles, you can use the rotate gesture. Place both hands around the hologram and twist your wrists in the desired direction. This allows you to rotate the hologram and examine it from all sides.
By mastering these hand gestures, you can seamlessly interact with holograms, navigate menus, and manipulate objects within the HoloLens environment. Practice these gestures to enhance your augmented reality experience and unlock new possibilities.
Interacting with Holograms
One of the most exciting aspects of using HoloLens is the ability to interact with holograms in a lifelike and immersive way. Whether you’re exploring virtual objects, collaborating with others, or playing games, here’s how you can interact with holograms using your HoloLens:
1. Selecting and Interacting: The air tap gesture is your primary means of selecting and interacting with holograms. Simply look at a hologram and perform an air tap gesture to select it. Once selected, you can perform additional actions such as resizing, rotating, or moving the hologram using the pinch, rotate, and drag gestures, as we discussed in the previous section.
2. Gestural Input: Some apps and experiences may have specific gestures associated with them. For example, in a painting app, you may be able to use a paintbrush gesture to draw on a virtual canvas. These gestures are often unique to the app or experience you’re using and provide a more specialized and immersive interaction.
3. Spatial Mapping: HoloLens uses spatial mapping technology to understand the physical environment around you. This allows you to interact with holograms in a more natural and contextual way. For example, you can place virtual objects on real surfaces like tables or walls, and they will remain fixed in that position as you move around.
4. Sharing and Collaboration: HoloLens offers collaborative features that enable you to share holograms with others. Using the sharing functionality, multiple HoloLens users can see and interact with the same hologram simultaneously. This opens up opportunities for remote collaboration and interactive experiences.
5. Spatial Sound: In addition to visual interactions, HoloLens also incorporates spatial sound to enhance the immersive experience. Holograms can emit sound that appears to come from specific locations in your environment. This adds a layer of realism and depth to your interactions with holograms.
By understanding and utilizing these techniques, you can fully immerse yourself in the virtual world and interact with holograms in a lifelike and intuitive manner. Experiment with different apps, experiences, and interactive scenarios to explore the creative possibilities of HoloLens.
Adjusting the Display and Audio Settings
To optimize your HoloLens experience, it’s important to adjust the display and audio settings according to your preferences. Here are some key settings you can tweak to enhance your viewing and listening experience:
1. Brightness and Contrast: To adjust the brightness and contrast of the holographic display, go to the Settings app on your HoloLens. From there, navigate to the Display section and choose the option to adjust brightness and contrast. Find the balance that suits your environment and visual comfort.
2. Field of View: HoloLens provides an expansive field of view, but you can adjust it to optimize your visual experience. Depending on your preferences, you can choose between the default setting or a narrower field of view for a more focused display. This can be adjusted within the Settings app under the Display section.
3. IPD (Interpupillary Distance) Calibration: HoloLens allows you to adjust the IPD to achieve the best alignment of holograms with your eyes. To calibrate the IPD, navigate to the Settings app and select the Eyetracking section. Follow the on-screen instructions to fine-tune the IPD settings and enhance the accuracy of hologram placement.
4. Sound Level: If you find that the audio output from the HoloLens speakers is too loud or too quiet, you can adjust the volume to your liking. On the device itself, you’ll find volume controls located on the left side. Additionally, you can access the volume settings within the Settings app for more precise adjustments.
5. Spatial Sound: HoloLens utilizes spatial sound technology to provide a more immersive audio experience. You can adjust the spatial sound settings within the Settings app. Experiment with the various spatial sound options to find the one that provides the most realistic and engaging 3D audio experience.
6. Glance Settings: HoloLens offers a glance gesture that activates a heads-up display showing the time, battery level, and Wi-Fi connection status. You can choose whether to enable or disable this feature within the Settings app. If you prefer a distraction-free experience, disabling the glance feature may be preferable.
By fine-tuning these display and audio settings, you can optimize your HoloLens experience to align with your individual preferences. Experiment with different configurations to find the balance that offers the best visual clarity, audio immersion, and overall comfort.
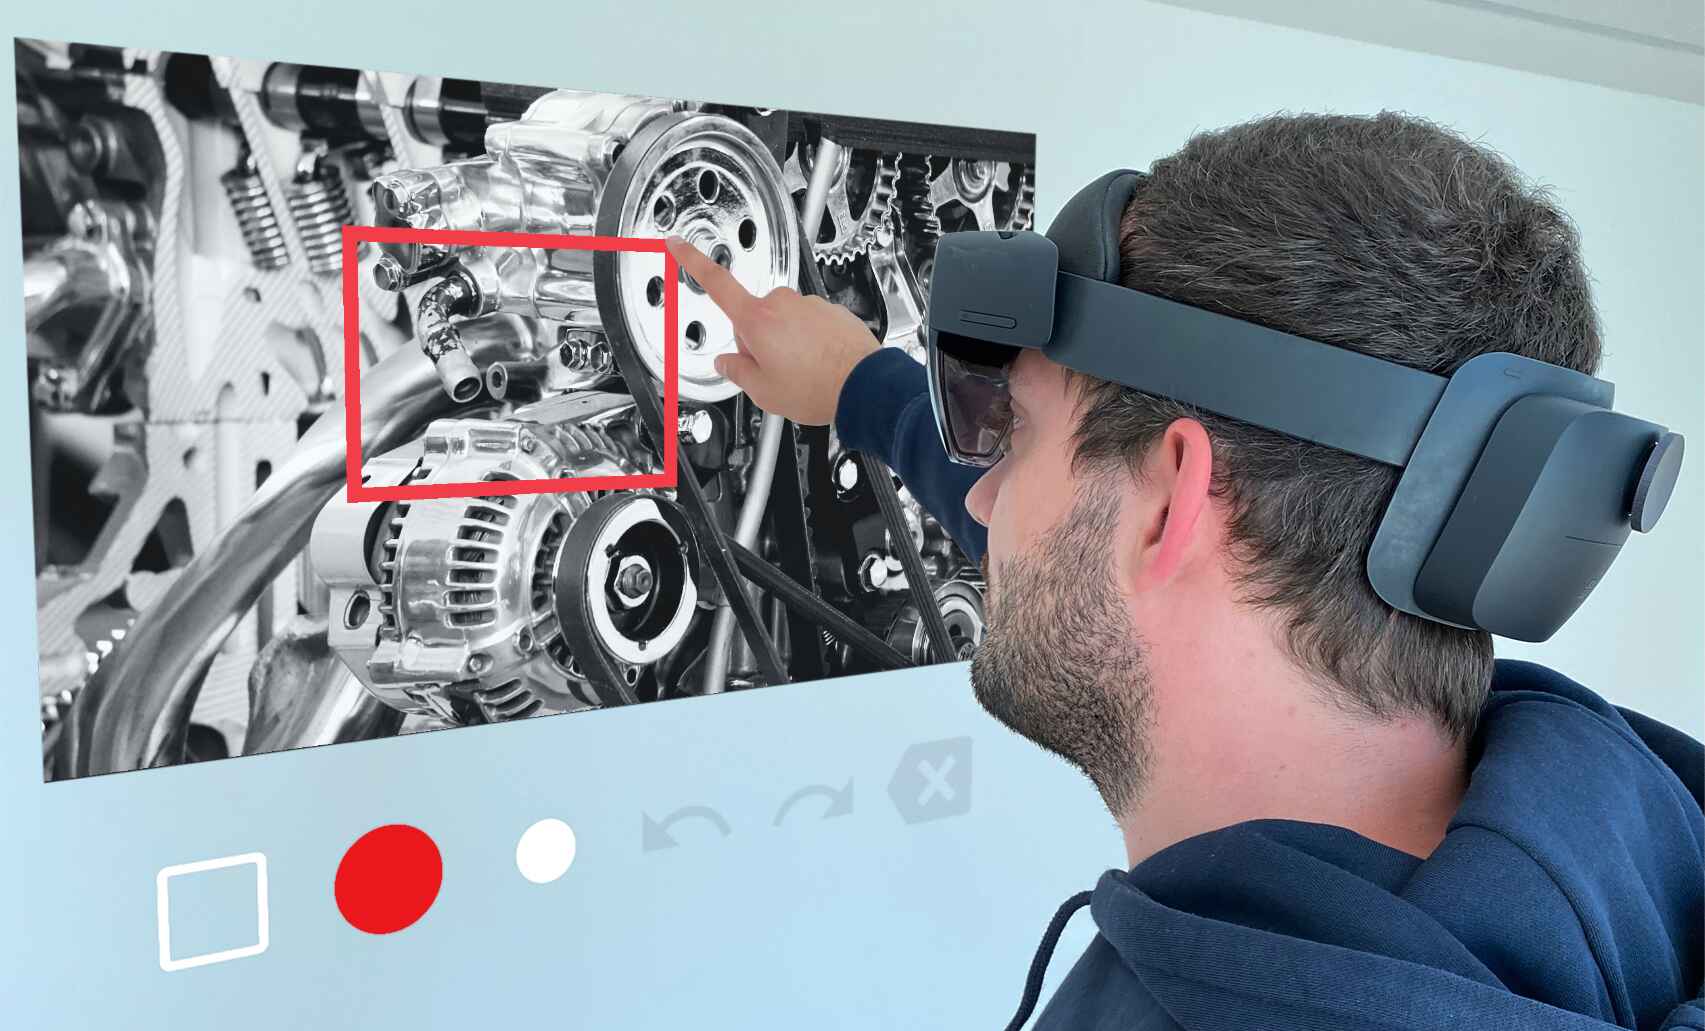
Capturing Screenshots and Recording Videos
Whether you want to capture and share a memorable moment or record a demonstration of an app or hologram, HoloLens allows you to easily capture screenshots and record videos. Here’s how you can do it:
1. Capturing Screenshots: To capture a screenshot, simply perform the bloom gesture by opening and closing your hand like a flower blooming. This will bring up the Start menu. From there, select the “Mixed Reality Capture” app. Once the app is launched, you can use the air tap gesture to capture a screenshot of the current view. The screenshots will be saved in the Photos app on your HoloLens device.
2. Recording Videos: HoloLens also allows you to record videos of your holographic experiences. To start recording, launch the “Mixed Reality Capture” app as mentioned above. Once the app is open, use the air tap gesture to start recording. To stop the recording, perform the air tap gesture again. The recorded videos will be saved in the Photos app and can be accessed and shared like any other video file.
3. Sharing Screenshots and Videos: Once you’ve captured screenshots or recorded videos, you can easily share them with others. HoloLens integrates with various sharing options, including email, social media, and cloud storage services. Simply navigate to the Photos app, select the desired screenshot or video, and choose the sharing option that suits your needs.
4. Mixed Reality Capture: HoloLens also offers the ability to record mixed reality videos, which combine the real world with virtual holograms. This can be done using specialized equipment and software provided by Microsoft. Mixed reality capture enables you to create compelling and immersive videos that showcase the unique capabilities of HoloLens.
With the ability to capture screenshots and record videos, you can easily document and share your experiences in the holographic world of HoloLens. Whether it’s for personal memories, presentations, or content creation, these features allow you to capture and showcase the magic of augmented reality.
Connecting to Wi-Fi and Bluetooth Devices
Connecting your HoloLens to Wi-Fi and Bluetooth devices expands the capabilities of the device and enables seamless communication and data transfer. Here’s how you can connect to Wi-Fi and Bluetooth devices with your HoloLens:
1. Connecting to Wi-Fi:
- From the Start menu, select the Settings app.
- Navigate to the Network & Internet section.
- Choose Wi-Fi and toggle the Wi-Fi switch to ON.
- Select your desired Wi-Fi network from the list of available networks.
- If the network is secured, enter the password to connect.
2. Connecting to Bluetooth Devices:
- From the Start menu, select the Settings app.
- Navigate to the Devices section.
- Choose Bluetooth & other devices and toggle the Bluetooth switch to ON.
- Select Add Bluetooth or other devices and choose the desired device type (e.g., Bluetooth speakers, keyboard, etc.).
- Follow the on-screen instructions to complete the pairing process with the Bluetooth device.
3. Device Discovery:
- To actively search for available Bluetooth devices, select Add Bluetooth or other devices, then choose Bluetooth. Your HoloLens will scan for nearby Bluetooth devices that are in pairing mode.
- Select the desired device from the list of available devices.
- Follow the on-screen instructions to complete the pairing process.
4. Managing Connected Devices:
- To manage connected Bluetooth devices, navigate to the Bluetooth & other devices section within the Settings app.
- From there, you can view a list of connected devices and perform actions such as unpairing, removing, or troubleshooting any connection issues.
By connecting your HoloLens to Wi-Fi, you can access the internet, download apps, and enjoy online experiences. Similarly, by pairing your HoloLens with Bluetooth devices, you can use wireless headphones, speakers, keyboards, and other peripheral devices for a more enhanced and versatile augmented reality experience.
Extending HoloLens Battery Life
As with any portable device, maximizing the battery life of your HoloLens ensures you can enjoy extended usage without interruption. Here are some tips to help you extend the battery life of your HoloLens:
1. Adjust Brightness and Sleep Settings: Lowering the brightness level of the display can significantly reduce power consumption. Navigate to the Settings app, select Display, and adjust the brightness slider to a comfortable but lower level. You can also decrease the sleep timeout duration under Power & Sleep settings to conserve battery when the device is idle.
2. Reduce Background Apps: Close or minimize unnecessary apps running in the background. While multitasking provides convenience, it can drain the battery faster. Press the Windows button on your HoloLens and select the Task View button to view and close running apps.
3. Disable Wi-Fi and Bluetooth: When not needed, turn off Wi-Fi and Bluetooth as these wireless connections consume battery power. These can be disabled from the Action Center by performing the bloom gesture or navigating to the respective Settings sections.
4. Optimize App Usage: Certain apps and experiences can be more resource-intensive, leading to increased battery consumption. Consider closing or minimizing apps that are not in use. Additionally, look for apps that offer power-saving modes or settings, and enable them to reduce battery usage.
5. Enable Battery Saver Mode: The HoloLens features a Battery Saver mode that can help prolong battery life by conserving power. To access this mode, open the Settings app, go to System, and select Battery. Toggle the Battery Saver switch to ON. Note that this may affect certain performance aspects, so use it when necessary.
6. Use External Power Sources: When available, utilize external power sources such as a charger or power bank to charge your HoloLens. This allows you to continue using the device while conserving its internal battery for situations when portable power is not accessible.
7. Optimize Mixed Reality Capture: If you use the Mixed Reality Capture feature, keep in mind that it can contribute to increased battery usage. Limit the usage of mixed reality capture or adjust the capture settings to minimize its impact on battery life.
By implementing these battery-saving strategies, you can maximize the usage time of your HoloLens, ensuring uninterrupted augmented reality experiences and reducing the need for frequent recharging.
Troubleshooting Tips
While HoloLens is a robust device, you may occasionally encounter issues that require troubleshooting. Here are some common troubleshooting tips to help resolve potential problems and enhance the performance of your HoloLens:
1. Restart or Power Cycle: If you encounter any unexpected behavior or performance issues, try restarting your HoloLens. Hold down the power button for a few seconds, then select the Restart option. If a restart doesn’t resolve the issue, perform a full power cycle by turning off the device, unplugging any connected accessories, and then turning it back on after a few seconds.
2. Check for Software Updates: Ensure that your HoloLens is running the latest software updates. Go to the Settings app, select the Update & Security section, and choose the Windows Update option. If updates are available, install them to benefit from bug fixes, security patches, and performance improvements.
3. Clear Cache and Temporary Files: HoloLens accumulates temporary files over time, which can affect its performance. To clear the cache, go to the Settings app, select System, and choose the Storage option. From there, you can choose to clear temporary files and free up storage space.
4. Troubleshoot Connectivity: If you’re experiencing connectivity issues with Wi-Fi or Bluetooth, ensure that your wireless router is functioning properly and restart it if necessary. For Bluetooth connectivity, verify that the device you’re trying to connect to is in pairing mode and within range of the HoloLens. Reconnecting or resetting the connection settings on both devices may also help resolve the issue.
5. Reset App Permissions: If a specific app is not functioning correctly or encountering permission issues, you can reset its permissions. Go to the Settings app, select the System section, choose the Apps & features option, and locate the problematic app. Select the app and choose the Advanced options. Then, select the Reset option to reset the app’s permissions and settings.
6. Factory Reset: If all else fails and you’re still experiencing persistent issues, performing a factory reset may be necessary. However, before doing so, ensure that you have backed up any important data or files. To initiate a factory reset, go to the Settings app, select Update & Security, choose the Recovery option, and follow the instructions to reset your HoloLens to its original settings.
If the issue persists or if it’s a hardware-related problem, it’s advisable to contact Microsoft support or consult with an authorized service center for further assistance. They can provide more specific guidance and help resolve any underlying issues.
By following these troubleshooting tips, you can address common problems and maintain the optimal performance and functionality of your HoloLens device.
Conclusion
Congratulations on completing this guide on how to use HoloLens! We’ve covered a range of topics, from setting up the device to navigating the interface, interacting with holograms, adjusting settings, and troubleshooting common issues. With this knowledge, you are well-equipped to embark on a captivating journey into the world of augmented reality.
HoloLens offers an unparalleled augmented reality experience, blending virtual holograms seamlessly with the real world. By mastering hand gestures, you can interact with holograms in a natural and intuitive way. Capturing screenshots and recording videos allows you to document and share your experiences, while connecting to Wi-Fi and Bluetooth devices expands the capabilities of the device.
Remember to adjust display and audio settings to suit your preferences, extend battery life through various optimization strategies, and troubleshoot any issues that may arise. As you become more familiar with HoloLens, don’t hesitate to explore the diverse range of apps and experiences available, unlocking endless possibilities for gaming, design, communication, and more.
With HoloLens, you have the power to create, collaborate, learn, and entertain in new and innovative ways. As technology continues to evolve, so will the possibilities of augmented reality. Embrace this exciting adventure, explore the boundaries of what’s possible, and immerse yourself in the breathtaking world of HoloLens!