Introduction
Welcome to the world of mixed reality with HoloLens! Microsoft HoloLens is a cutting-edge device that allows users to experience digital content seamlessly blended with the real world. Whether you’re a developer or an enthusiast, learning to deploy your app to HoloLens is an exciting step towards unlocking the limitless possibilities of this futuristic technology.
In this guide, we will walk you through the step-by-step process of deploying an app to your HoloLens device. From setting up your development environment to launching and testing your app, we’ve got you covered. So, let’s dive in!
Before we begin, it’s important to note that deploying apps to HoloLens requires a few prerequisites. Firstly, you’ll need a Windows 10 PC with Visual Studio installed. Additionally, you’ll need a HoloLens device that is connected to the same network as your PC. It’s also essential to have a developer account with the necessary HoloLens development tools and licenses.
Throughout this guide, we’ll assume that you have these prerequisites in place and are ready to embark on your HoloLens app deployment journey. So, without further ado, let’s get started by setting up your development environment.
Prerequisites
Before you can deploy your app to HoloLens, there are a few prerequisites you need to fulfill:
- Windows 10 PC: Make sure you have access to a Windows 10 PC with Visual Studio installed. This will be your development machine.
- HoloLens Device: You’ll need a HoloLens device to deploy and test your app. Ensure that your HoloLens is powered on and connected to the same network as your PC.
- Developer Account: Create a developer account on the Microsoft Developer Center website. This will provide you with the necessary tools and licenses to develop and deploy apps for HoloLens.
- HoloLens Development Tools: Install the HoloLens development tools, including Unity and the Windows 10 SDK, on your PC. These tools allow you to create and package apps for HoloLens.
- HoloLens Device Portal: Enable the HoloLens Device Portal on your HoloLens. This web-based tool allows you to manage and deploy apps wirelessly to your device.
- Developer Mode: Enable developer mode on your HoloLens. This gives you the necessary permissions to deploy apps from Visual Studio to your device.
Before you proceed, double-check that you have met all the prerequisites mentioned above. Once everything is in place, you’re ready to move on to the next step, which is setting up your development environment.
Step 1: Set up your development environment
Before you can start deploying your app to HoloLens, you need to set up your development environment. Here’s how:
- Install Visual Studio: Ensure that you have Visual Studio installed on your Windows 10 PC. Visual Studio provides the necessary tools for developing HoloLens apps.
- Install the Windows 10 SDK: Download and install the Windows 10 SDK on your PC. This SDK includes the tools and libraries needed for HoloLens app development.
- Set up Unity: Unity is a popular game development engine that can be used to create HoloLens apps. Install Unity on your PC and make sure to select the “Universal Windows Platform” option during installation.
- Configure Visual Studio: Open Visual Studio and configure it for HoloLens development. Navigate to “Tools” > “Options” > “Windows Mixed Reality” and ensure that the necessary components are installed.
- Create a new project: Open Visual Studio and create a new project for your HoloLens app. Choose the appropriate template and target version for the HoloLens platform.
- Set build settings: Configure the build settings for your HoloLens app. Make sure to select the correct architecture (x86) and target device (HoloLens) in the project settings.
With your development environment set up, you’re now ready to proceed to the next step: creating an app package for deployment on the HoloLens. Stay tuned!
Step 2: Create an app package
Once you have set up your development environment, the next step is to create an app package for your HoloLens app. This package contains all the necessary files and dependencies required for deployment. Here’s how you can create an app package:
- Open your project in Visual Studio: Launch Visual Studio and open the project you created for your HoloLens app.
- Configure the build settings: Ensure that the build settings in your project are correctly configured for creating an app package. Double-check the architecture (x86) and target device (HoloLens) settings.
- Right-click on your project: In the Solution Explorer, right-click on your project and select “Publish”. This will open the Publish page in Visual Studio.
- Choose the target device: On the Publish page, select the “Sideloading” option under Deployment Mode. This allows you to deploy the app package directly to your HoloLens device.
- Configure the package settings: Customize the package settings as per your requirements. You can specify the app name, description, and other details for the package.
- Build the app package: Click on the “Create App Package” button to start building the app package. Visual Studio will compile your project and create the necessary files for deployment.
- Specify the output location: Choose the output location where you want to save the app package files. You can select a local directory or a network share accessible by your HoloLens device.
- Build the app package: Review the summary of the package settings and click on the “Create” button to build the app package. Visual Studio will generate the app package files in the specified output location.
Once the app package is created, you are one step closer to deploying your HoloLens app. In the next step, we will enable developer mode on your HoloLens device to prepare it for deployment. Keep following along!
Step 3: Enable developer mode on your HoloLens
In order to deploy your app to HoloLens, you need to enable developer mode on your device. Developer mode allows you to install and test apps directly from Visual Studio. Here’s how you can enable developer mode on your HoloLens:
- Put on your HoloLens: Ensure that you’re wearing your HoloLens and it is powered on.
- Go to Settings: Navigate to the “Settings” app on your HoloLens. You can access this by selecting the Start menu and scrolling down to find the app.
- Select Update & Security: Within the Settings app, choose the “Update & Security” option. This is where you can configure different settings related to your HoloLens.
- Tap on For developers: In the Update & Security menu, locate and tap on the “For developers” option. This will open the developer settings for your HoloLens.
- Enable Developer Mode: On the For developers screen, you will see a toggle switch to enable Developer Mode. Tap on the switch to turn it on.
- Confirm the prompt: A warning message will appear, informing you about the risks of enabling Developer Mode. Read the message carefully and tap on “Yes” to confirm your action.
Congratulations! You have successfully enabled Developer Mode on your HoloLens device. This will allow you to deploy and test your apps directly from Visual Studio. Now that your HoloLens is ready, it’s time to connect it to your PC and proceed to the next step. Stay tuned!
Step 4: Connect your HoloLens to your PC
Now that you have enabled developer mode on your HoloLens, it’s time to establish a connection between your device and your PC. This connection allows you to deploy your app directly from Visual Studio. Follow these steps to connect your HoloLens to your PC:
- Put on your HoloLens: Ensure that your HoloLens is powered on and you are wearing it.
- Connect your HoloLens to the same network as your PC: It is crucial that both your HoloLens and your PC are connected to the same network. This allows them to communicate with each other.
- Connect your HoloLens to your PC via USB: Take the USB cable that came with your HoloLens and connect one end to your PC’s USB port and the other end to your HoloLens’ USB port. This establishes a physical connection between the devices.
- Install HoloLens driver: Upon connecting your HoloLens to your PC, the operating system will recognize it as a new device. Follow the on-screen instructions to install the necessary driver for your HoloLens.
- Check for device connection: After the driver installation is complete, open the Device Manager on your PC. Look for the “HoloLens Sensors” or “Mixed Reality Devices” category to ensure that your HoloLens is detected.
- Allow access on your HoloLens: On your HoloLens, you may see a prompt asking for your permission to connect to the PC. Accept the prompt to establish the connection.
- Launch Windows Device Portal: Open a web browser on your PC and enter the IP address of your HoloLens in the address bar. This will launch the HoloLens Device Portal, a web-based tool for managing your HoloLens device.
- Verify the connection: In the HoloLens Device Portal, you should see your HoloLens listed under the “My Devices” section. This confirms that the connection between your HoloLens and your PC is successful.
Great job! You have successfully connected your HoloLens to your PC. Now that the connection is established, you’re ready to deploy the app package to your HoloLens. Let’s move on to the next step and start deploying your app. Stay with us!
Step 5: Deploy the app package to your HoloLens
With your HoloLens successfully connected to your PC, it’s time to deploy the app package you created earlier. Follow these steps to deploy the app package to your HoloLens:
- Open Visual Studio: Launch Visual Studio on your PC.
- Load your project: Open the project you created for your HoloLens app in Visual Studio.
- Select the target device: In Visual Studio, choose your HoloLens device as the target for deployment. You can select it from the dropdown menu in the toolbar.
- Build your project: Build your project by selecting the “Build” option in Visual Studio or pressing the F6 key.
- Deploy the app: Once the project is successfully built, click on the “Deploy” button in Visual Studio. This will package and deploy the app to your HoloLens device.
- Monitor the deployment progress: Visual Studio will display the deployment progress, indicating the status of the deployment. The app will be installed on your HoloLens.
- Wait for the deployment to complete: Allow the deployment process to complete. This may take a few moments, depending on the size of your app.
- Verify the app on your HoloLens: Once the deployment is finished, put on your HoloLens and navigate to the Start menu. Look for your app’s icon among the installed apps and launch it to test its functionality.
Congratulations! You have successfully deployed your app package to your HoloLens. Now, put on your HoloLens and explore your app in the mixed reality environment. In the next step, we will cover how to launch and test your app on the HoloLens. Keep following along!
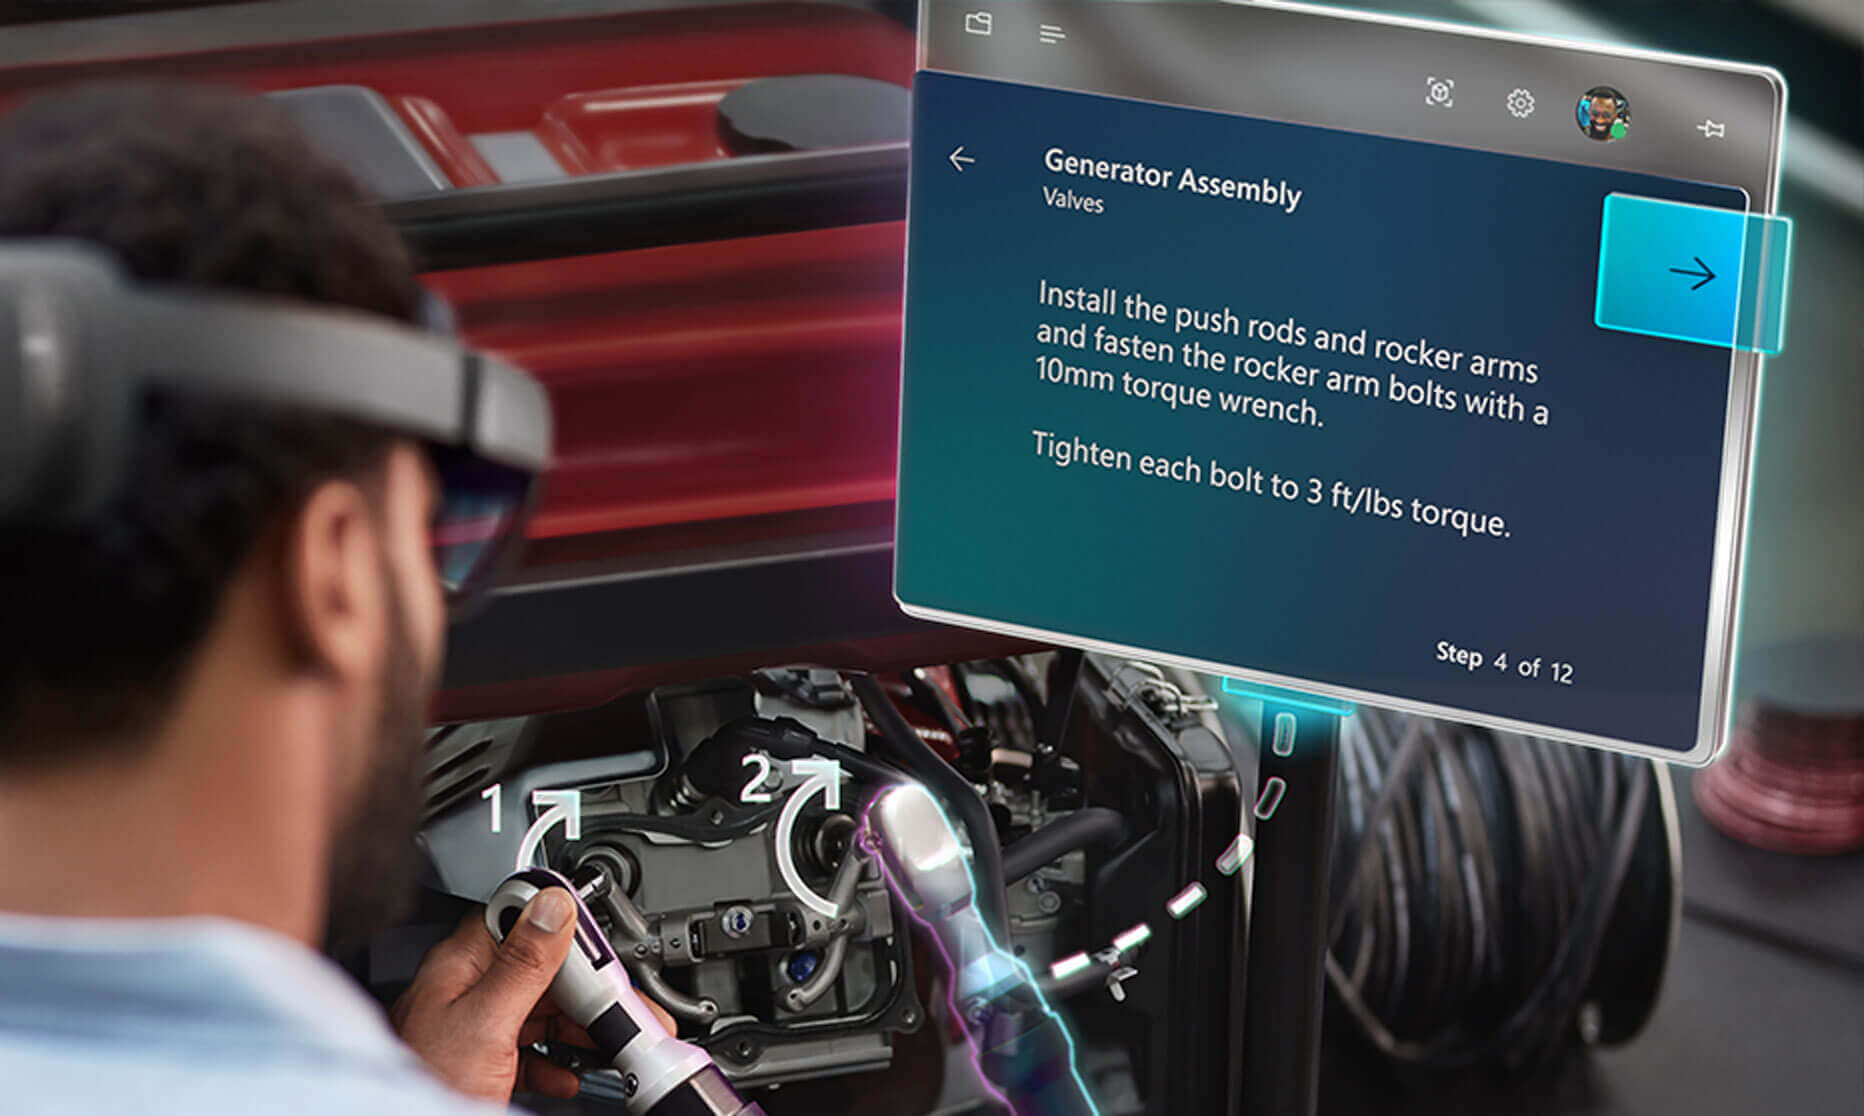
Step 6: Launch and test your app on the HoloLens
Now that you have successfully deployed your app to your HoloLens, it’s time to launch and test it in the mixed reality environment. Here’s how you can do it:
- Put on your HoloLens: Ensure that your HoloLens device is securely positioned on your head.
- Navigate to the Start menu: Using the gaze and gesture control, navigate to the Start menu on your HoloLens.
- Find your app: Look for the icon of your deployed app in the list of installed apps. Use gestures to select and highlight the app.
- Launch your app: Tap on the holographic button or the air tap gesture to launch your app. It will open in the mixed reality environment.
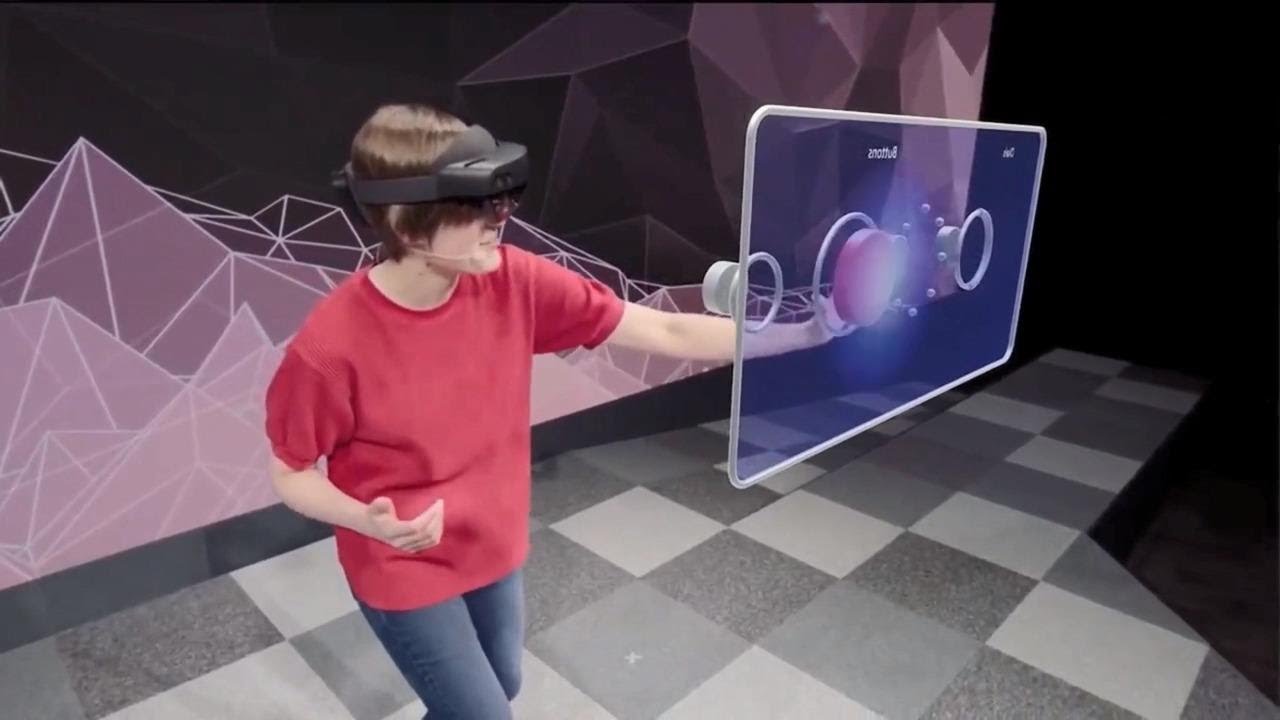
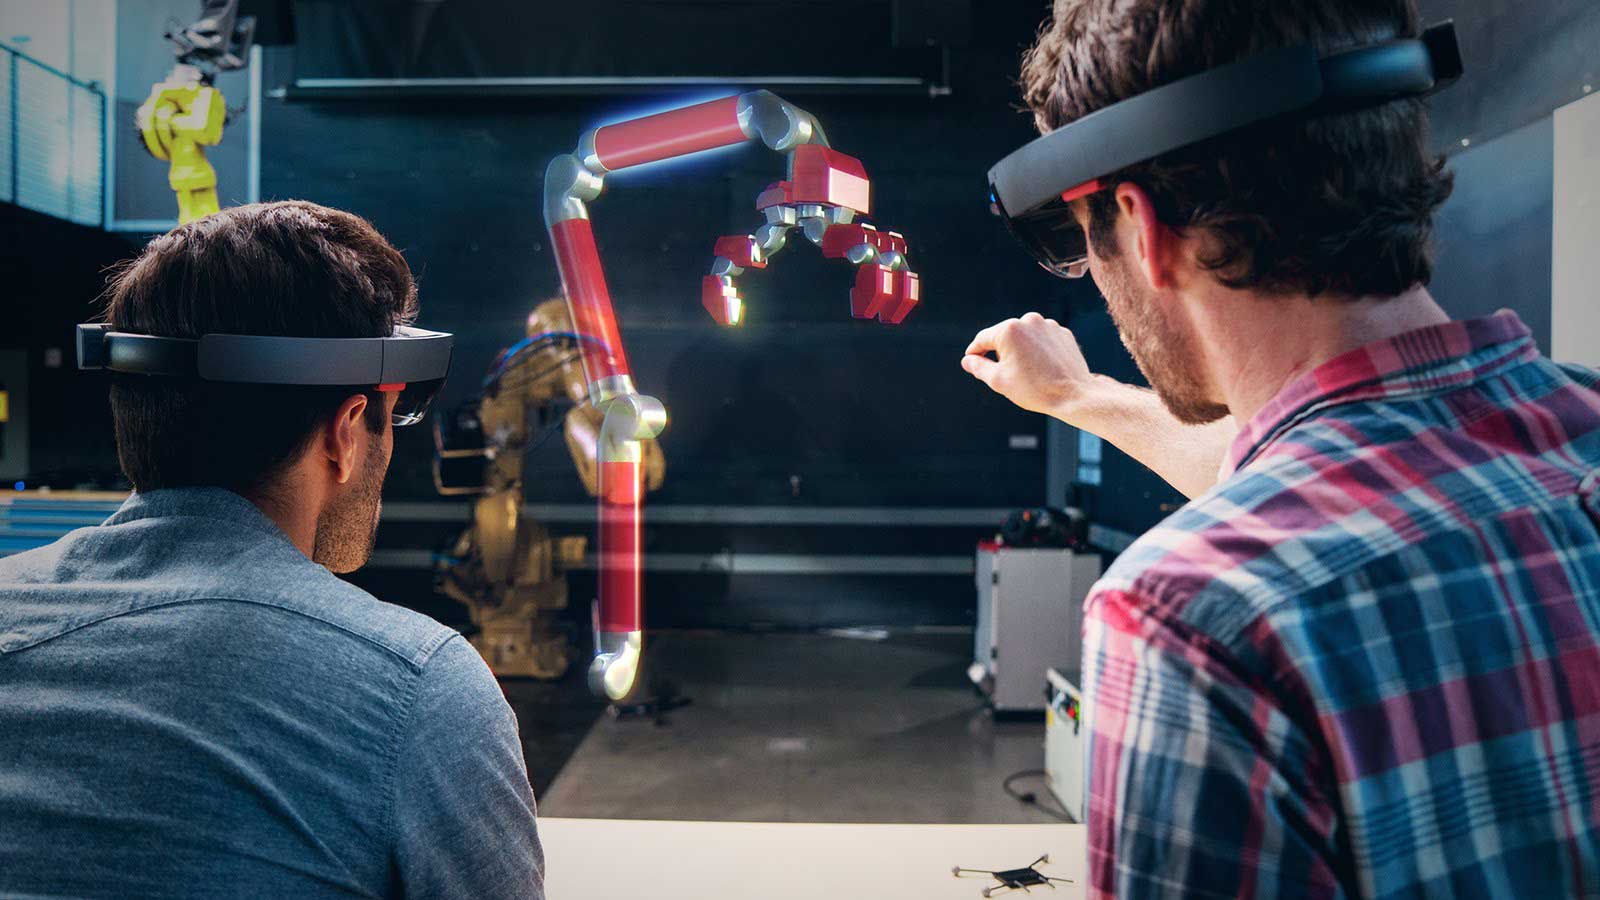
- Interact with your app: Use hand gestures and gaze to interact with your app and explore its features. Test its functionality and make sure it performs as expected.
- Check for any issues: During testing, keep an eye out for any bugs, glitches, or performance issues. Take note of any areas that require improvement.
- Collect feedback: If possible, get feedback from other users who test your app on the HoloLens. Their input can provide valuable insights for further improvements.
- Debug and iterate: In case you encounter any issues during testing, use Visual Studio’s debugging tools to identify and resolve the problems. Iterate on your app to make it better.
By launching and testing your app on the HoloLens, you will have a firsthand experience of how it functions in the mixed reality environment. This step allows you to fine-tune your app, fix any issues, and ensure an optimal user experience. Once you are satisfied with the functionality and performance of your app, you are ready to share it with others or even submit it to the Microsoft Store.
That concludes the steps to deploy and test your app on the HoloLens. Congratulations on reaching this milestone in HoloLens app development! Continue exploring the potential of mixed reality and keep building innovative experiences for HoloLens users.
Conclusion
Congratulations on successfully deploying and testing your app on the HoloLens! By following the step-by-step process outlined in this guide, you have gained the knowledge and skills to bring your app to life in the exciting world of mixed reality.
We started by setting up your development environment, ensuring that you have the necessary tools and frameworks in place. Then, we guided you through the process of creating an app package and enabling developer mode on your HoloLens. Next, we covered how to establish a connection between your HoloLens device and your PC.
With your HoloLens connected to your PC, you were able to deploy the app package directly from Visual Studio. Finally, we explored how to launch and test your app in the mixed reality environment of the HoloLens device.
Remember, the journey doesn’t end here. As you continue to develop your HoloLens app, keep experimenting, refining, and iterating based on user feedback and testing. The HoloLens platform offers immense potential for creating immersive and innovative experiences, and it’s up to you to push the boundaries of what’s possible.
Whether you’re building apps for education, entertainment, design, or productivity, the HoloLens opens up a whole new world of possibilities. Embrace the power of mixed reality, continue learning, and let your creativity soar.
We hope this guide has been helpful in your HoloLens development journey. Explore the HoloLens documentation and community resources for further assistance, and keep pushing the limits of what you can achieve with this incredible technology.
Now it’s time to unleash your creativity and start developing amazing experiences for the HoloLens! Happy coding!