Introduction
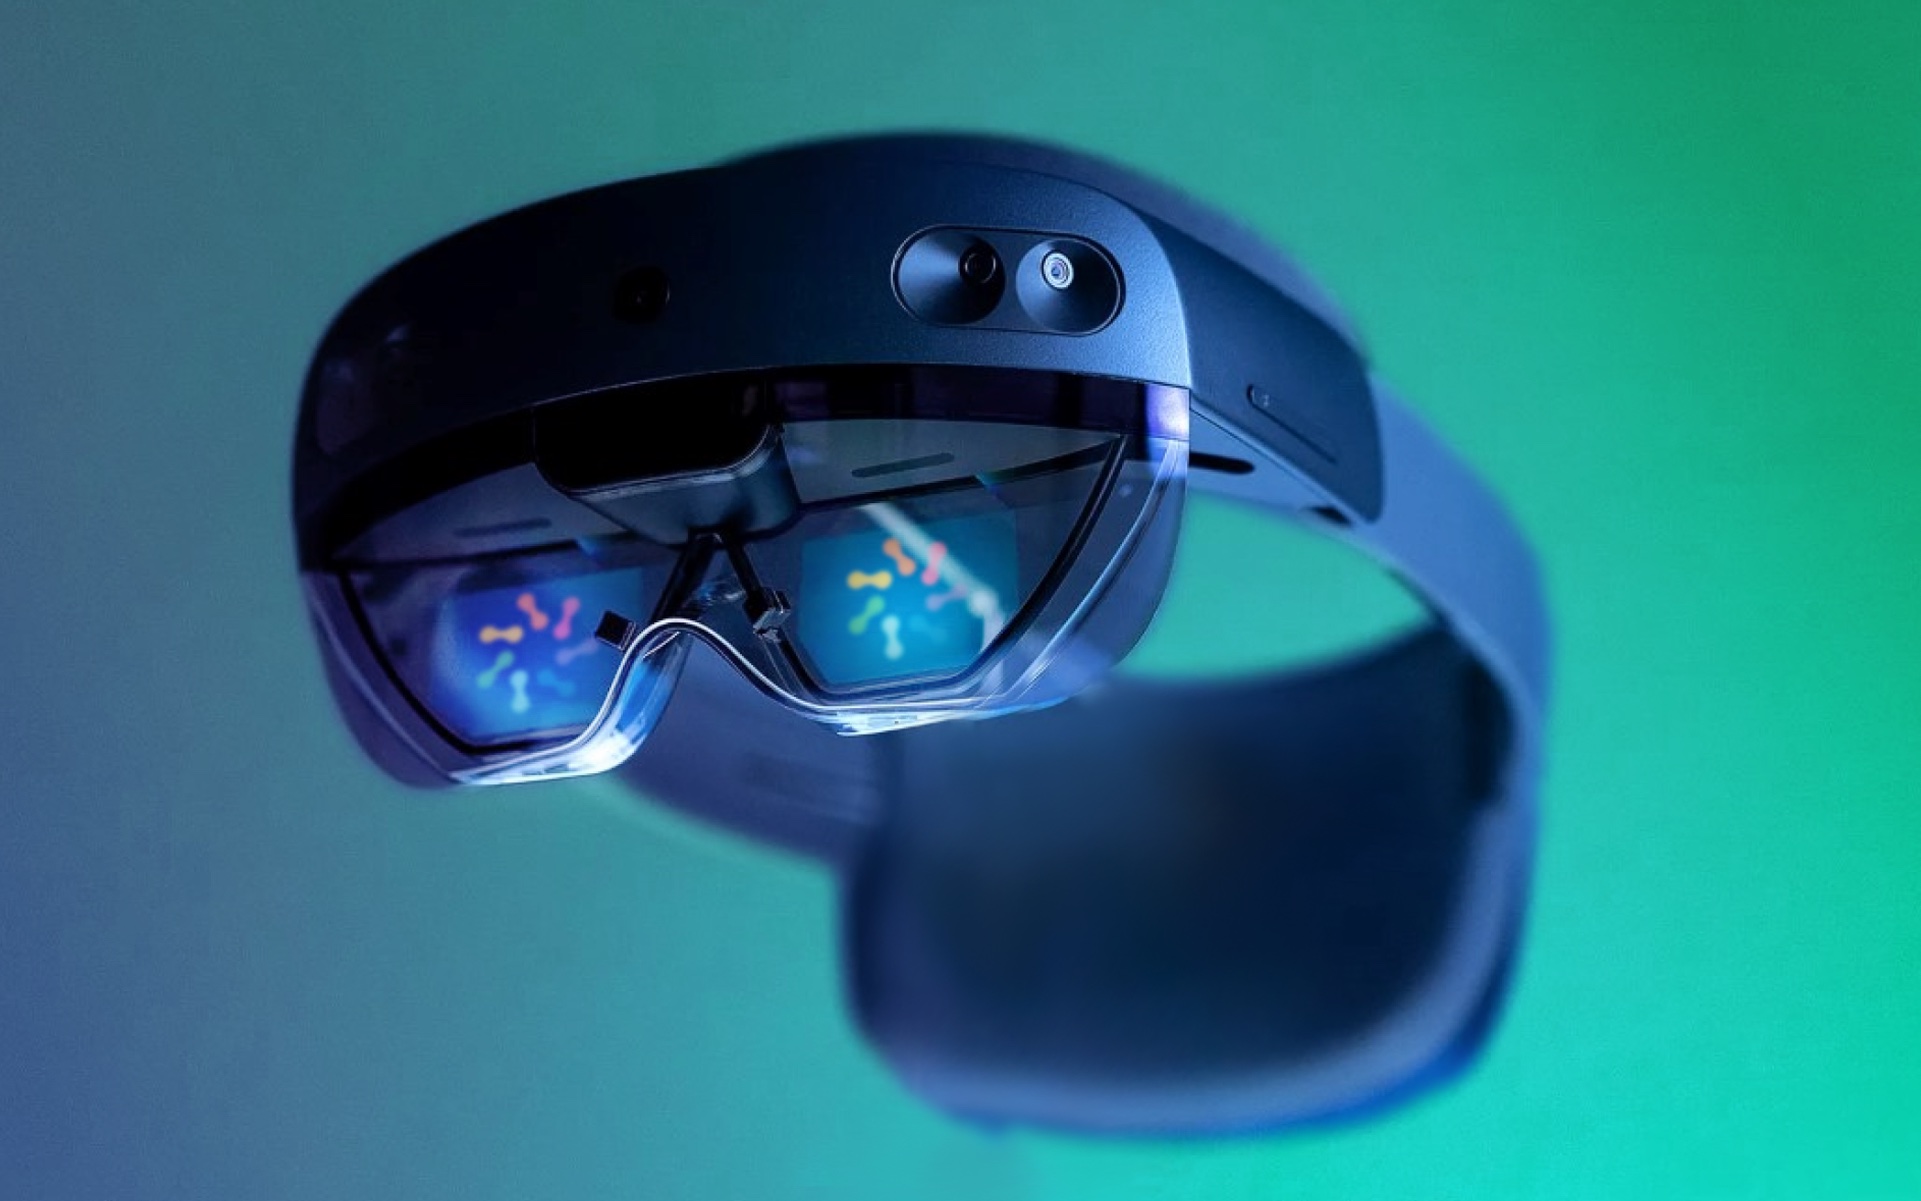
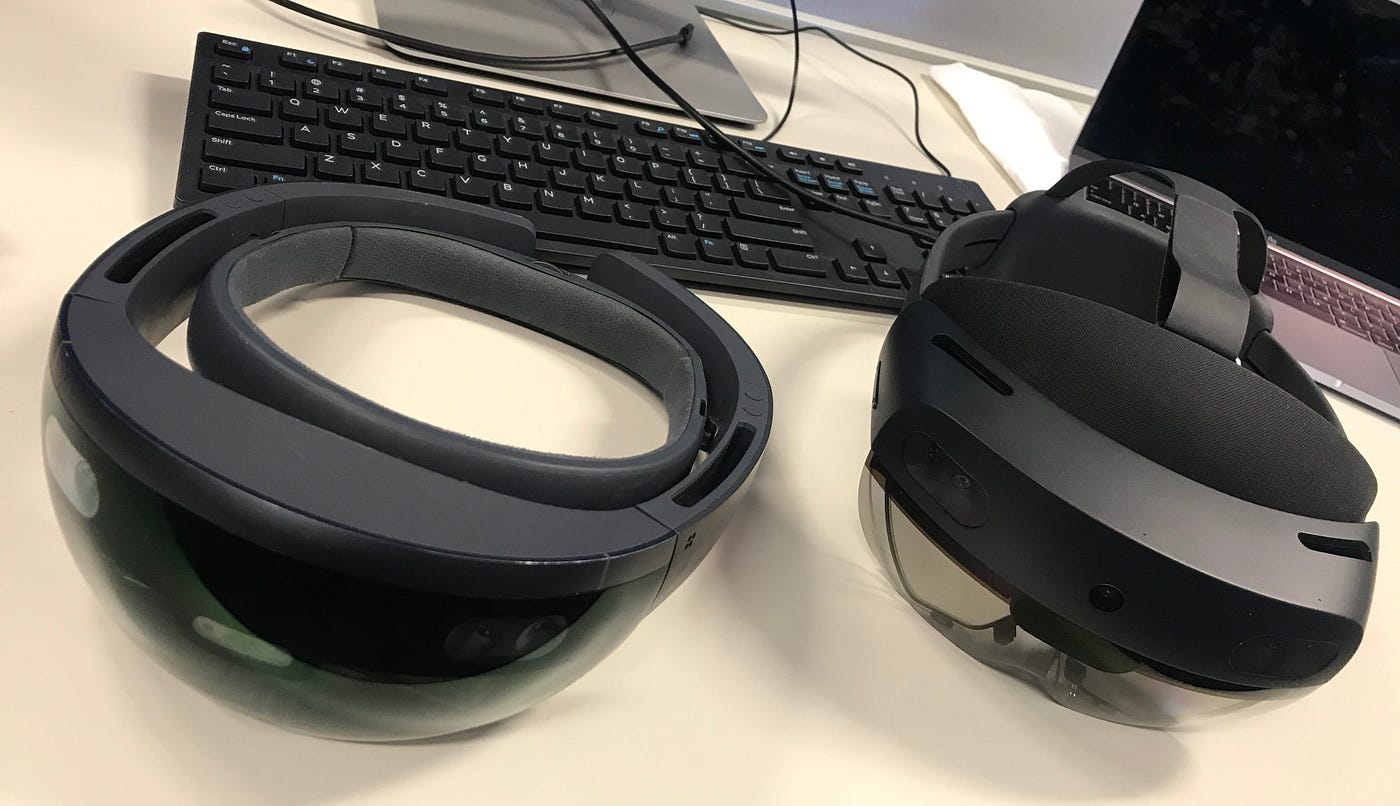
Welcome to the exciting world of HoloLens development! The HoloLens is a revolutionary mixed reality device developed by Microsoft, allowing users to interact with holograms in a real-world environment. Building applications for the HoloLens opens up endless possibilities for creating immersive, interactive experiences.
In this guide, we will walk you through the process of building a HoloLens application using Unity, one of the most popular game development platforms. Unity provides robust tools and a rich ecosystem that make it ideal for creating stunning mixed reality experiences.
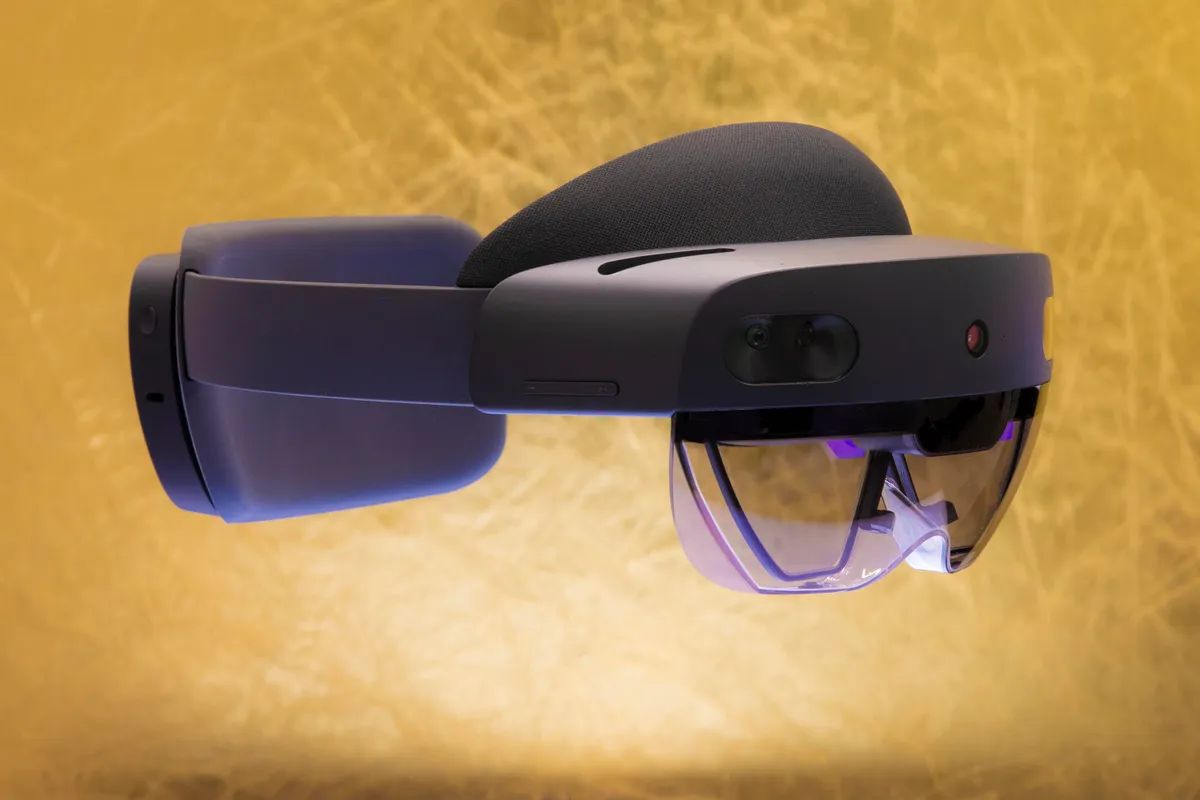
Before diving into the development process, it is essential to have a basic understanding of the HoloLens hardware and the software development kit (SDK) provided by Microsoft. The HoloLens features an array of sensors, including cameras, accelerometers, and a depth sensor, which enable it to perceive and interact with the user’s surroundings. The HoloLens SDK provides libraries and APIs to access these sensors and create holographic experiences.
Throughout this guide, we will cover everything you need to know to get started with HoloLens development. We will guide you through setting up the development environment, importing the necessary tools and assets, creating a basic scene, adding interaction, building the app, and finally deploying it to the HoloLens device.
Whether you are a seasoned Unity developer or new to the world of mixed reality, this guide will provide you with the knowledge and skills to create compelling applications for the HoloLens. So, let’s get started and bring your holographic dreams to life!
Preparing the Environment
Before we begin developing for the HoloLens, we need to ensure that our development environment is properly set up. Here are the steps you need to follow:
- Install Unity: First, you’ll need to download and install Unity, preferably the latest stable version. Unity is available for both Windows and macOS, so choose the appropriate version for your operating system.
- Install Visual Studio: Next, you’ll need to install Visual Studio, which is the preferred integrated development environment (IDE) for HoloLens development. Make sure to select the workload for Universal Windows Platform (UWP) development during the installation process.
- Download the HoloLens SDK: To develop applications for the HoloLens, you’ll need to download and install the HoloLens development tools from the Microsoft website. This includes the HoloToolkit, which is a set of scripts and components to help you build HoloLens experiences.
- Set up a developer account: To deploy your application to the HoloLens device, you’ll need to have a developer account with Microsoft. You can create one at the Windows Dev Center website.
Once you’ve completed these steps, you’re ready to start building your HoloLens application in Unity.
It’s worth mentioning that developing for the HoloLens requires some technical knowledge and familiarity with Unity. If you’re new to Unity, you may want to spend some time getting familiar with the interface and basic concepts before diving into HoloLens development.
Additionally, having some experience with C# programming will be beneficial, as Unity uses C# as its scripting language. However, if you’re not a programmer, don’t worry! There are plenty of resources and tutorials available online to help you learn the basics of Unity and C#.
In the next section, we’ll walk you through the process of setting up Unity and importing the HoloToolkit to kickstart your HoloLens development journey.
Setting Up Unity
Now that we have our development environment prepared, let’s dive into setting up Unity for HoloLens development:
- Create a new Unity project: Open Unity and create a new 3D project. Choose a location to save your project and give it a memorable name.
- Configure project settings: In the Unity Editor, go to Edit > Project Settings > Player. In the Player Settings window, expand the ‘Other Settings’ section. Under ‘Virtual Reality Supported,’ check the ‘Windows Mixed Reality’ checkbox to enable support for HoloLens development.
- Set build settings: In the Player Settings window, go to the ‘Build Settings’ tab. Click on ‘Add Open Scenes’ to include the scene you want to build for HoloLens development. We’ll create our scene in the next section.
- Install the HoloToolkit: Download and import the HoloToolkit package into your Unity project. You can find the latest version of the HoloToolkit on GitHub. To import the package, go to Assets > Import Package > Custom Package in the Unity Editor. Browse and select the HoloToolkit package file you downloaded.
- Configure HoloToolkit: After importing the HoloToolkit, you’ll need to configure it for your project. In the Unity Editor, go to HoloToolkit > Configure > Apply HoloLens Project Settings. This will set up the necessary project settings and scripts for HoloLens development.
Once you’ve completed these steps, Unity is ready for HoloLens development. You now have a project set up with the necessary configurations and the HoloToolkit imported.
It’s important to note that while the HoloToolkit provides helpful scripts and components, you’re not limited to using them exclusively. Unity offers a wide range of tools and features that you can leverage in your HoloLens application development.
In the next section, we’ll start building our first basic scene in Unity and explore how to create holograms and interact with them.
Importing HoloToolkit
Now that we have Unity set up for HoloLens development, let’s learn how to import the HoloToolkit into our project:
- Download the HoloToolkit: Visit the HoloToolkit repository on GitHub and download the latest release of the package. Make sure to download the version that is compatible with your Unity version.
- Import the HoloToolkit into Unity: Open your Unity project and go to Assets > Import Package > Custom Package. Browse and select the HoloToolkit package file you downloaded. Click Import to begin the import process.
- Import the HoloToolkit examples: After importing the HoloToolkit, you have the option to import the HoloToolkit examples as well. These examples provide a good starting point and can help you understand how to use the HoloToolkit scripts and components. To import the examples, navigate to Assets > Import Package > Custom Package again, and this time select the HoloToolkit-Examples package file.
- Organize the HoloToolkit folder: Once the import is complete, you’ll notice a new folder named HoloToolkit in your Unity project. It contains all the scripts and assets of the HoloToolkit. It’s a good practice to keep your project organized, so you may want to create a separate folder to store the HoloToolkit scripts and assets within the Assets folder.
By importing the HoloToolkit into your project, you gain access to a wide range of pre-built scripts, components, and utilities specifically designed for HoloLens development. The HoloToolkit simplifies common tasks, such as spatial mapping, input handling, gesture recognition, and spatial sound, among others.
The HoloToolkit examples provide a wealth of resources to help you understand different concepts and learn how to implement them in your HoloLens application. Take some time to explore and experiment with these examples to get a better grasp of the capabilities of the HoloToolkit.
In the next section, we’ll start creating a basic scene in Unity and see how we can leverage the HoloToolkit to build interactive holographic experiences.
Creating a Basic Scene
Now that we have the HoloToolkit imported into our Unity project, let’s dive into creating a basic scene for our HoloLens application:
- Create a new scene: In the Unity Editor, go to File > New Scene to create a new scene for your HoloLens application. You can also use an existing scene if you prefer.
- Create a hologram: To create a hologram, you can use one of the built-in HoloToolkit prefabs or create your own. For example, you can add a hologram cube by going to HoloToolkit > Prefabs and dragging the HologramCube prefab into your scene.
- Position and scale the hologram: Select the hologram in the Unity Editor and use the transform manipulators to position and scale it as desired. You can also rotate the hologram by clicking and dragging the rotation handles.
- Configure spatial mapping: If you want your holograms to interact with the real-world environment, you can enable spatial mapping. The HoloToolkit provides a SpatialMapping prefab that you can add to your scene. This prefab generates a mesh representation of the spatial mapping data, allowing your holograms to interact with the physical surroundings. Simply go to HoloToolkit > SpatialMapping and drag the SpatialMapping prefab into your scene.
- Add scripts and components: Depending on the behavior you want for your holograms, you may need to add scripts and components. For example, if you want your hologram cube to respond to user input, you can add the GestureManager script from the HoloToolkit and the TapToPlace script to enable tap-to-place functionality.
By following these steps, you’ll have a basic scene set up in Unity with a hologram and potentially spatial mapping enabled. You can further customize your scene by adding more holograms, adjusting their positions and scales, and adding additional scripts and components to create interactivity.
Remember to test your scene frequently in Unity’s Play mode to ensure everything is working as expected. This allows you to iterate and make changes quickly without needing to deploy to the HoloLens device every time.
In the next section, we’ll explore how to add interaction to our holograms using gestures and input handlers provided by the HoloToolkit.
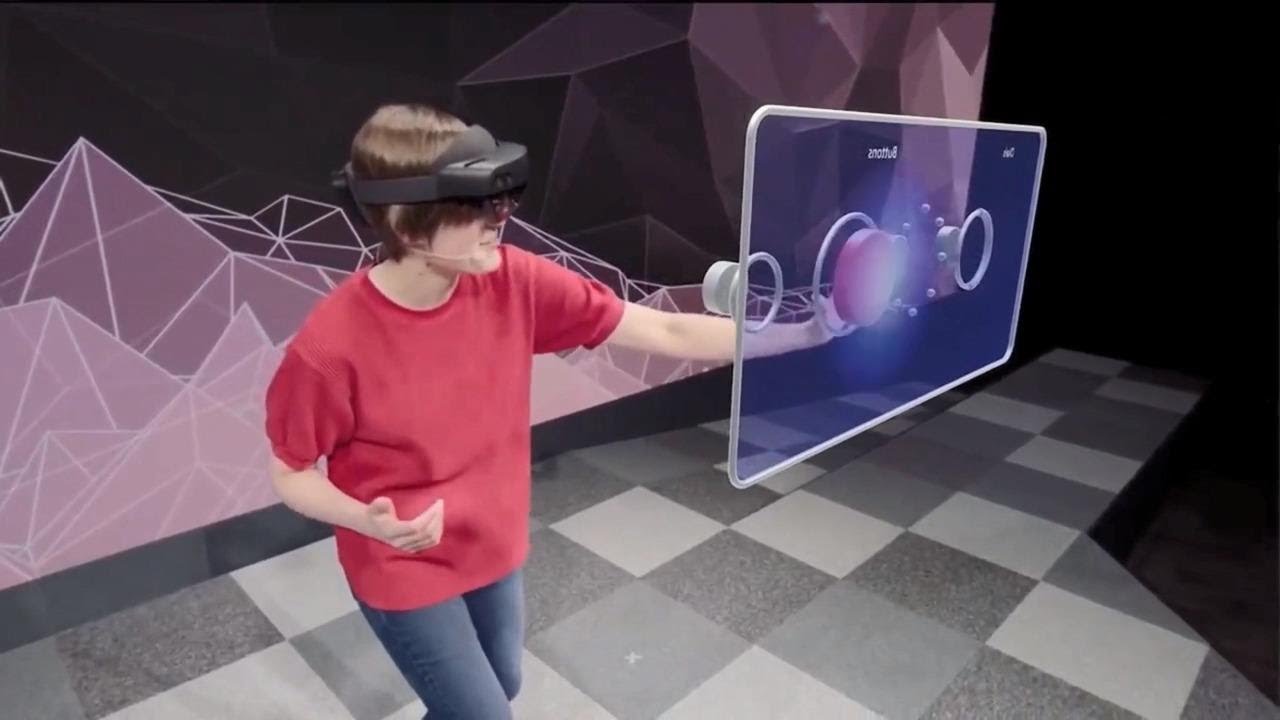
Adding Interaction
Now that we have a basic scene set up in Unity with our holograms, let’s focus on adding interaction to enhance the user experience:
- Gesture recognition: The HoloToolkit provides built-in gesture recognition scripts that allow you to detect and respond to user actions, such as tapping, holding, and air-tapping. You can add the GestureManager script to your scene to handle gesture recognition. This script allows you to define callbacks for different gestures and trigger actions in response.
- User input handling: In addition to gestures, you may want to enable user input handling for your holograms. The HoloToolkit offers the TapToPlace script, which allows users to tap on a hologram and place it in the environment. This functionality can be useful when you want users to interact with holograms by physically placing them in their surroundings.
- Speech recognition: Another way to interact with holograms is through voice commands. The HoloToolkit provides the KeywordManager script, which enables you to define a set of keywords that the HoloLens will recognize and trigger actions accordingly. With speech recognition, users can control and interact with holograms using their voice.
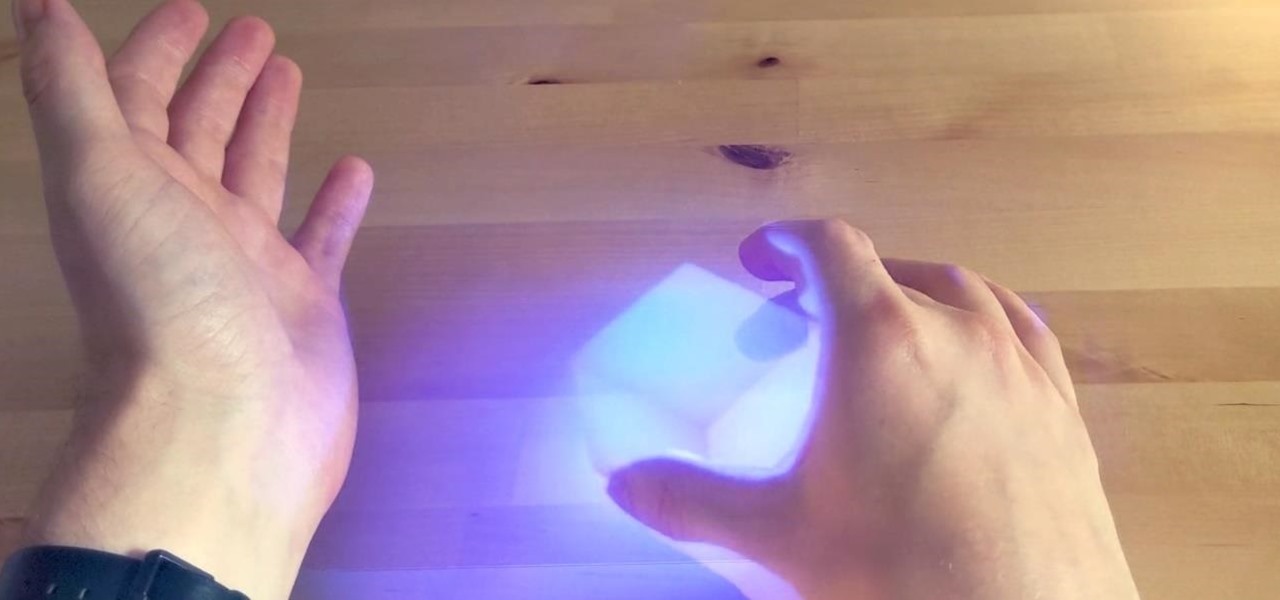
- Hand gestures: The HoloLens is equipped with hand-tracking capabilities, allowing users to interact with holograms using hand gestures. You can leverage the HandDraggable script from the HoloToolkit to enable dragging and manipulating holograms with hand gestures.
- Sound spatialization: To enhance the immersive experience, you can utilize the HoloToolkit’s audio spatializer to make sound appear to come from specific locations in the HoloLens environment. By applying the AudioSource script along with the spatializer, you can make holograms emit sound that seems to originate from their location in space.
By incorporating these interaction techniques into your HoloLens application, you can create a more engaging and intuitive user experience. Experiment with different gestures, input handlers, and sound spatialization techniques to find the right combination for your specific application.
Testing and iterating on the interaction design is crucial to ensure a seamless and enjoyable user experience. Use Unity’s Play mode to simulate user interactions and fine-tune the behavior of your holograms based on user feedback and testing.
In the next section, we’ll explore the process of building our HoloLens application and preparing it for deployment.
Building the App
After successfully adding interaction to our HoloLens application, it’s time to build and compile the app for deployment to the HoloLens device. Here’s how you can do it:
- Configure build settings: In Unity, go to File > Build Settings. Select the Universal Windows Platform as the target platform. Choose the architecture (x86, x64, or ARM) based on the HoloLens device you are targeting.
- Build the app: Click on the ‘Build’ button in the Build Settings window. Choose a location to save the built app and provide a name for the app package.
- Configure app settings: Open the Visual Studio solution that was generated during the build process. In the Solution Explorer, right-click on the project and select Properties. Set the necessary configurations, such as the package name, display name, and icons.
- Deploy to the HoloLens: Connect your HoloLens device to your development PC. In Visual Studio, select the ‘Debug’ build configuration and the target device as the HoloLens. Click on the ‘Start Debugging’ button to deploy the app to the device.
During the build process, Unity will package all the necessary assets and scripts, along with the HoloToolkit, into the app package. This package can then be deployed and installed on the HoloLens device for testing and usage.
It’s important to thoroughly test your app on the HoloLens to ensure that all the features and interactions function correctly in a real-world environment. Use the debugging tools provided in Visual Studio to monitor and resolve any issues that may arise during testing.
Before deploying to a wider audience, consider optimizing your app’s performance and stability. Ensure that your app adheres to Microsoft’s guidelines for HoloLens development, including performance optimizations, user experience best practices, and app submission requirements.
In the next section, we’ll delve into the process of deploying your app to the HoloLens device for others to experience your amazing HoloLens application.
Deploying to HoloLens
Once you have built and tested your HoloLens application, it’s time to deploy it for others to experience on their HoloLens devices. Here’s how you can deploy your app:
- Create an app package: In Visual Studio, go to Project > Store > Create App Packages. Choose the appropriate options for your app, such as the target platform, version number, and package name. Click on the ‘Create’ button to generate the app package.
- Sign the app package: If you haven’t done so already, you’ll need to sign the app package with a valid HoloLens developer certificate. This certificate ensures that the app can be installed and run on the HoloLens device. Follow the instructions provided by Microsoft to create and sign the app package.
- Distribute the package: Once you have the signed app package, you can distribute it to others for installation on their HoloLens devices. You can share the package via email, file-sharing services, or through the Microsoft Store for Business if you have a registered account.
- Install and run the app: Users who receive the app package can install it on their HoloLens devices by opening the package file. They will need to enable sideloading of apps on their device if they haven’t done so already. Once the app is installed, it can be launched from the app list on the HoloLens.
It’s important to inform your users about the installation process and any prerequisites, such as enabling developer mode or sideloading apps, to ensure a smooth installation experience.
Be sure to gather feedback from users who have installed your app on their HoloLens devices. Use their input to improve and iterate on your application, fixing any bugs or usability issues that may arise.
Additionally, consider submitting your app to the Microsoft Store for wider distribution and visibility. The Microsoft Store provides a platform for users to discover and download HoloLens applications, reaching a larger audience and potentially gaining more exposure for your app.
In the next section, we will wrap up our guide and summarize the key points we have covered throughout the HoloLens development process.
Conclusion
Congratulations on completing this guide to building HoloLens applications using Unity! We have covered the essential steps required to develop interactive holographic experiences. Let’s recap what we’ve learned:
We started by preparing our development environment, installing Unity and Visual Studio, and setting up the HoloLens SDK. This ensured we had the necessary tools and frameworks to begin our HoloLens journey.
We then moved on to setting up Unity for HoloLens development by creating a new project, configuring project settings, and importing the HoloToolkit. This allowed us to leverage the power of the HoloToolkit and its pre-built scripts and components.
Next, we delved into creating a basic scene in Unity, adding holograms, positioning and scaling them, and configuring spatial mapping. We also explored how to add interaction to our holograms, including gesture recognition, user input handling, speech recognition, and hand gestures.
Afterwards, we learned about the process of building our app, configuring build settings, and compiling it for deployment. We also discussed the importance of testing and optimizing our app’s performance for a seamless user experience.
Finally, we explored the deployment process, including creating the app package, signing it with the HoloLens developer certificate, and distributing it to others. We also discussed the option of submitting the app to the Microsoft Store for wider distribution.
Now that you have the knowledge and skills to create HoloLens applications, the possibilities are endless. Experiment, iterate, and continue learning as you embark on your own HoloLens development projects.
Remember to stay updated with the latest developments in HoloLens technology and the Unity ecosystem. The world of mixed reality is constantly evolving, and by staying informed, you can take advantage of new features and advancements in your future HoloLens endeavors.
Thank you for joining us on this HoloLens development journey. We hope you found this guide helpful and wish you success in your HoloLens development endeavors. Happy holographic coding!